The 1928 Pack
Published: August 15, 2010
Author: Charles McFarlane
Background:
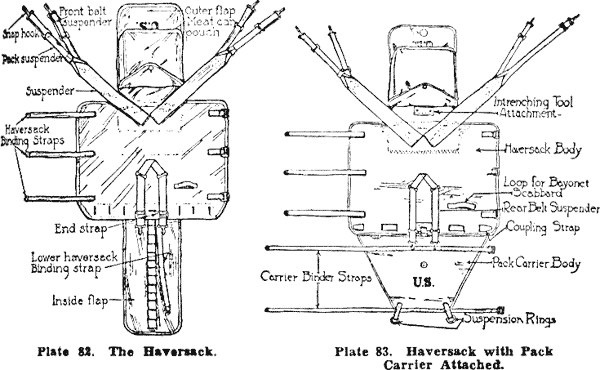
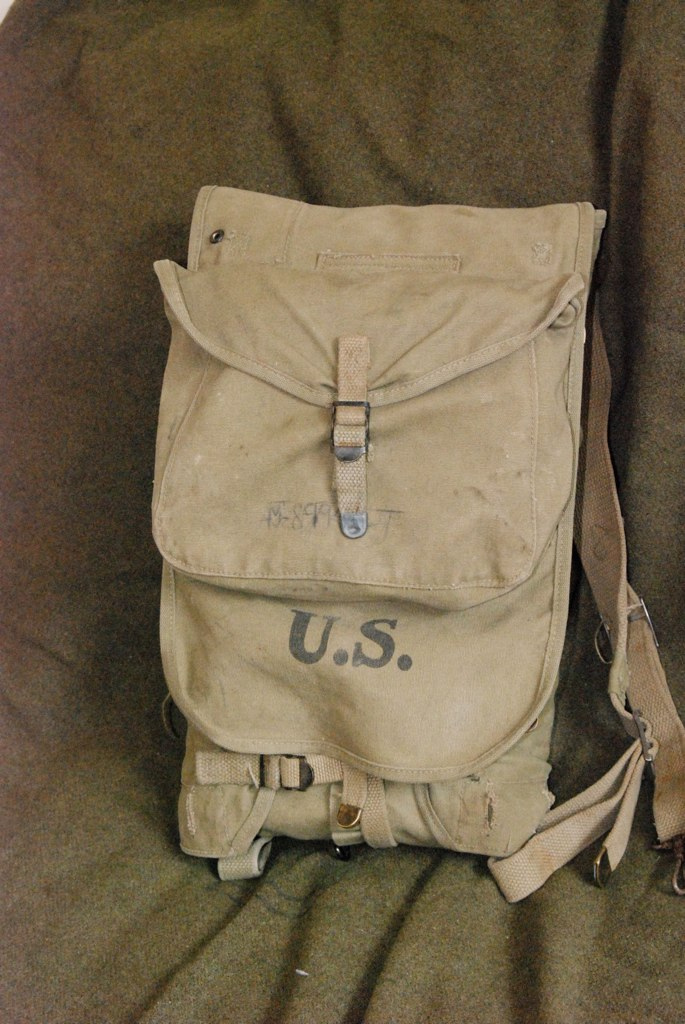
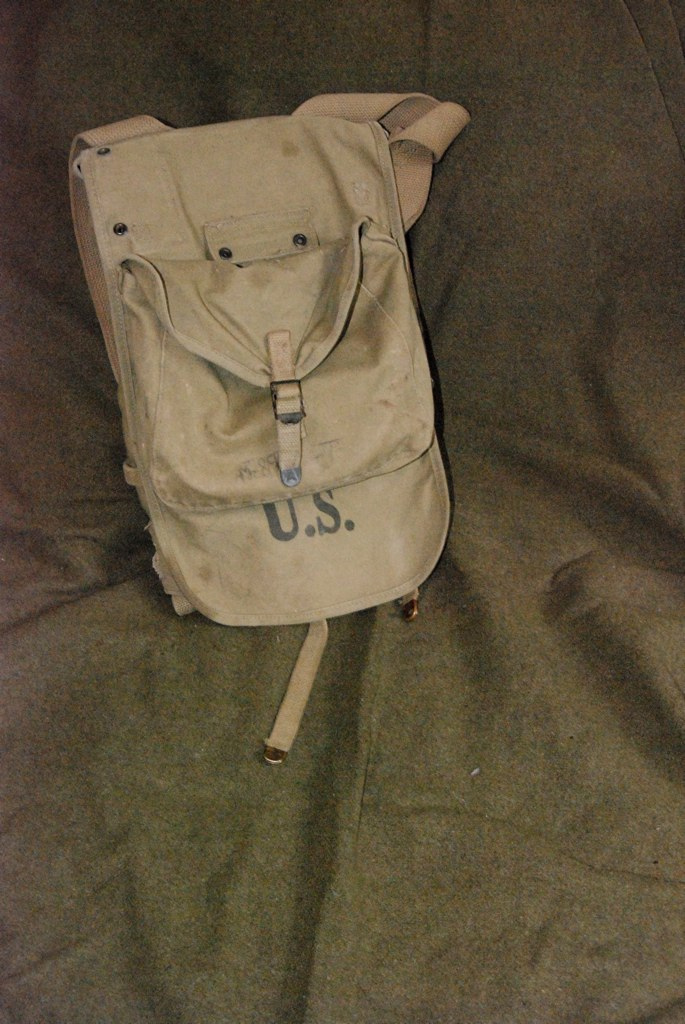
The 1928 pack was developed as a replacement for the M1910 pack. The 1928 pack replaced the one strap back suspension system of the 1910 pack with two straps that connected to both sides of the web belt. The 1928 pack also replaced the meat can pouch button with a friction buckle.
Despite these improvements, the Army continued to use the "diaper" attachment, which was clumsy and hard to keep together.
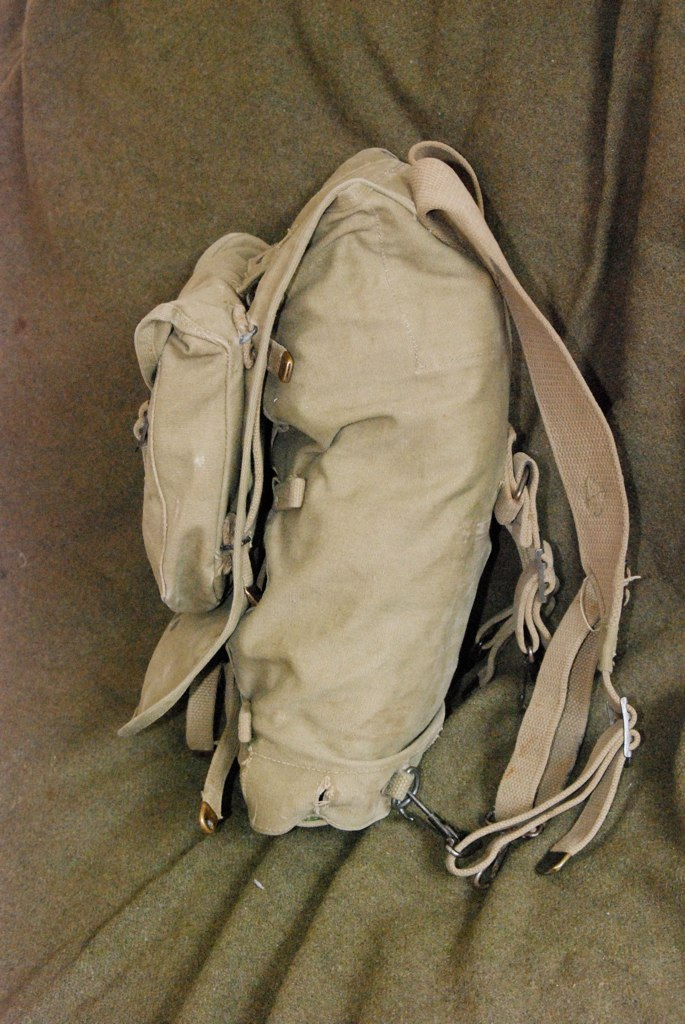
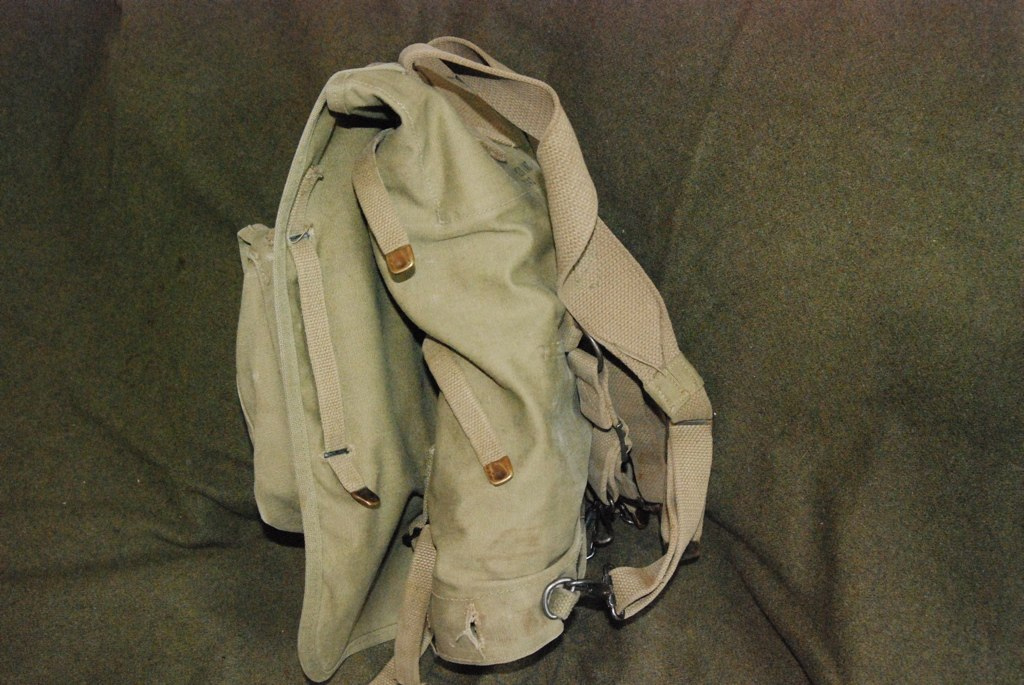
The biggest draw back of the 1928 pack was the four-part fold system it used to form the bag of the pack.
The 1928 pack was issued throughout the war to G.I.'s as a field pack. Due to its obvious shortcomings, some soldiers opted out of carrying them, instead using pockets and other issued bags. Despite the shortcomings, some G.I.'s made the best of the 1928 pack and used them in combat.
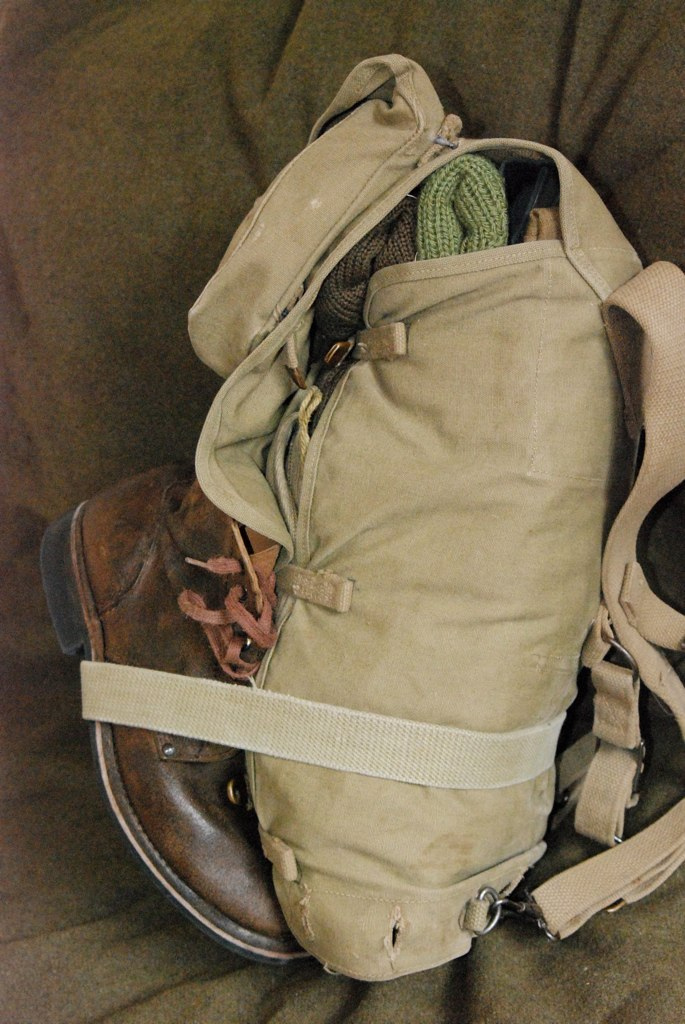
Above: the 1928 pack and the 1910 for comparison.
Now that the history of the 1928 pack has been described we can move on to the objective of this article.
Purpose:
This article is not to intended teach reenactors how to pack the 1928 pack in the prescribed Army "manual" method, if you want that look here. This article intends to illustrate how the 1910 and 28 pack were ACTUALLY used. I will do this through studying period pictures and trying to replicate the look that is seen in them. All items that go into the pack are suggestions, not rules, and are open to interpretation.
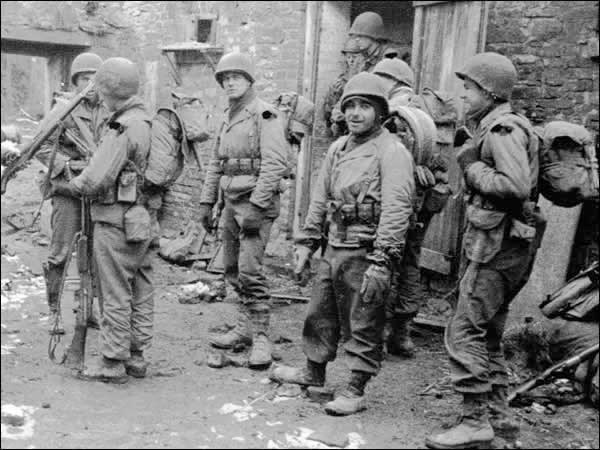
Marching Pack:
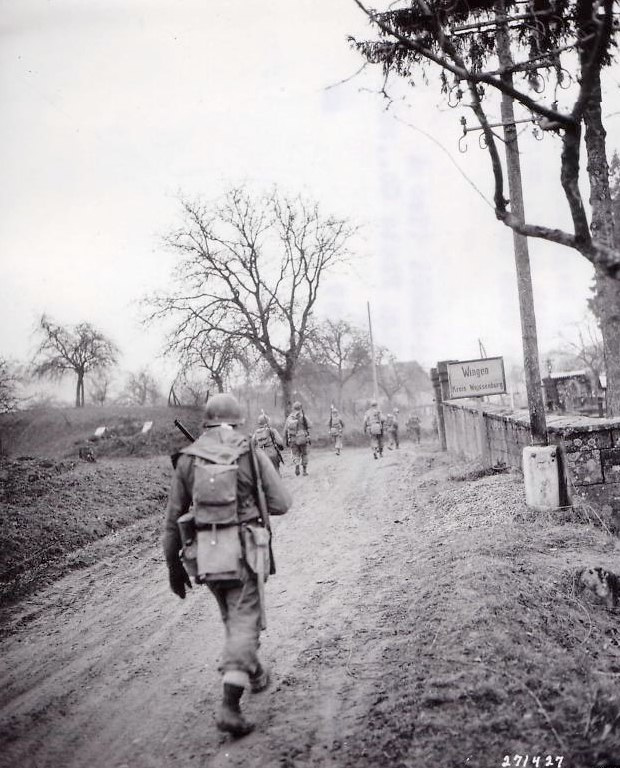
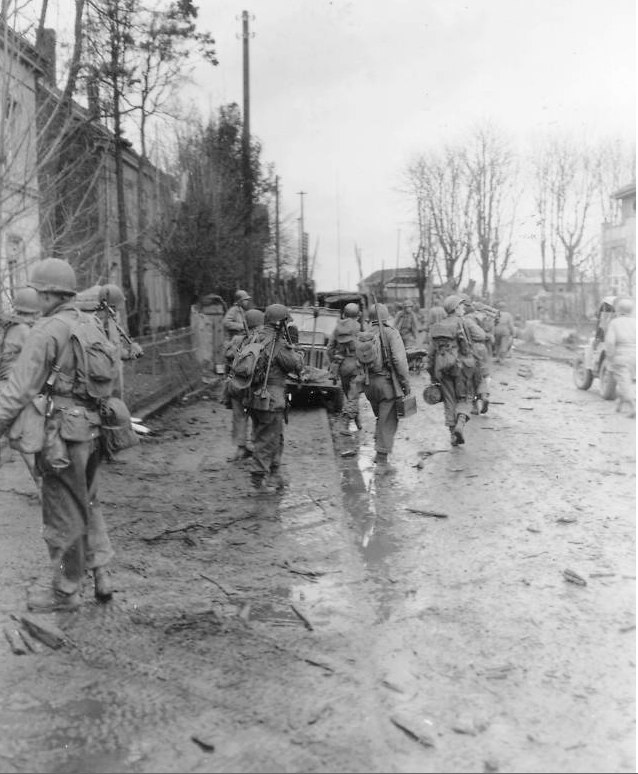
The Marching Pack would be carried by G.I’s when moving up to the line. They would contain extra clothing items and personal items not needed on the front. When the G.I’s reached the rear of the front line ( i.e. Battalion or Company level front) they would break down the packs into “combat packs” these pack would contain only the bare minimum of what was needed to live with. The remainder of the marching pack would be rolled into “horse shoe” rolls or for the Civil war guys out there “blanket rolls” and left with Battalion to be brought up when the action on the front was through.
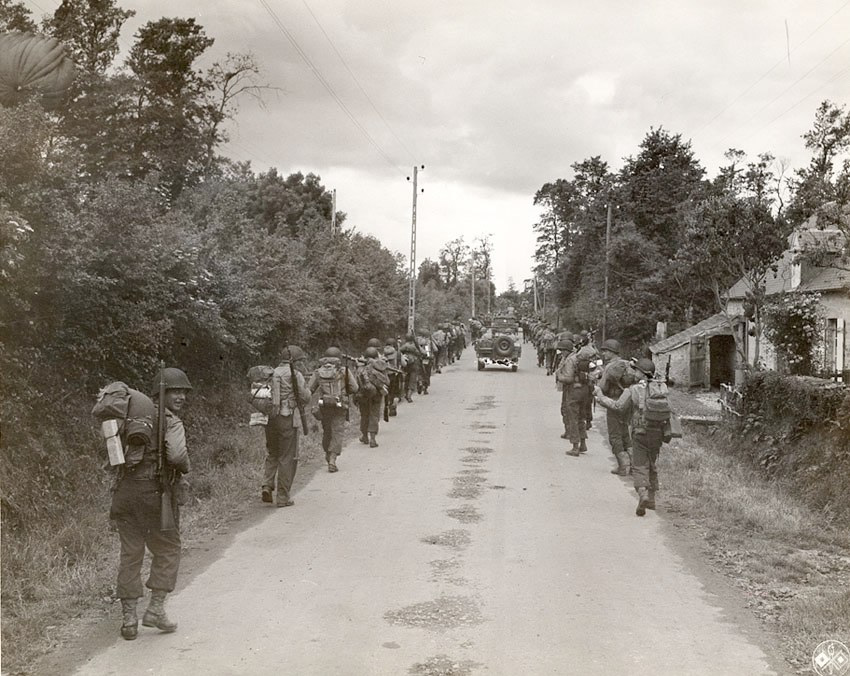
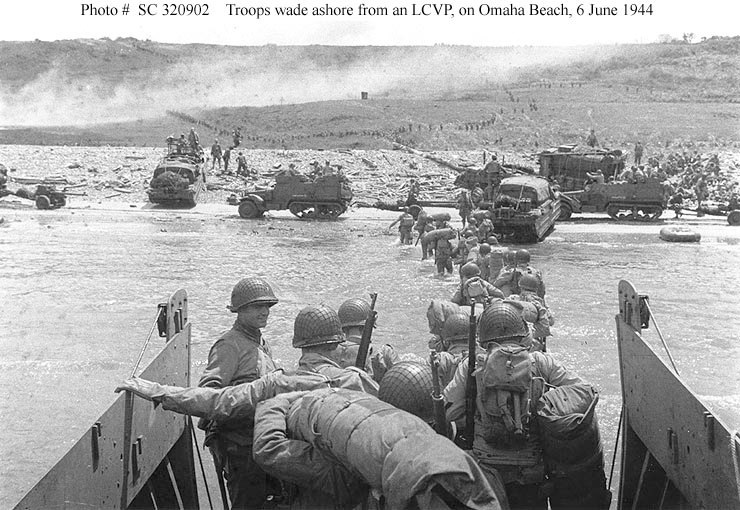
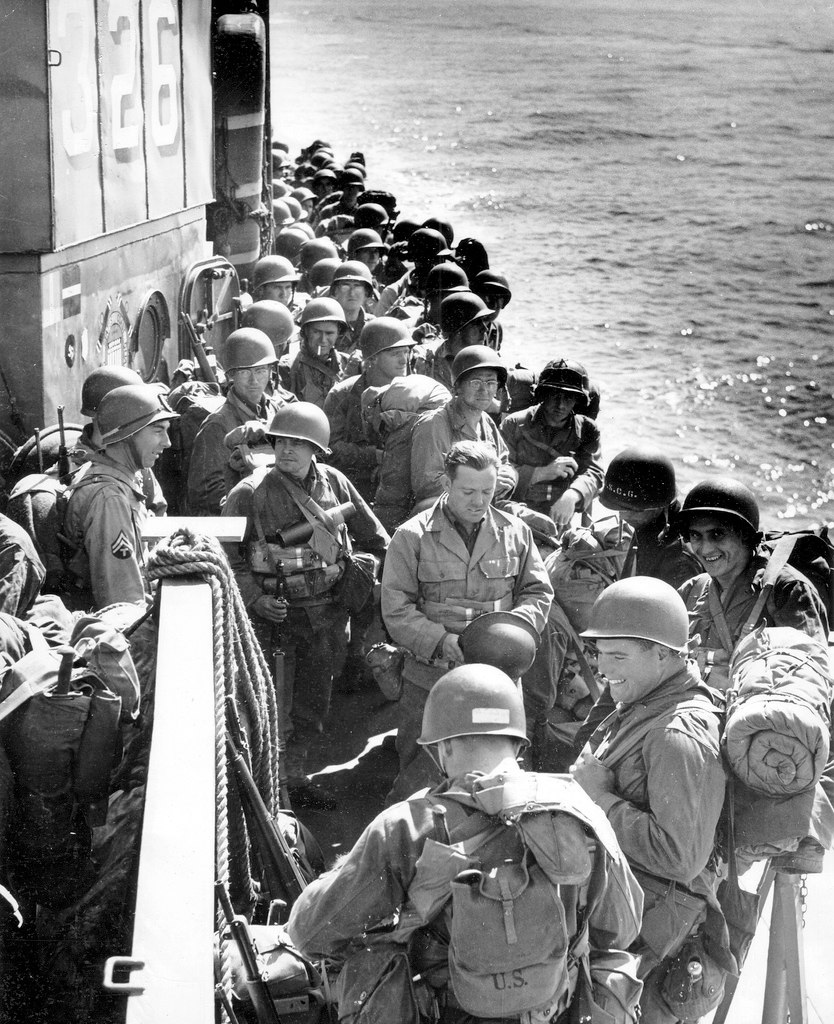
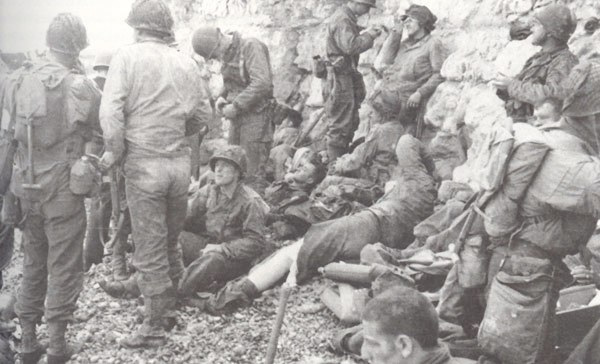
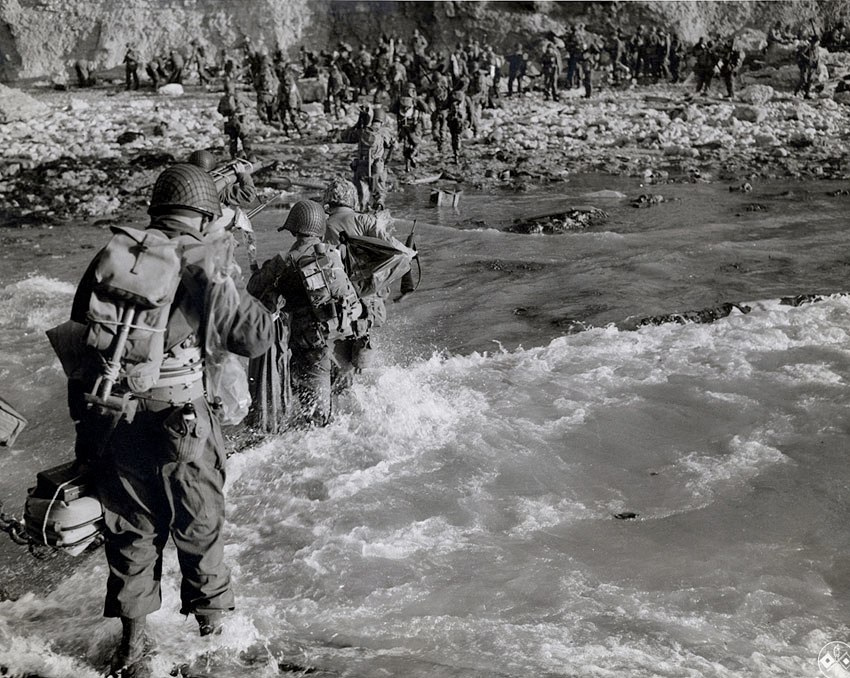
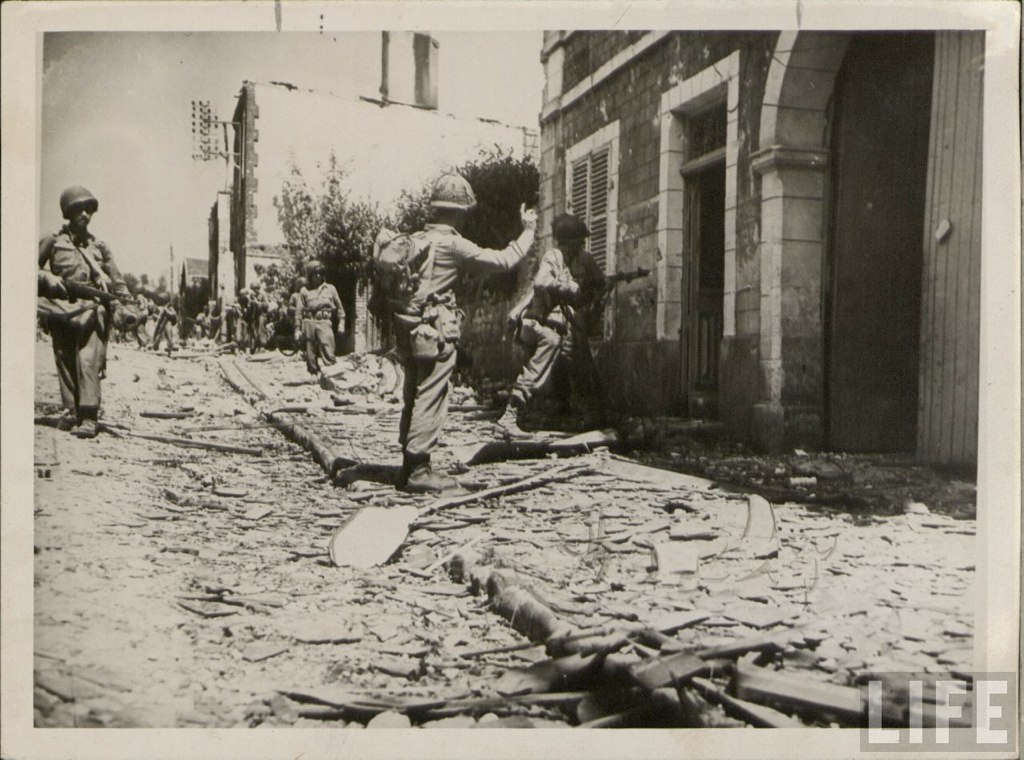
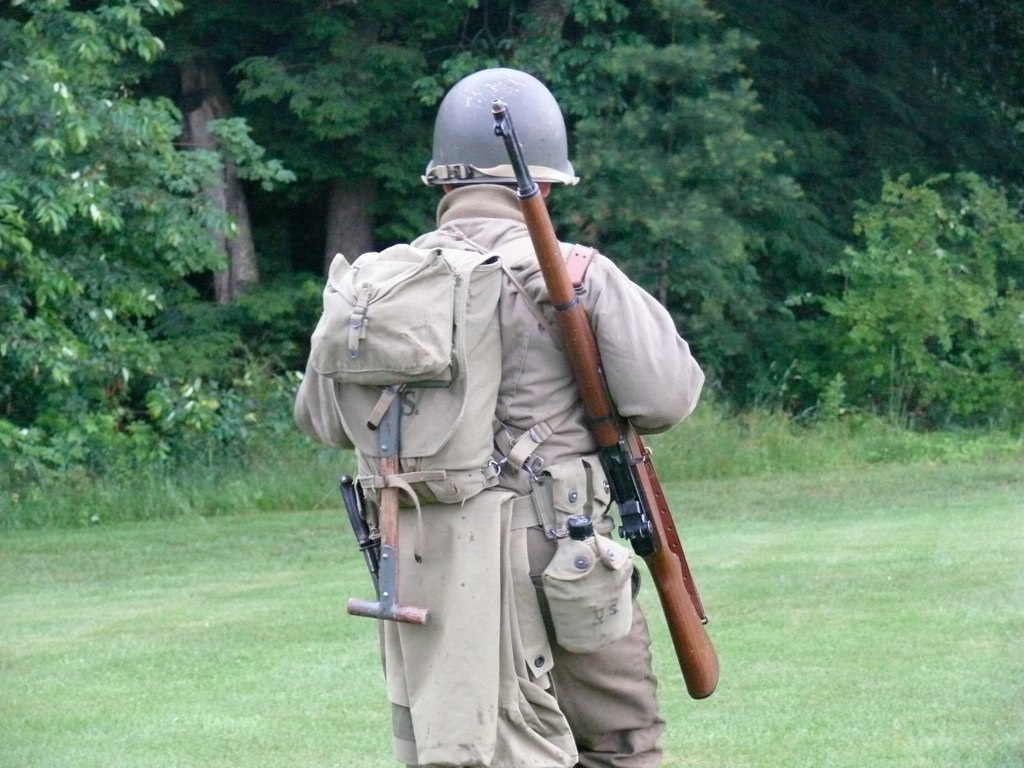
The marching pack is perfect for when you are portraying a unit that is about to enter combat or you are portraying a replacement. Here are some pictures of marching packs.
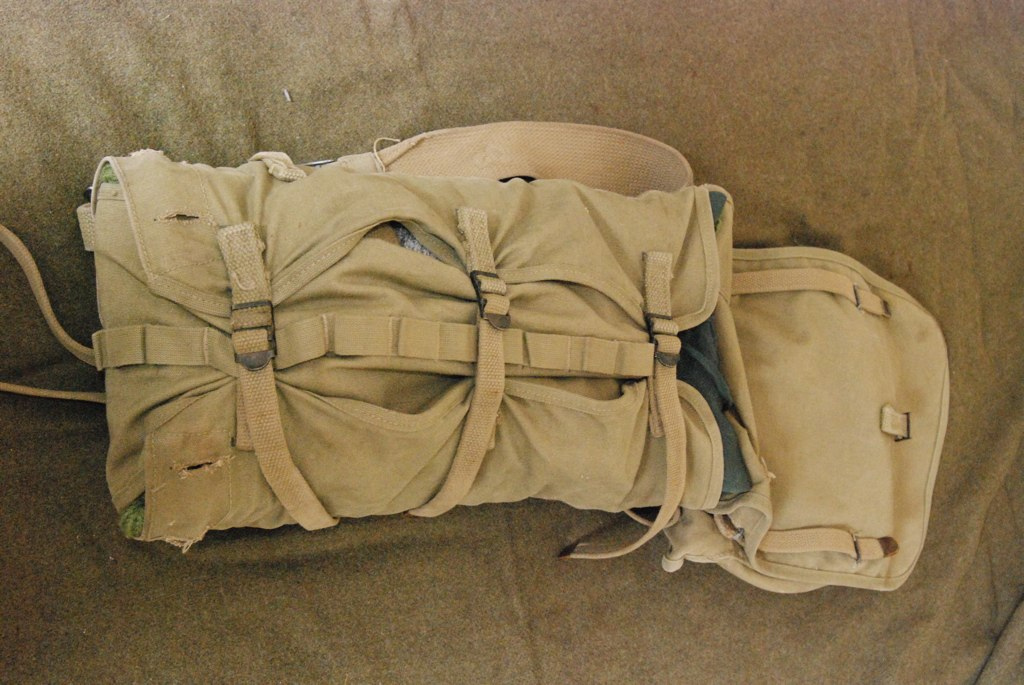
For marching packs, remember that "More is Better". You want to over pack the pack as much as possible with out having it burst. Things that are ideal for this are: spare drawers, an extra wool shirt, spare socks, long johns, sweaters, and large toiletry rolls. Take a look at one of mine:

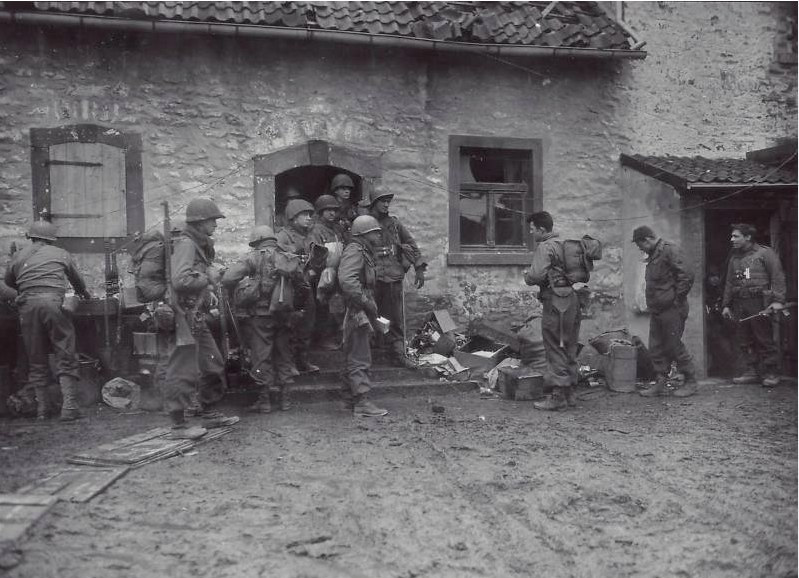
Combat Pack:
"As dusk drew on, a noncom appeared and told us to make up combat packs in preparation for going up that night... we set to work- breaking our ponderous bedrolls in the mud and rain and assembling combat packs: small compact units holding one blanket, a raincoat, and whatever small items the individual man feels impelled to take for his private solace. The seasoned soldier, we soon learned, takes only the essentials. The rest of our personal belongings and equipment we rolled in a shelter half, marked the bundle with our name and serial number."
Roll Me Over - Gantter
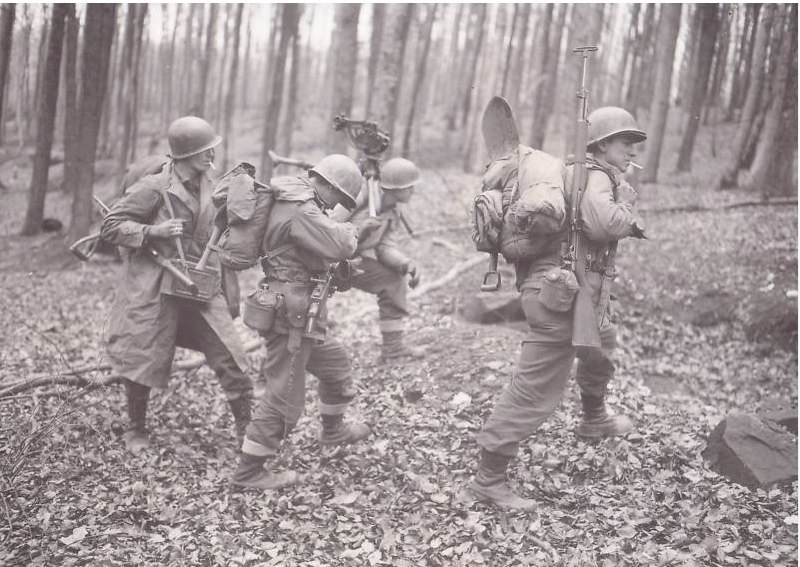
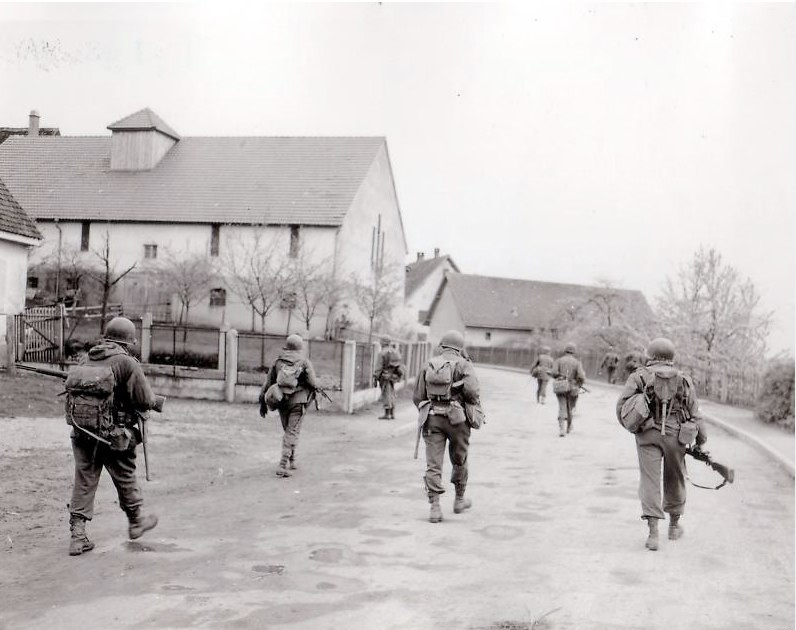
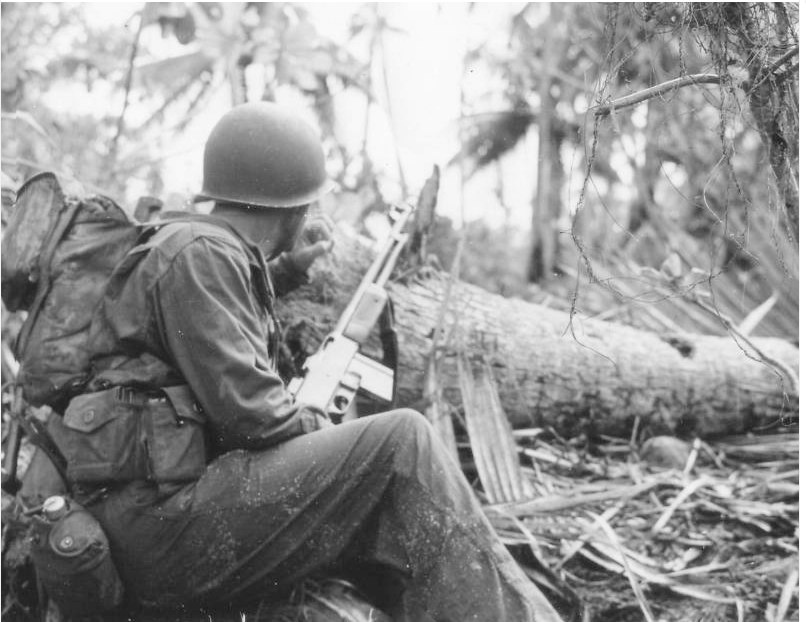
The Combat Pack is one step down from the marching pack. This is a pack a G.I. would make before an advance. It has more then the bare essentials but not the kitchen sink. The pack is light enough to allow the G.I optimal movement and maneuvering under fire, while containing the items he needs to survive in the field. Take a look at some of these pictures:
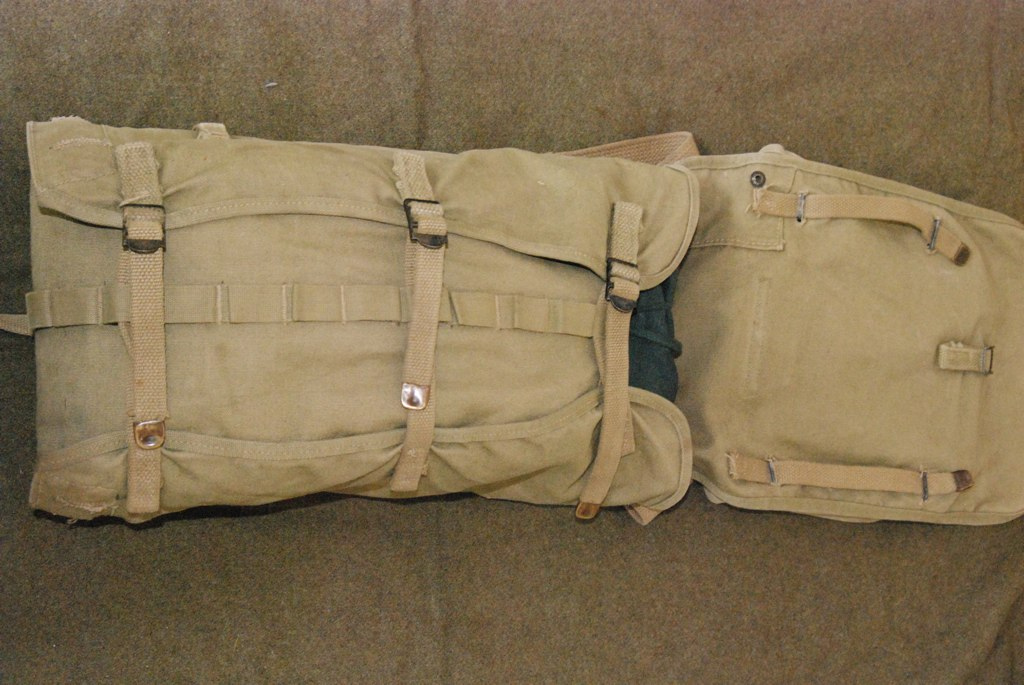
For the combat pack you want to include only what you would need to survive 48 hours in an open environment (basically what you are doing at a tactical). Things I suggest: Socks (2-3 pairs), sweater, K rations (3-4), extra K ration meat cans, and a small toiletry roll (i.e. toothbrush and soap). Typically you would add a blanket and raincoat. The blanket could be put in the pack or stowed under the flap of the pack. The raincoat could be worn, slung over the back of the cartrige belt or folded and put under the flap of the pack. Here is an example of mine:

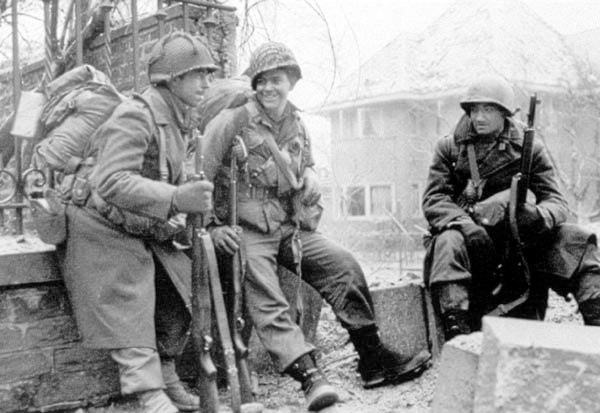
Patrol Pack:
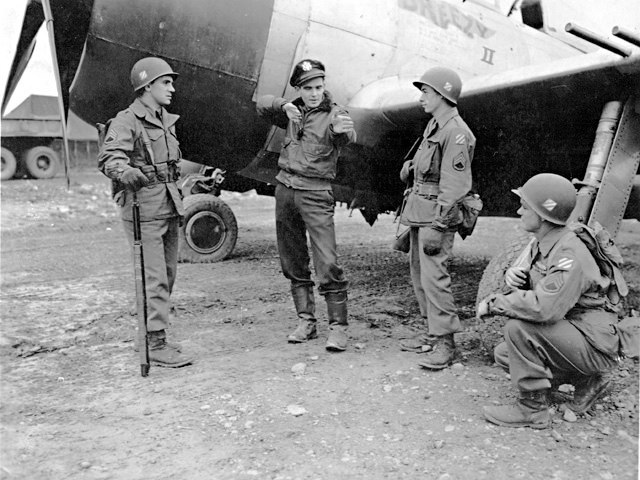
This type of pack is the most minimalistic seen in original photos. The wearing of an "empty" or almost empty pack has been characterized by reenactors as "farby" when in fact, it can be very authentic if done deliberately as part of a focused impression. The farby part is when it is unknowngly and inappropriately utilized.
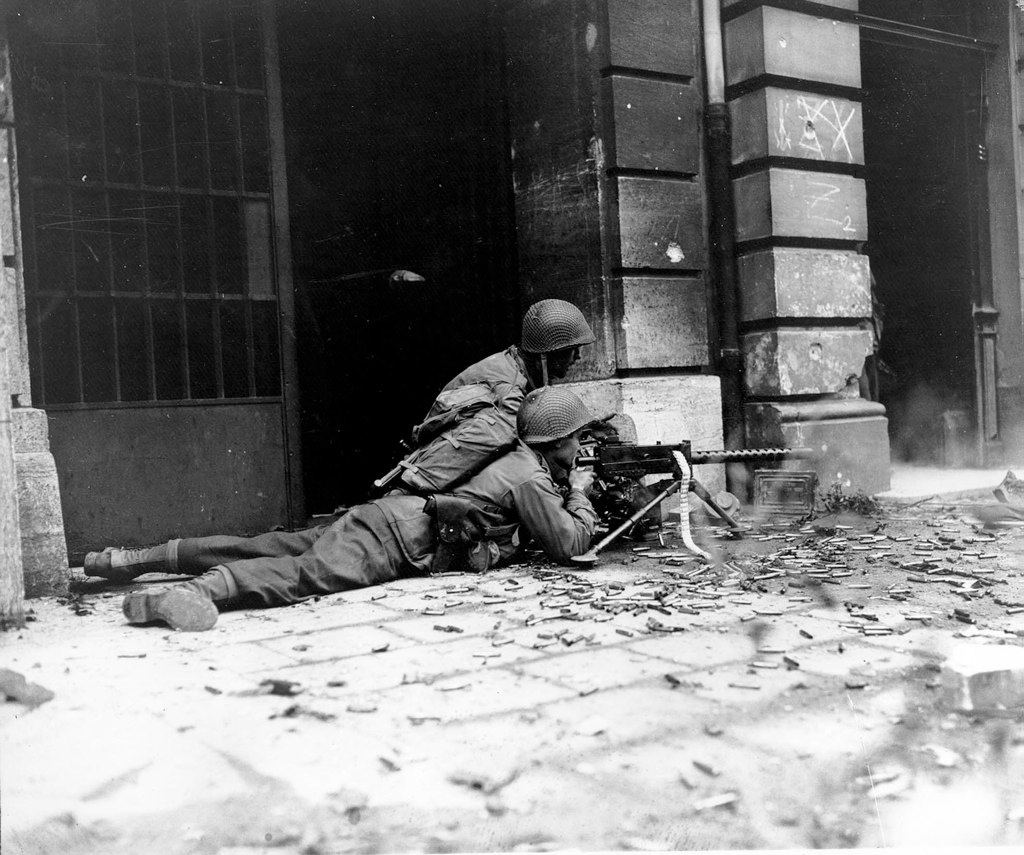
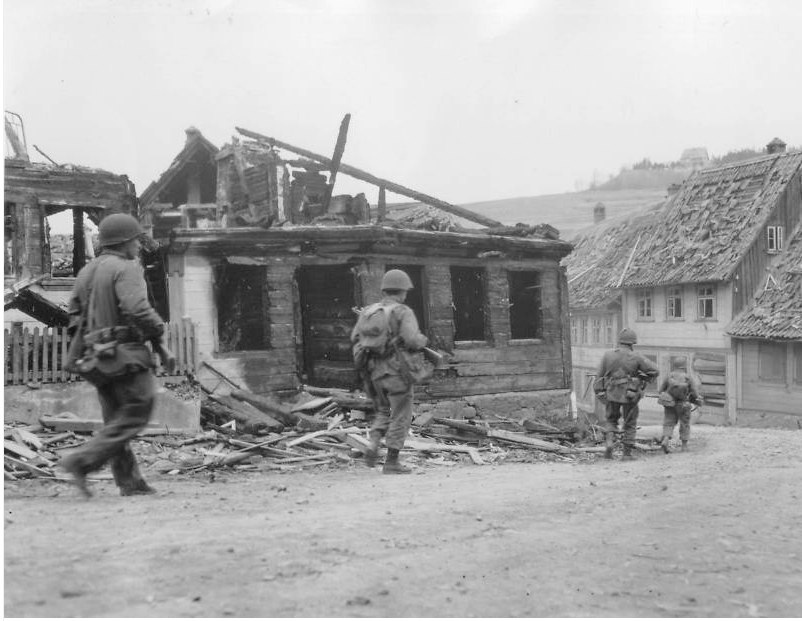
This pack is hardly packed at all and almost look empty. It contains only what the GI needs for the day or the assault. These are things that keep him going. Take a look at some of these period shots:
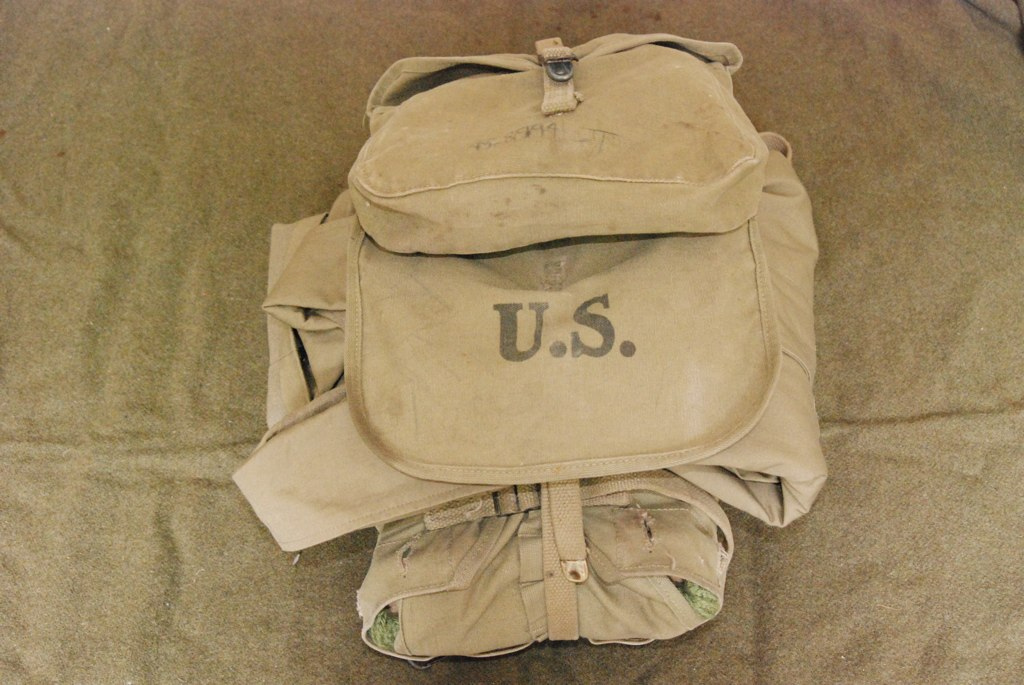
For the assault pack you want to think light light light. Nothing can be over looked. The pack should only contain a variety of 2-3 things, for example: K rations (2-3) and socks (2 pair), and a toothbrush. No more is needed. Take a look at one of my assault packs:
Packing Tips:
Now that you know what to pack and how they should look. How do you avoid having a lumpy mess that everything falls out of?
The article has so far presented 3 "styles" of use of the 1928 pack through original photos. It is obvious that the G.I. of WWII did NOT follow the manual to the letter in how the pack was utilized.
With that spirit in mind, here are some sugguestions and tips on what I've learned about the 1928 pack through use. Take these sugguestions and combine them with your needs and experiences to find something that works for you.
I always like to start with a cushion for the bottom layer. A scarf, extra shirt or a sweater is ideal for this.
Then Ilike to put down the solid items, things like K ration boxes and toiletry rolls
For the top layer I like to put the smaller items that will compress under pressure, socks are perfect candidates.
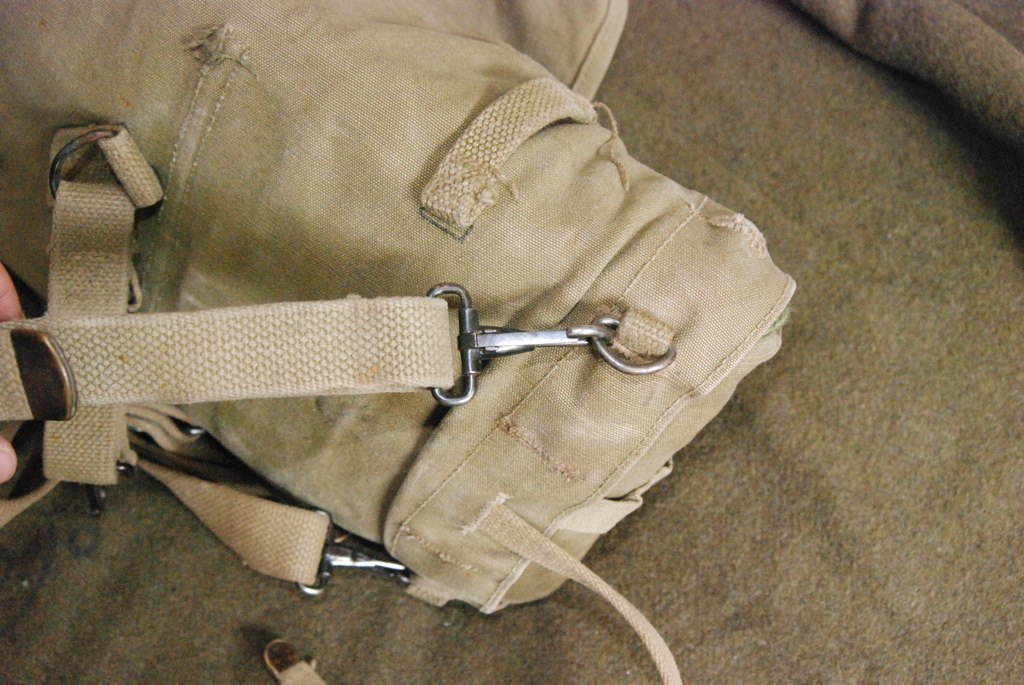
When assembling the four folding sections remember to bring the front up as far as you can without shifting the middle contents of the bag. If the contents shift if will form air pockets in the pack which will contribute to its undoing. Also remember on the canvas straps not keep them even on the pack and not to pull to tight. If you pull to tight it will form cinch sections which will deform the pack areas. Like this:
If you follow those guidelines your pack will always stay together.
To end I want to leave you with a couple tips and tricks I have discovered over the years:
Put your smaller items in plastic bags, not ziplocs but period plastic bags, this will not only keep your items together but also keep them dry.
Loose the meat can, it is unneeded, instead fill the meat can pouch with things you need at a moments notice, K rations, blanks, socks, etc. If you need to cook something, use your canteen cup or c-ration cans.
Don’t put the bayonet on the side of the your pack, it just inhibits the packs flexibility while packing and unpacking.
Wear your pack like a backpack.
This way when the fire fight start you can drop the pack fast and keep your ammunition.
Put your bandoleers across your body before your pack. This way you do not need to remove them before you loose the pack.
You can easily hang grenades on the web straps
Blankets, jackets, and raincoats can be strapped down under the main center flap strap.
Nine times out of ten less is more
Don’t be scared to pack and repack before an event.
Sources:
Life Photo archive hosted by Google
Photos Normandie Archive
NARA - National Archives and Records Administration
Authors Personal collection
Roll Me Over: An Infantryman's World War II: Raymond Gantter