


1917 / 1917a1 Ammunition Chest (Box) Restoration
Project Date: 7/25/2010
Author: Chris Guska
Background:
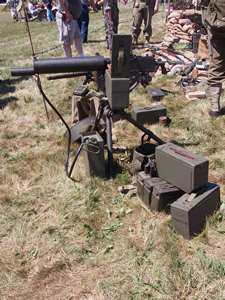
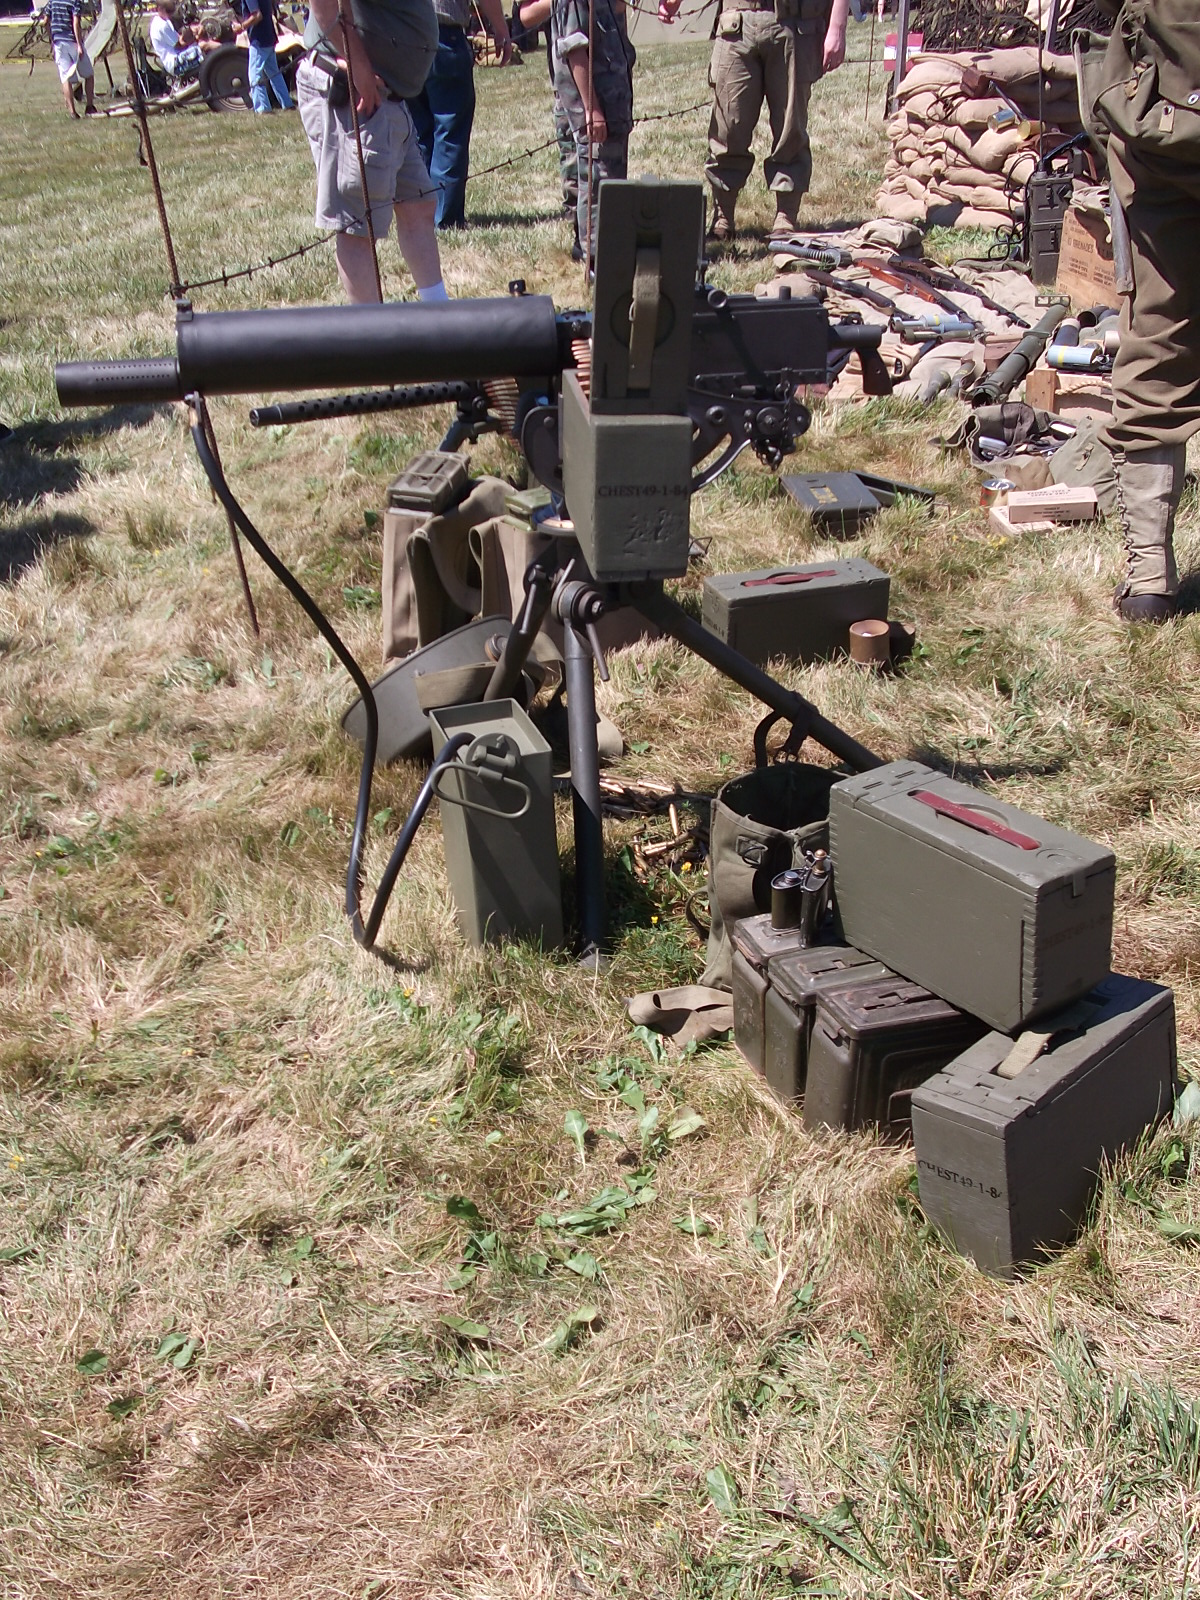
Up until 1942 when the ubiquitous stamped steel Cal .30,M1 Ammunition Box was introduced for mass production, the wooden ammunition chest - aka 1917 / 1917a1 Ammunition Chest was the primary ammunition carrying box in service for the Browning 30 caliber machine guns.
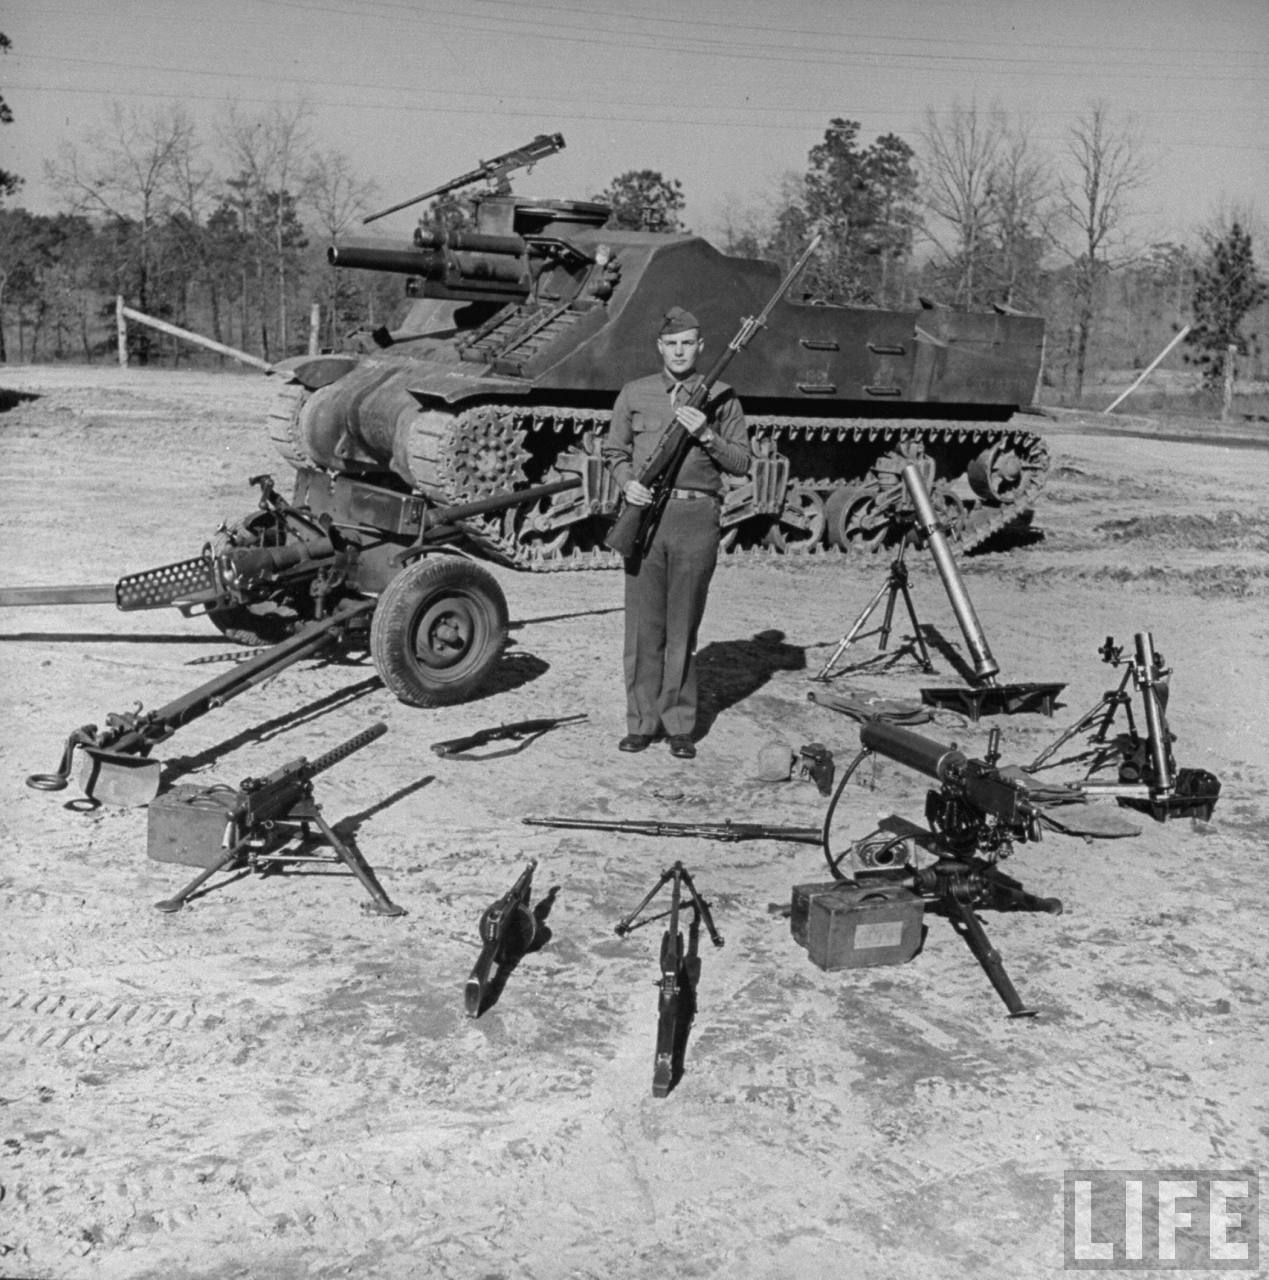
(Image Courtesy of the Life Archive powered by Google)These wooden ammo boxes came in a variety of styles, with manufacturing differences among them. Both "WW1" and "WW2" style boxes saw service stateside in training, extensive use in the PTO and MTO, and limited exposure in the ETO.
Authors Commentary:
For the longest time, I had simply assumed that the steel ammunition cans had been around well before the war and these "old style" wood ammo chests were a WW1 holdover quickly discarded for the new steel ammo cans. Only in the past year while working on the unit's new 1917a1 Browning Watercooled, did I find out that the steel ammo cans did not enter production until 1942. (Source: Dolf Goldsmith).
Additionally, the special "M1a1" ammo cans that have a latch on them to lock into the 1917a1 tripod - were not designed AND manufactured until JUNE 1945... (Source: Dolf Goldsmith) meaning all these other reenactors and collectors - whom for years I assumed to be "correct" were in fact raging farbs...
Only after getting into this project and researching it did I realize the quantity of these boxes that appear in original photos, specifically stateside training and the PTO. Occasionally you'll still see these boxes in service in the ETO - well into 1945.
Production Variants:
There are essentially 2 major variants of the box as far as we're concerned as reenactors.
1.) The "1917" or "WW1" style box / chest
This box is characterized by:
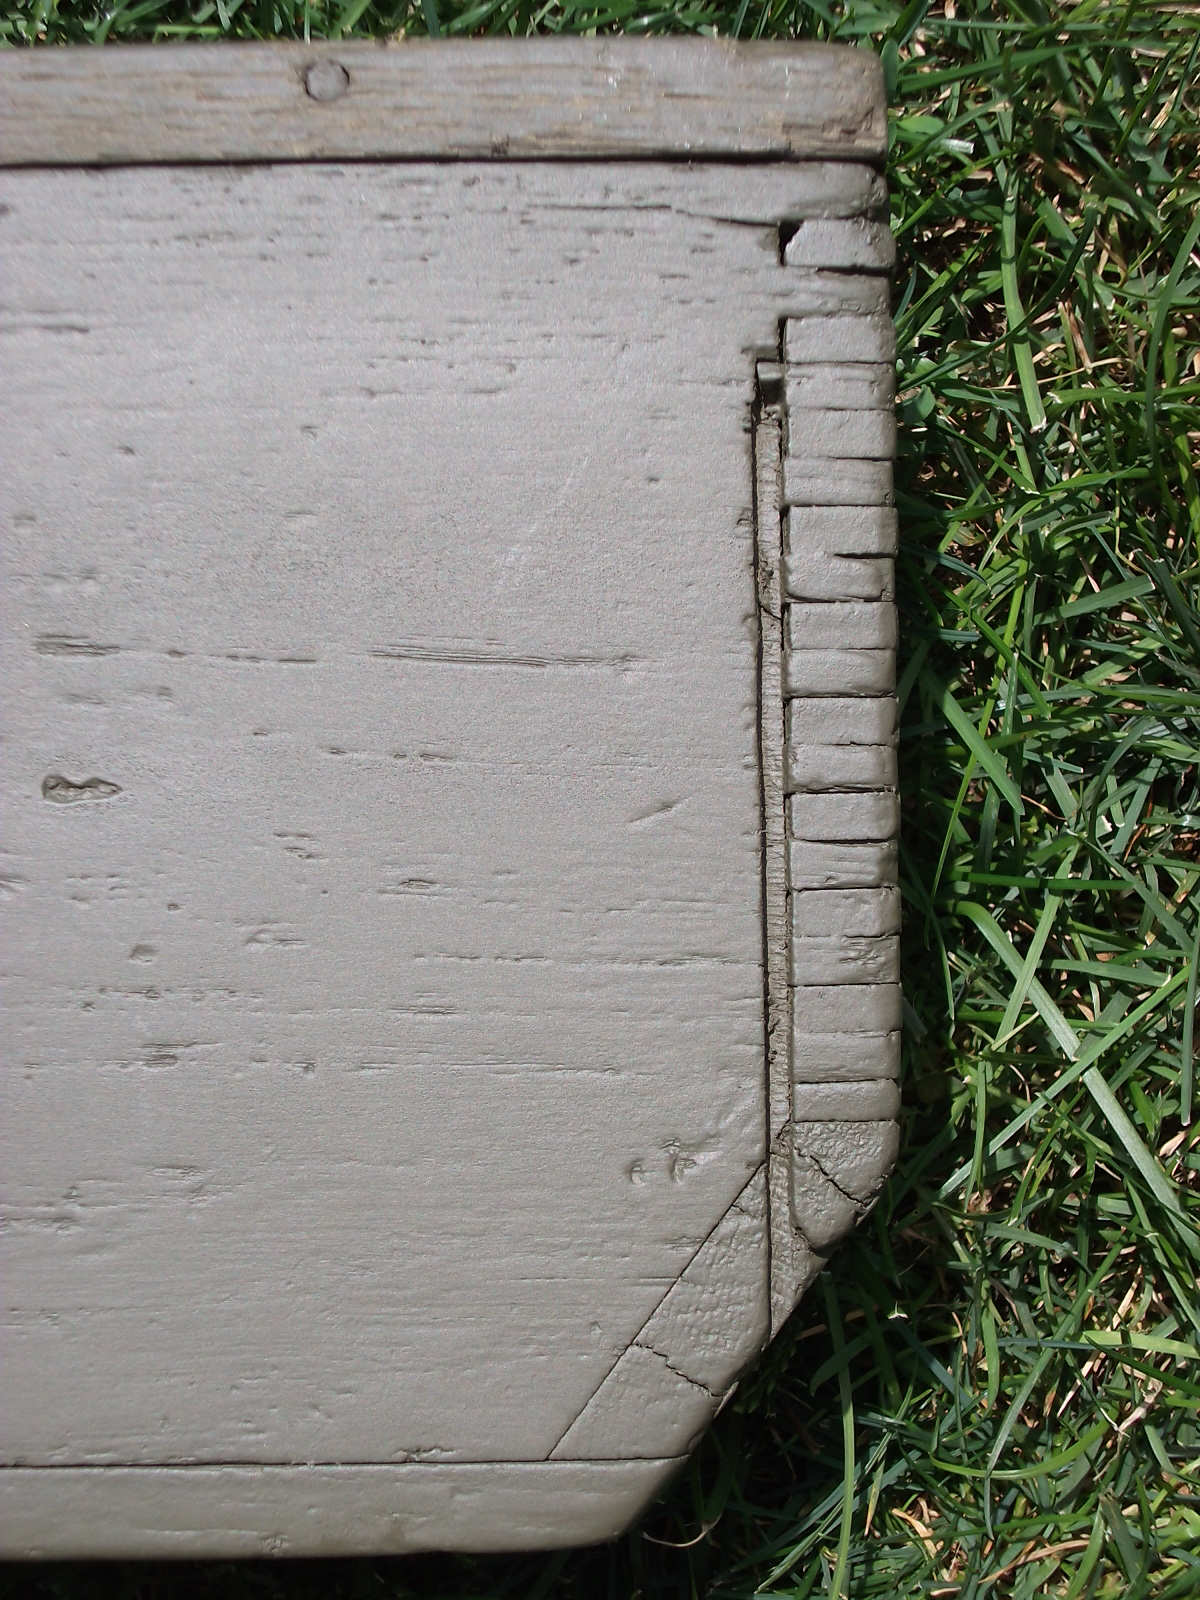
A.) Angled front edge
B.) Fingerjointed Construction
C.) Unmarked hardware
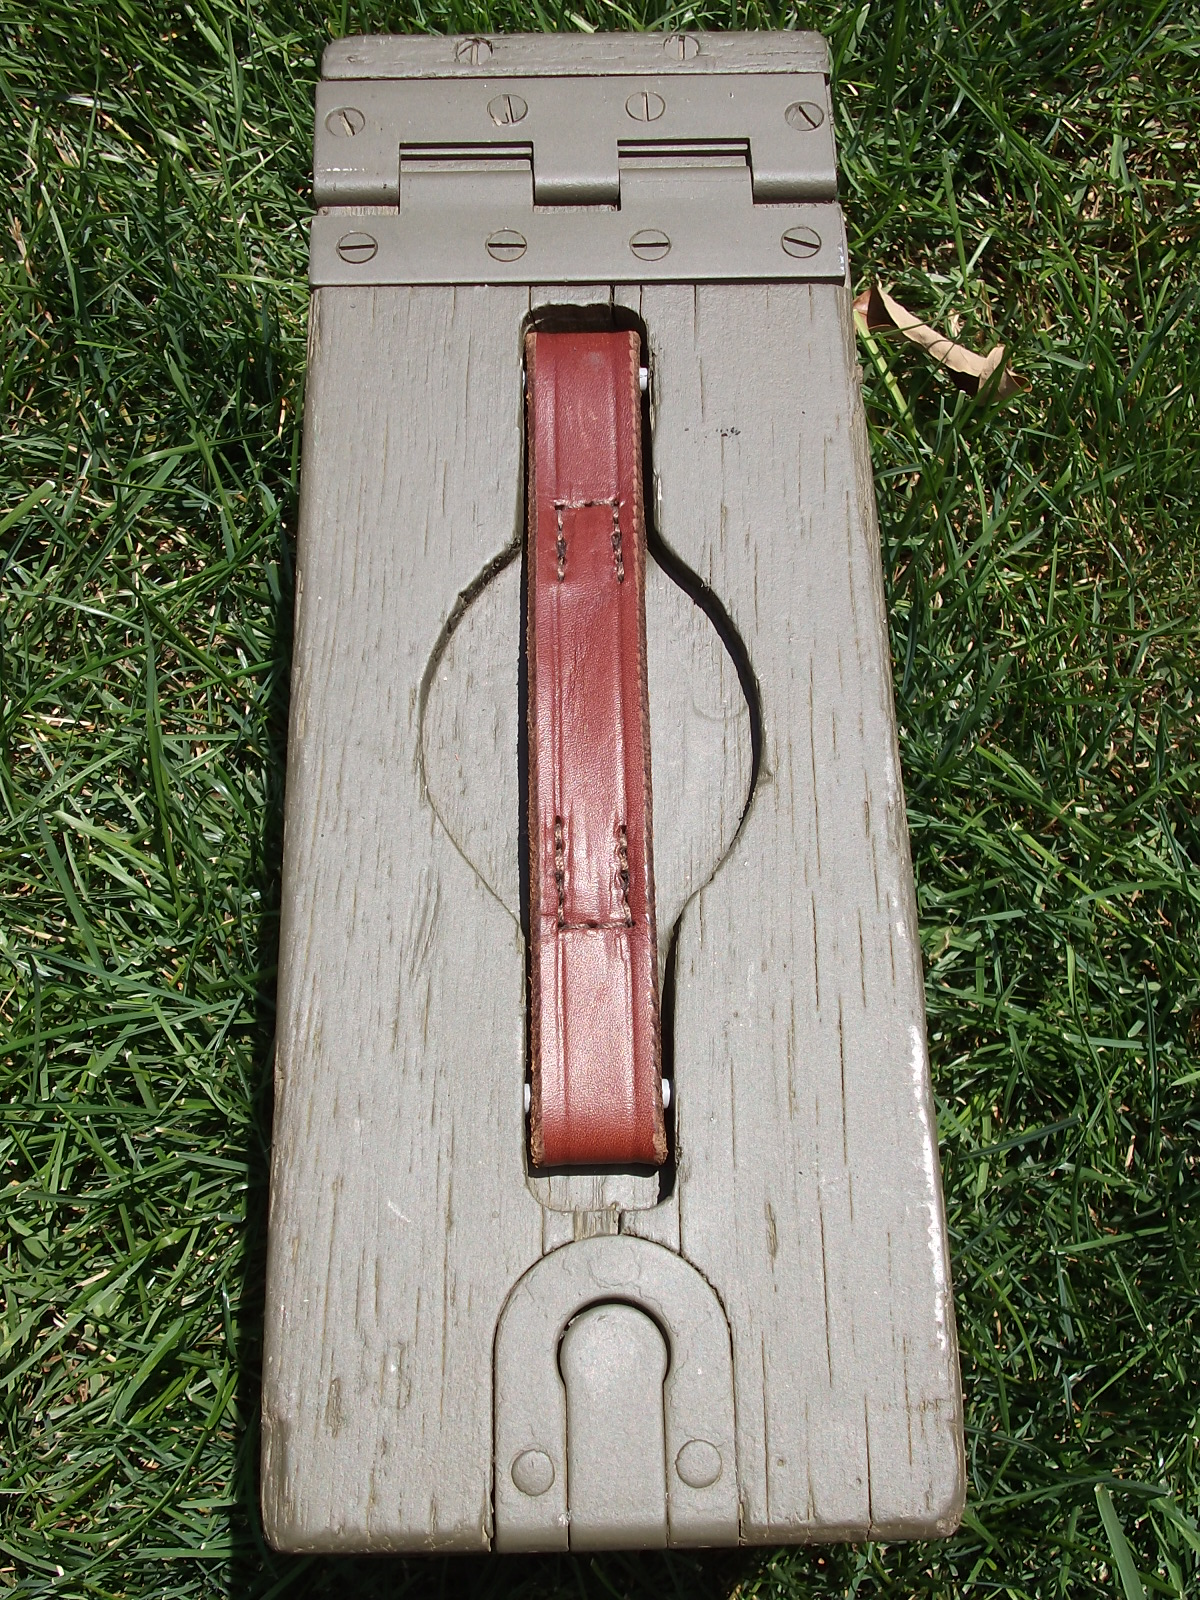
D.) Oval Cut Lid
E.) Leather handles
F.) Hinge is folded sheet metal
G.) Distance between handle pins is longer
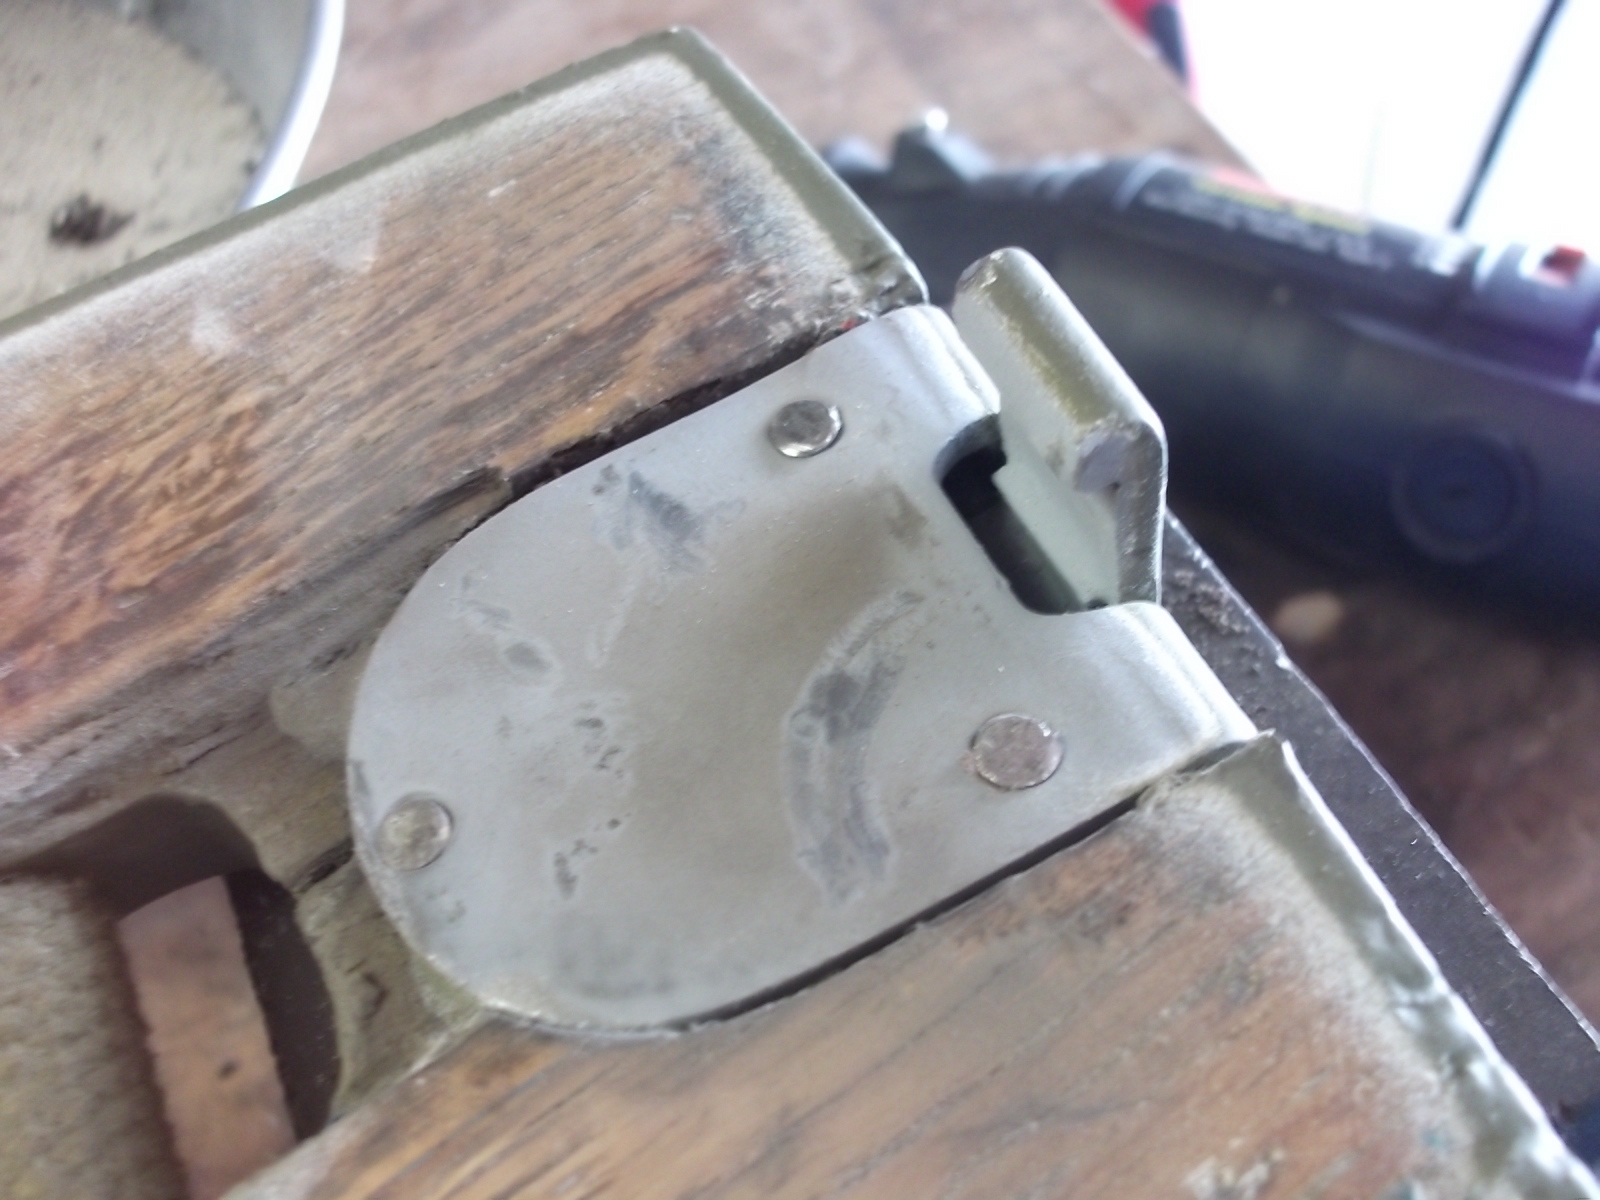
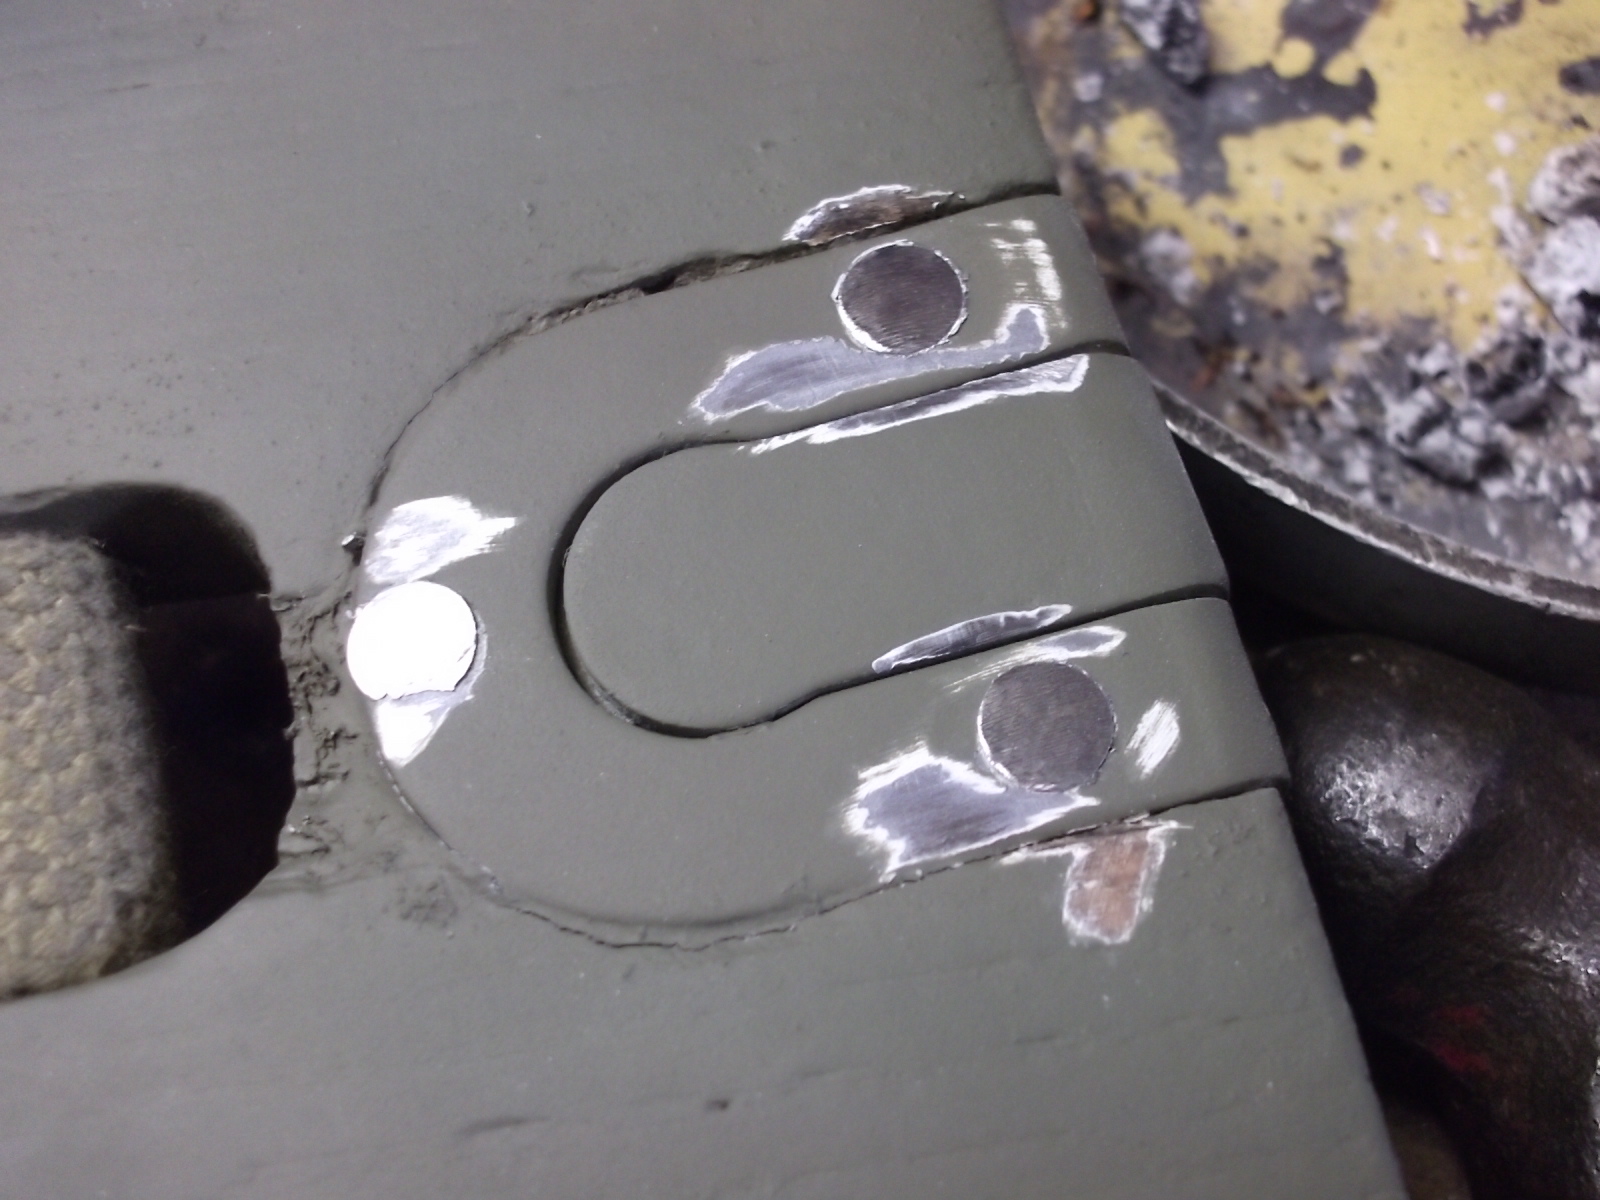
H.) Placement of latch rivets is 2 up front, 1 in rear
2.) The "1917a1" or "WW2" style box / chest
This box is characterized by:
A.) Straight Front / No Angled front edge
B.) Blind Dovetail Construction
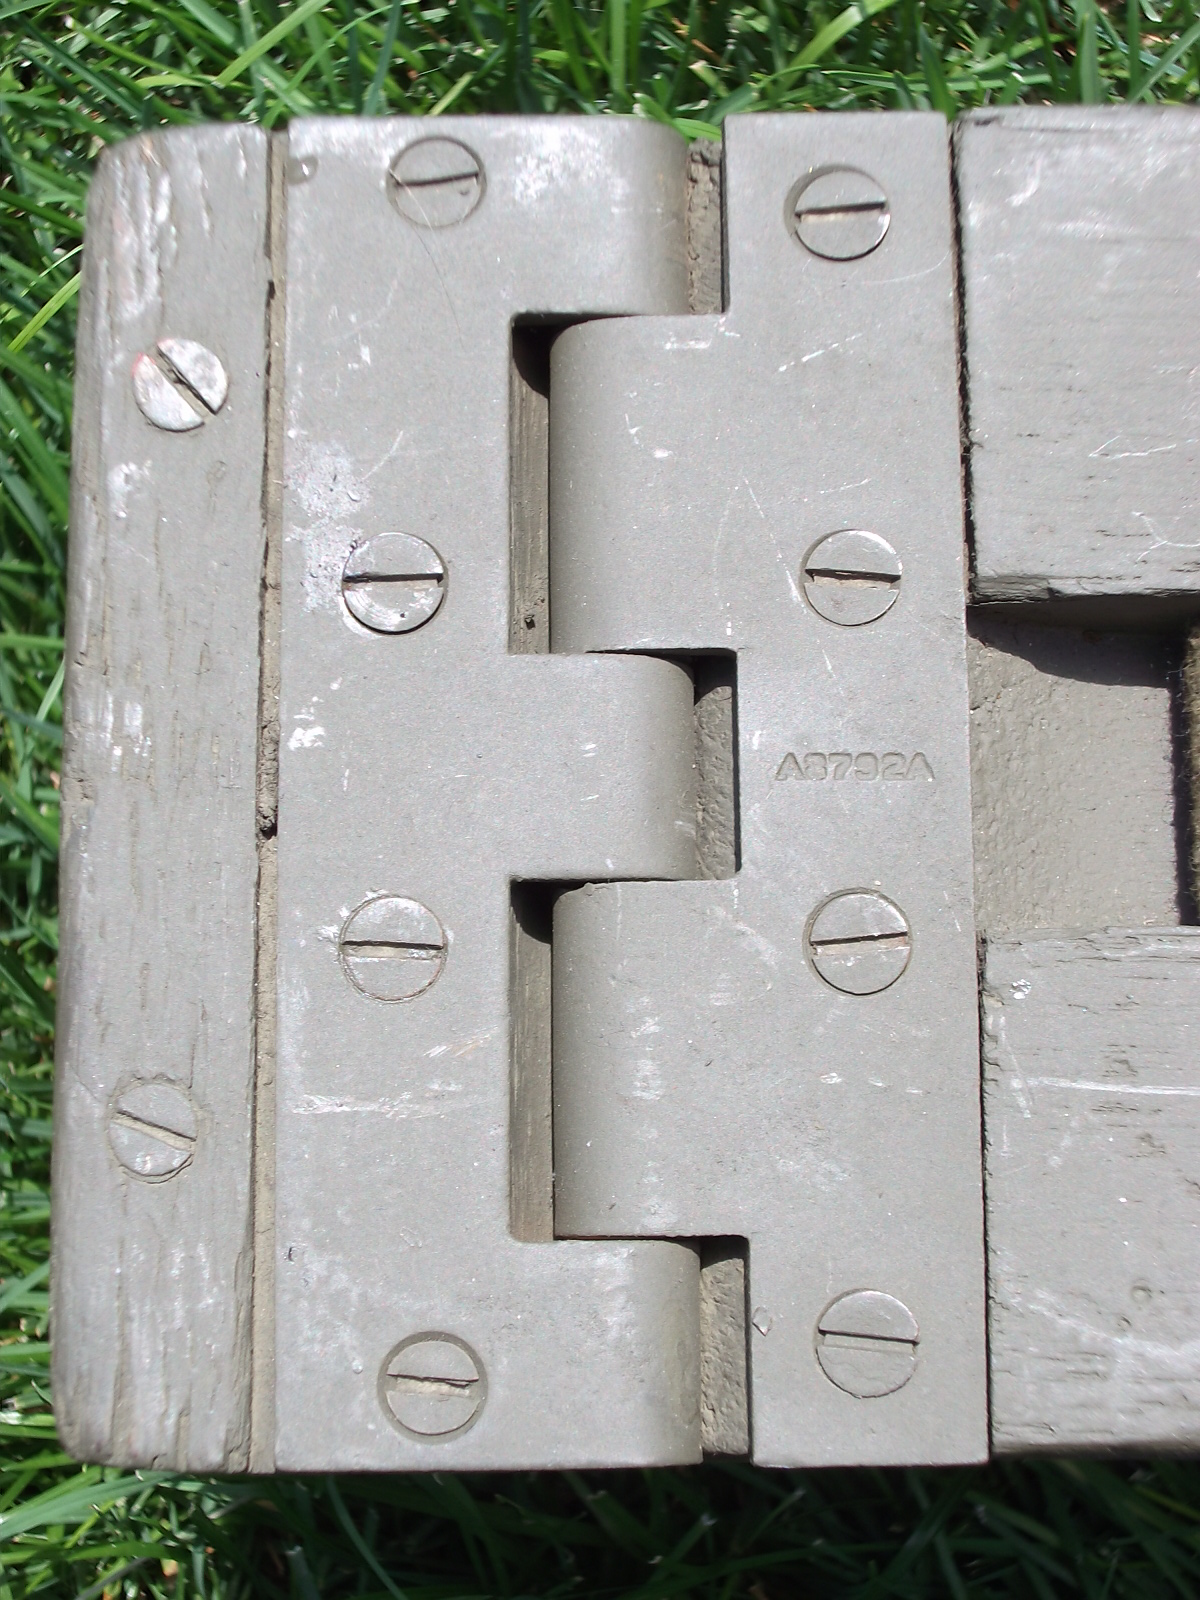
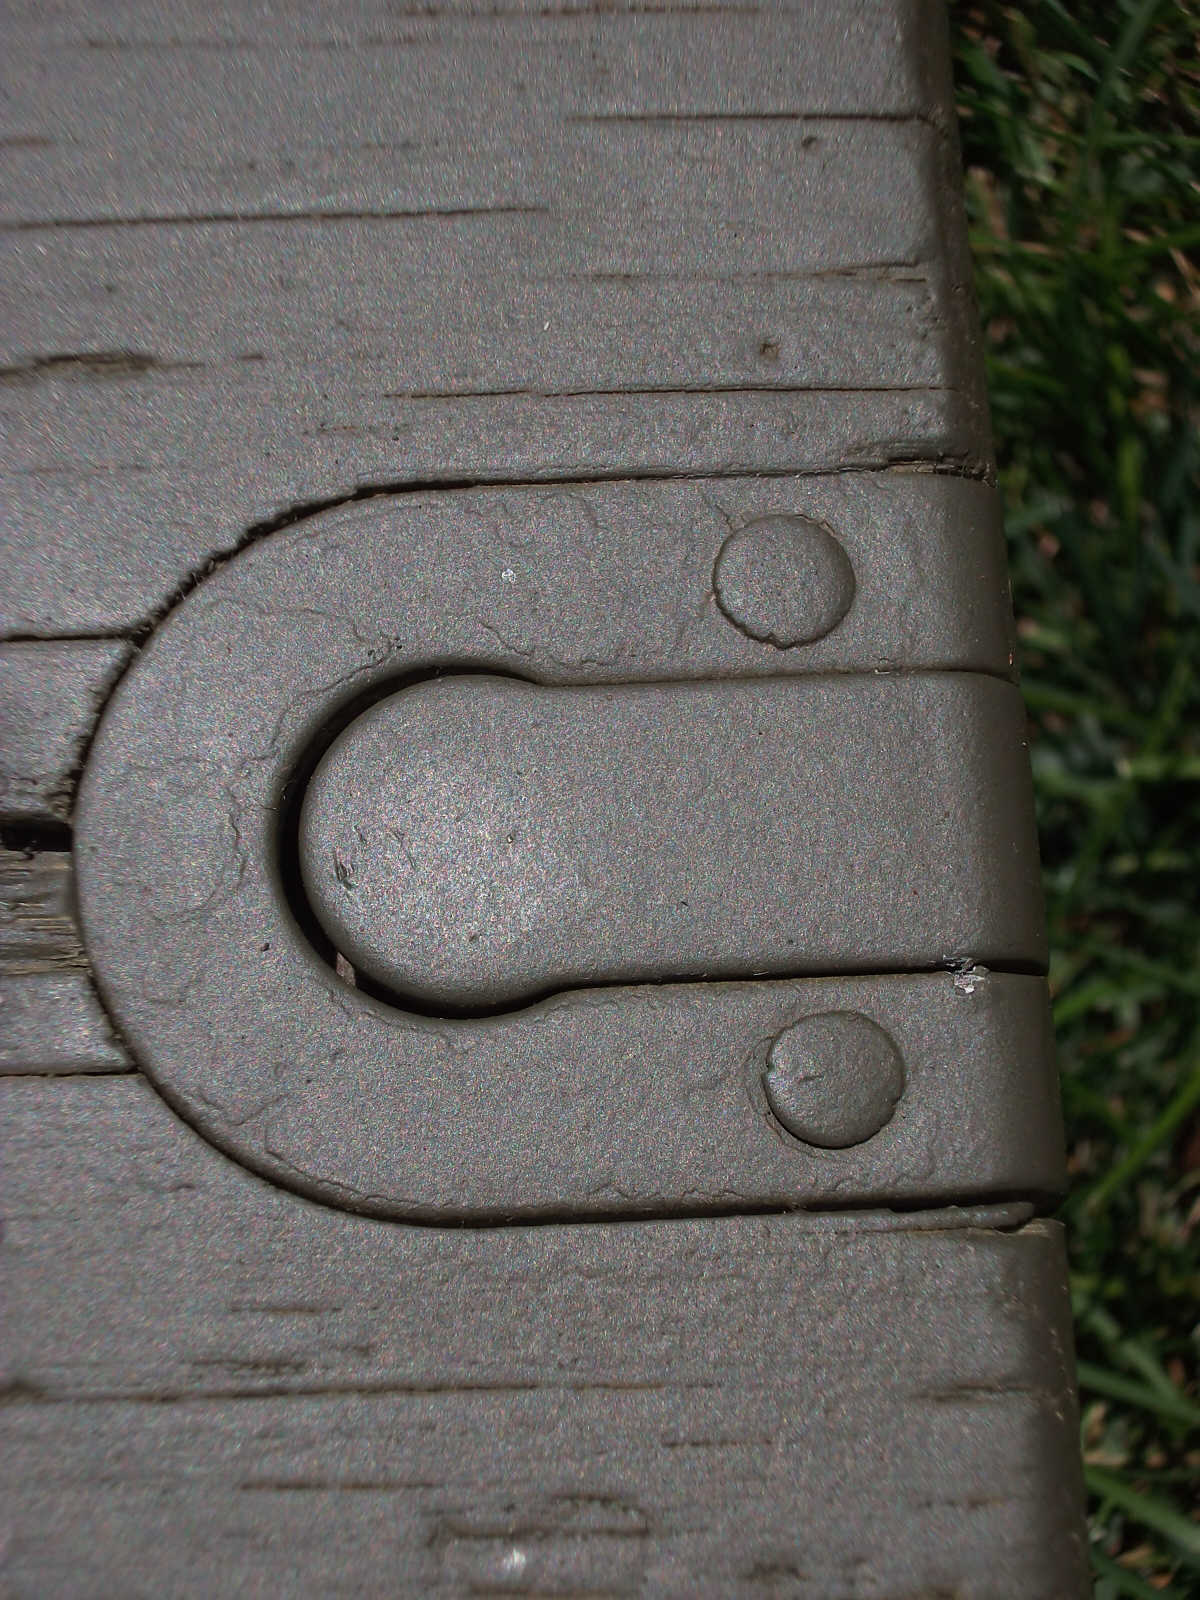
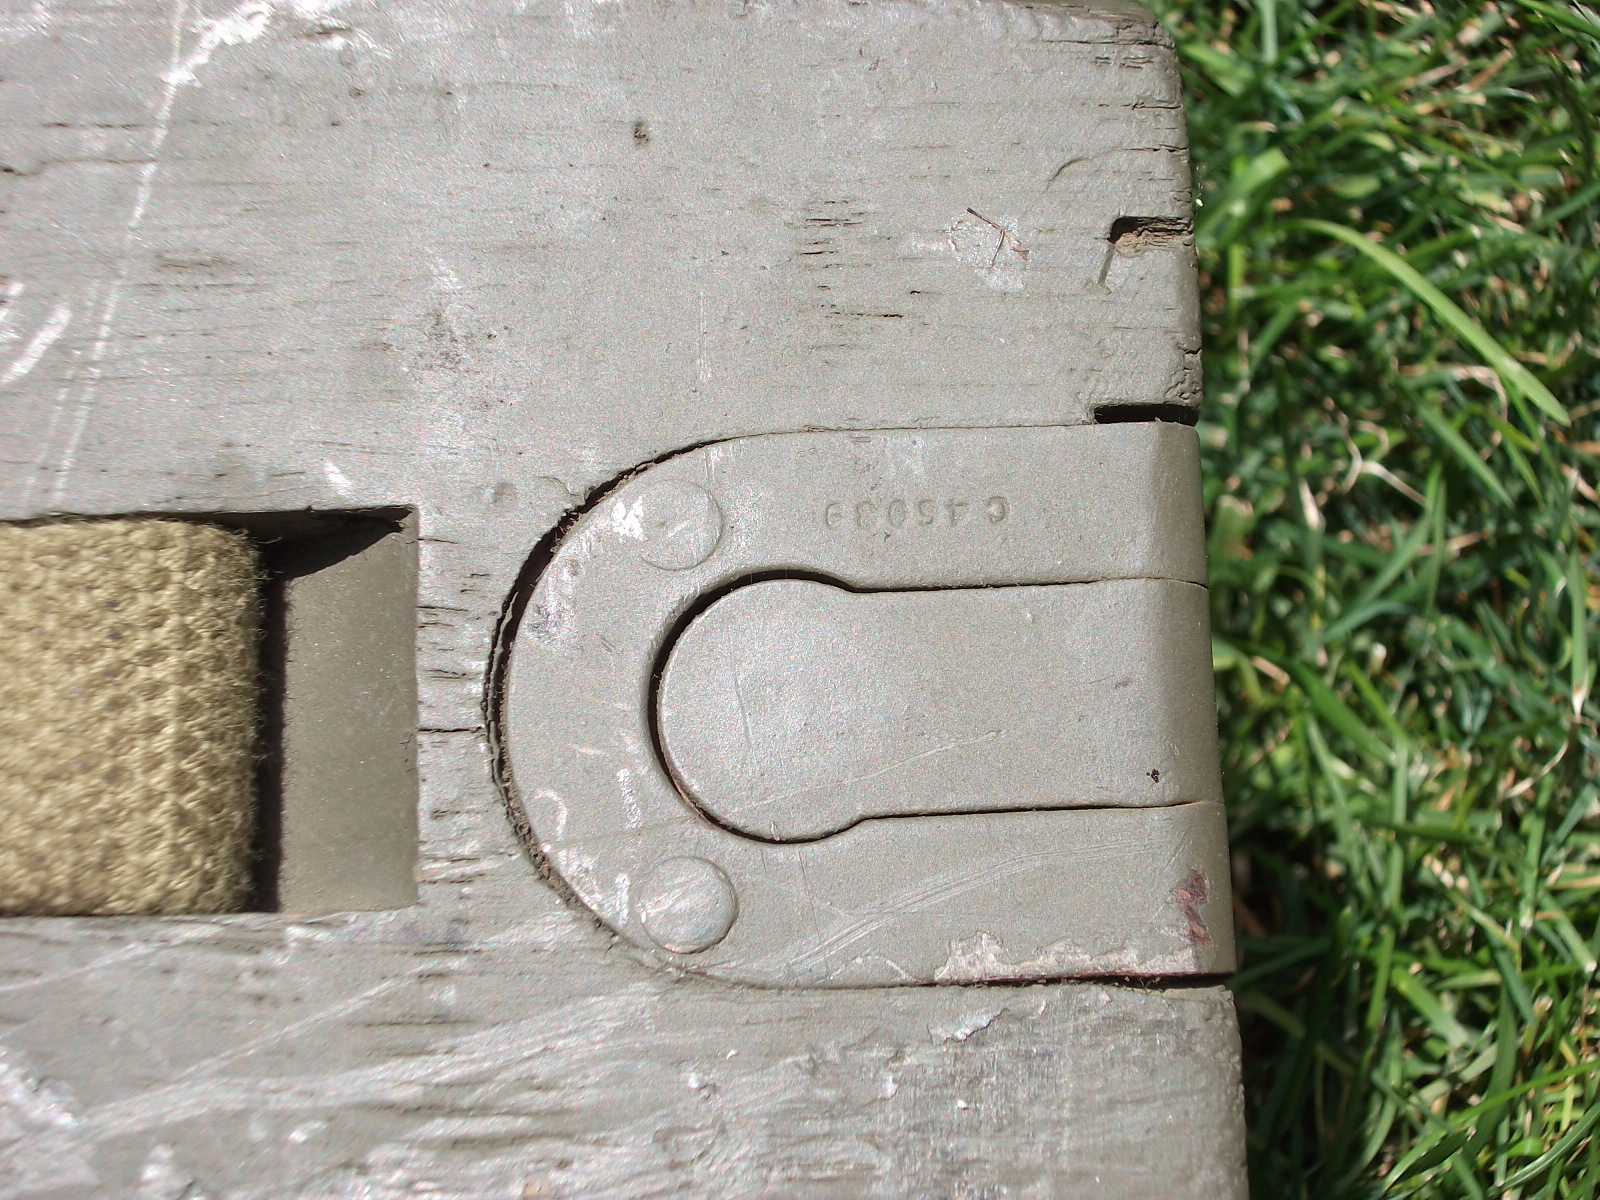
C.) Drawing / Piecemarked Hardware, Hinge, Latch, Latch Plate.
D.) Round Cut Lid
E.) Web handles (Typical, but not always, leather is sometimes present)
F.) Hinge is forged or cast
G.) Distance between handle pins is shorter
H.) Placement of latch rivets is 2 in rear
A.)
B.)D.)
E.)
G.)C.)
F.)C.)
H.)C.)
Woodwork:
These boxes can range wildly in condition. Thankfully, woodworking is well within the reach of most hobbyists with little investment in specialized tools.
Typically, either a repaint is needed as the original paint is gone or has been overpainted in some random civilian color.
Sometimes the boxes require a bit more than a repaint. The 1917 style finger jointed boxes typically seem to require much more woodworking attention than the later 1917a1 dovetailed boxes. The finger joints tend to pull apart over time as the side panels warp and cup. Additionally, the 1917 boxes side and end panels are typically made from multiple tongue and grooved pieces - rather than a single wide board.
The loose finger joints can be carefully glued and clamped back into shape.
Occasionally lids are split down the middle and need spread, glued and clamped back together. This was an equally as common problem on my boxes as the separated finger joints.
Commonly the screw holes in the lid are stripped out and need drilled, dowell plugged and glued- then redrilled for the new hardware.
I recommend using a period glue like traditional hot hide glue, or modern glue such as Titebond Liquid Hide Glue. These glues are non permanent, non synthetic/polymer based glues that wont leave unsightly residue or do real damage to the wood should you need to disassemble the joint.
In addition, I highly recommend purchasing and using some disposable glue syringes. Its far easier to get the glue into these joints that have pulled apart with a glue syringe than with a brush.
Some boxes are in terrible condition, where all the joints are loose, the side panels are loose from each other and the box is warped out of shape. I had one box that was what I considered borderline unsalvageable. I took the time to carefully disassemble the entire box into component pieces, including split side panels and broken ends. Each piece was stripped of paint chemically - as progressive layers of paint had been added which had got into separated joinery. All joints were then lightly sanded and panels glued and clamped. Where wood was missing from the bottom piece, the area was cut square and a new piece of wood grafted in then sanded flush.
Unless you're a sucker for projects - only buy boxes in fairly decent shape. Tearing one of these boxes down entirely and rebuilding it can be fairly labor intensive. Especially when there are plenty of these boxes on the market in decent condition for reasonable prices.
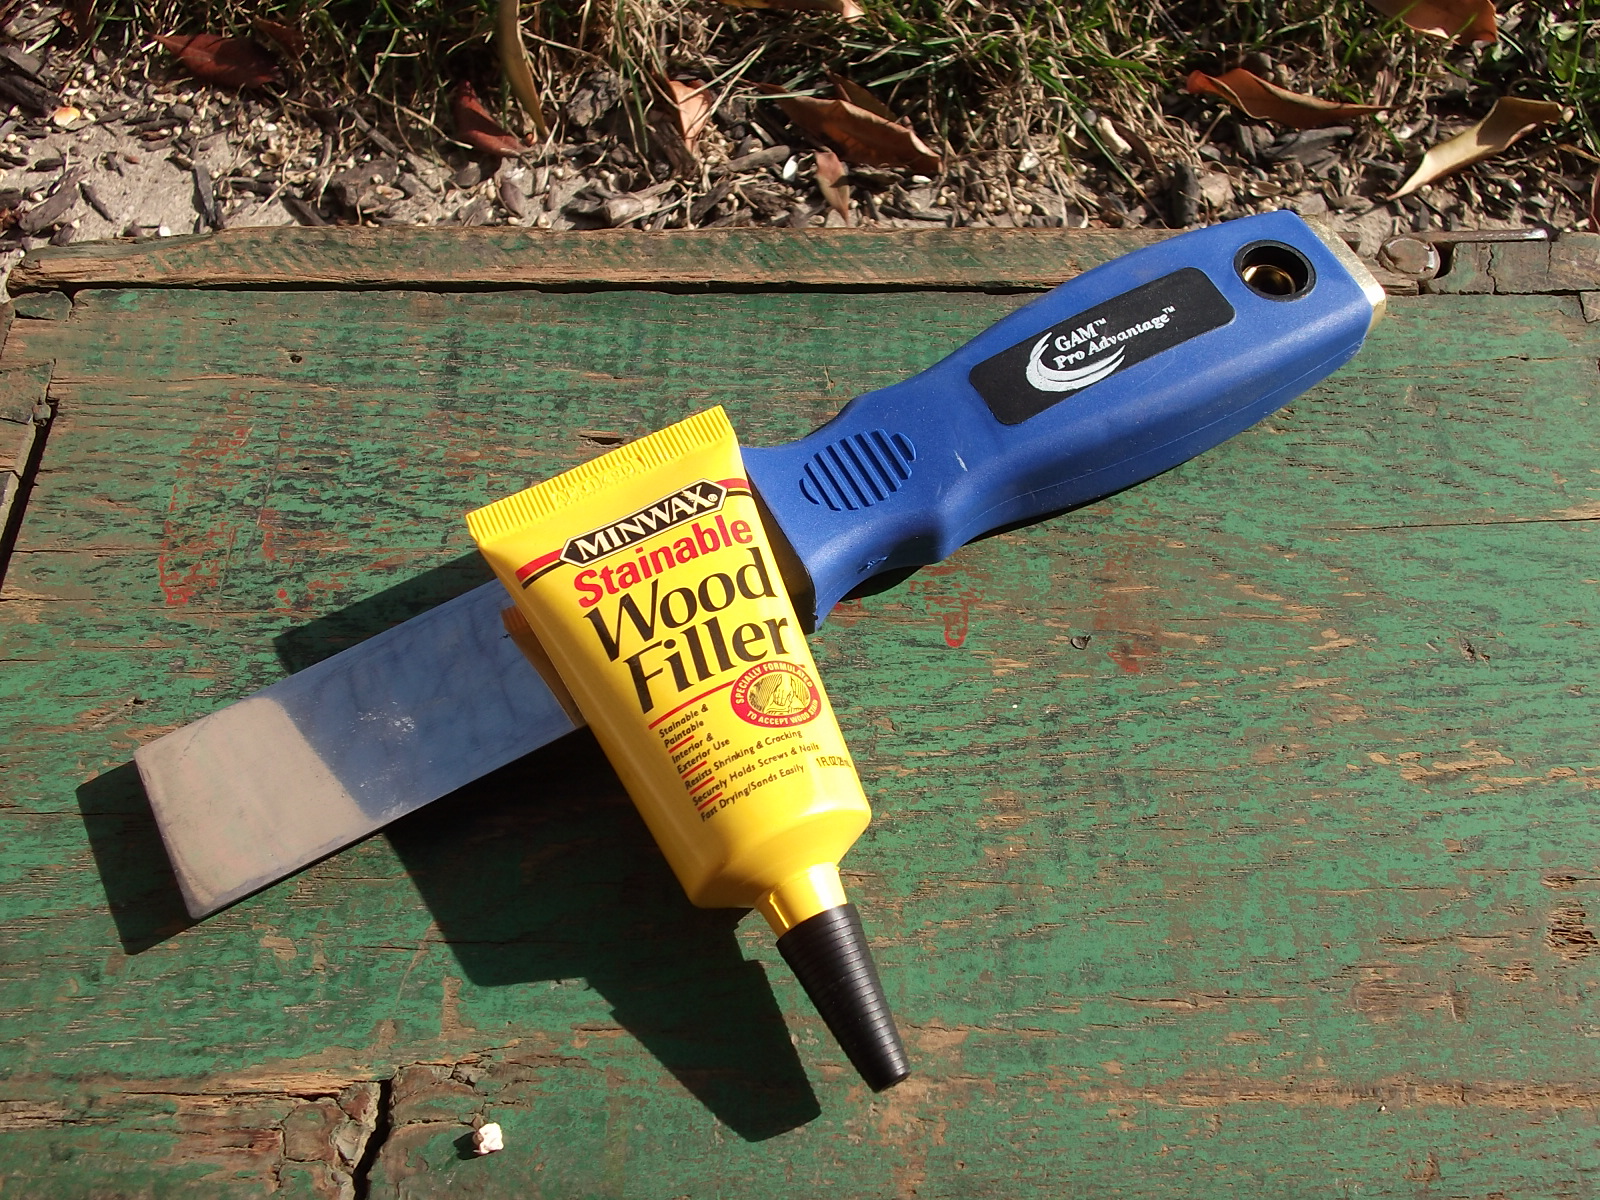
After the boxes were reglued and all joints were tight - the boxes received wood putty to fill in any remaining cracks, holes or blemished areas. I used a commercial off the shelf prepared wood putty. By this point, I had given up on period methods and simply wanted these things done.
When the wood putty was fully cured, the surfaces were sanded smooth with 180 grit paper.
Hardware:
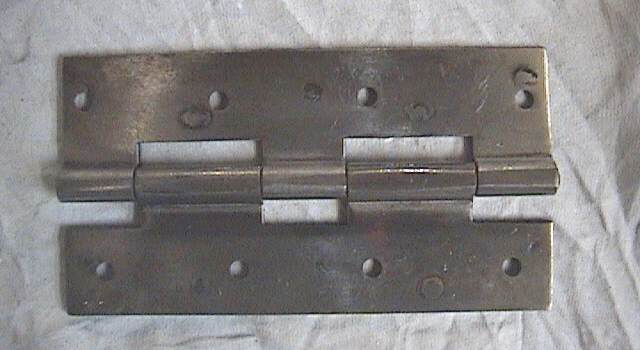
The existing hardware on these boxes is usually rusty, but can be salvaged for reuse. I removed all the hardware, soaked it in naval jelly - then wire brushed or wire wheeled the remaining corrosion and paint residue from the surface. The hardware was primed with gray automotive rust inhibiting primer prior to being reinstalled.
Some hardware was unsalvageable due to severe corrosion.
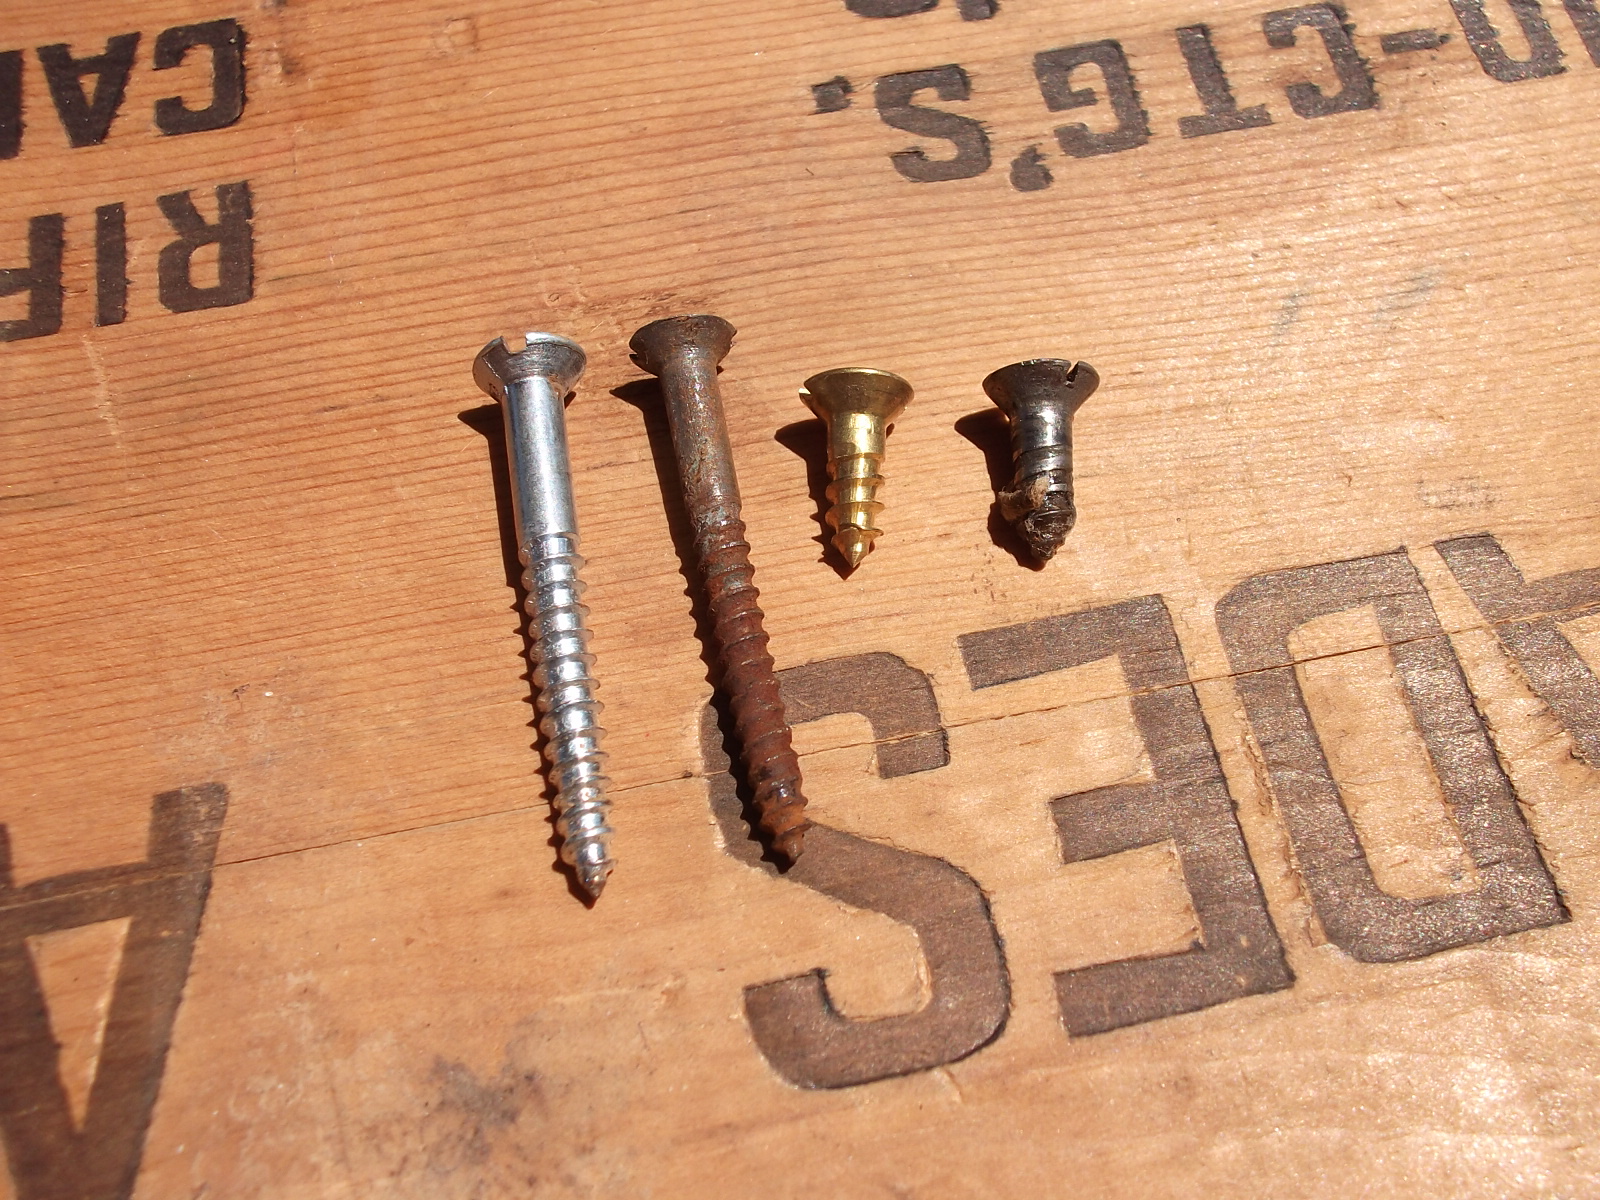
Hardware on these boxes is still available. The screws used throughout the box are common #8 countersunk slotted screws. In the box are used the following
9 (ea) 1/2 inch #8 countersunk slotted screws
10 (ea) 1 1/2 inch #8 countersunk slotted screwsI was able to find these screws at my local Do-It Best hardware store. What was somewhat obnoxious was that the 1/2 inch #8's weren't available in steel in the correct length. A 1/2 inch STEEL #8 today isn't the same as a 1/2 inch Steel #8 from the era. That being said, a 1/2 inch BRASS #8 as made today is the same as the original 1/2 inch Steel #8.
Brass screws and hardware were used on some early boxes - so it is a legitimate option. When painted - the material isn't obvious either.
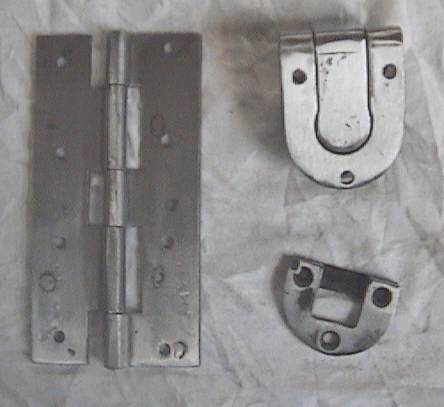
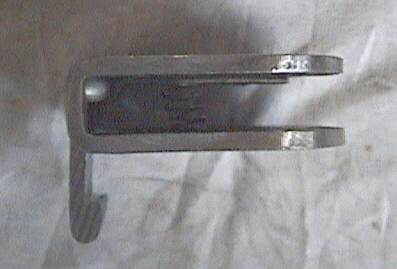
Additionally, new hinge, latch and latch plates are available from Jeff @ Iron Creations LLC. The hardware sets are available on his web site or occasionally from him on eBay. The set does not include screws, rivets for the latch, or the pins that hold the handles in. The current retail price as of 6/2010 is $16.00 per set.
I ordered a hardware set from him to replace the pitted / unuseable hardware that was on the box I had to completely disassemble. The ordering process was easy, communications were good and the product arrived quickly.
For $16, its a great deal for what you get. The hardware is an excellent copy of the original 1917 style hardware. It is slightly different in the hinge construction from the 1917a1 hardware. The screw holes may not line up perfectly with your originals - but the construction and quality are spot on.
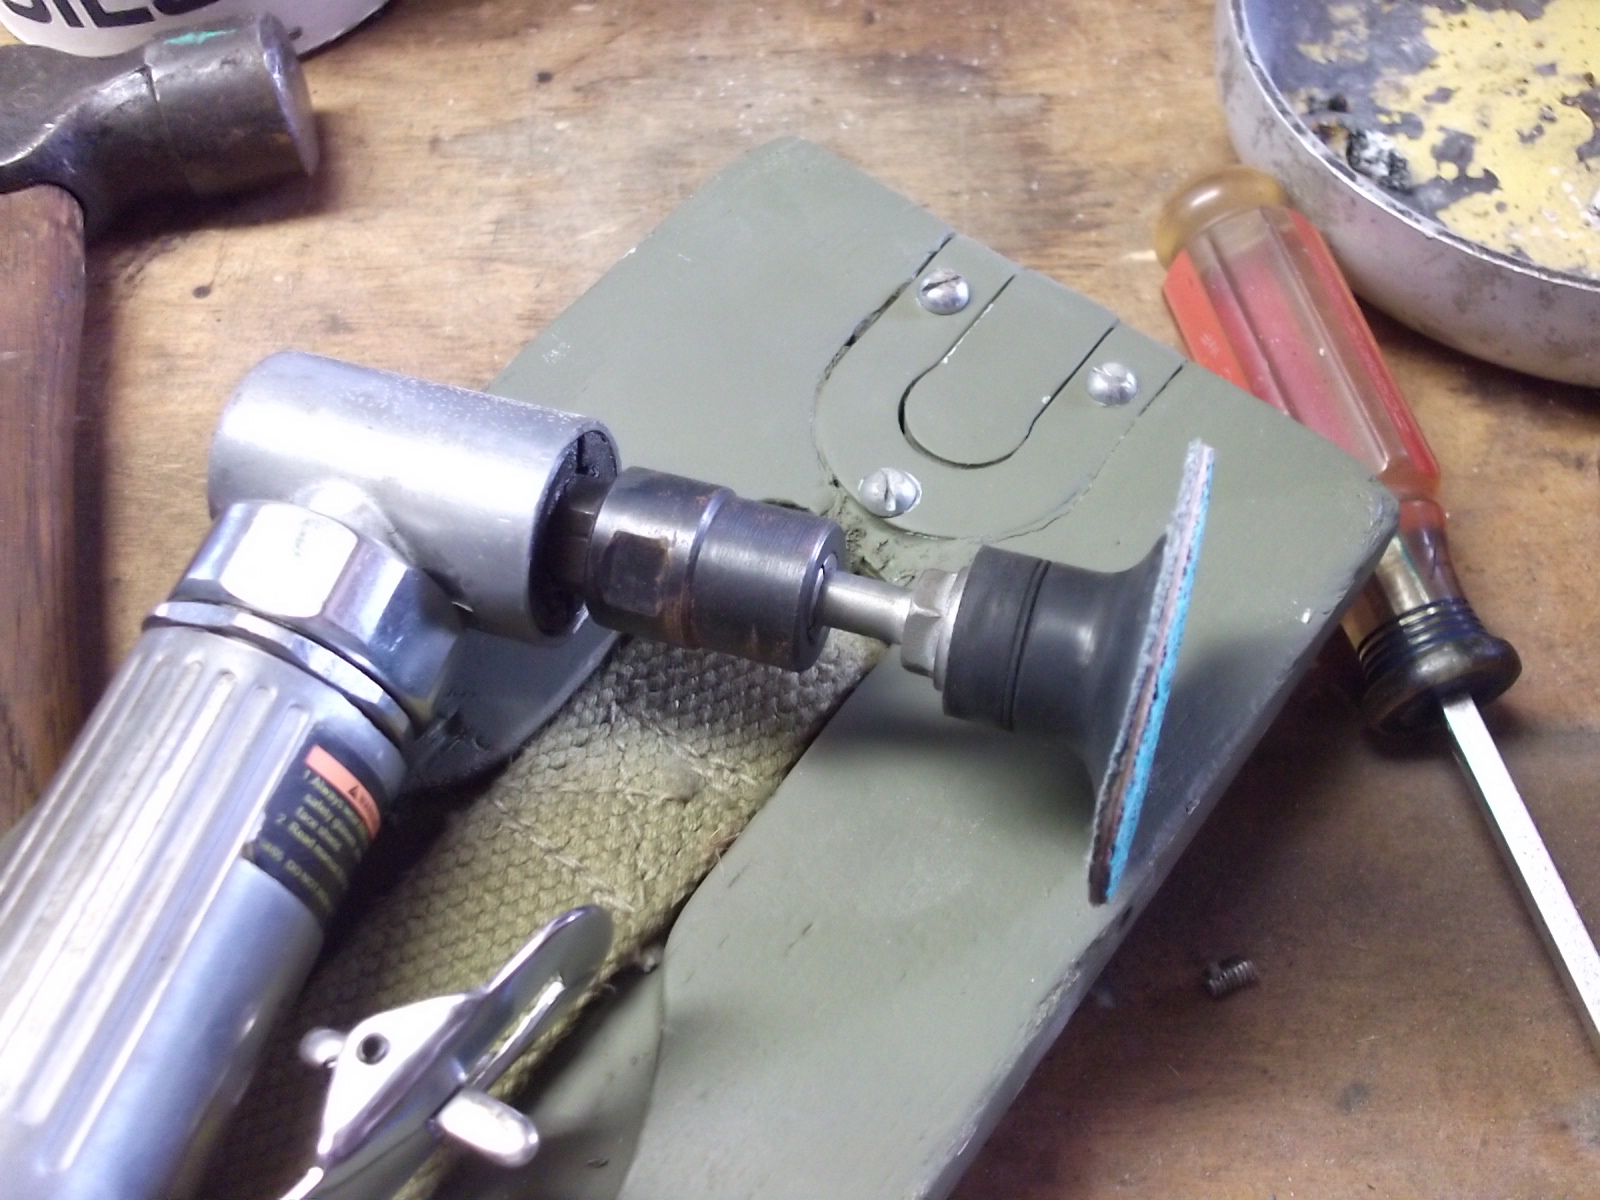
The only thing that remains unresolved for me are the rivets that were used to attach the latch assembly to the lid. I haven't been able to find the correct rivets, but was able to improvise with 8 - 32 1 inch screws.
I ran the screws in through the holes in the latch assembly, as they were a tight fit and held on their own.
I trimmed the screws about 3/16 of an inch from the latch with a dremel tool and cutoff wheel.
I peened the screws over to flatten them out to make them appear as "rivets".
Once the bottoms were peened over, I carefully ground the heads of the screws flat with a die grinder and sanding disc to mimic the flat rivet heads of the originals.
Paint:
Painting these boxes really starts with surface preparation. I lightly sanded the boxes to even out the old paint where it had chipped, flaked or was uneven. Nothing worse than a freshly painted box - meant to look new, that obviously had multiple layers of chipped paint underneath the new topcoat.
What I found was that all my boxes were extremely dry and soaked up paint, without giving the desired finished look. I wasted a bunch of OD paint in the process before I realized my folly.
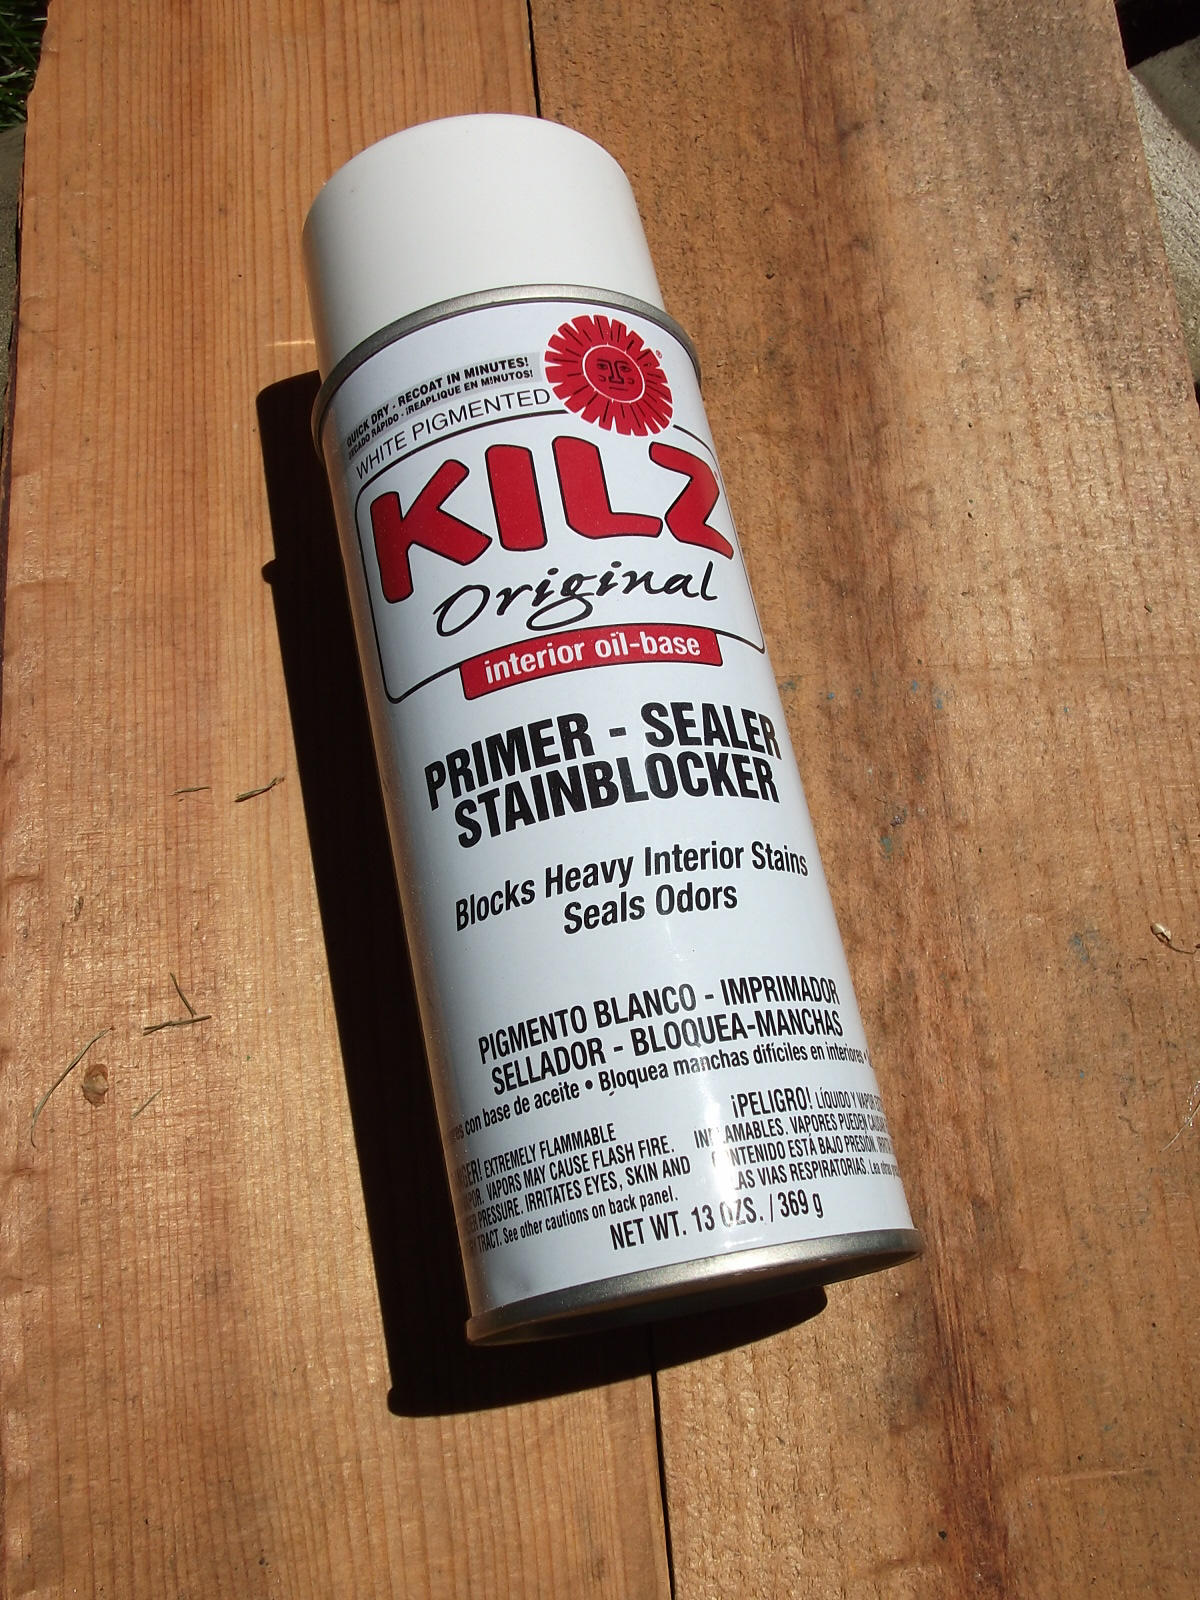
I strongly recommend that you prime the boxes with a specialized primer product such as Kilz. I used aerosol interior Kilz white primer, which provided fantastic results. Two coats of the primer was usually enough to basecoat the boxes prior to the application of OD paint.
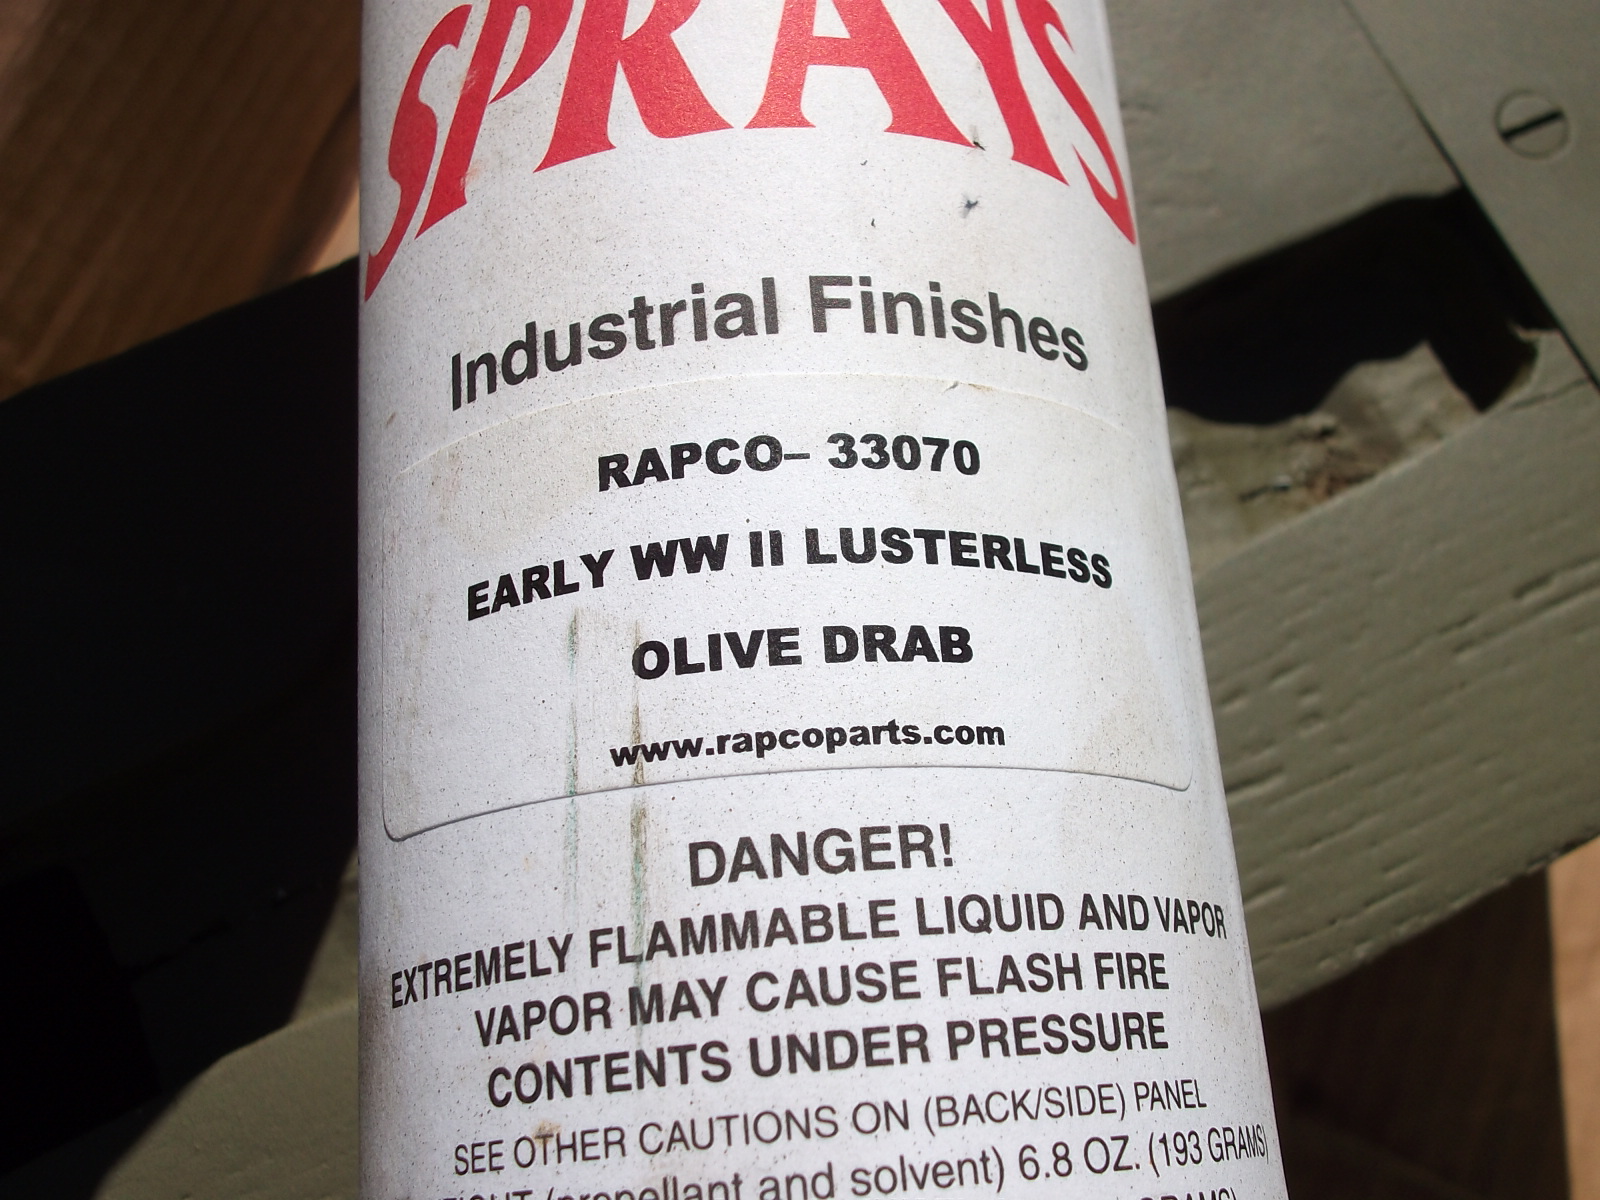
For the OD, I once again utilized Rapco Early WWII Lustreless OD paint. Two coats of the Rapco 33070 was typically enough to give good depth and coverage on the boxes.
Save yourself time, save yourself money, save yourself hassle. PRIME THE BOXES BEFORE YOU PAINT THEM. Don't get crazy sanding these boxes down to the bare wood - only to paint them back up again. Sand them down only far enough to even out what is there - and then prime.
Handles:
There are two types of handles - each with some variation in them.
1.) Leather Handles
Leather handles have been observed on both 1917 and 1917a1 boxes.
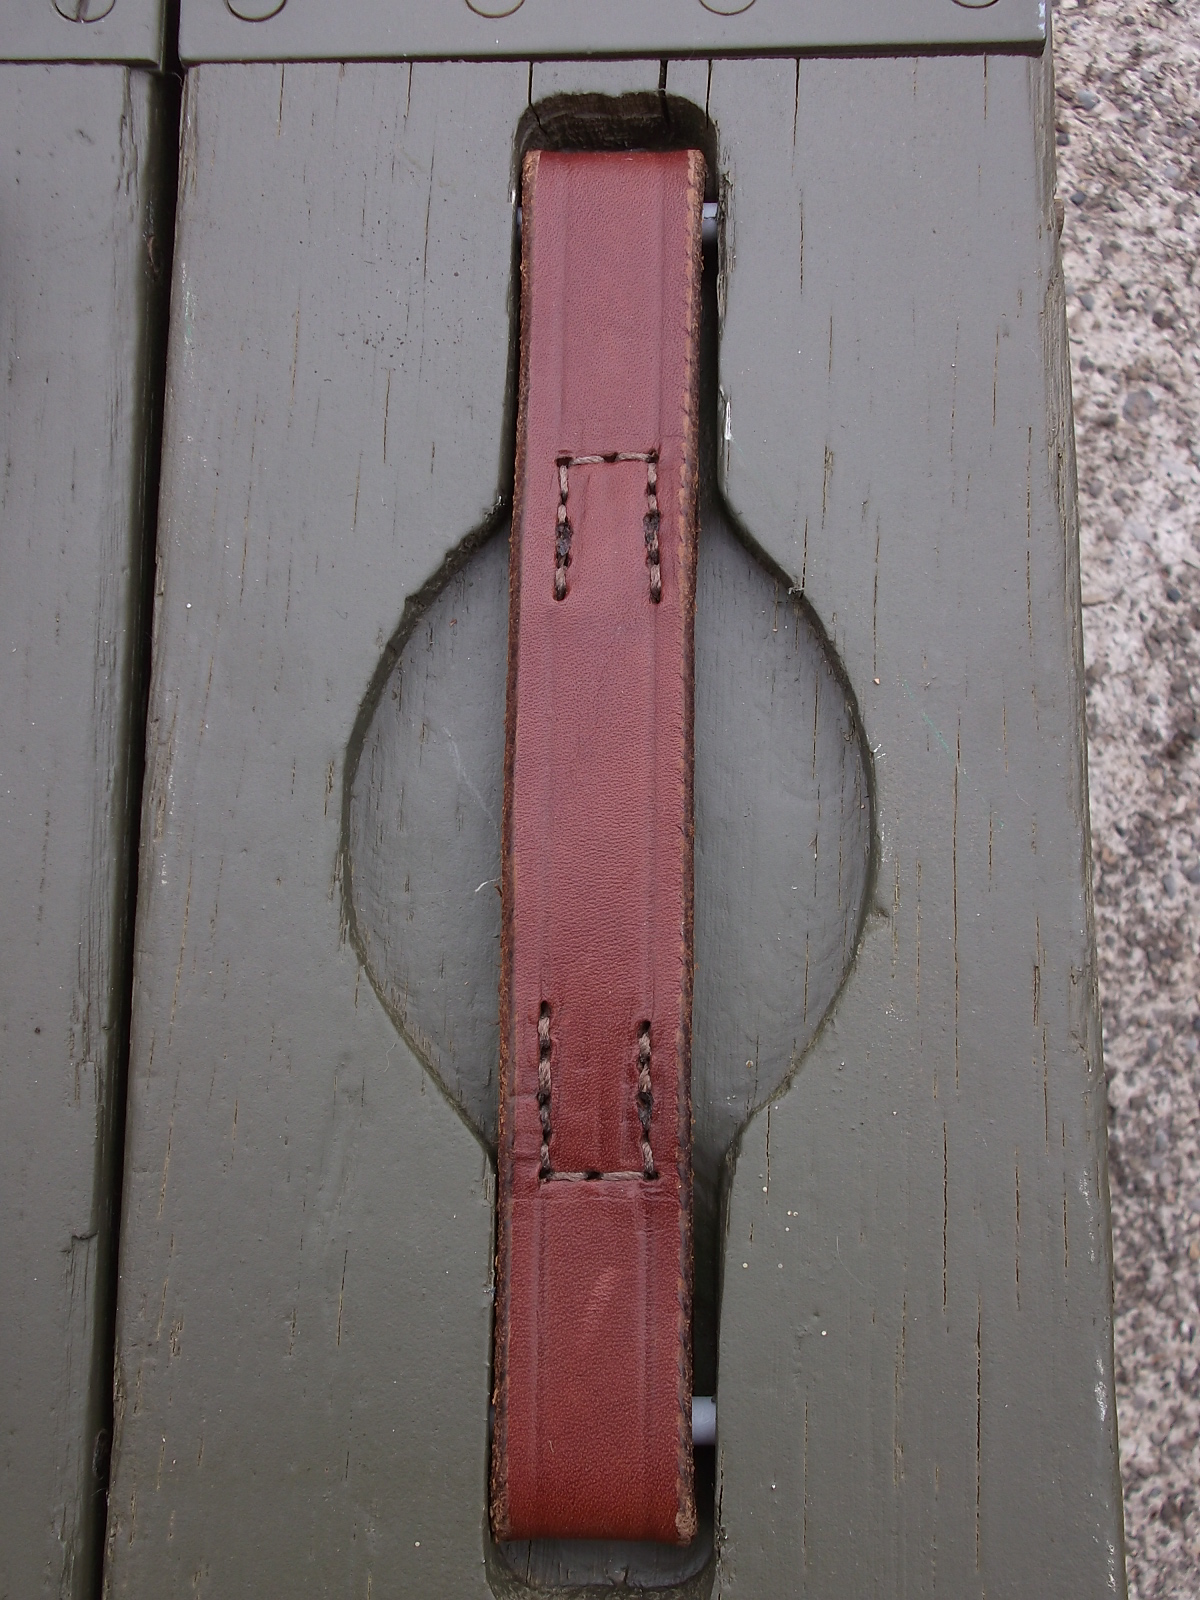
New leather handles are available from several sources - the source I used and am very happy with is Rob Swisher, aka Amish Bob. His handles are available for $10.00 + shipping (as of 6/2010) - communication is great and shipping is quick.
The handles are well constructed, with attention paid to details of construction . The sewn under ends are thinned then sewn with what appears to be a natural fiber thread. The finish on the leather is a aesthetically pleasing oil finish - rather than an unnatural plasticized dye as seen on some other products.
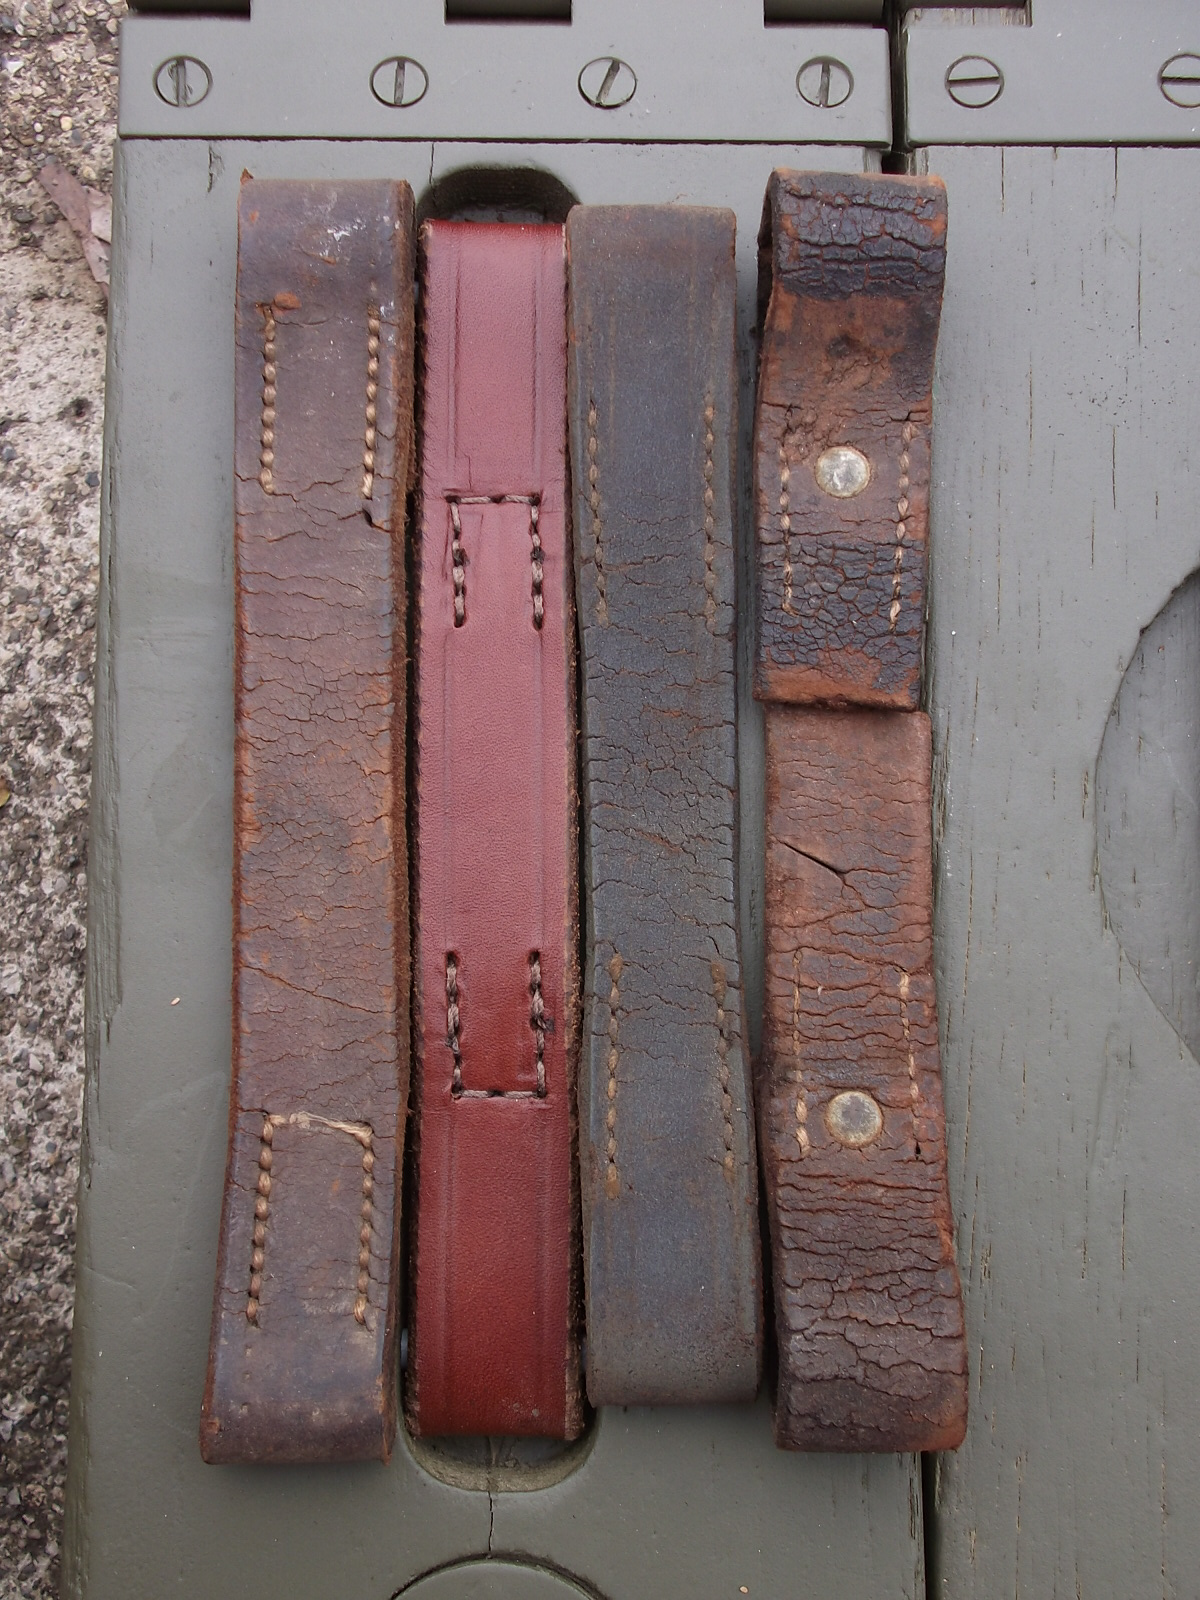
Here is a comparison against several original handles that came off my boxes. While Rob's handles don't match my handles - none of my original handles match eachother. Rob's handles are well within the original style.
Most importantly - the handles fit and are durable enough for actual use.
2.) Web Handles.
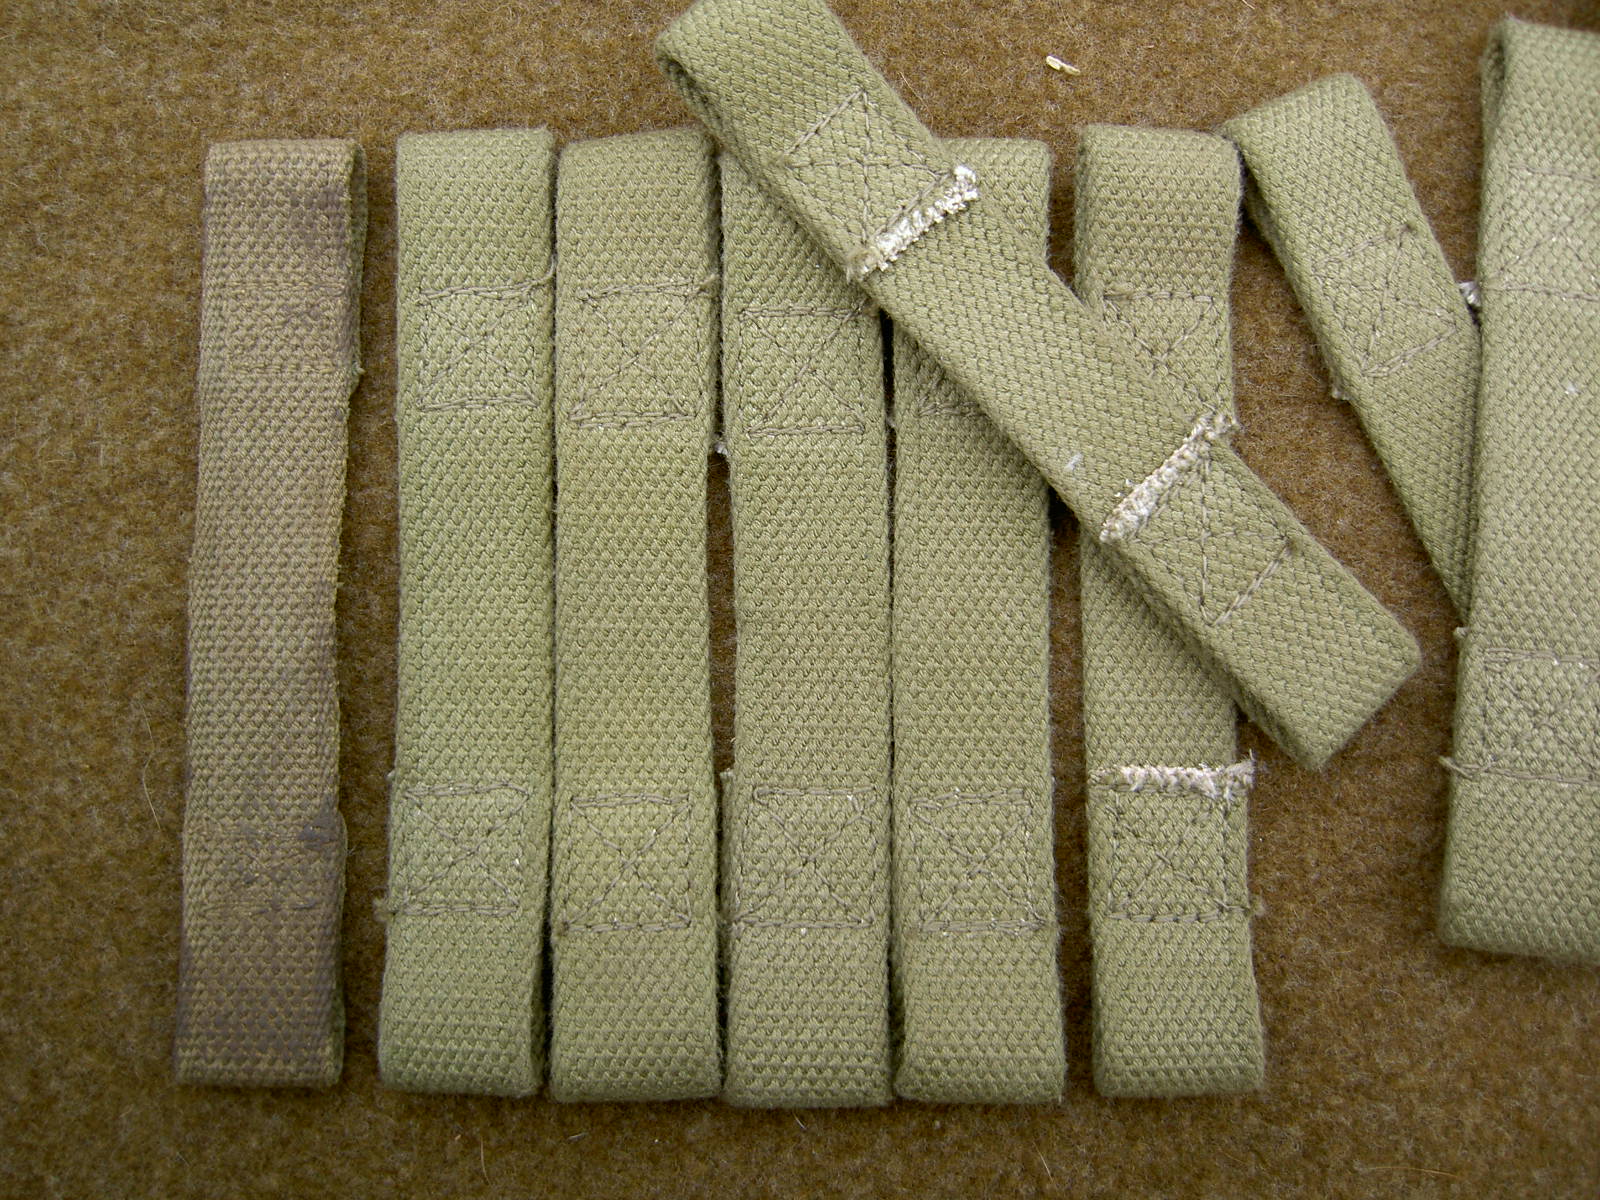
I have only observed web handles on 1917a1 style boxes. Of note, is that the web handles are slightly shorter than the leather handles - in that the distance between the pins that hold the handle on is shorter on the late style boxes.
I had a number of these web handles made for my boxes as well as for sale on G503.com. The handles were made from original webbing scraps as well as NOS webbing still on the roll.
The original handle is on the far left, with the reproductions to the right.
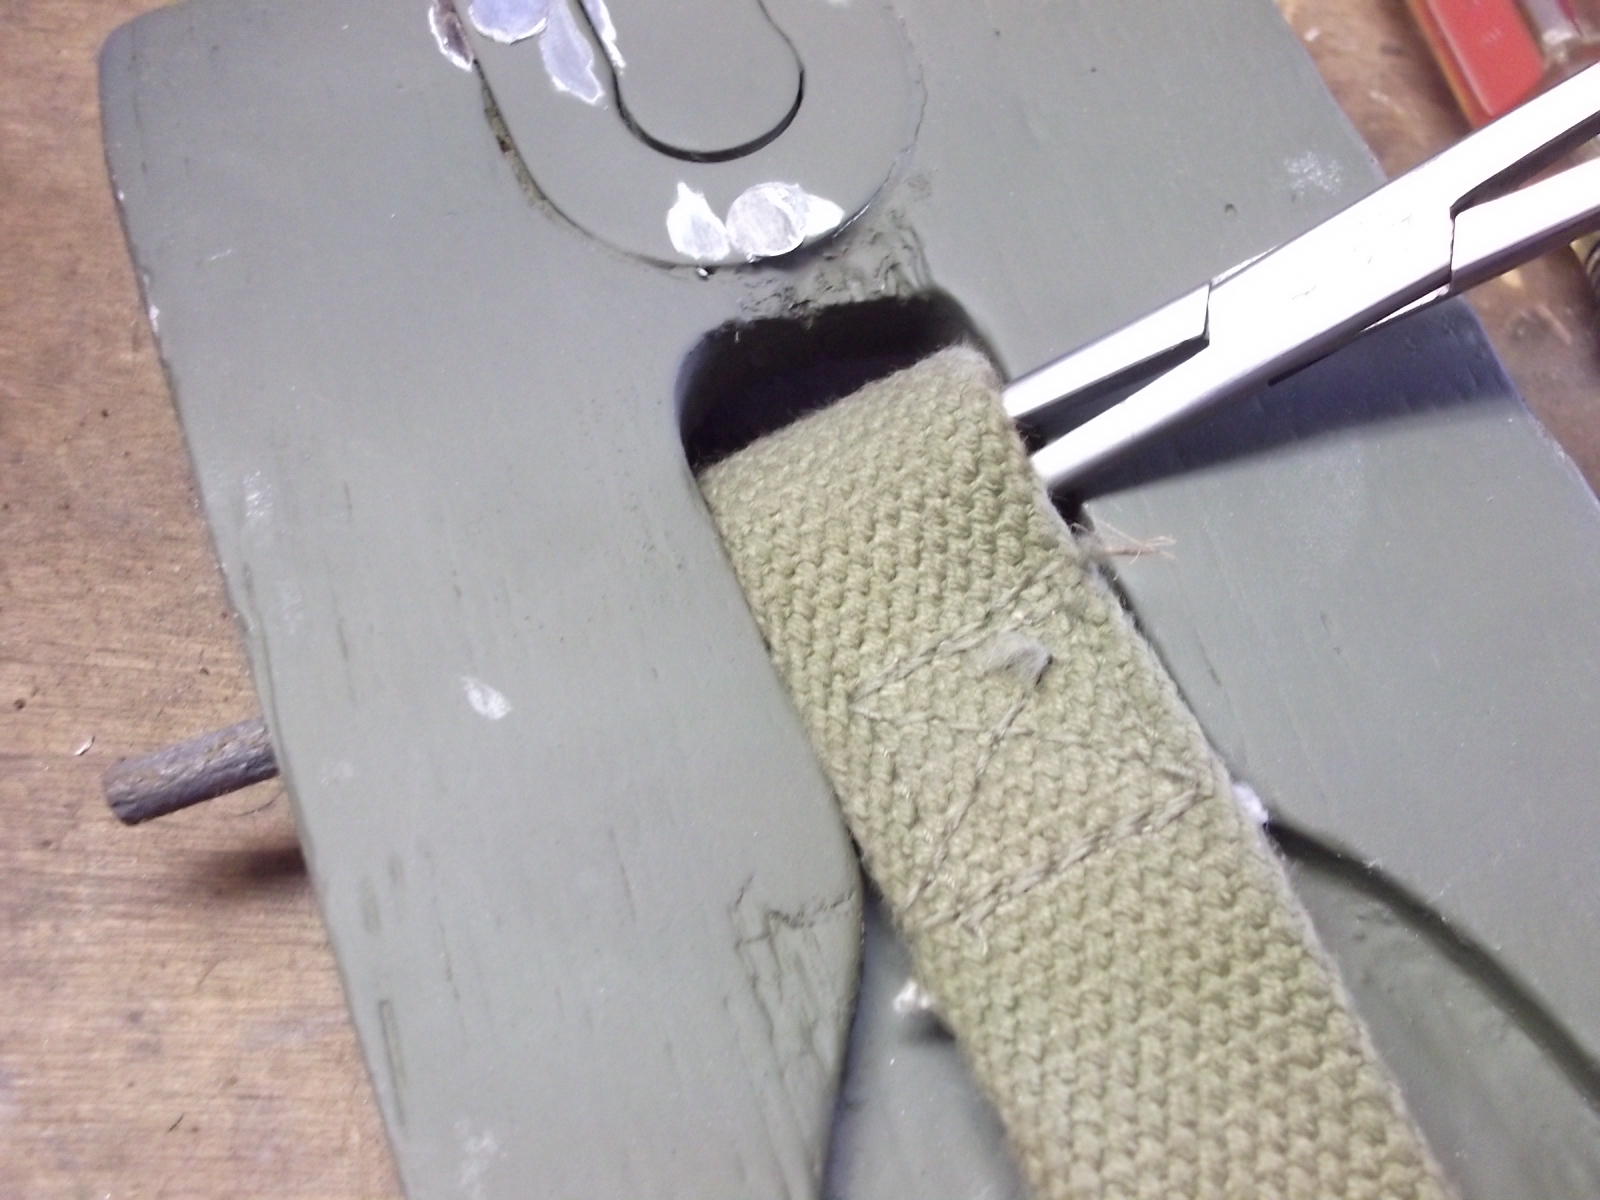
Notes on removing the old handles:
Typically these boxes have wooden dowel plugs that help retain the metal pins that hold the handles in. Usually those plugs argent firmly glued in and are only a friction fit.
What I typically did was to use a pair of needle nose vise grips or hemostats to reach inside the loop of the handle, grab the rod to push and twist it out.
On stubborn boxes, I typically would grab the rod with needle nose vise grips and tap lightly on the grips with hammer to drive the rod out.
When you remove the old rods, I recommend cleaning them up, priming and painting them black, or the color of the box. If you prime them only - you will notice the primer color when looking at the box from certain angles. The rods are slightly visible...
Details
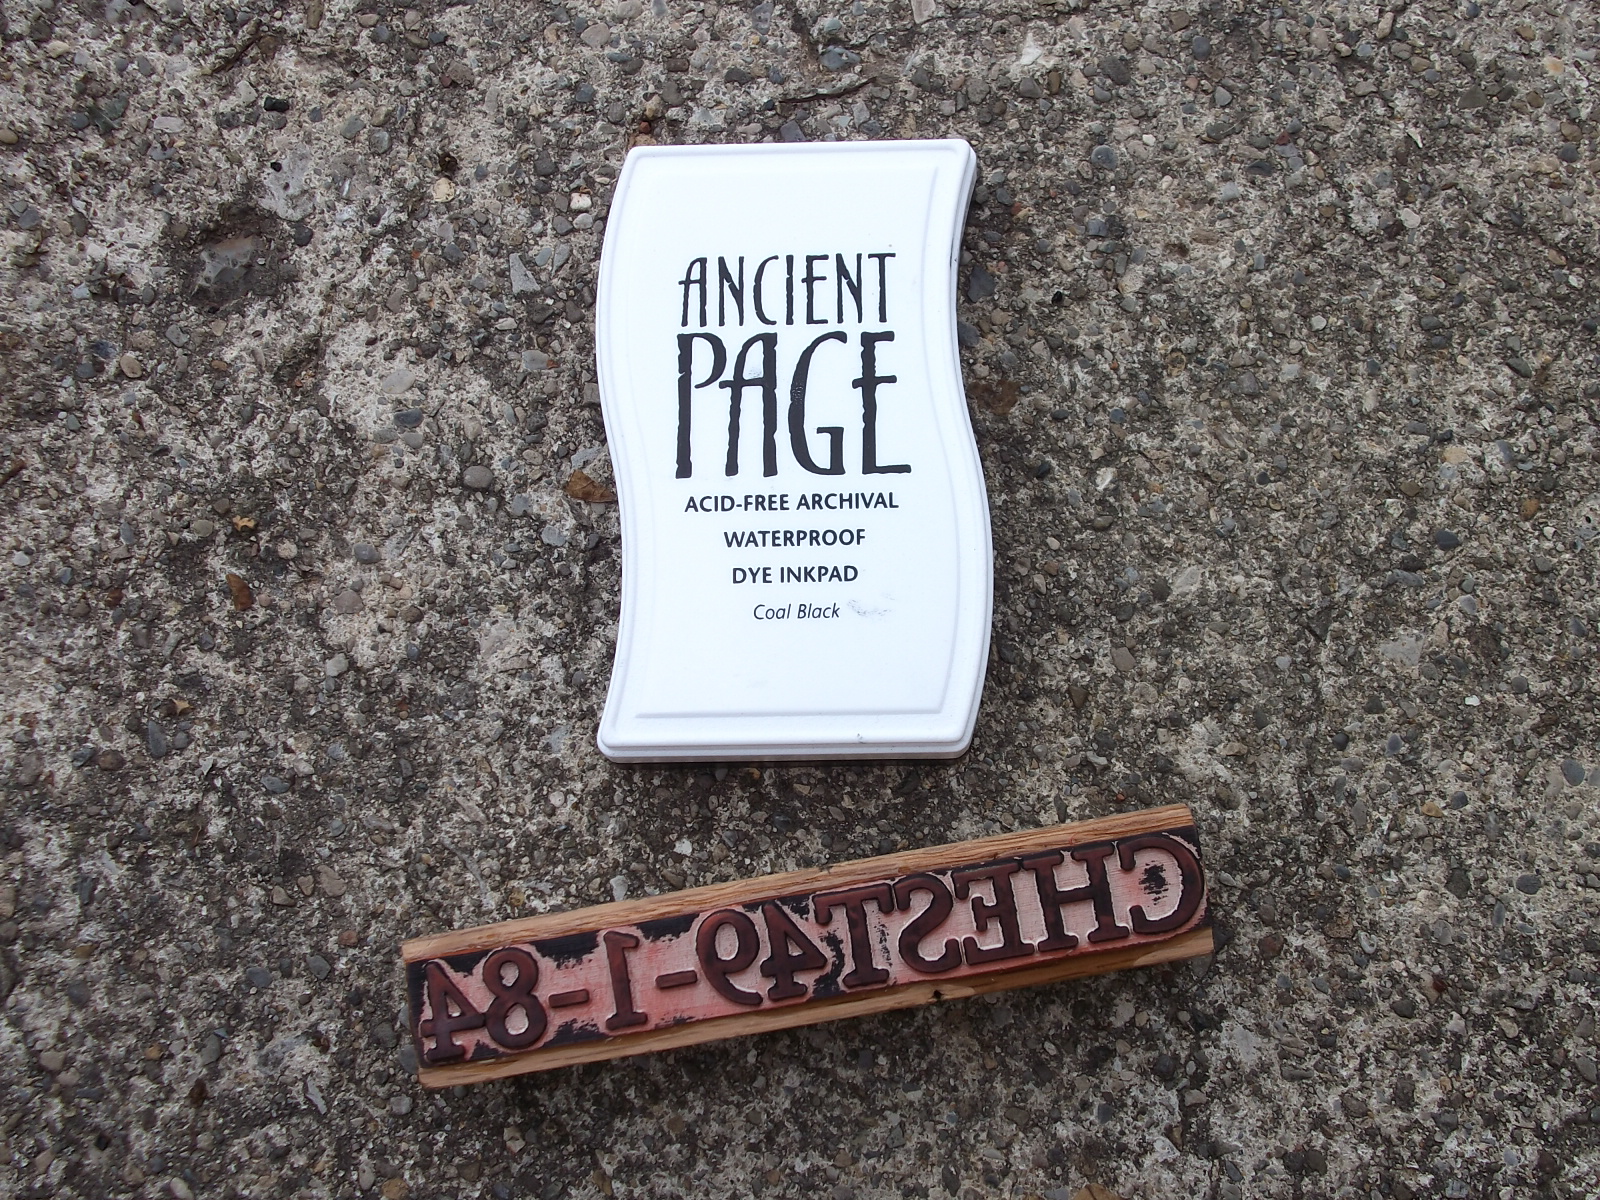
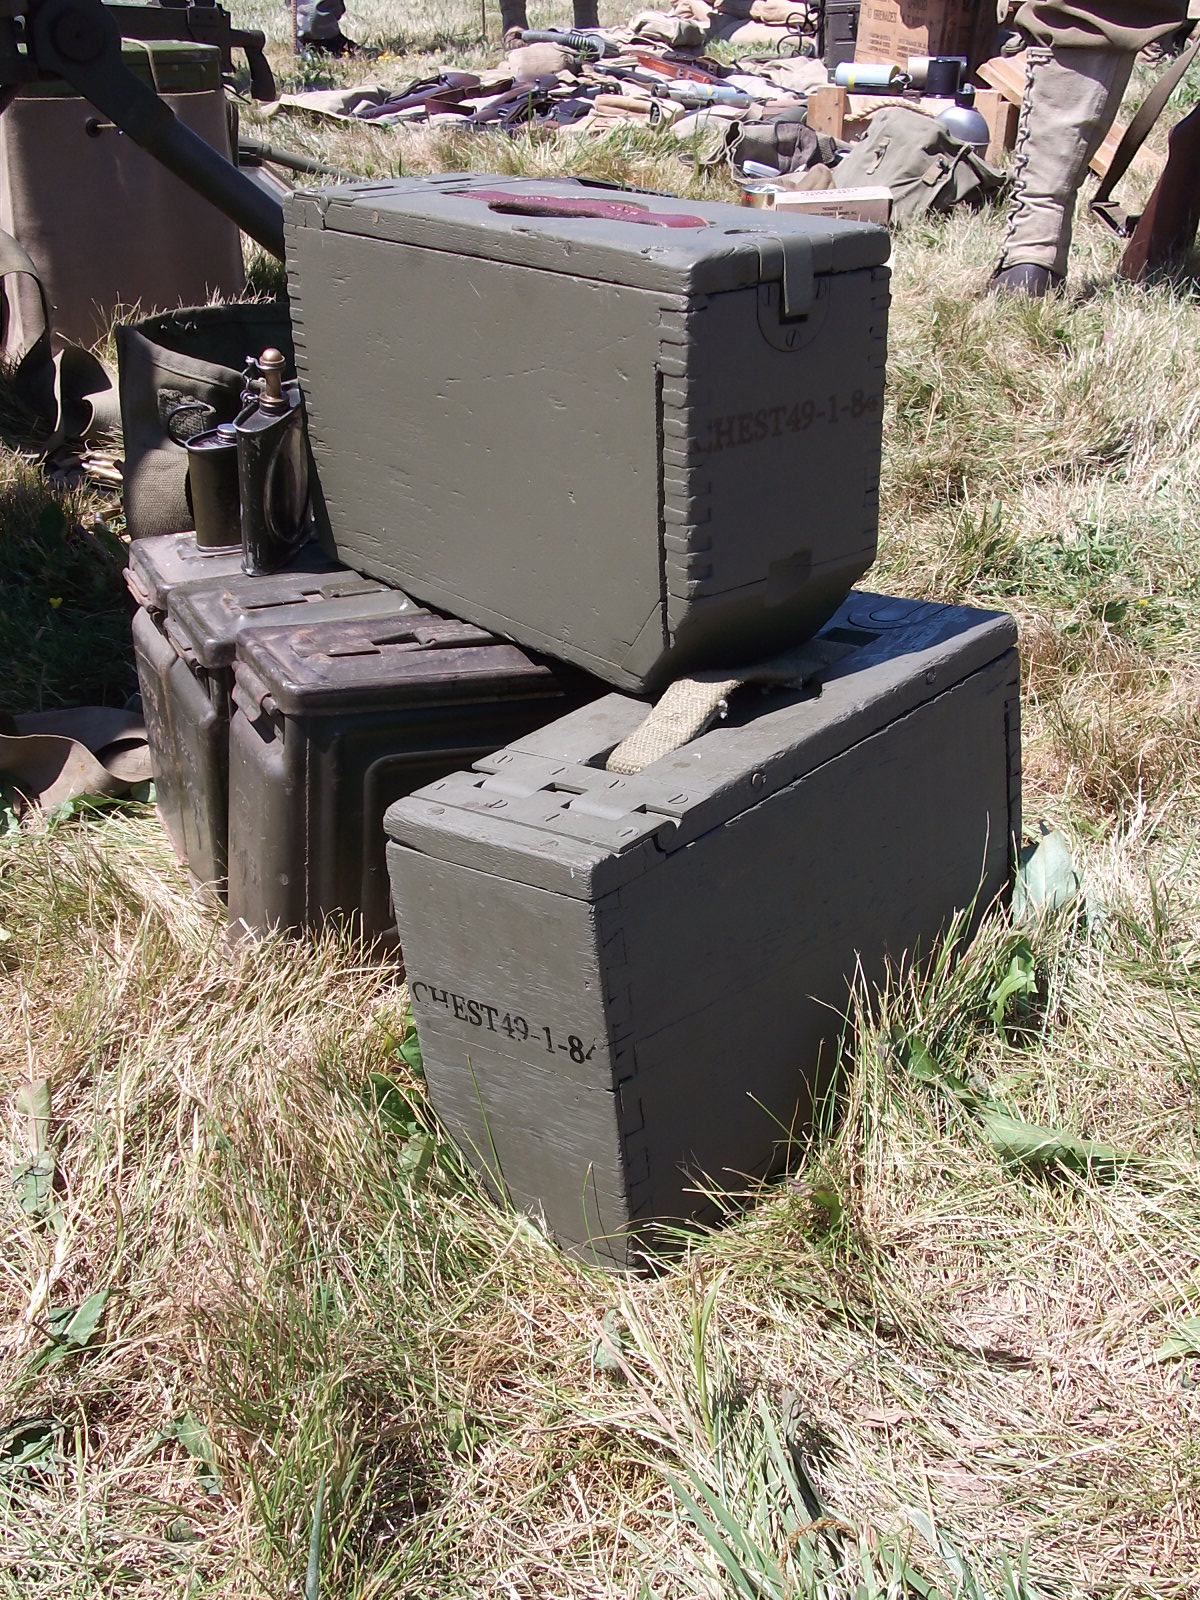
One of the silly little details I chose to replicate on all my boxes was the "CHEST 49-1-84" stamp that is commonly seen on original boxes.
While stripping paint from several boxes, of both 1917 and 1917a1 styles I discovered the "CHEST 49-1-84" stamp on them.
I took the time and created a digital overlay and drawing from the original samples. This digital art was used to have a rubber stamp cut so I could restamp these boxes.
Here is the art I used for the stamp.
Finished Boxes:
At the conclusion of this project, I'll be happy to be done with these boxes. What seemed like a quick and easy "sand and paint" job - turned out to be far more involved than I had anticipated. As always, I enjoyed the process of researching, sourcing materials and hardware, and actually doing the work - but it just had its pain in the ass moments.
I have no desire to work on any more of these boxes. If I was to start all over again, I'd exclusively seek out boxes that had tight joinery, clean hardware, and no rotted sections of wood. These boxes can get quite expensive when the total cost of ownership is calculated. What may seem like a good deal on a 10 or 15$ project box can quickly spiral up to being a $50 "restored" junker box when all the hardware, materials and paint are added - let alone the "value" of your time. I highly recommend spending more money on a better condition box, needing less restoration than a true "project" box. Good deals do come around, but try and avoid the real "junkers" - now that you have an understanding of what may go into the restoration of these boxes.
If I knew what I was looking for and had all the information in one place - this project would have gone much more quickly. That being said, hopefully you have found this article useful and it will help you through your own restoration process.


