Captoe Roughouts: Shoe, Service Type III: The other roughout boot
Date: 3/12/2010
Author: Chris Guska
The Conversion
Dubbing:
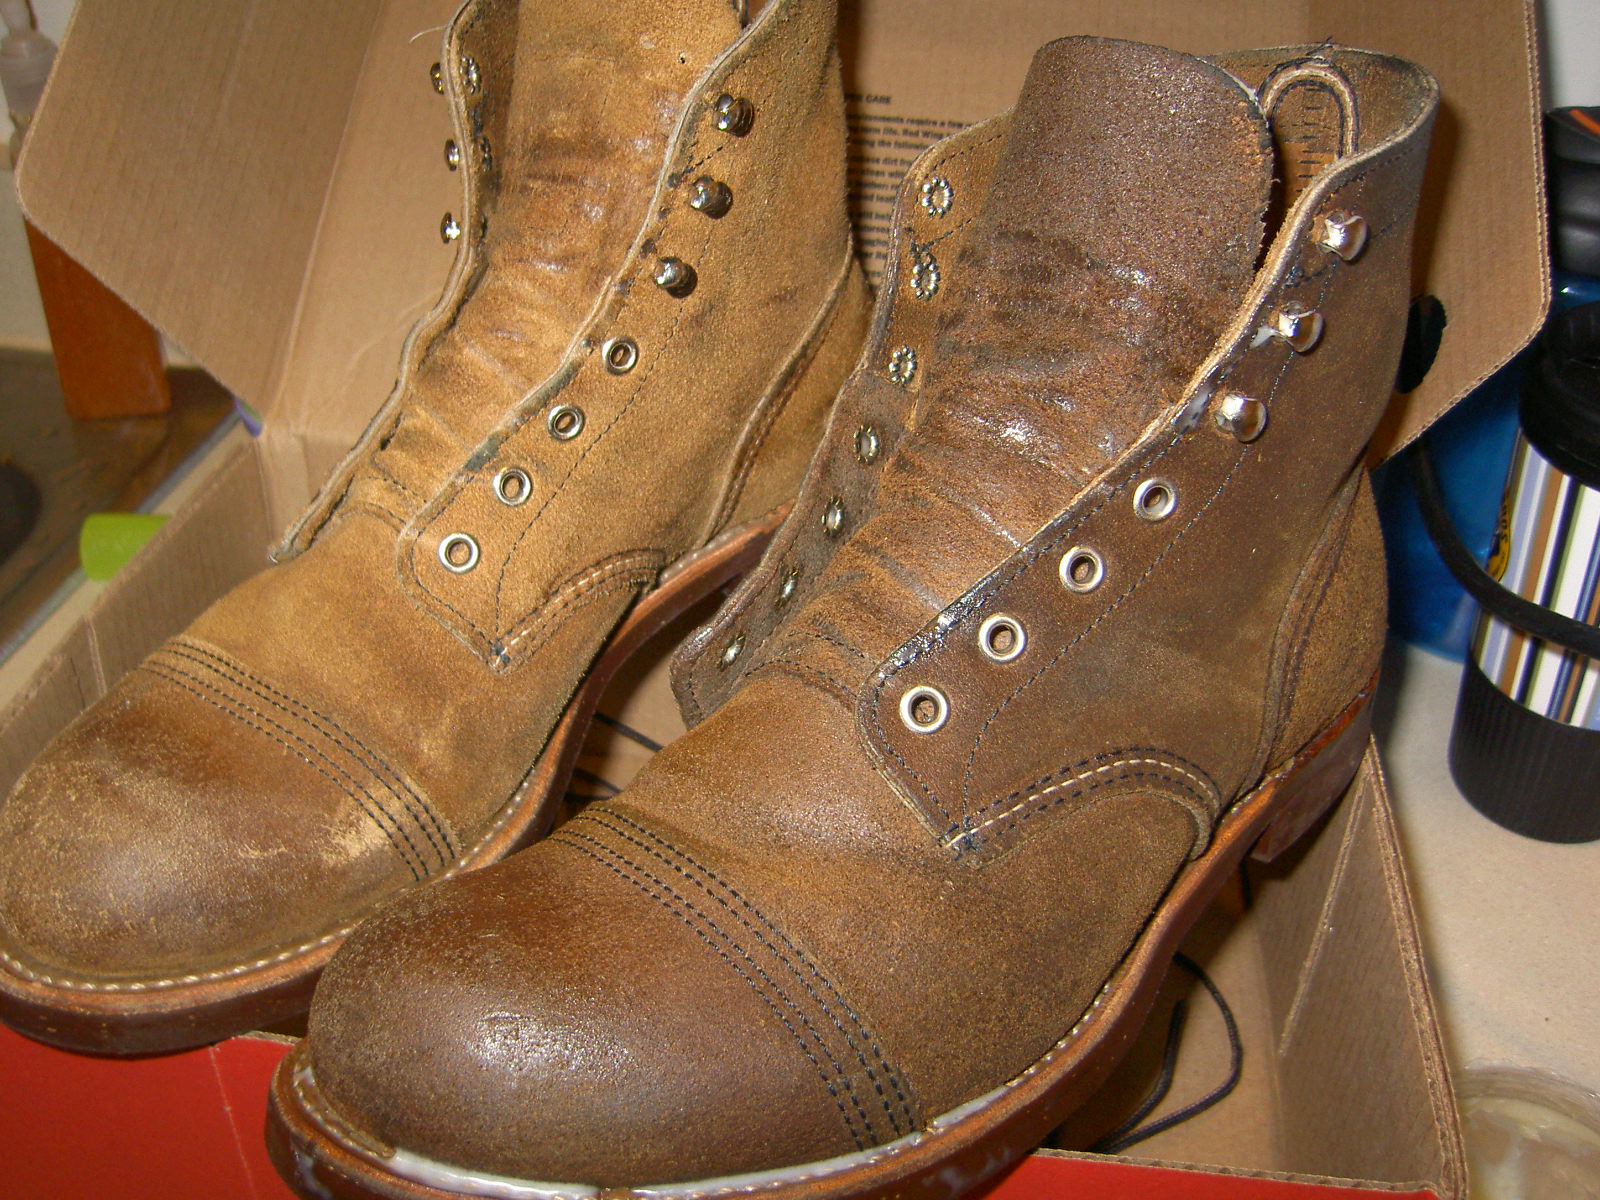
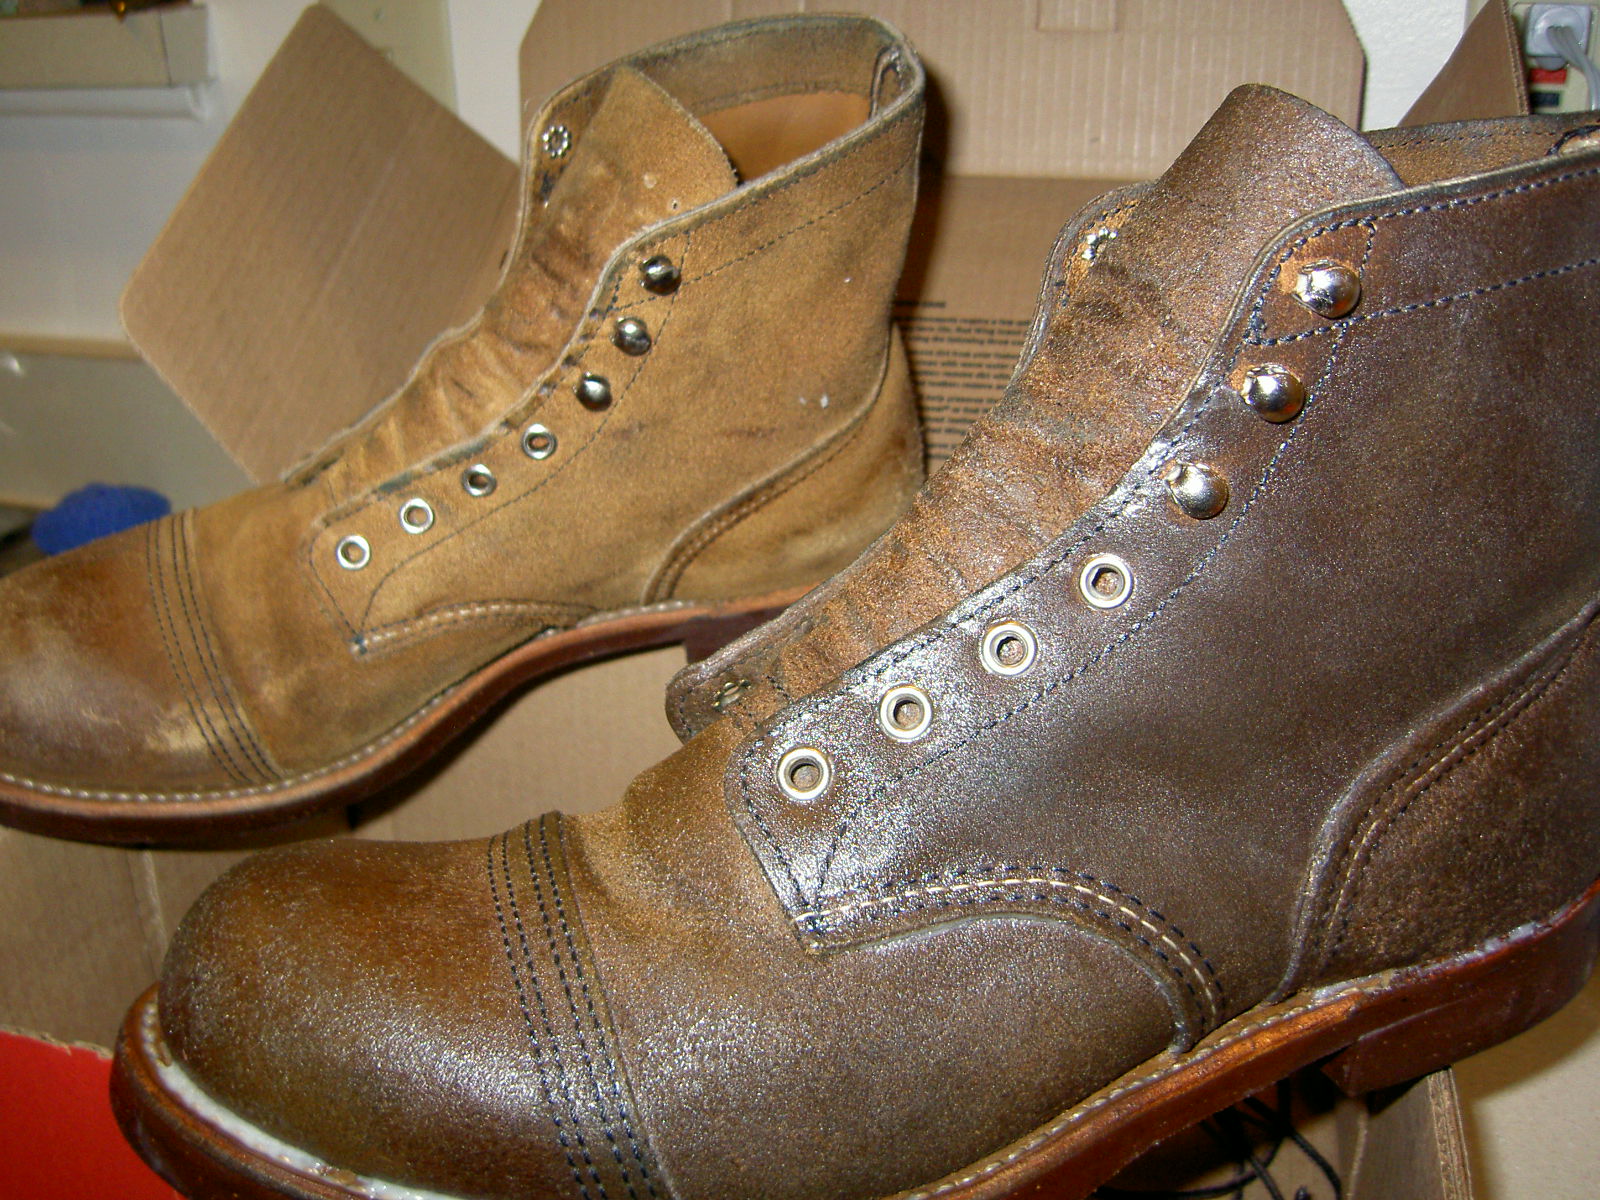
The first thing I did was to apply a couple of coats of dubbing to see what these boots would look like when "finished". In some ways, this was me being impatient and just wanting to make some headway on them - and in some ways not wanting to risk putting a significant amount of time and work into them, only to dub them at the end and have an unexpected result.
I followed the usual procedure with sno seal and was once again pleased with the consistent results provided with that method.
Here's some in process and side by side photos as I applied the sno seal.
If I were to do this project again (which I probably wouldn't), i would wait to apply the snoseal until the boots were "done". The snoseal was always slightly tacky throughout the process, which accumulated quite a bit of dust, metal shavings and other particulate that was surprisingly difficult to brush off and clean up.
Eyelets and Speed Hooks:
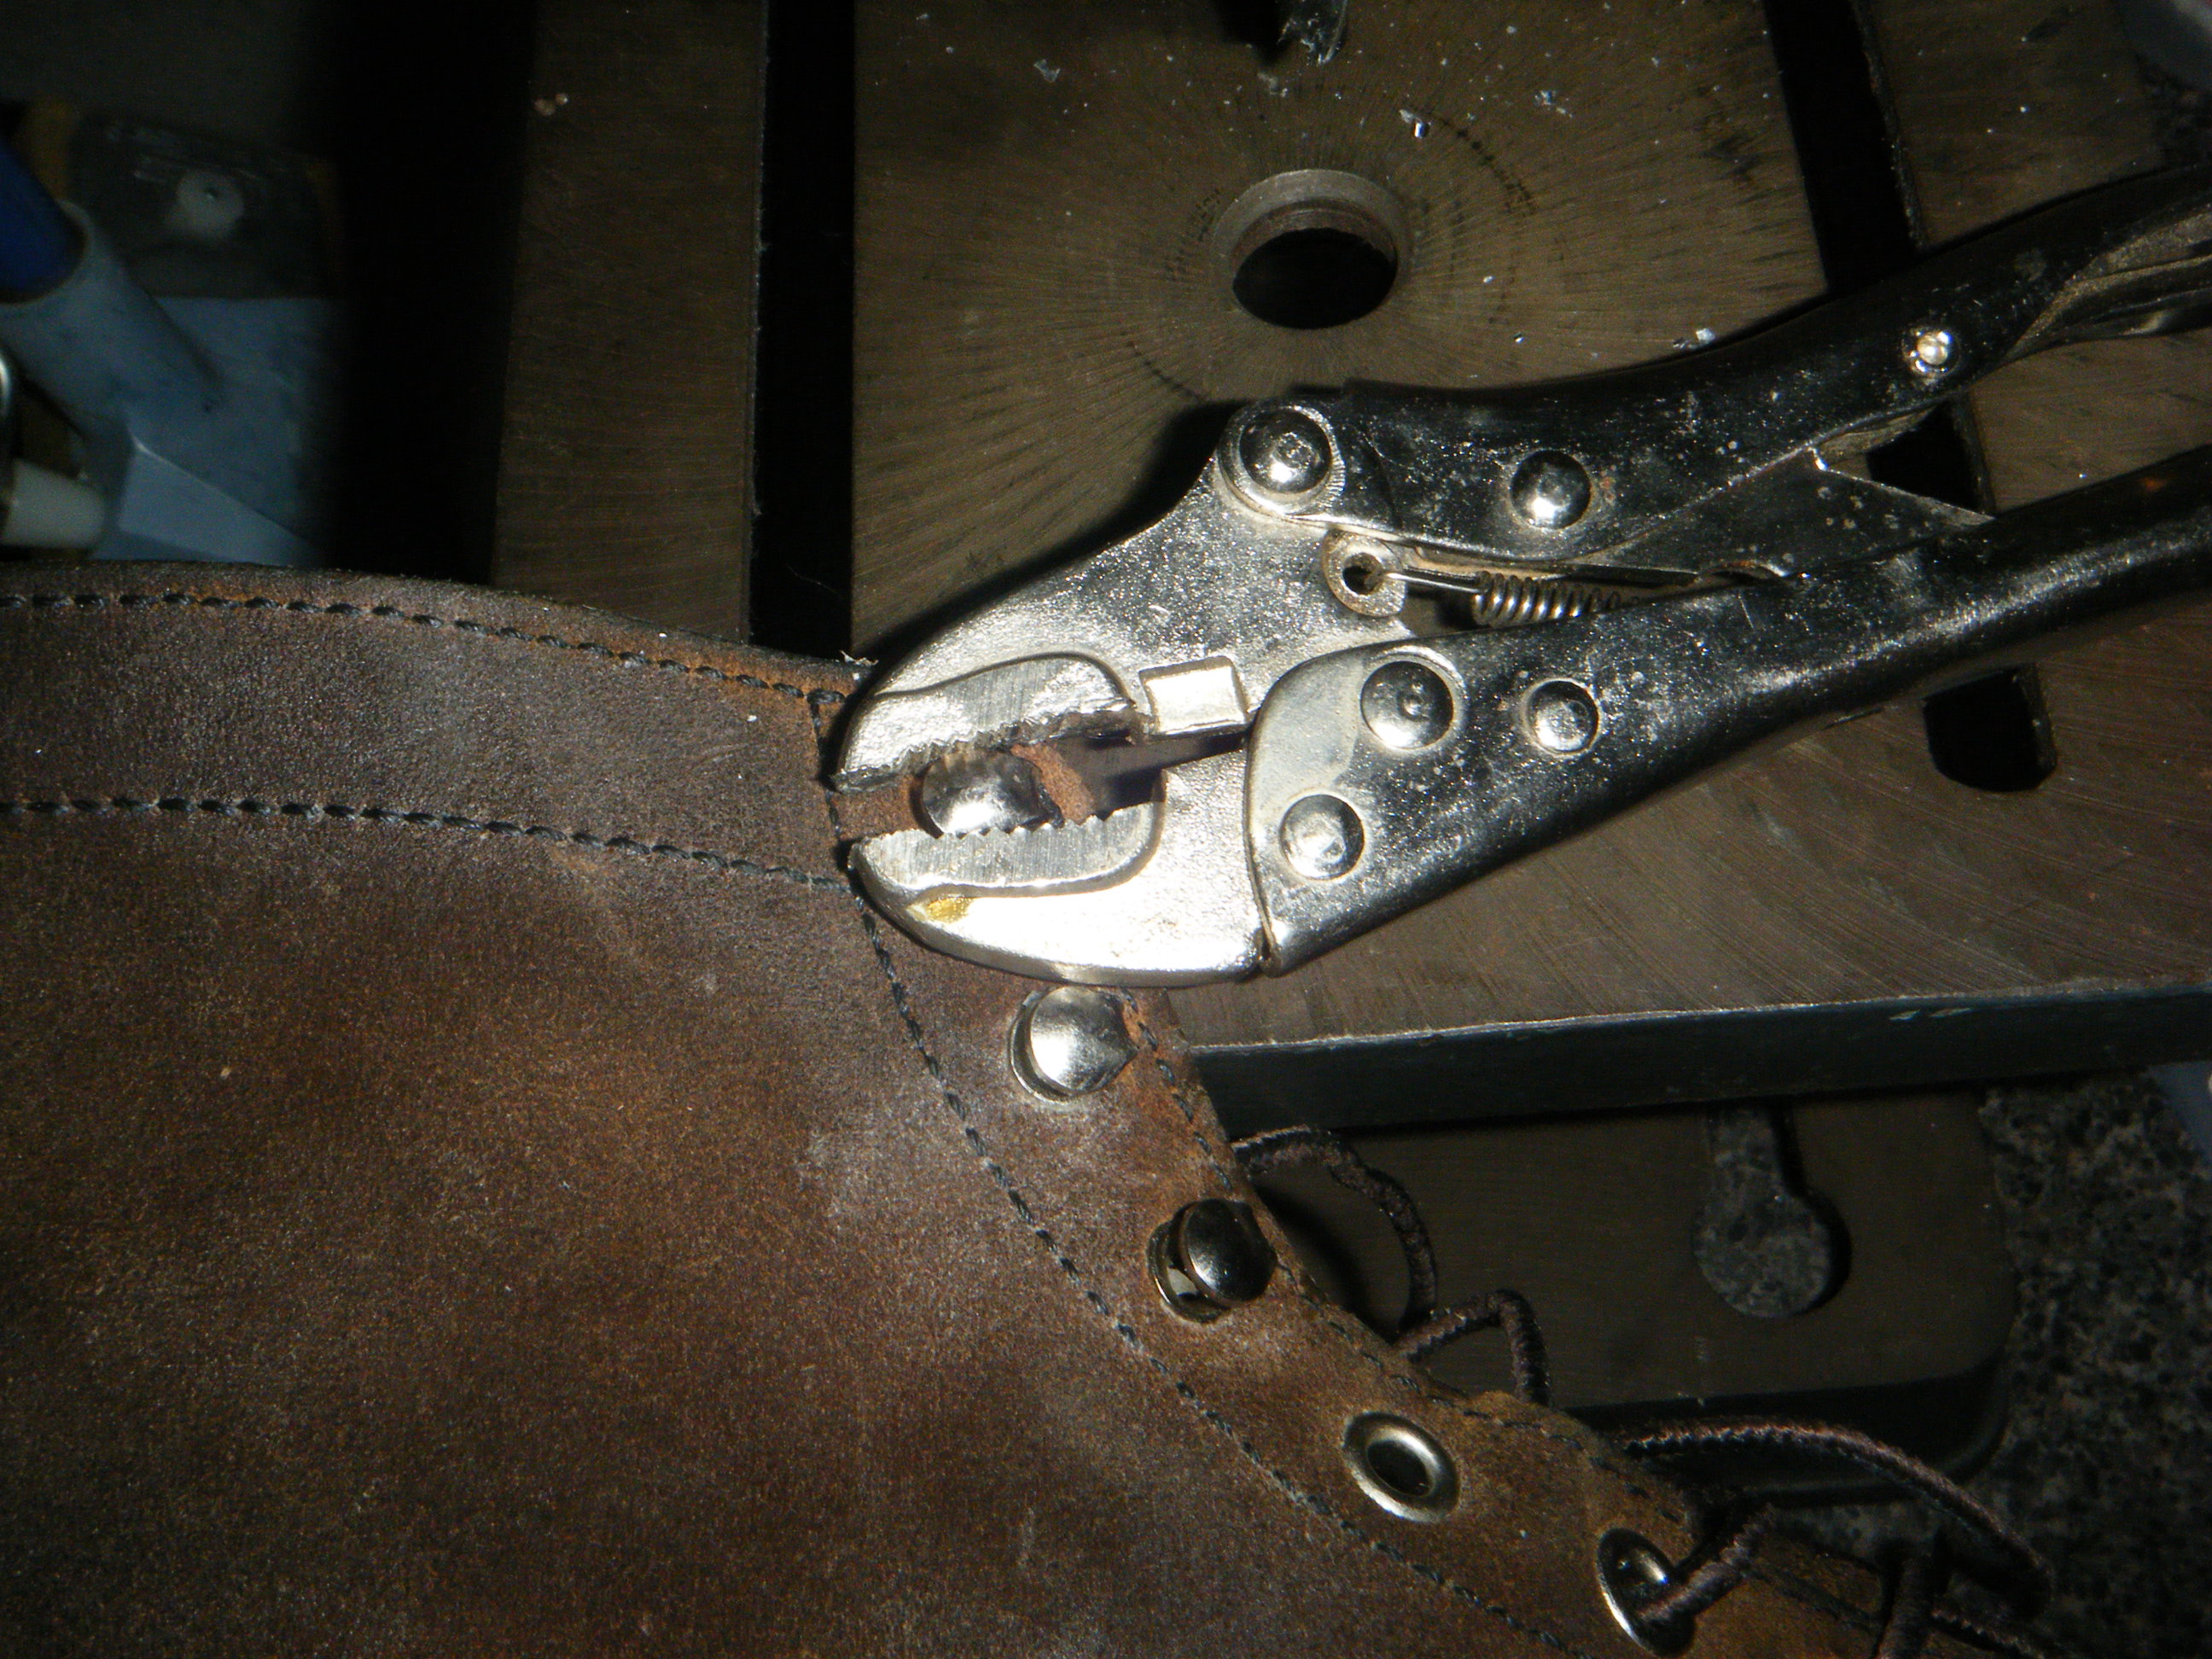
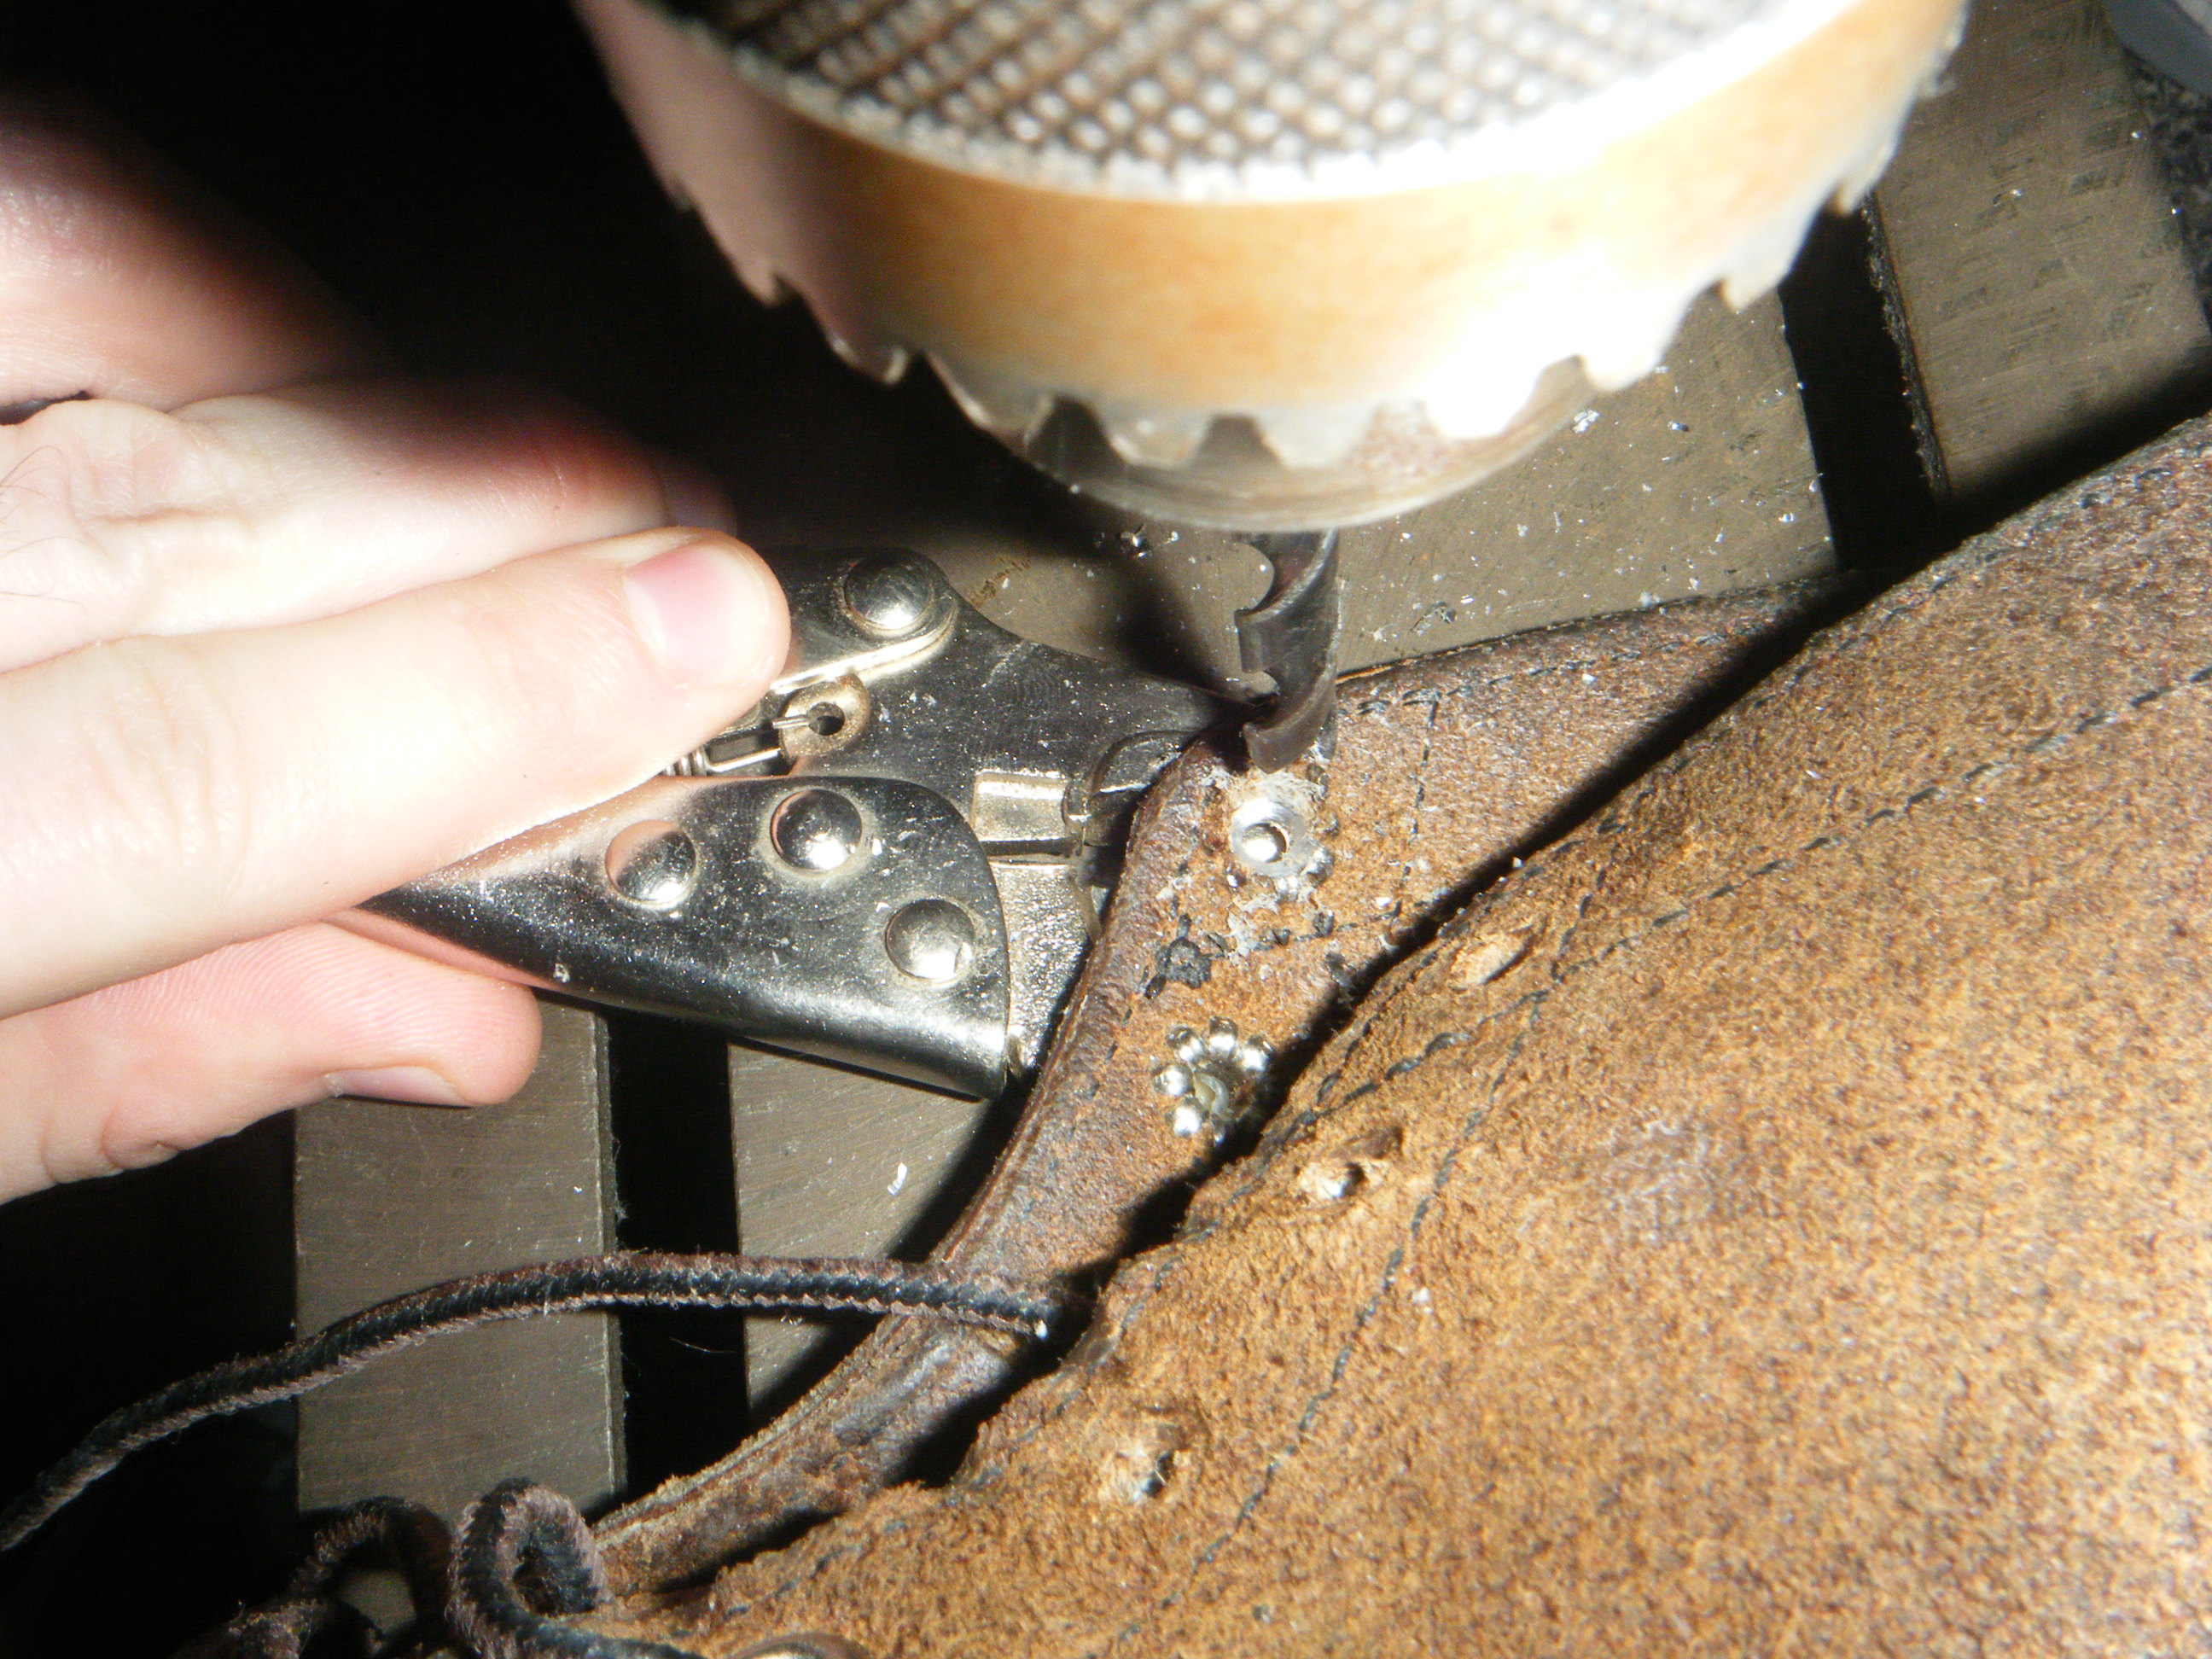
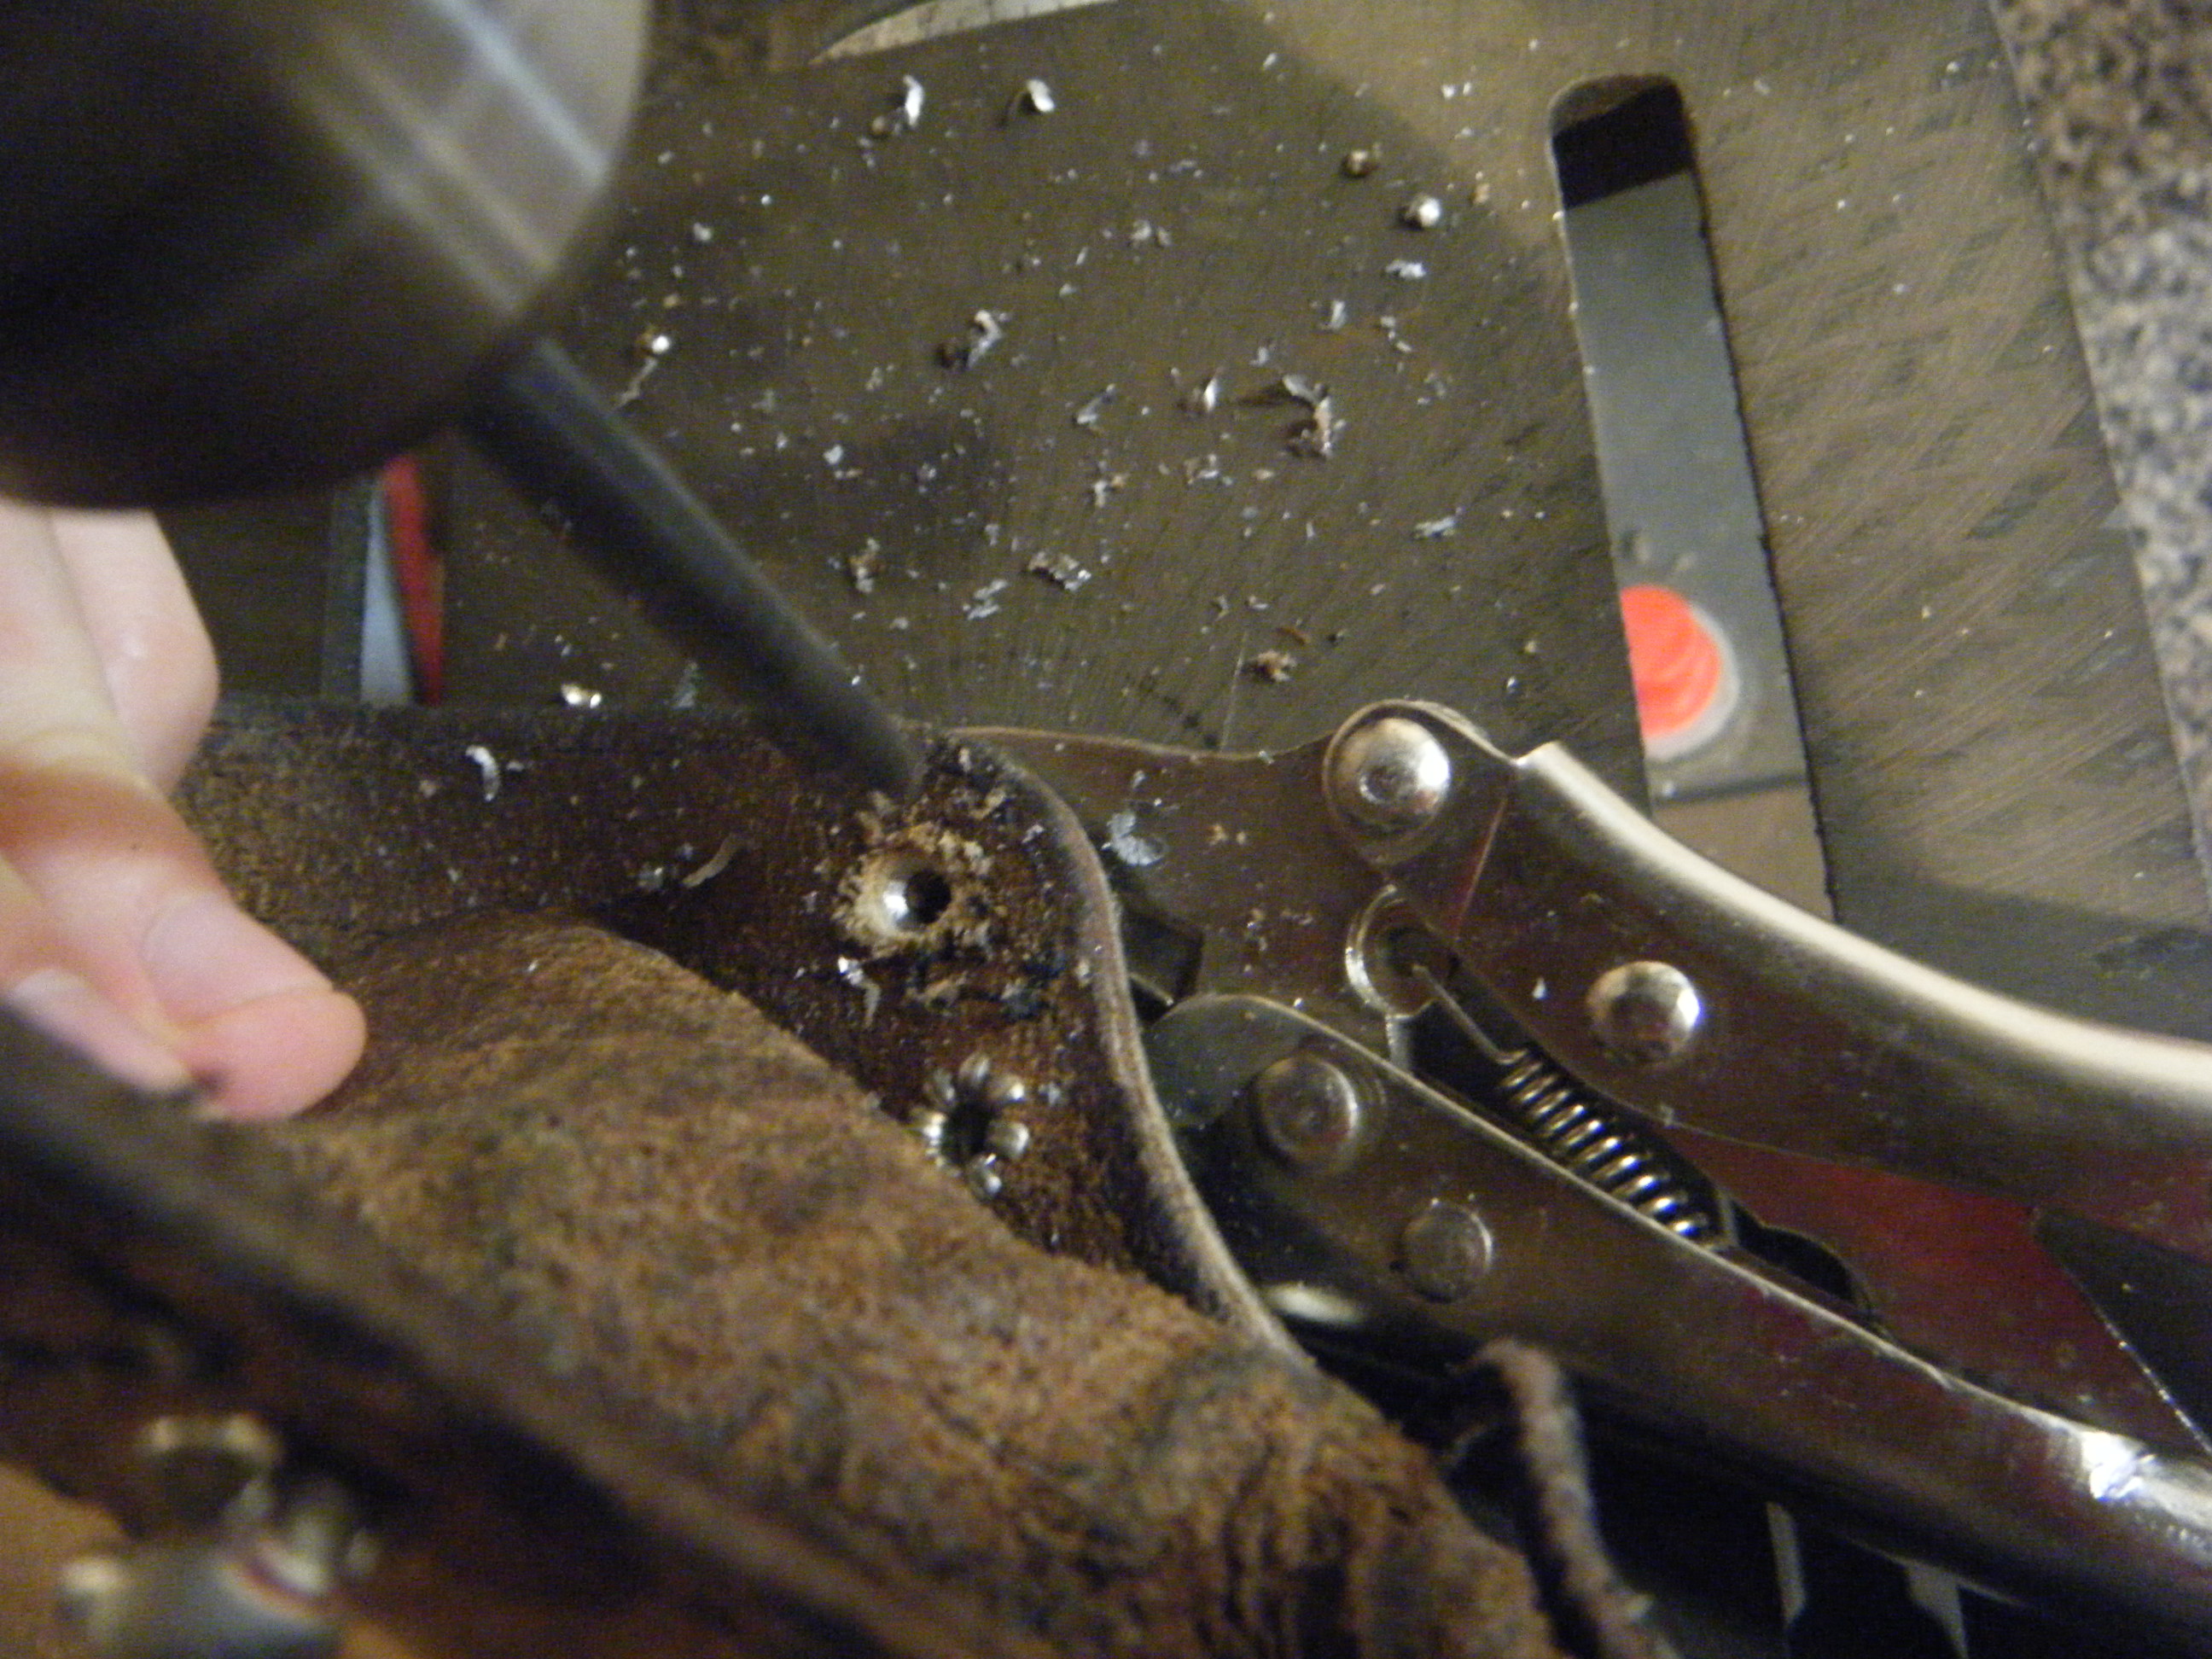
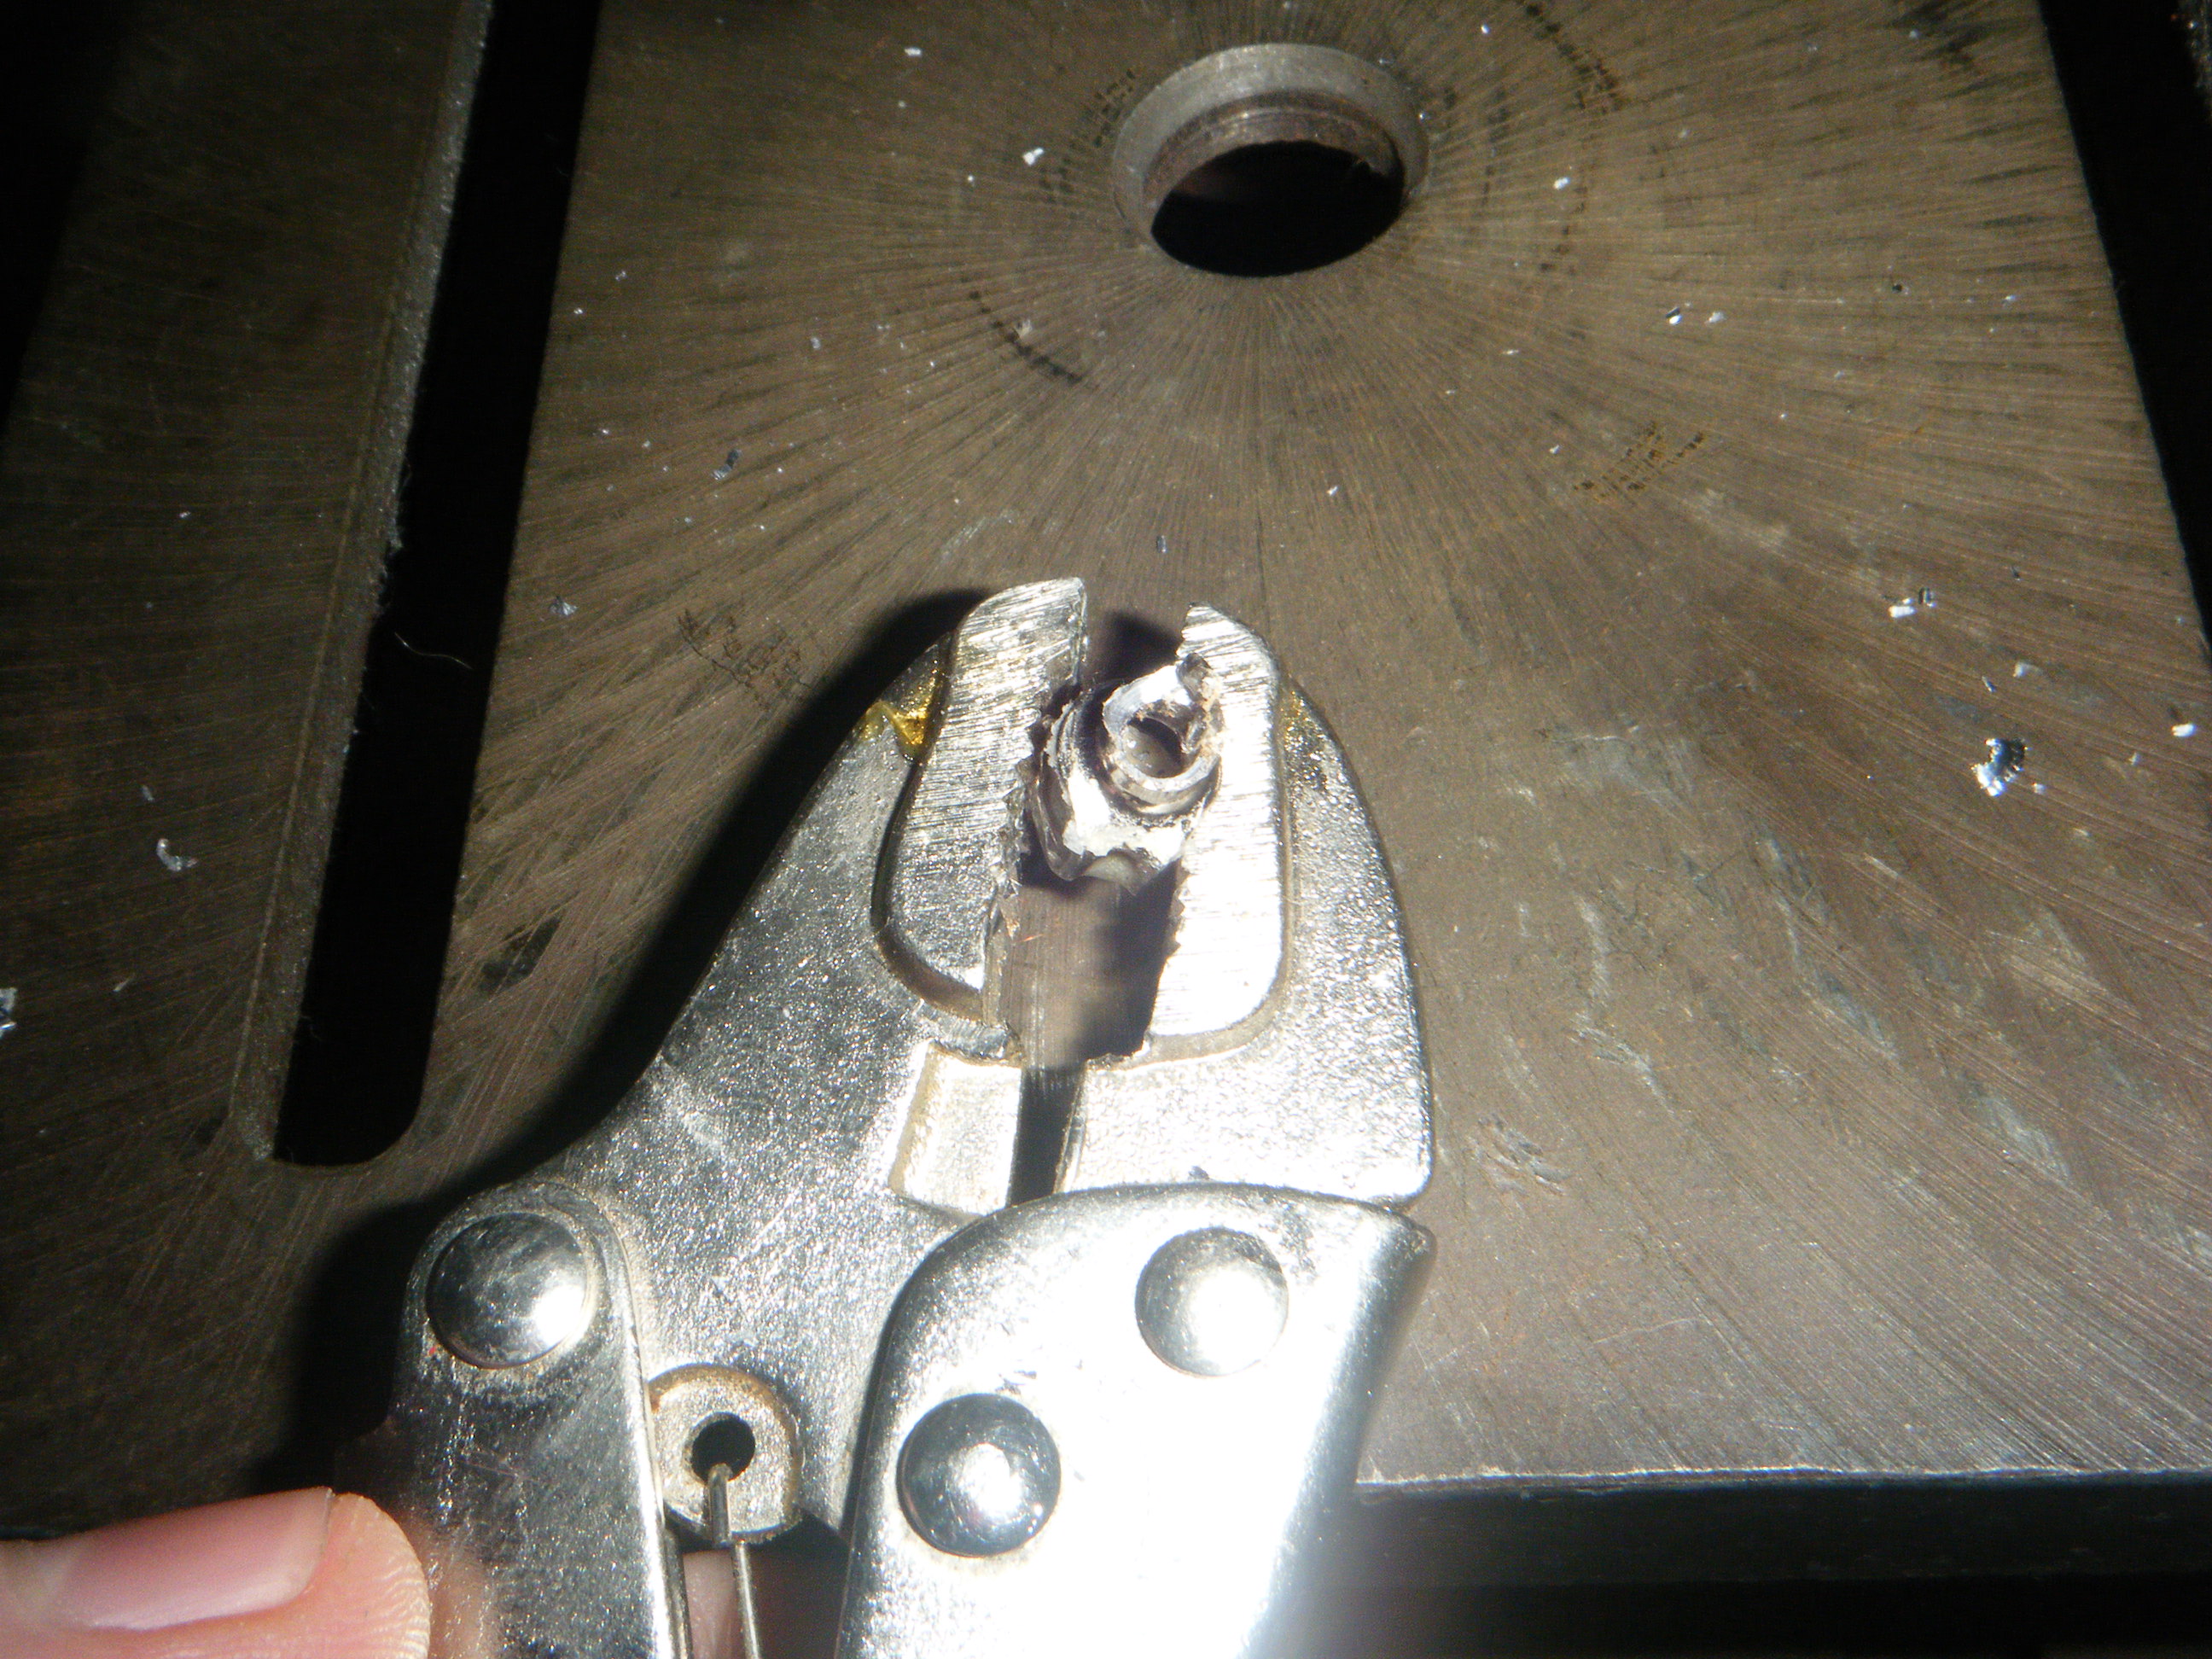
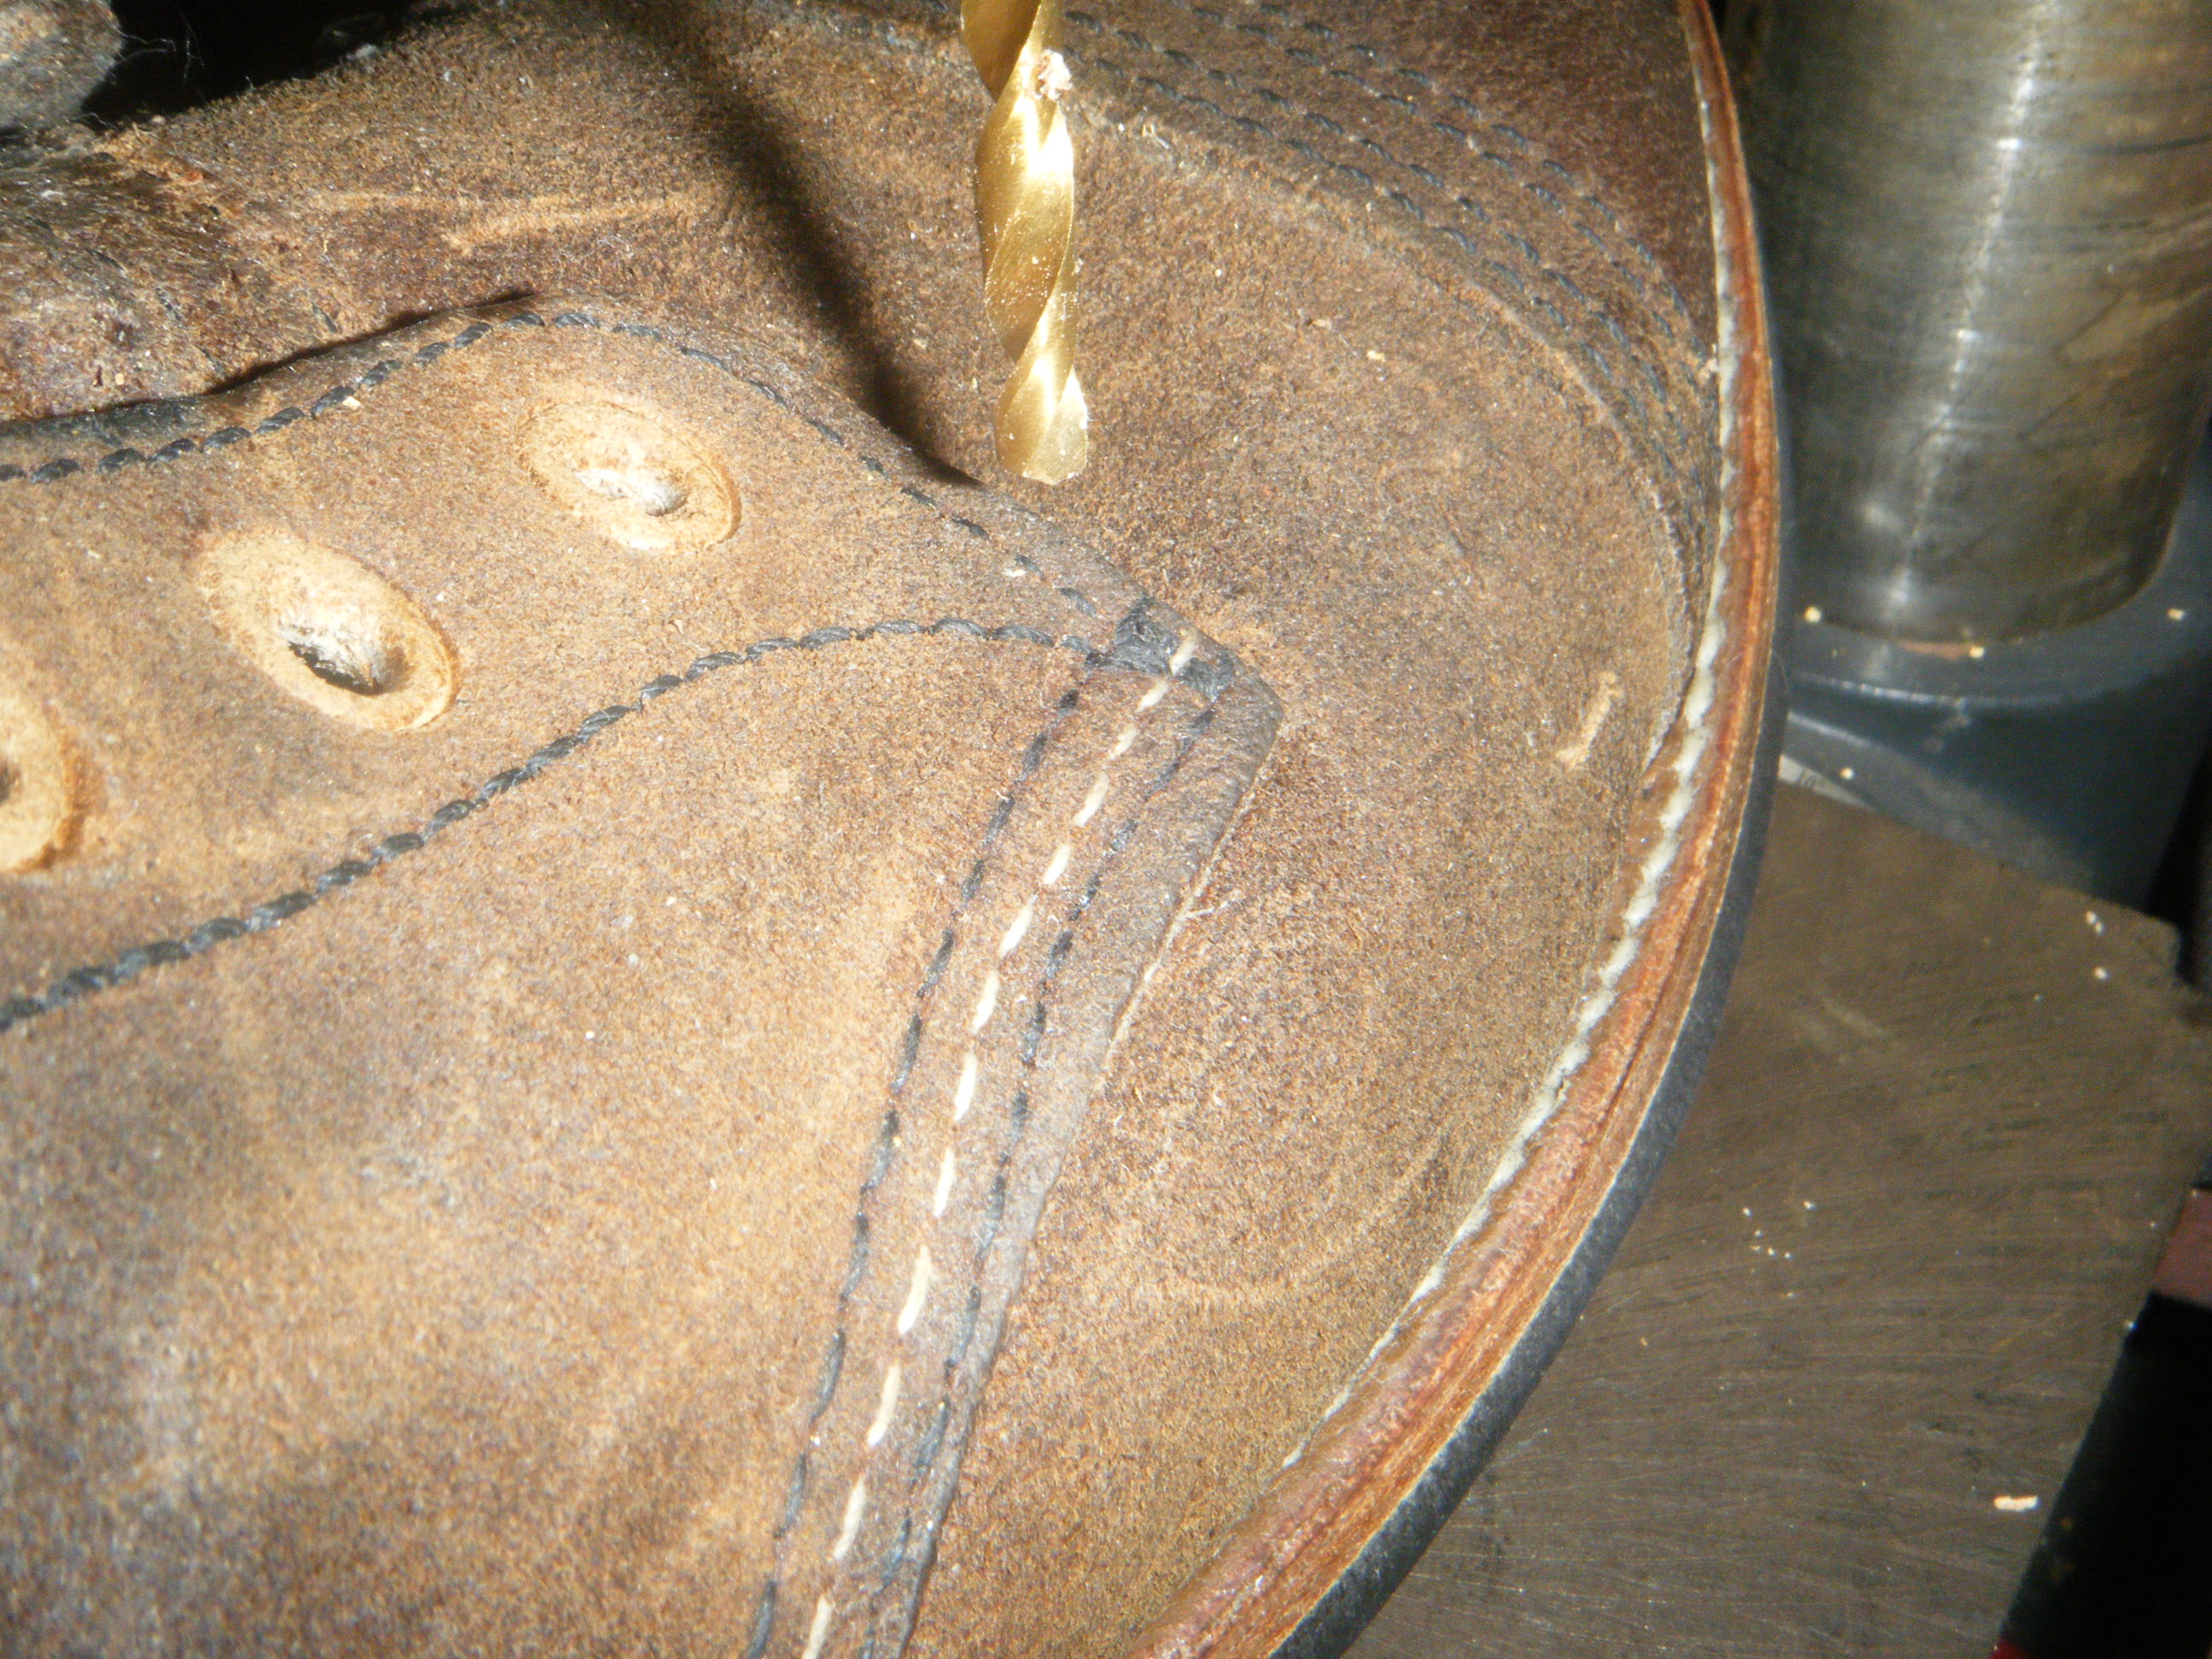
At first, I thought I would simply remove the speed hooks and replace them with matching eyelets to the rest of the boots. Removing the Speed Hooks was a pretty simple process of drilling out the crimp from the tubular rivet that held the hooks on.
I simply held the hook with a pair of vise grips and drilled the head off with a drill press.
Once the hooks were removed, I took the boots into the cobbler to have the eyelets replaced since at the time I wasn't able to find suitable eyelets myself.
I got the boots back from the cobbler and they looked terrible - as the cobbler installed eyelets that were slightly smaller than the existing eyelets - and not all the eyelets he installed were the same manufacture or properly set. Needless to say, I was slightly annoyed with the materials and workmanship. I didn't even bother to get photos of this embarrassment.
This was somewhat fortunate as it forced me to dig a little deeper and replace the raw aluminum eyelets with something more correct and durable. I managed to get some "original" style replacement eyelets from a good friend that were 2 piece construction, brown on the outside like those installed in my original examples. In addition, I just happened to have the correct original US Army issue setting dies that I had purchased 10 years ago.
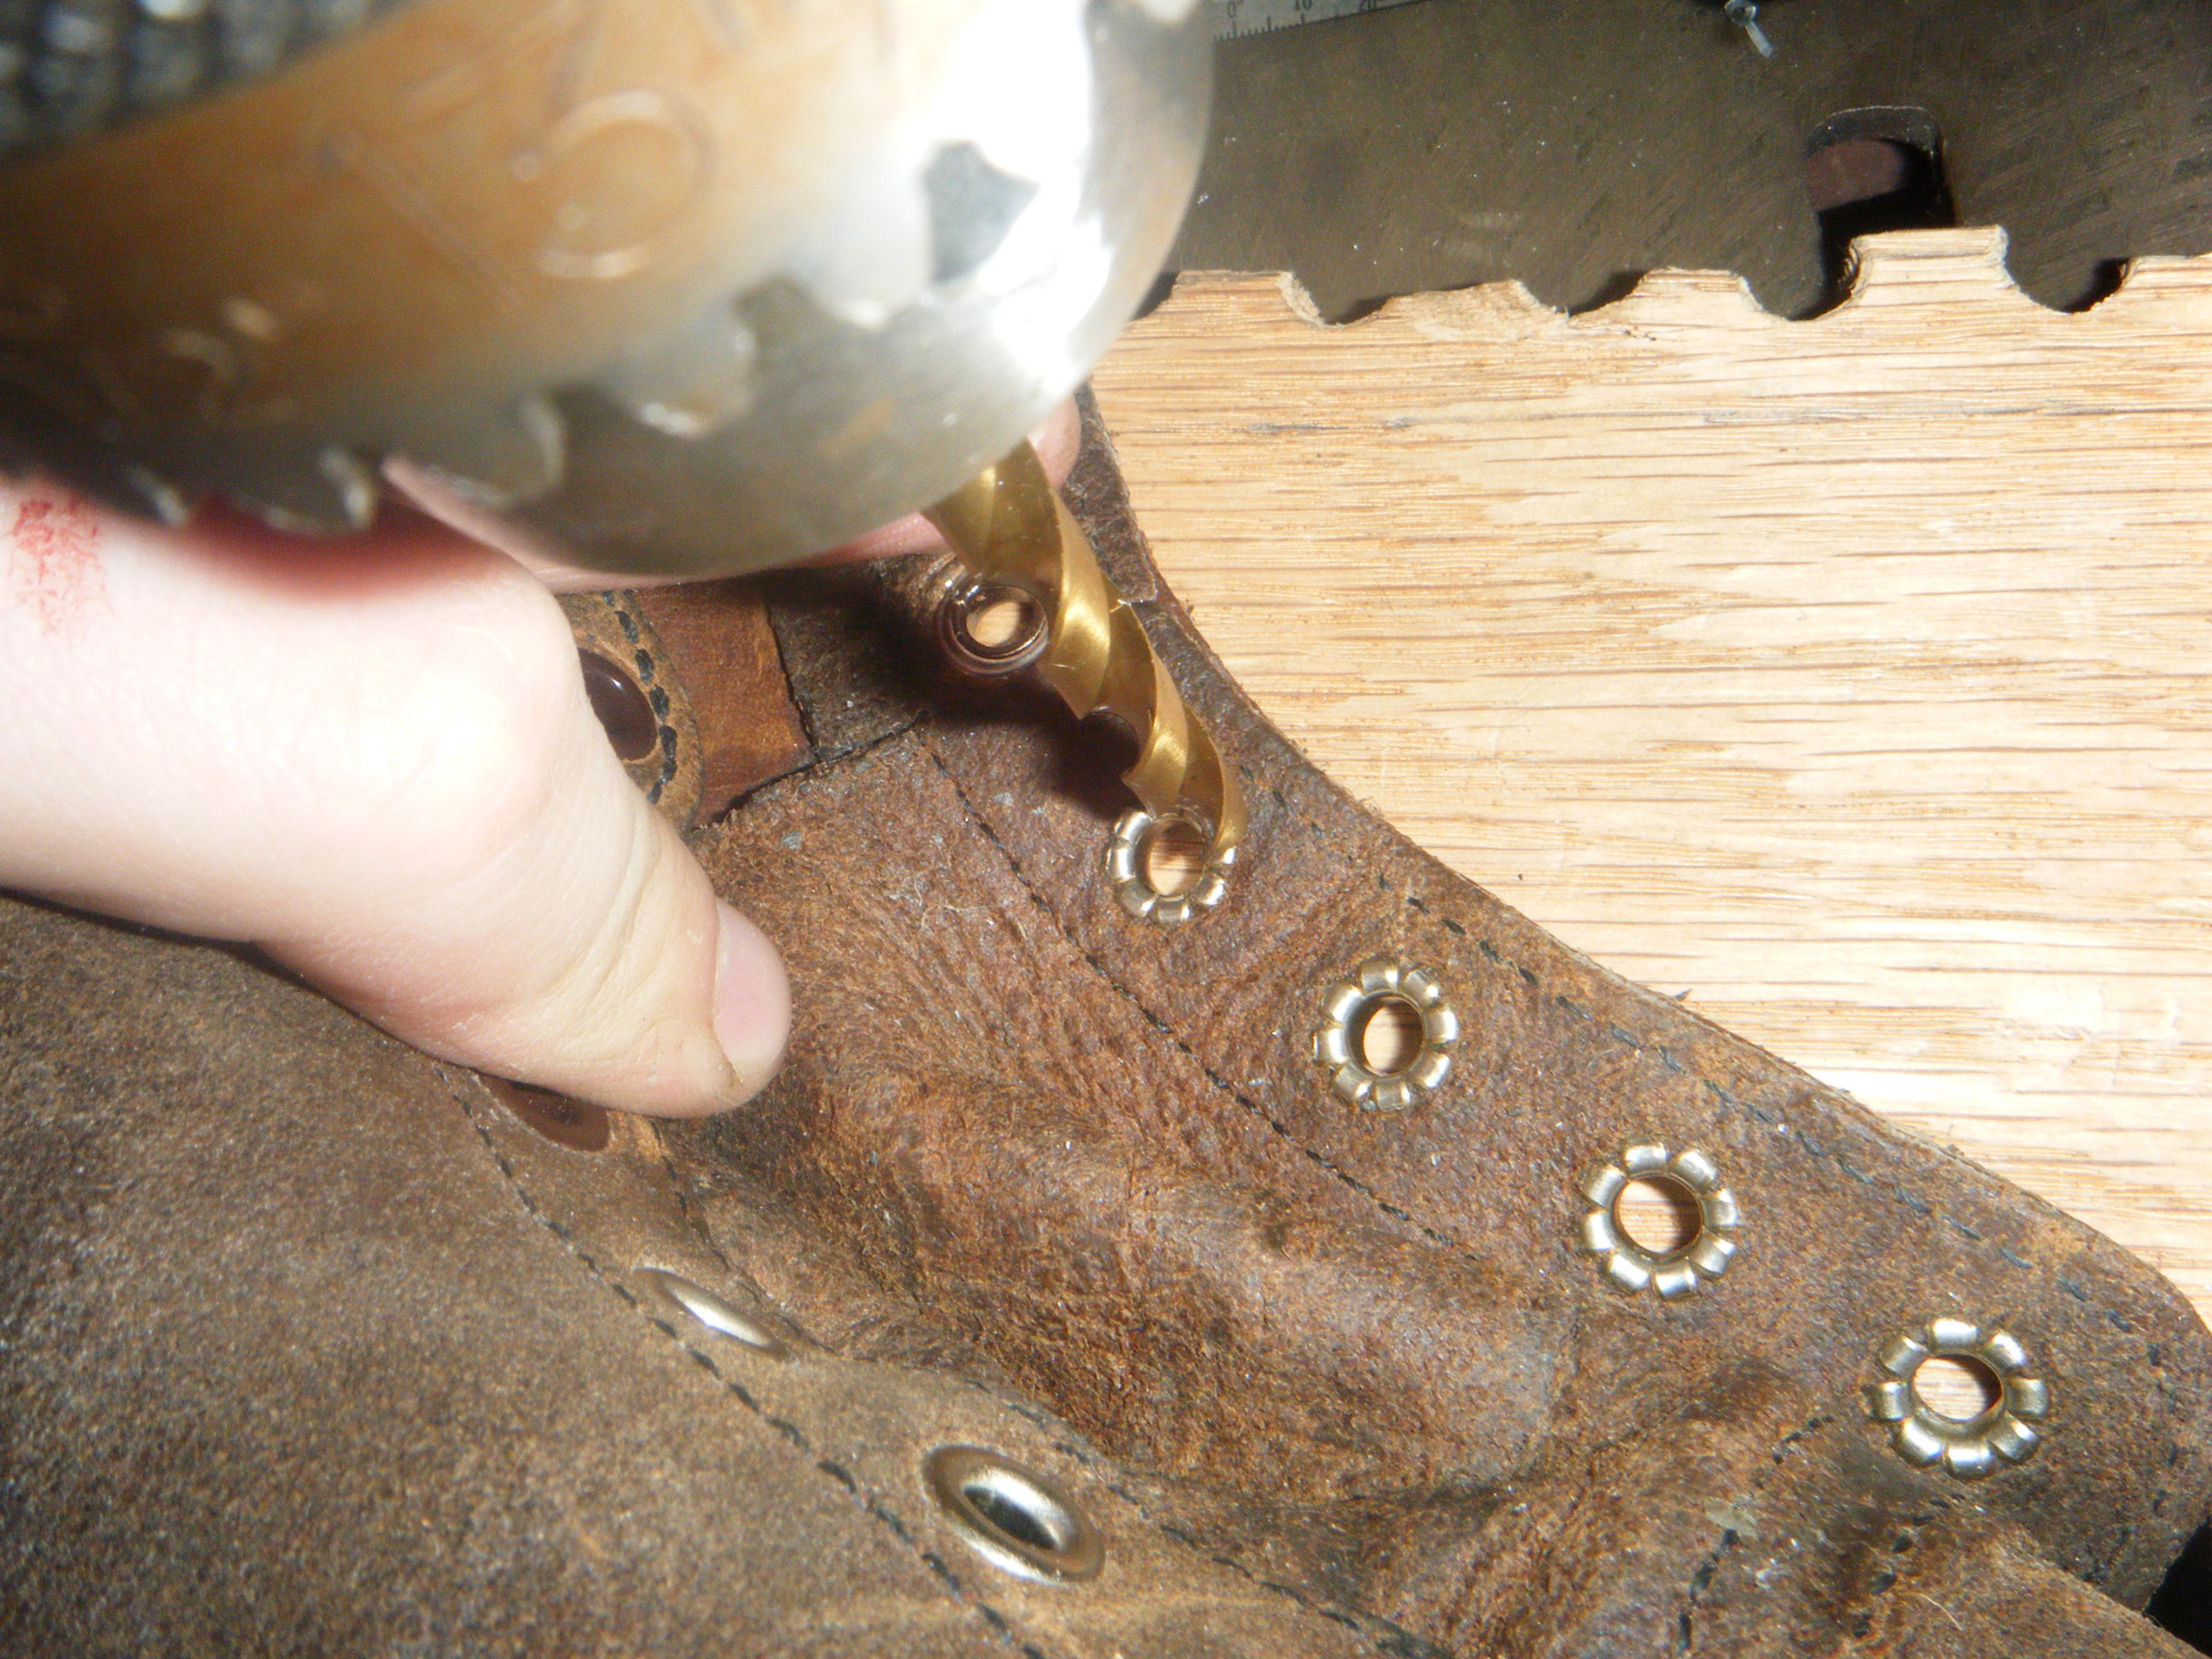
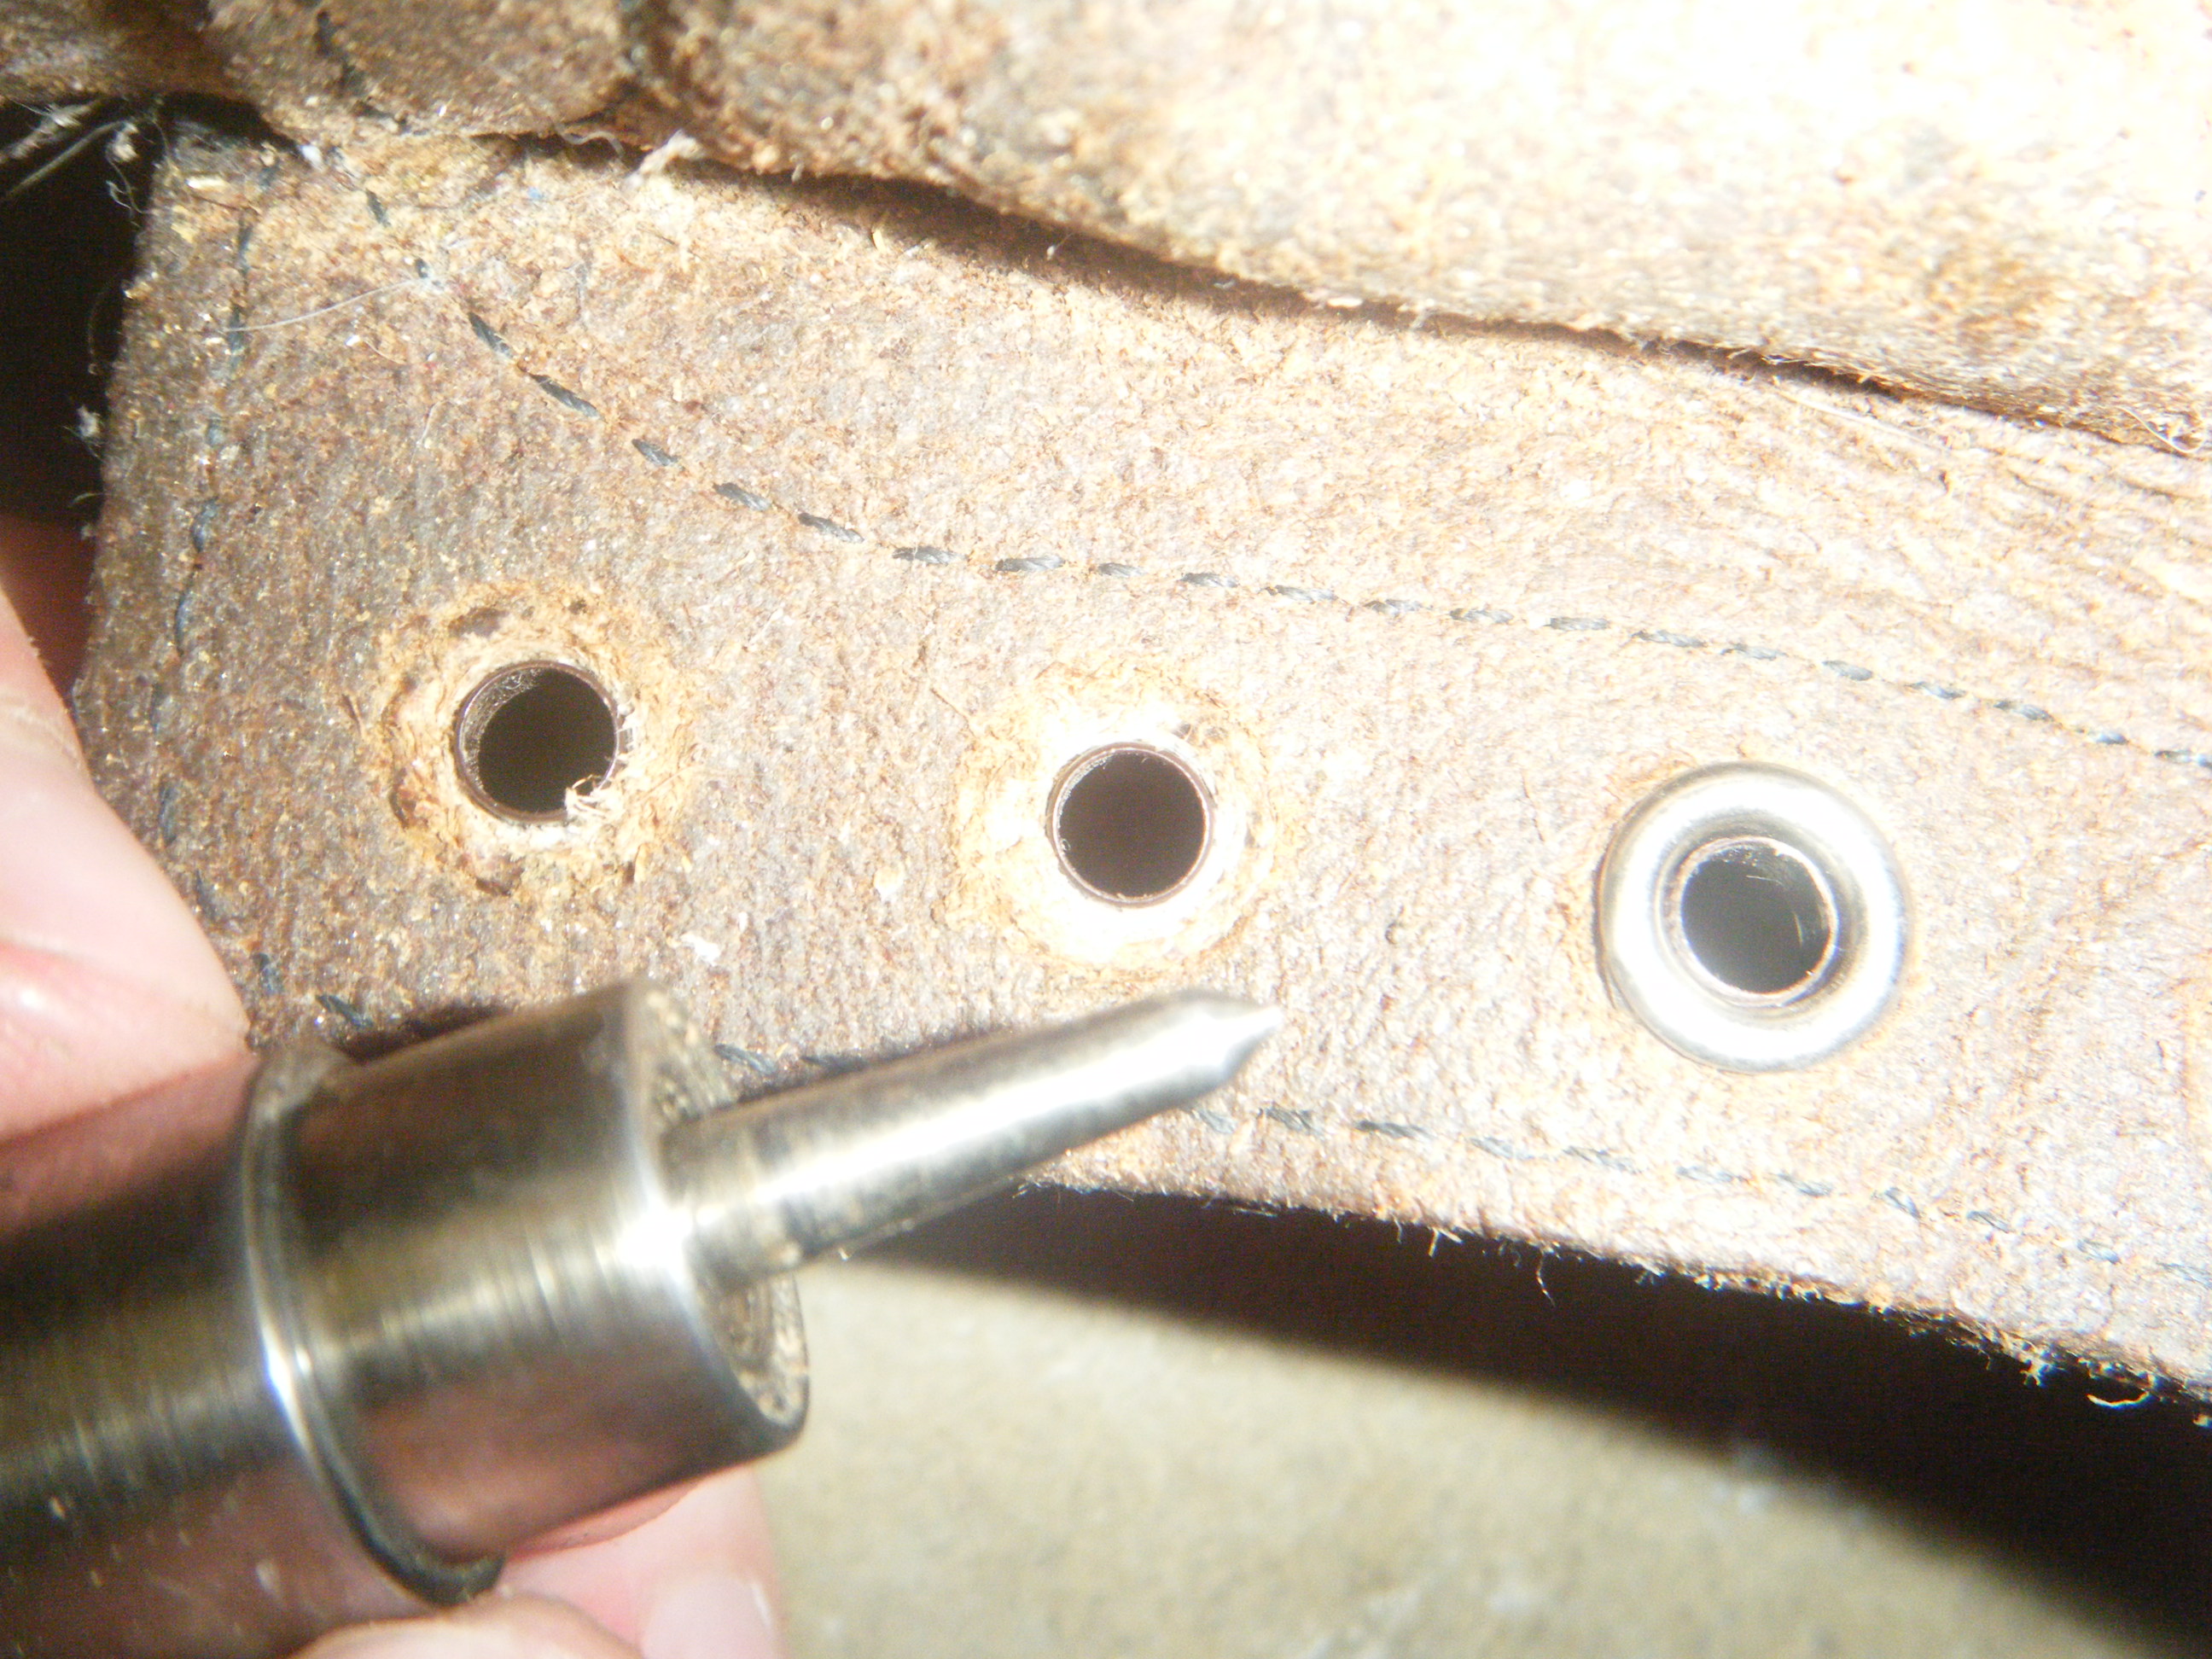
Back to the drill press I went, to remove the remainder of the eyelets as I had done with the speed hooks. I wasn't able to hold the eyelets while I drilled the crimp off of them - but was able to carefully remove enough of the crimp that I was able to pry the remaining portion of the eyelet out with a screwdriver.
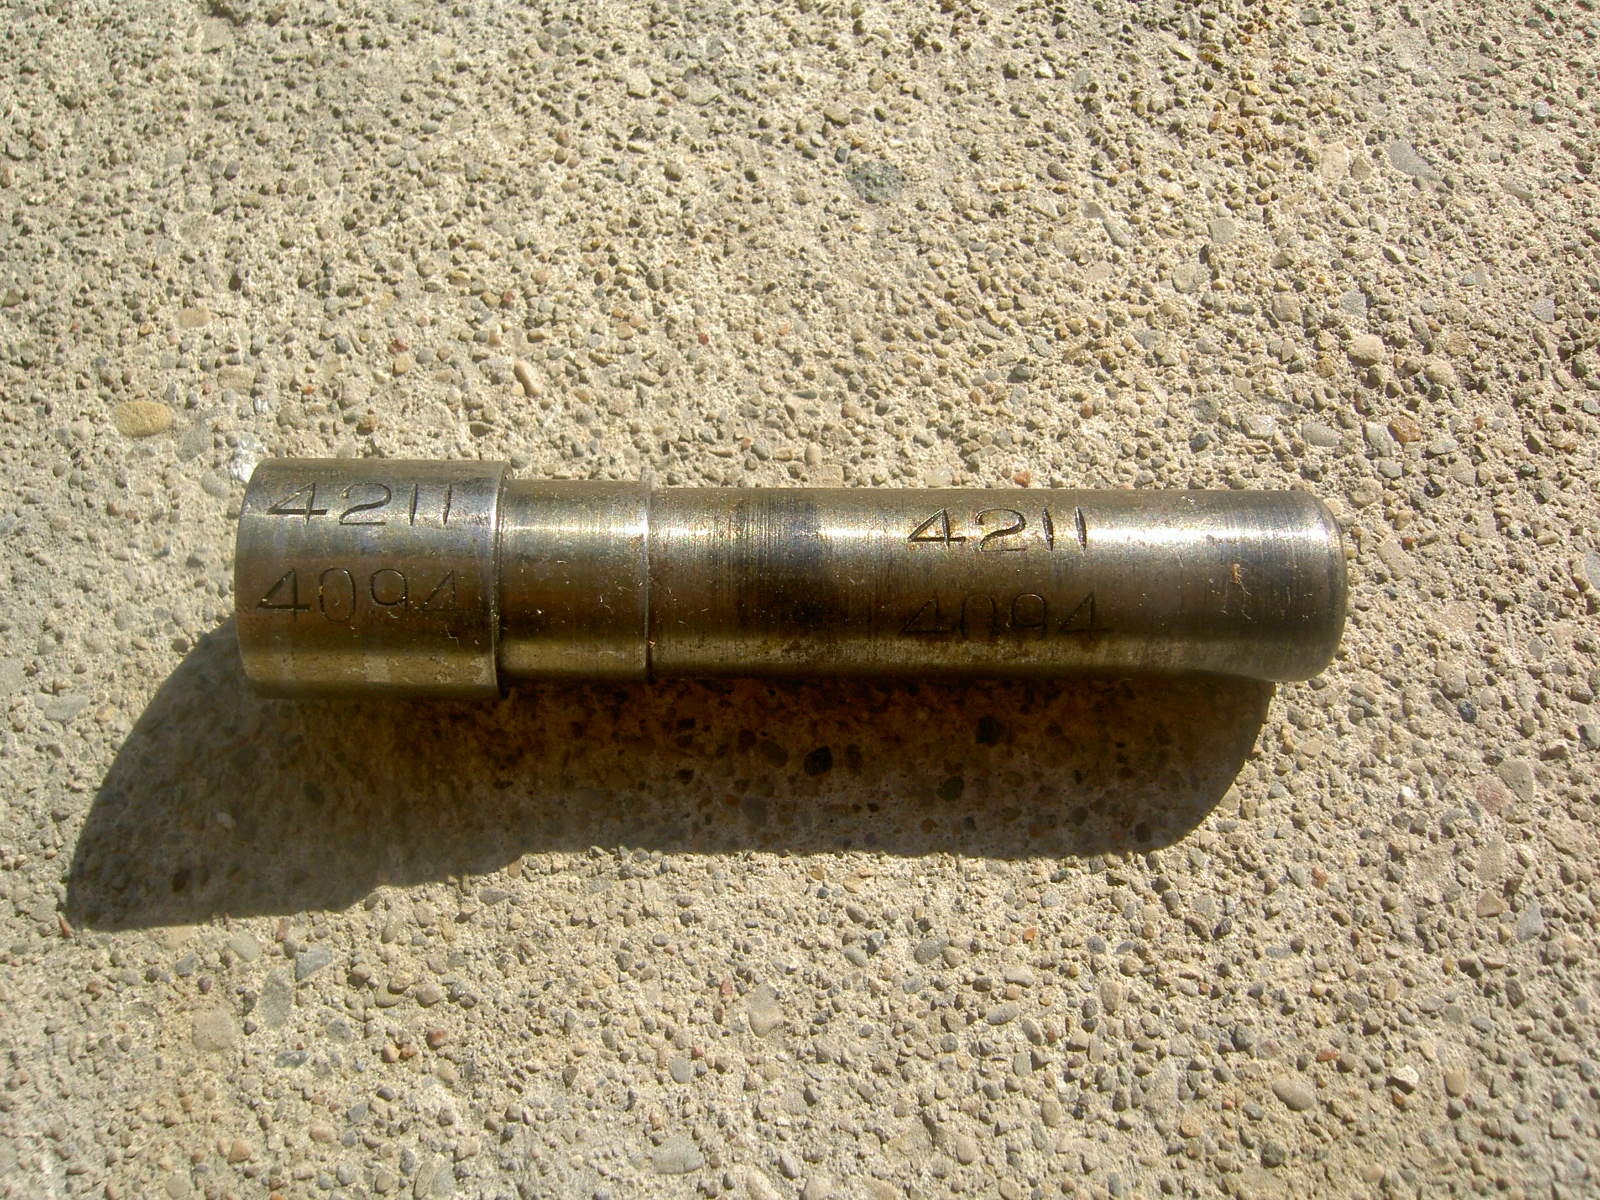
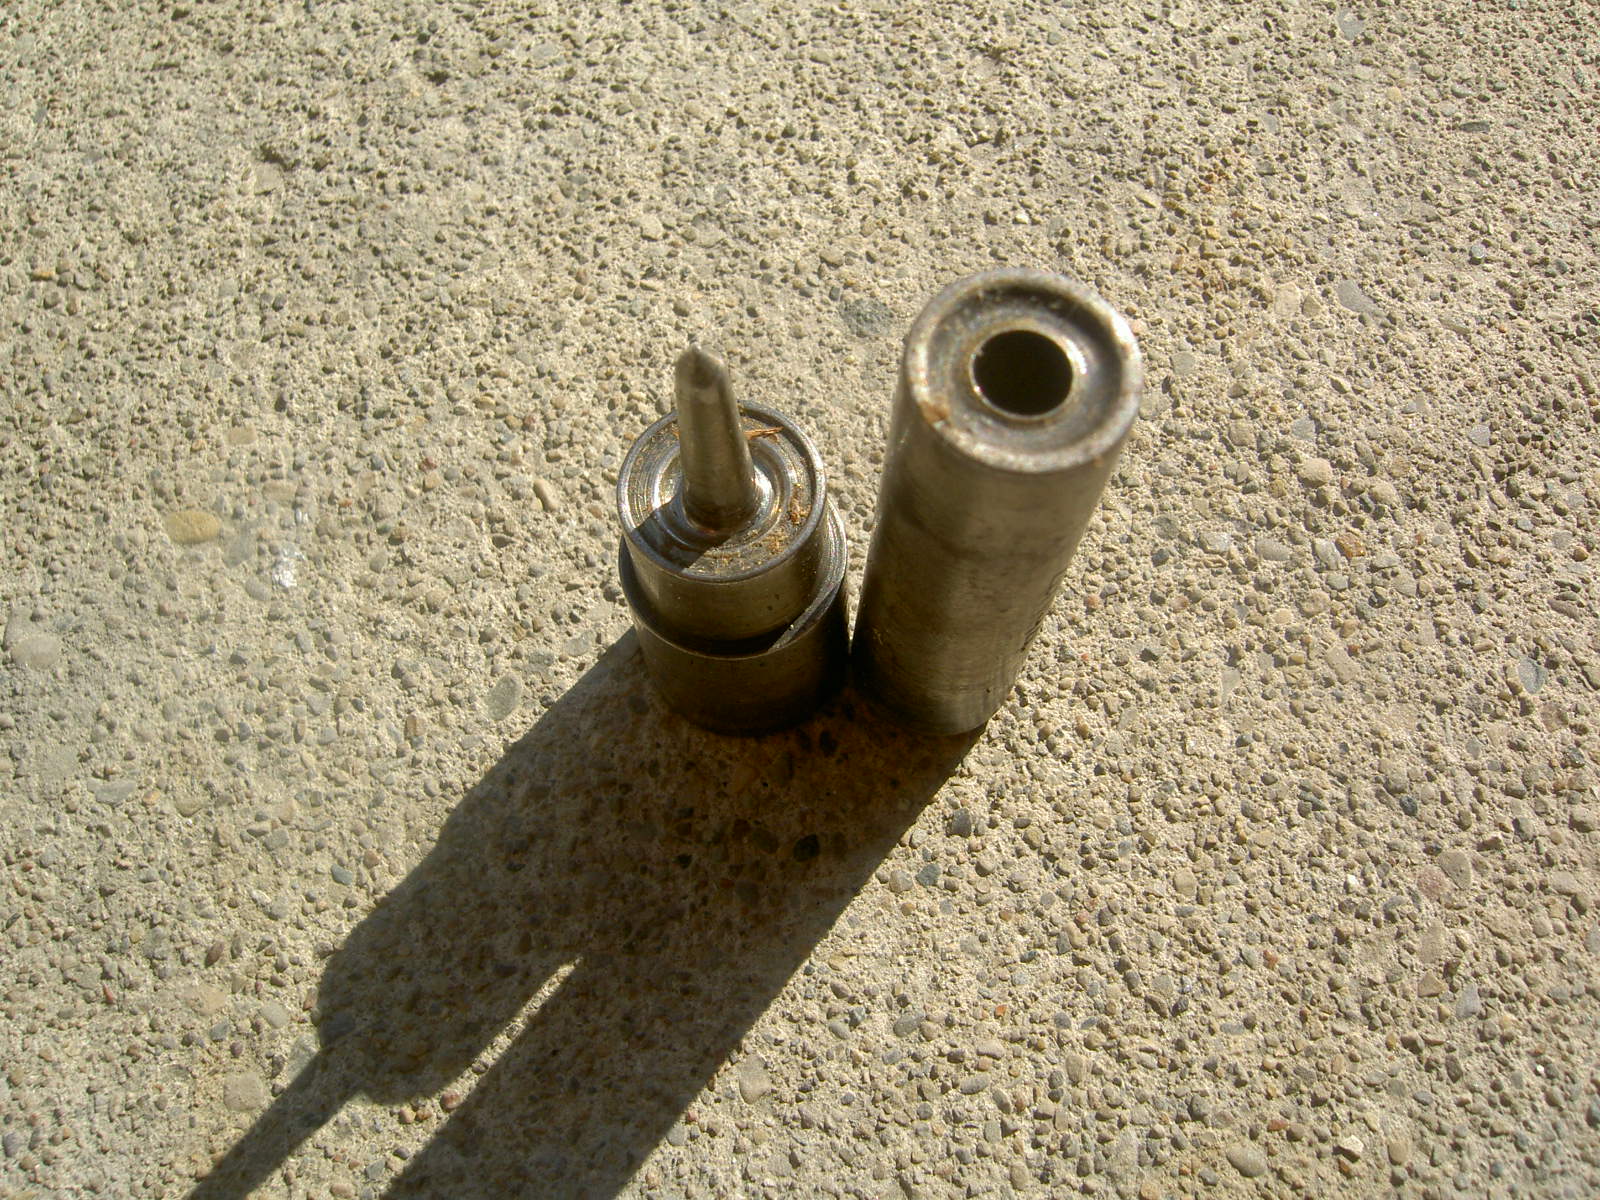
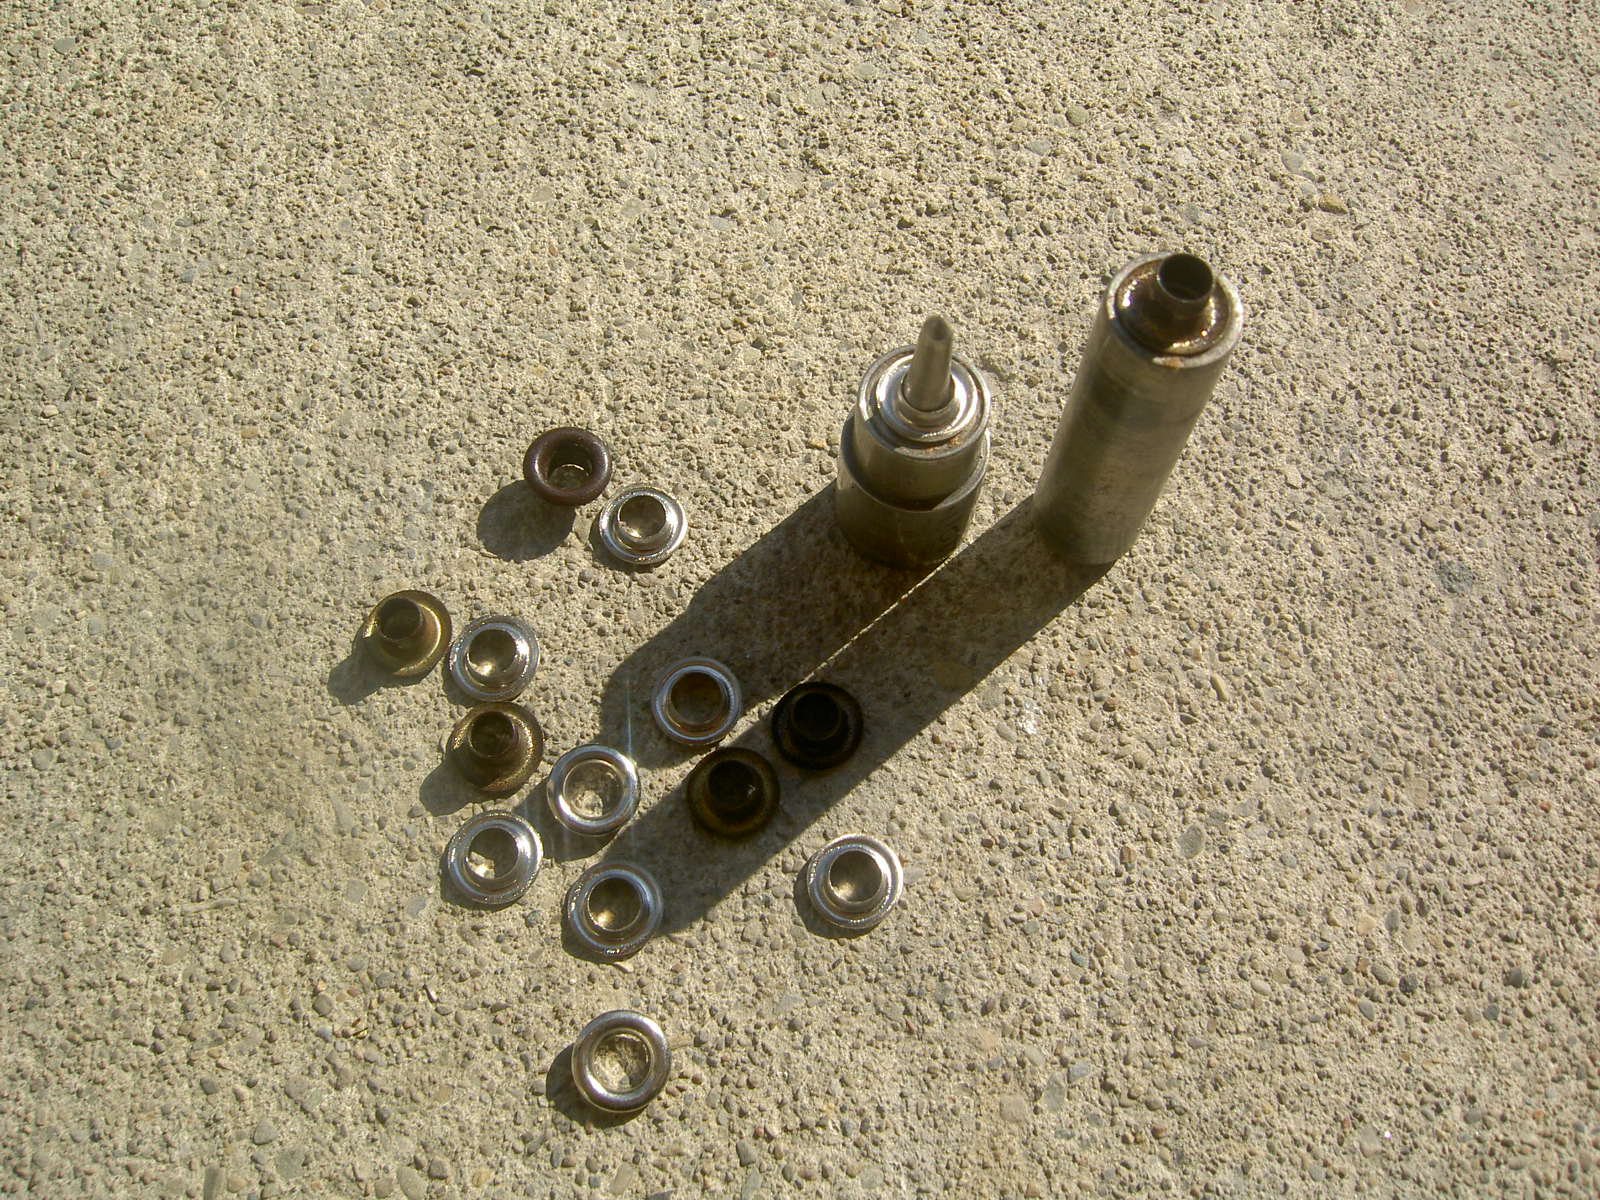
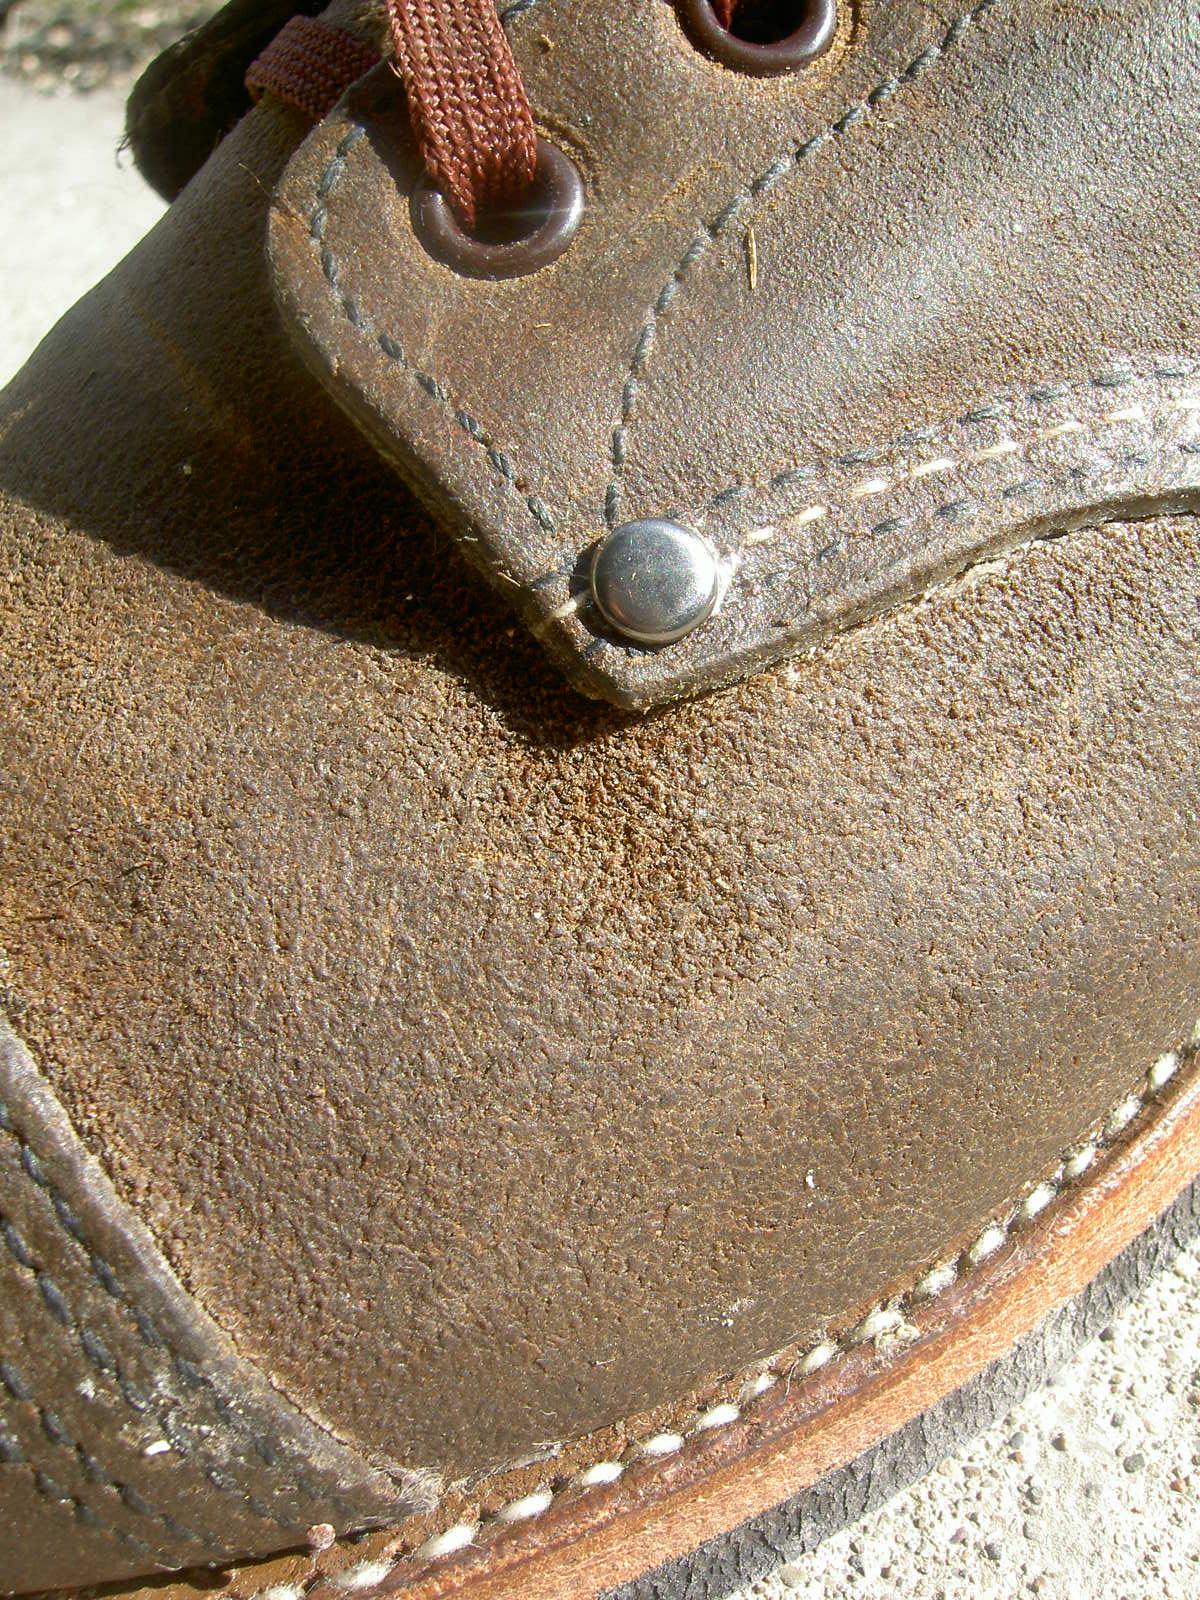
As previously mentioned, the replacement eyelets that I sourced were of two piece construction, with a brown front and nickeled back which is held in place by the front portion being flared.
These eyelets just magically happened to be the "right size" and fit into the eyelet holes without issues, stretching or undue force. I did have to slightly compress the leather on the back with a screwdriver to expose more of the eyelet shank to place the backing piece on prior to flaring/crimping with the die. The die was a simple type that you stand up and hit with a hammer to set in place.Rivets
Seeing the results of the eyelets from my cobbler, I decided to just attempt the rivets myself. They seemed pretty straight forward.
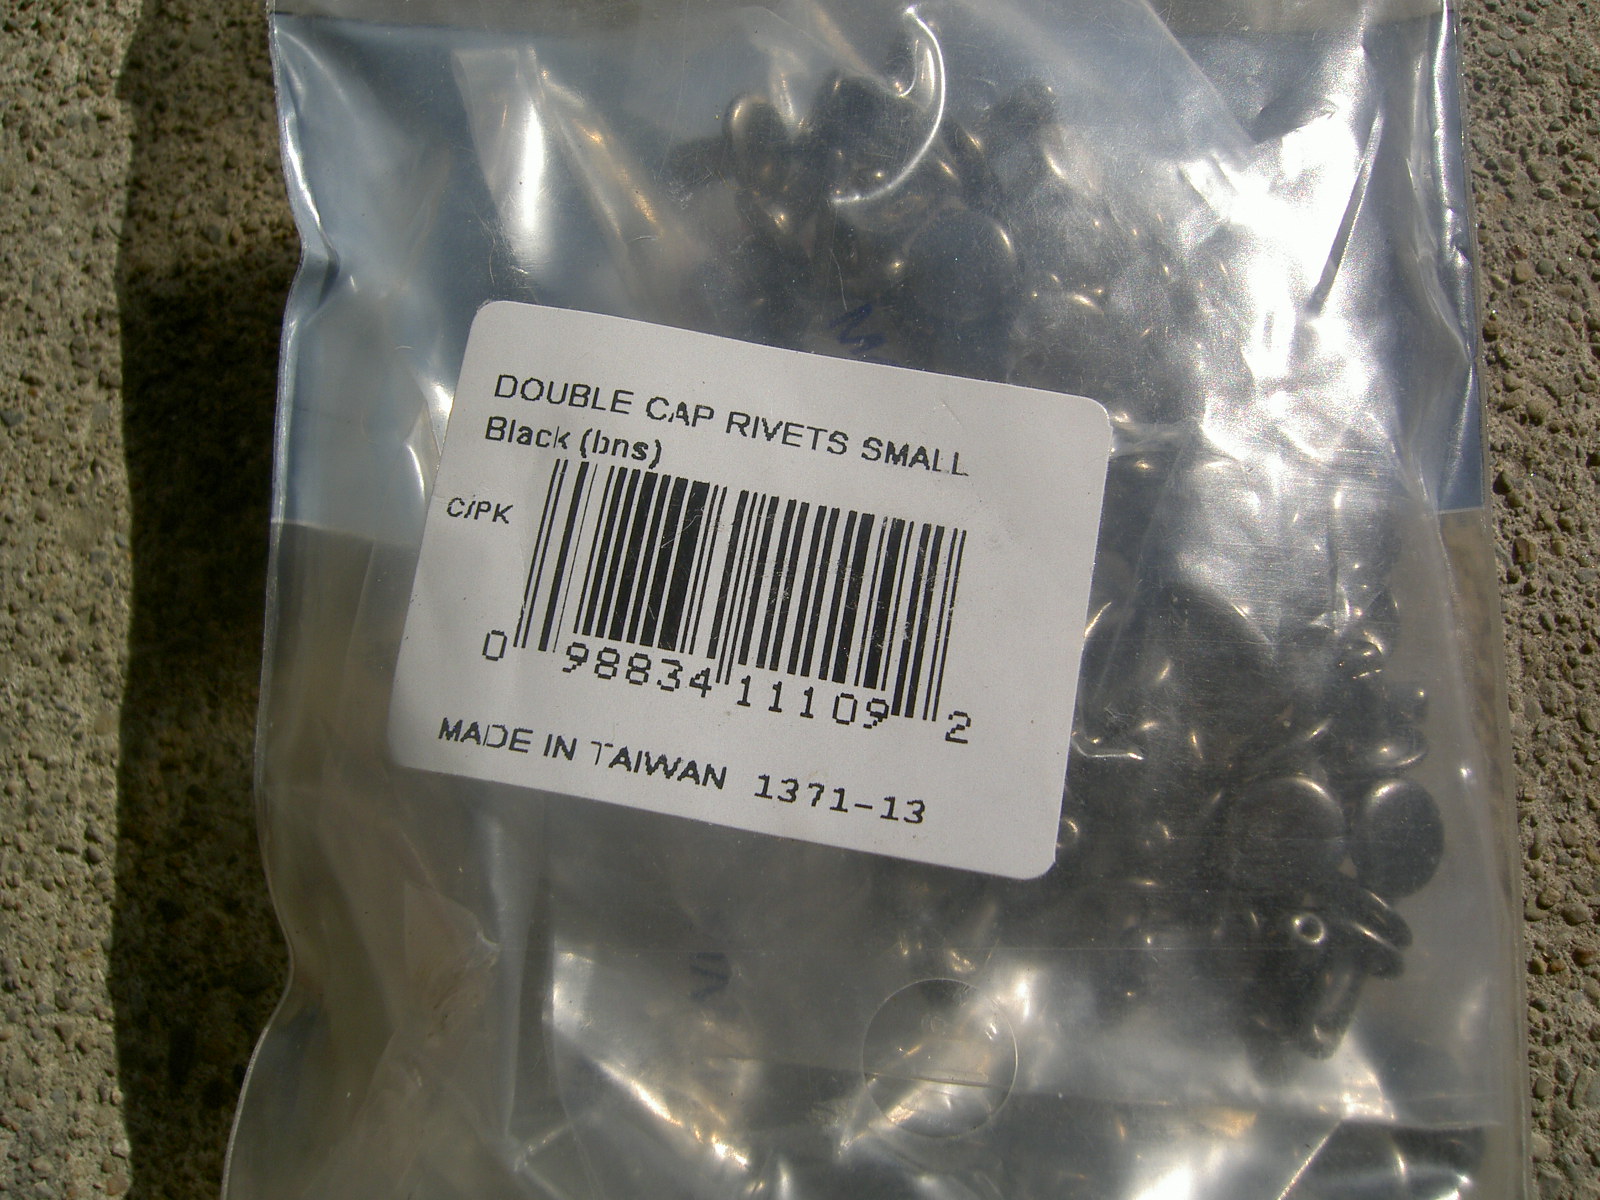
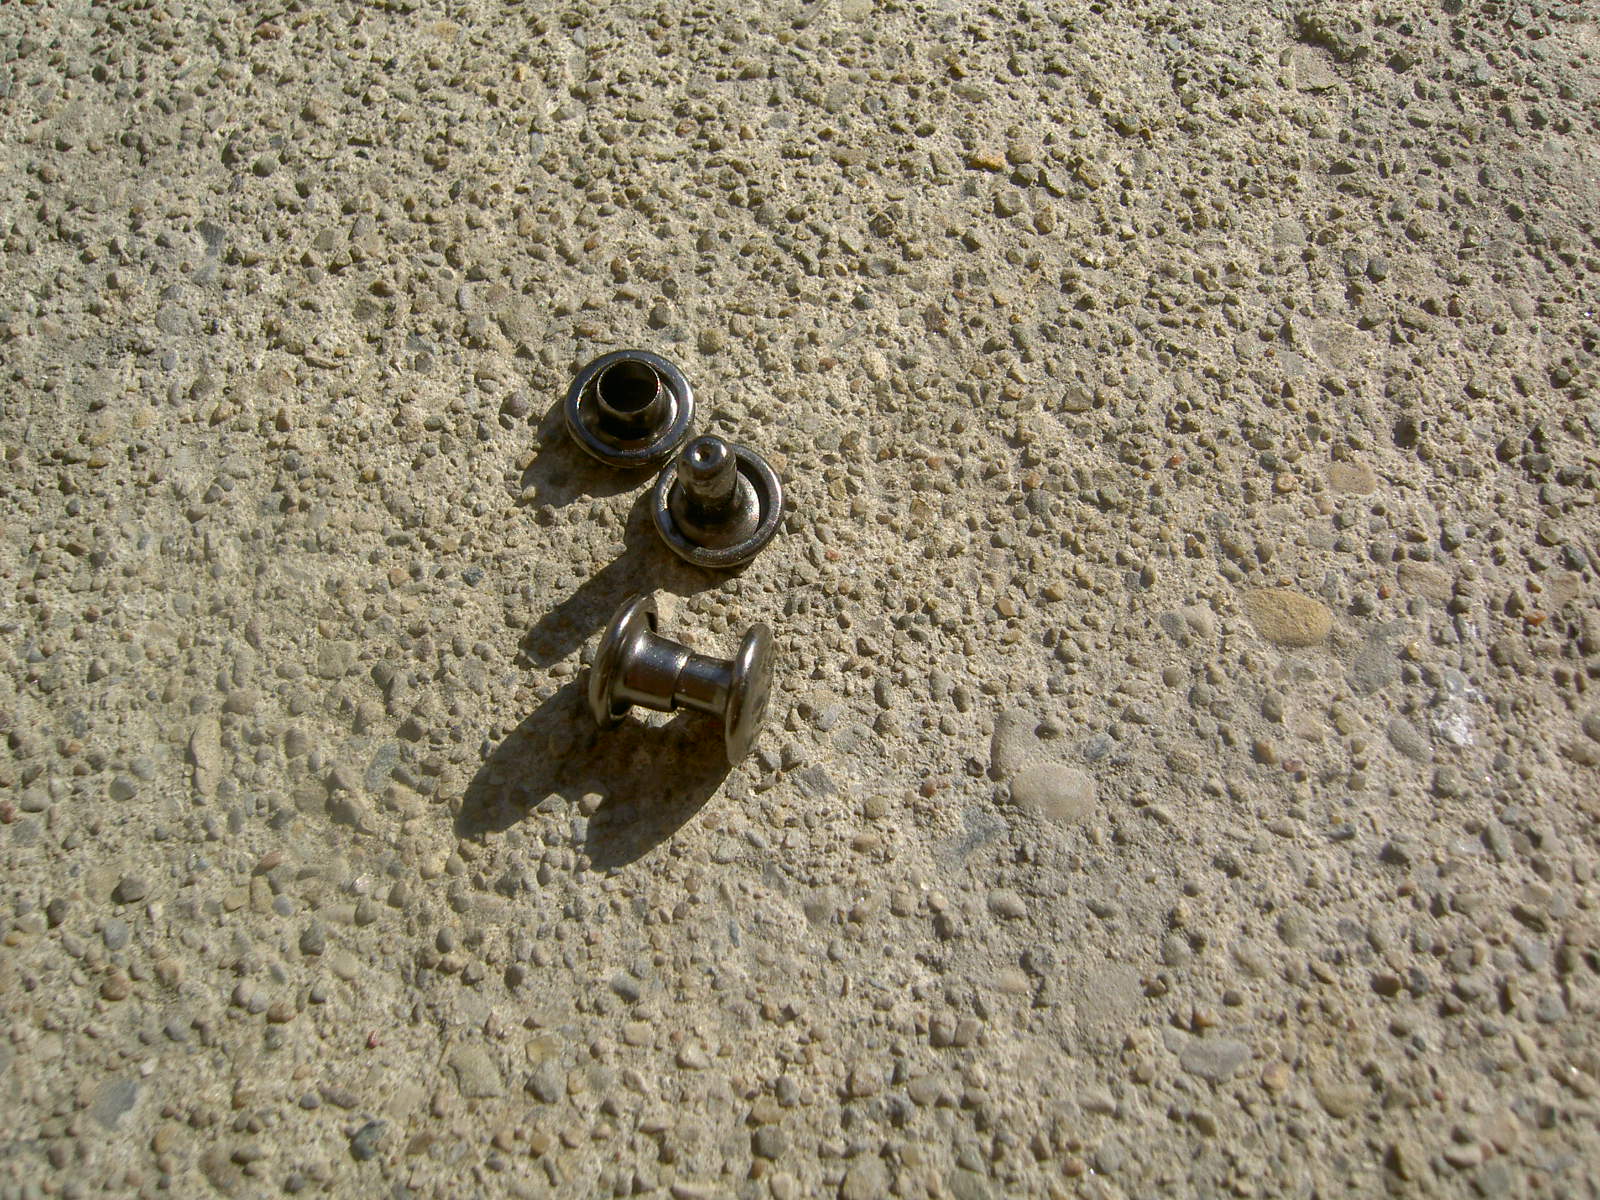
I found a very similar 2 piece double cap and stud type rivet from Tandy Leather which was pretty cheap for a package of 100. This type of rivet simply clicks into itself then is compressed to lock into position.
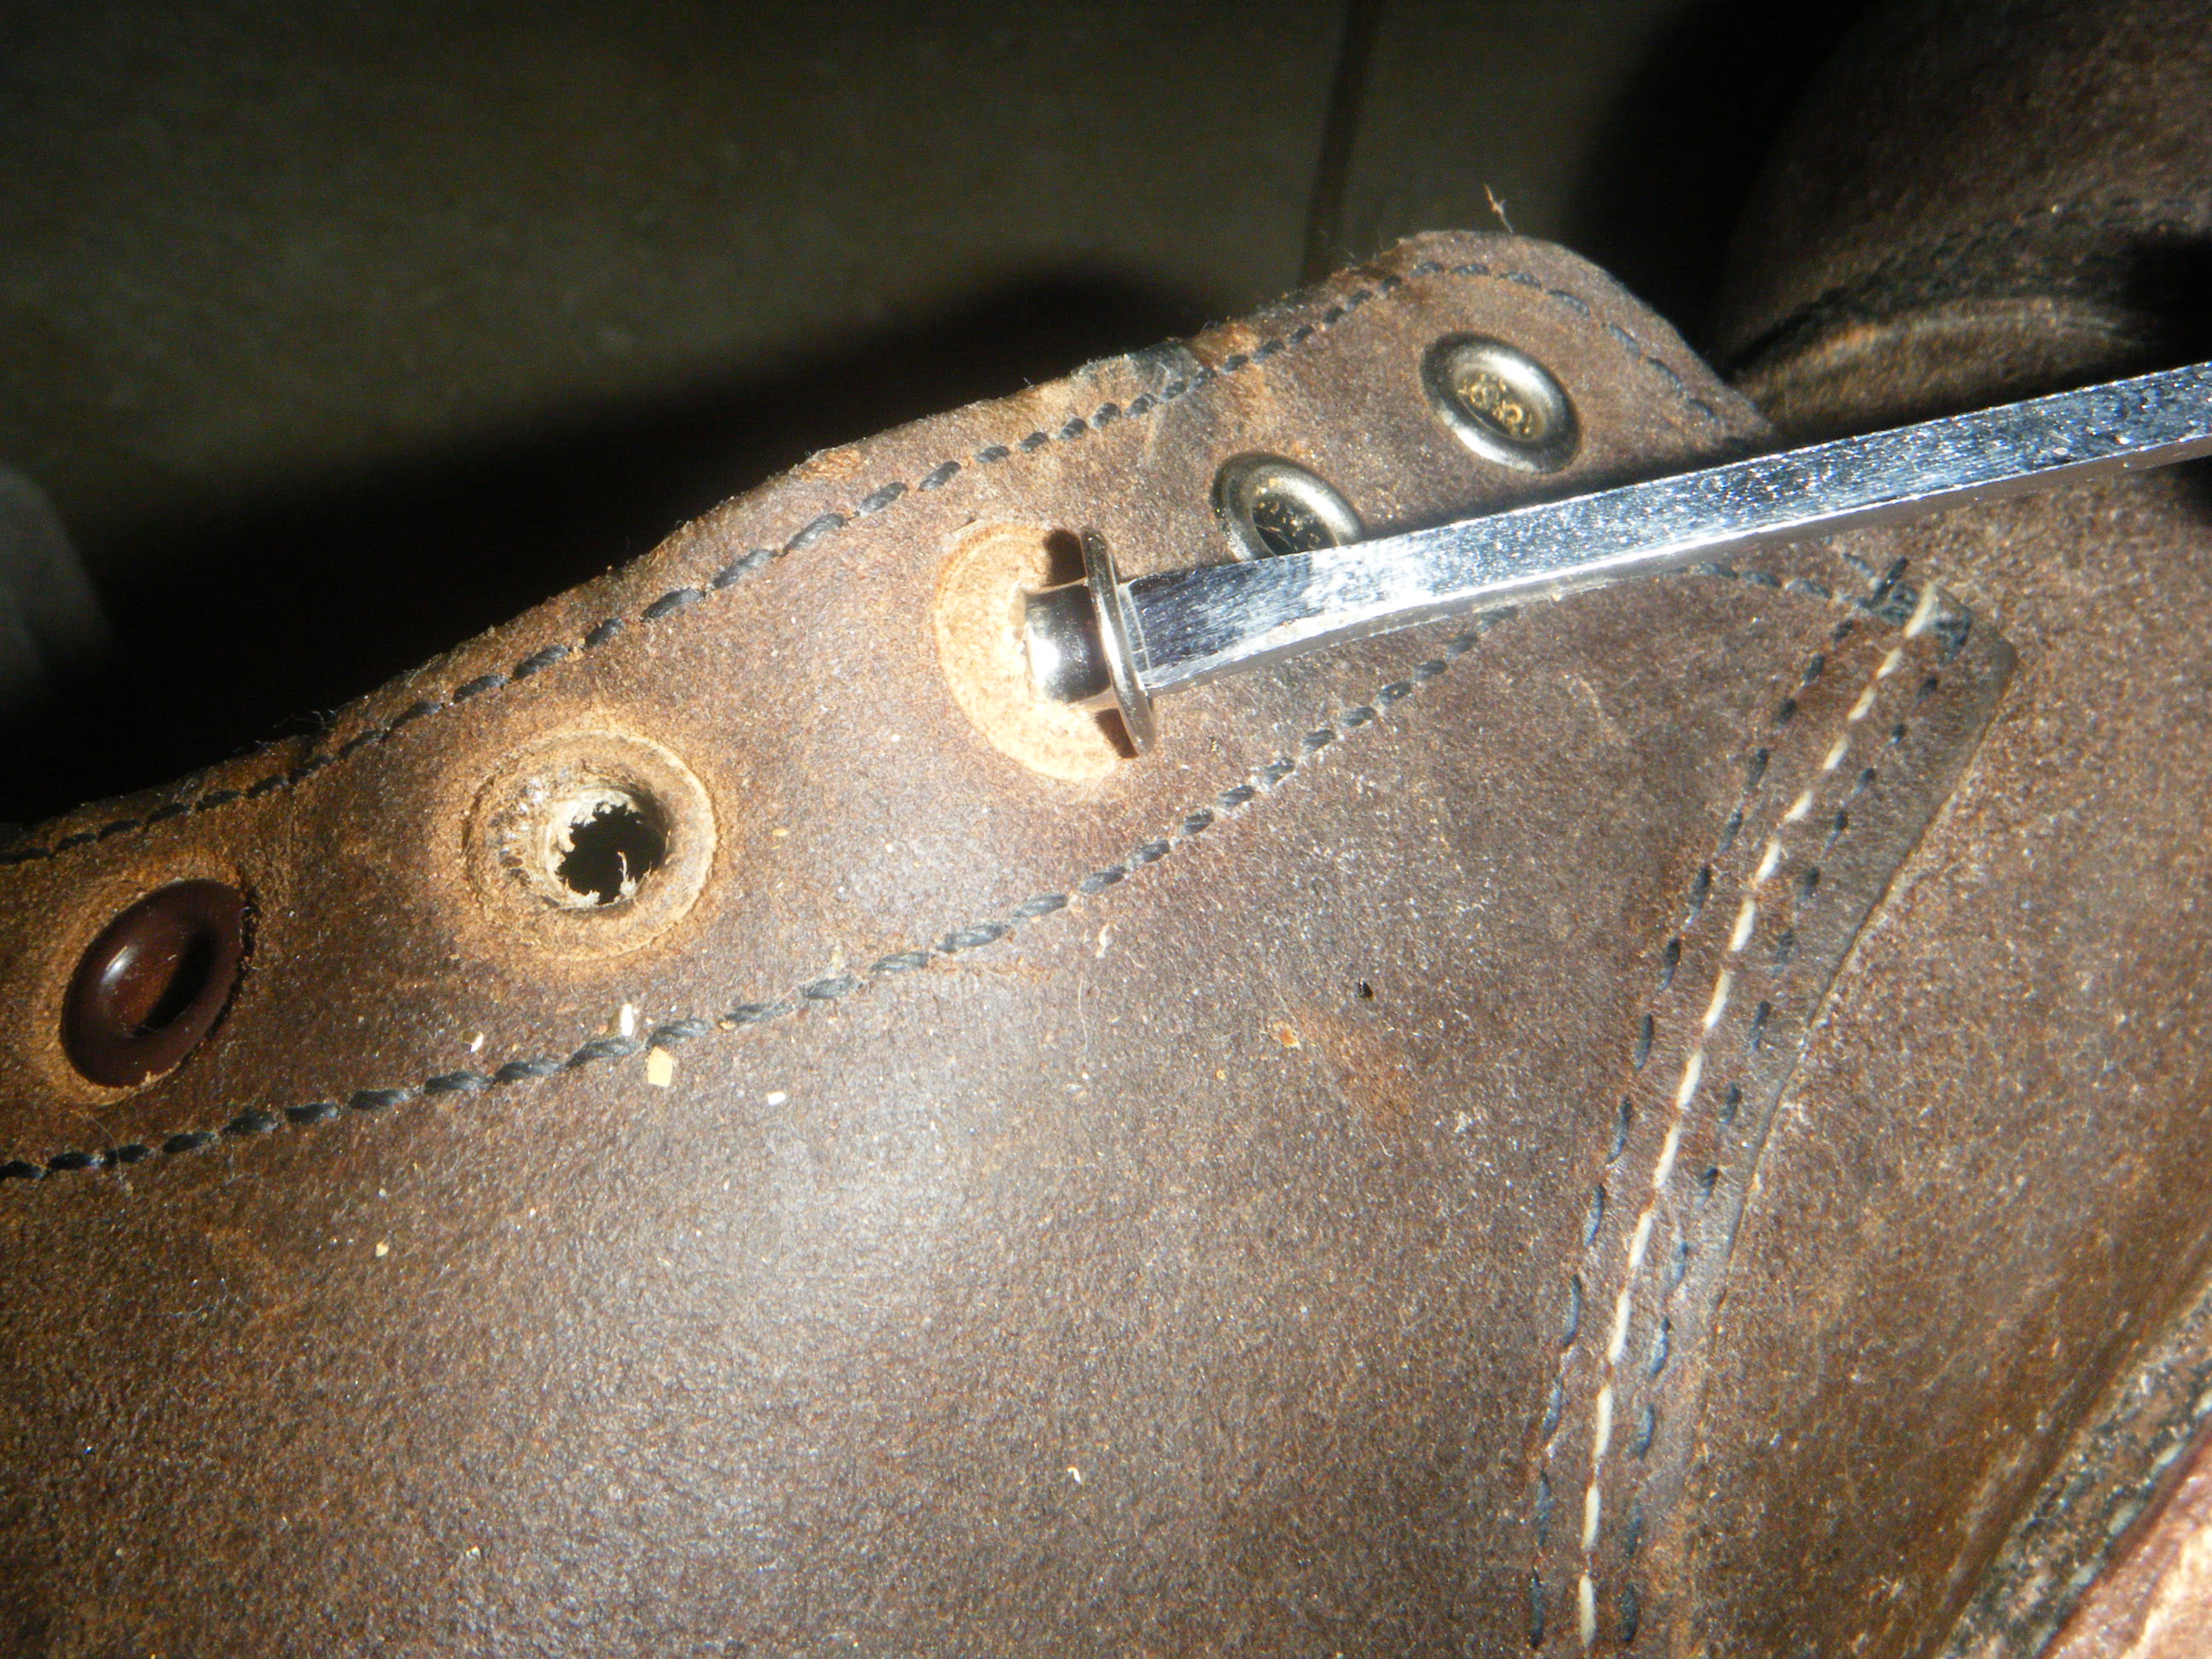
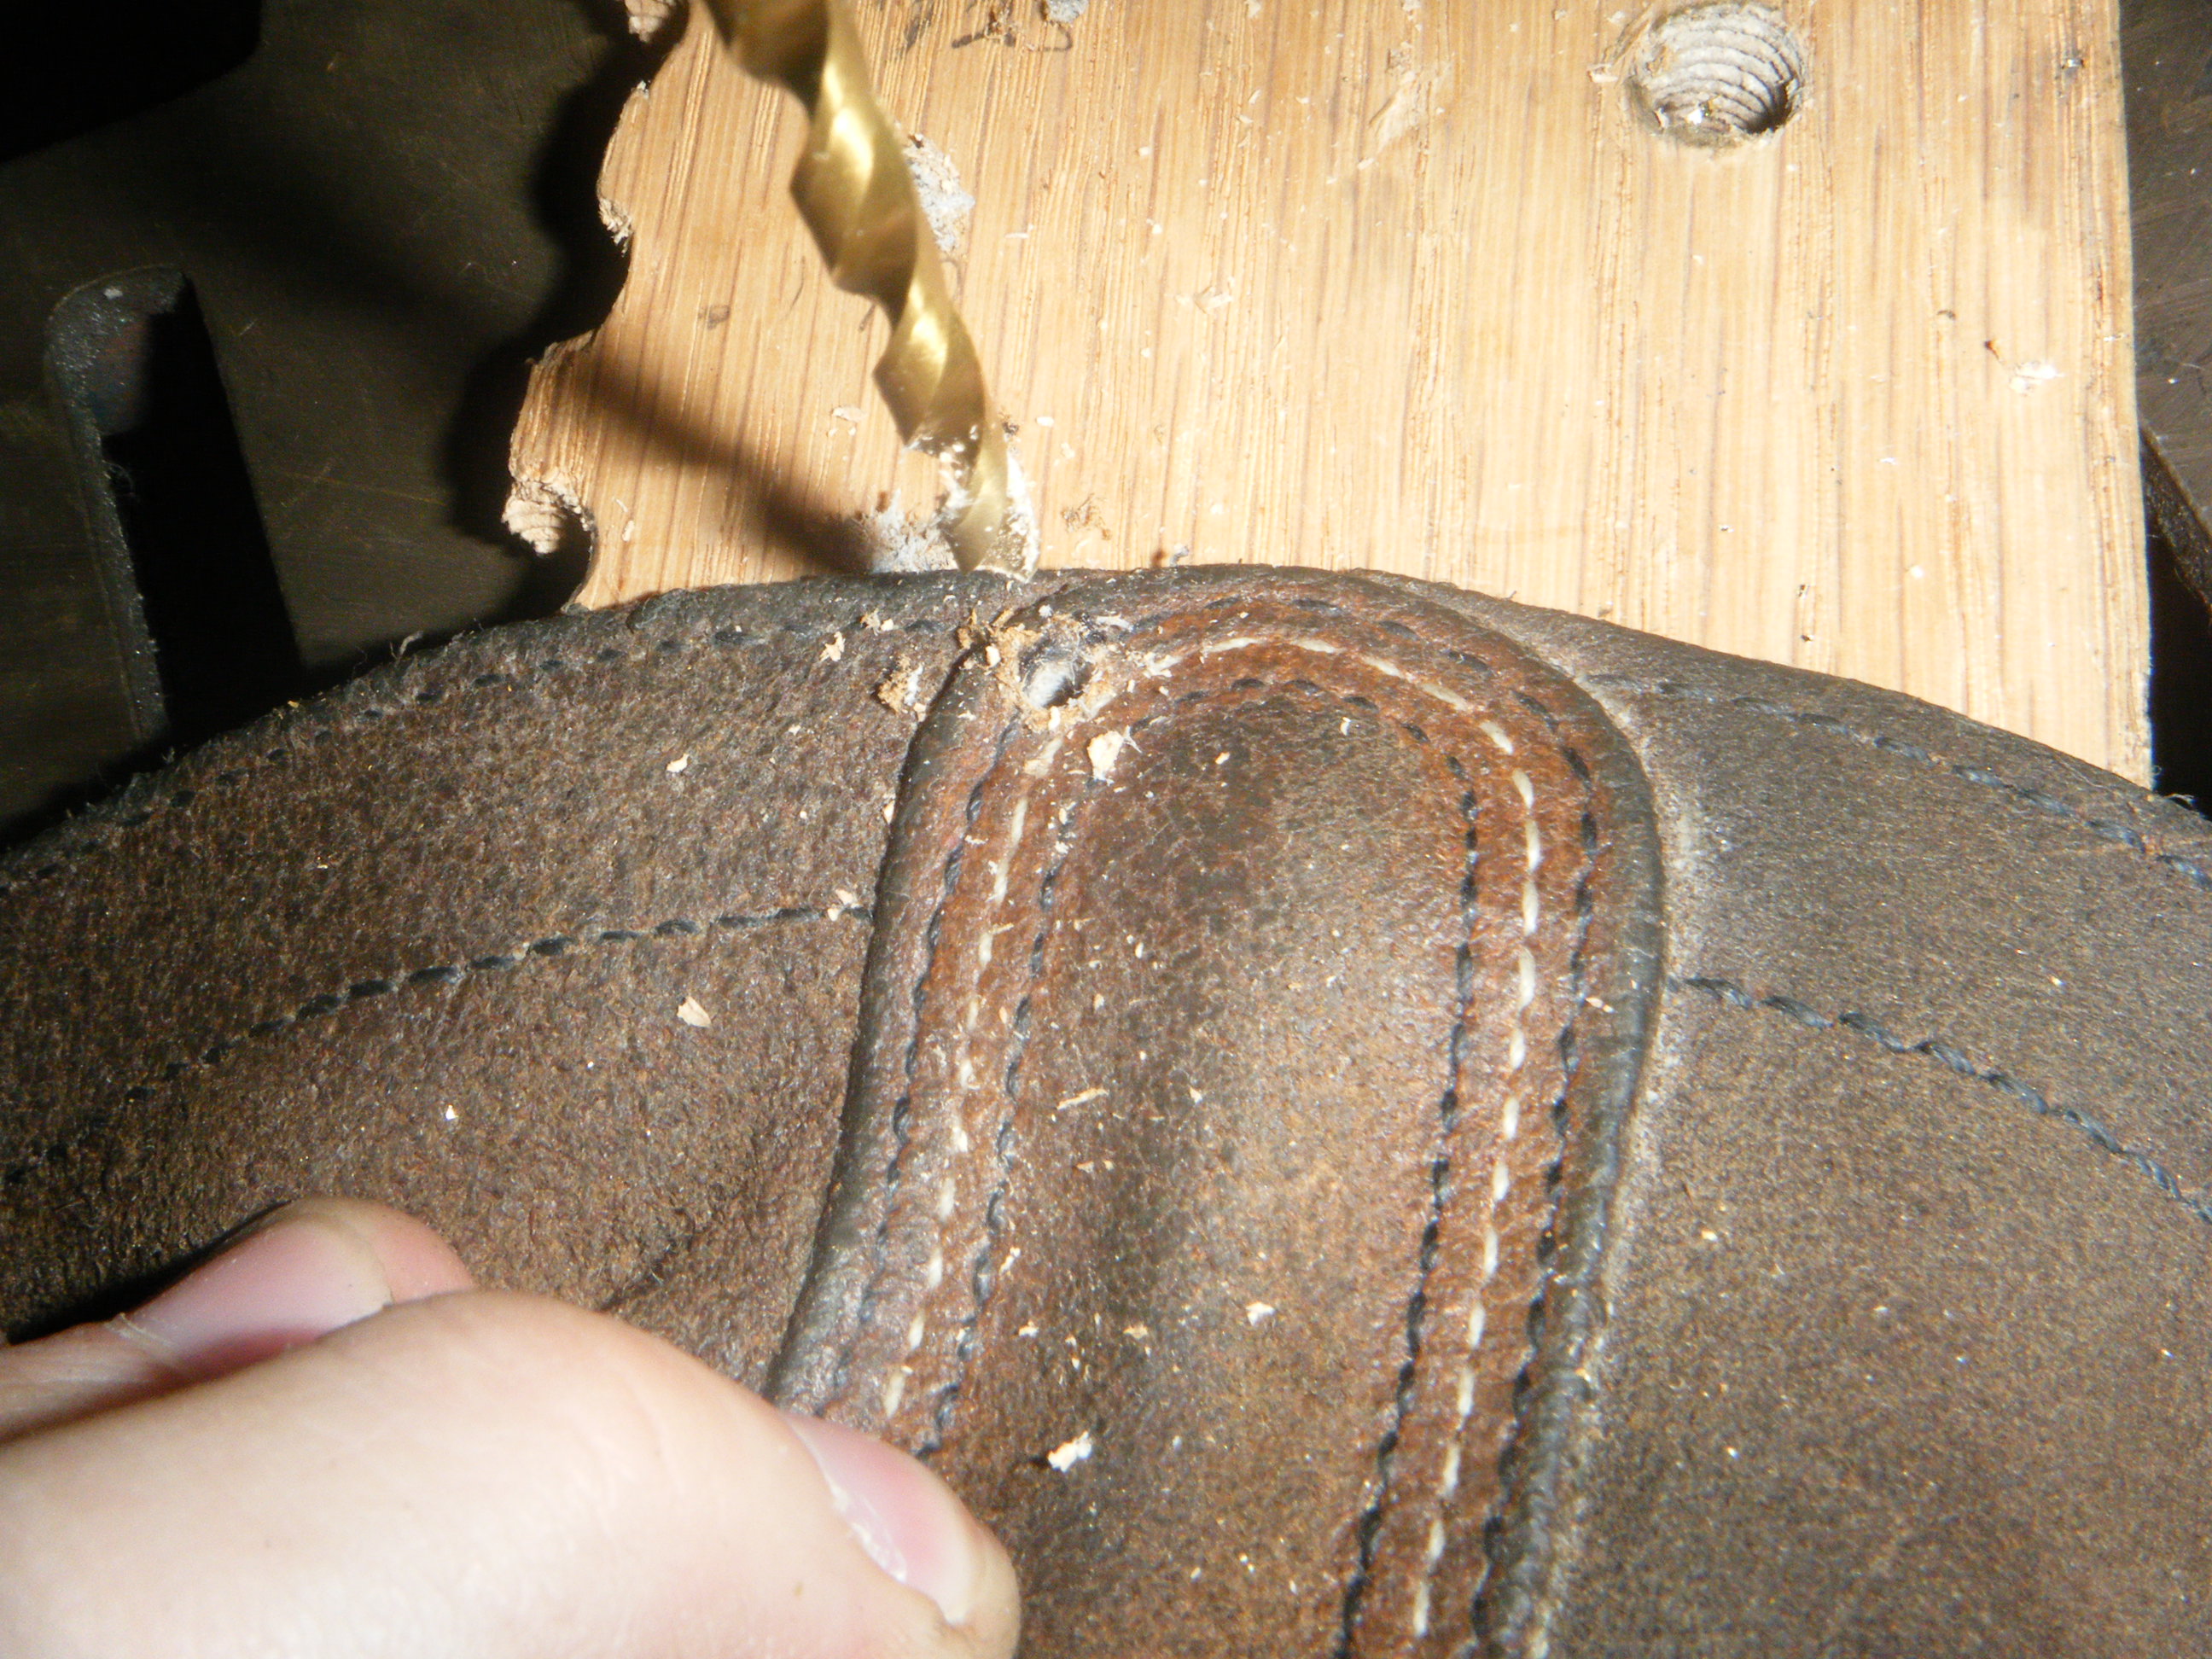
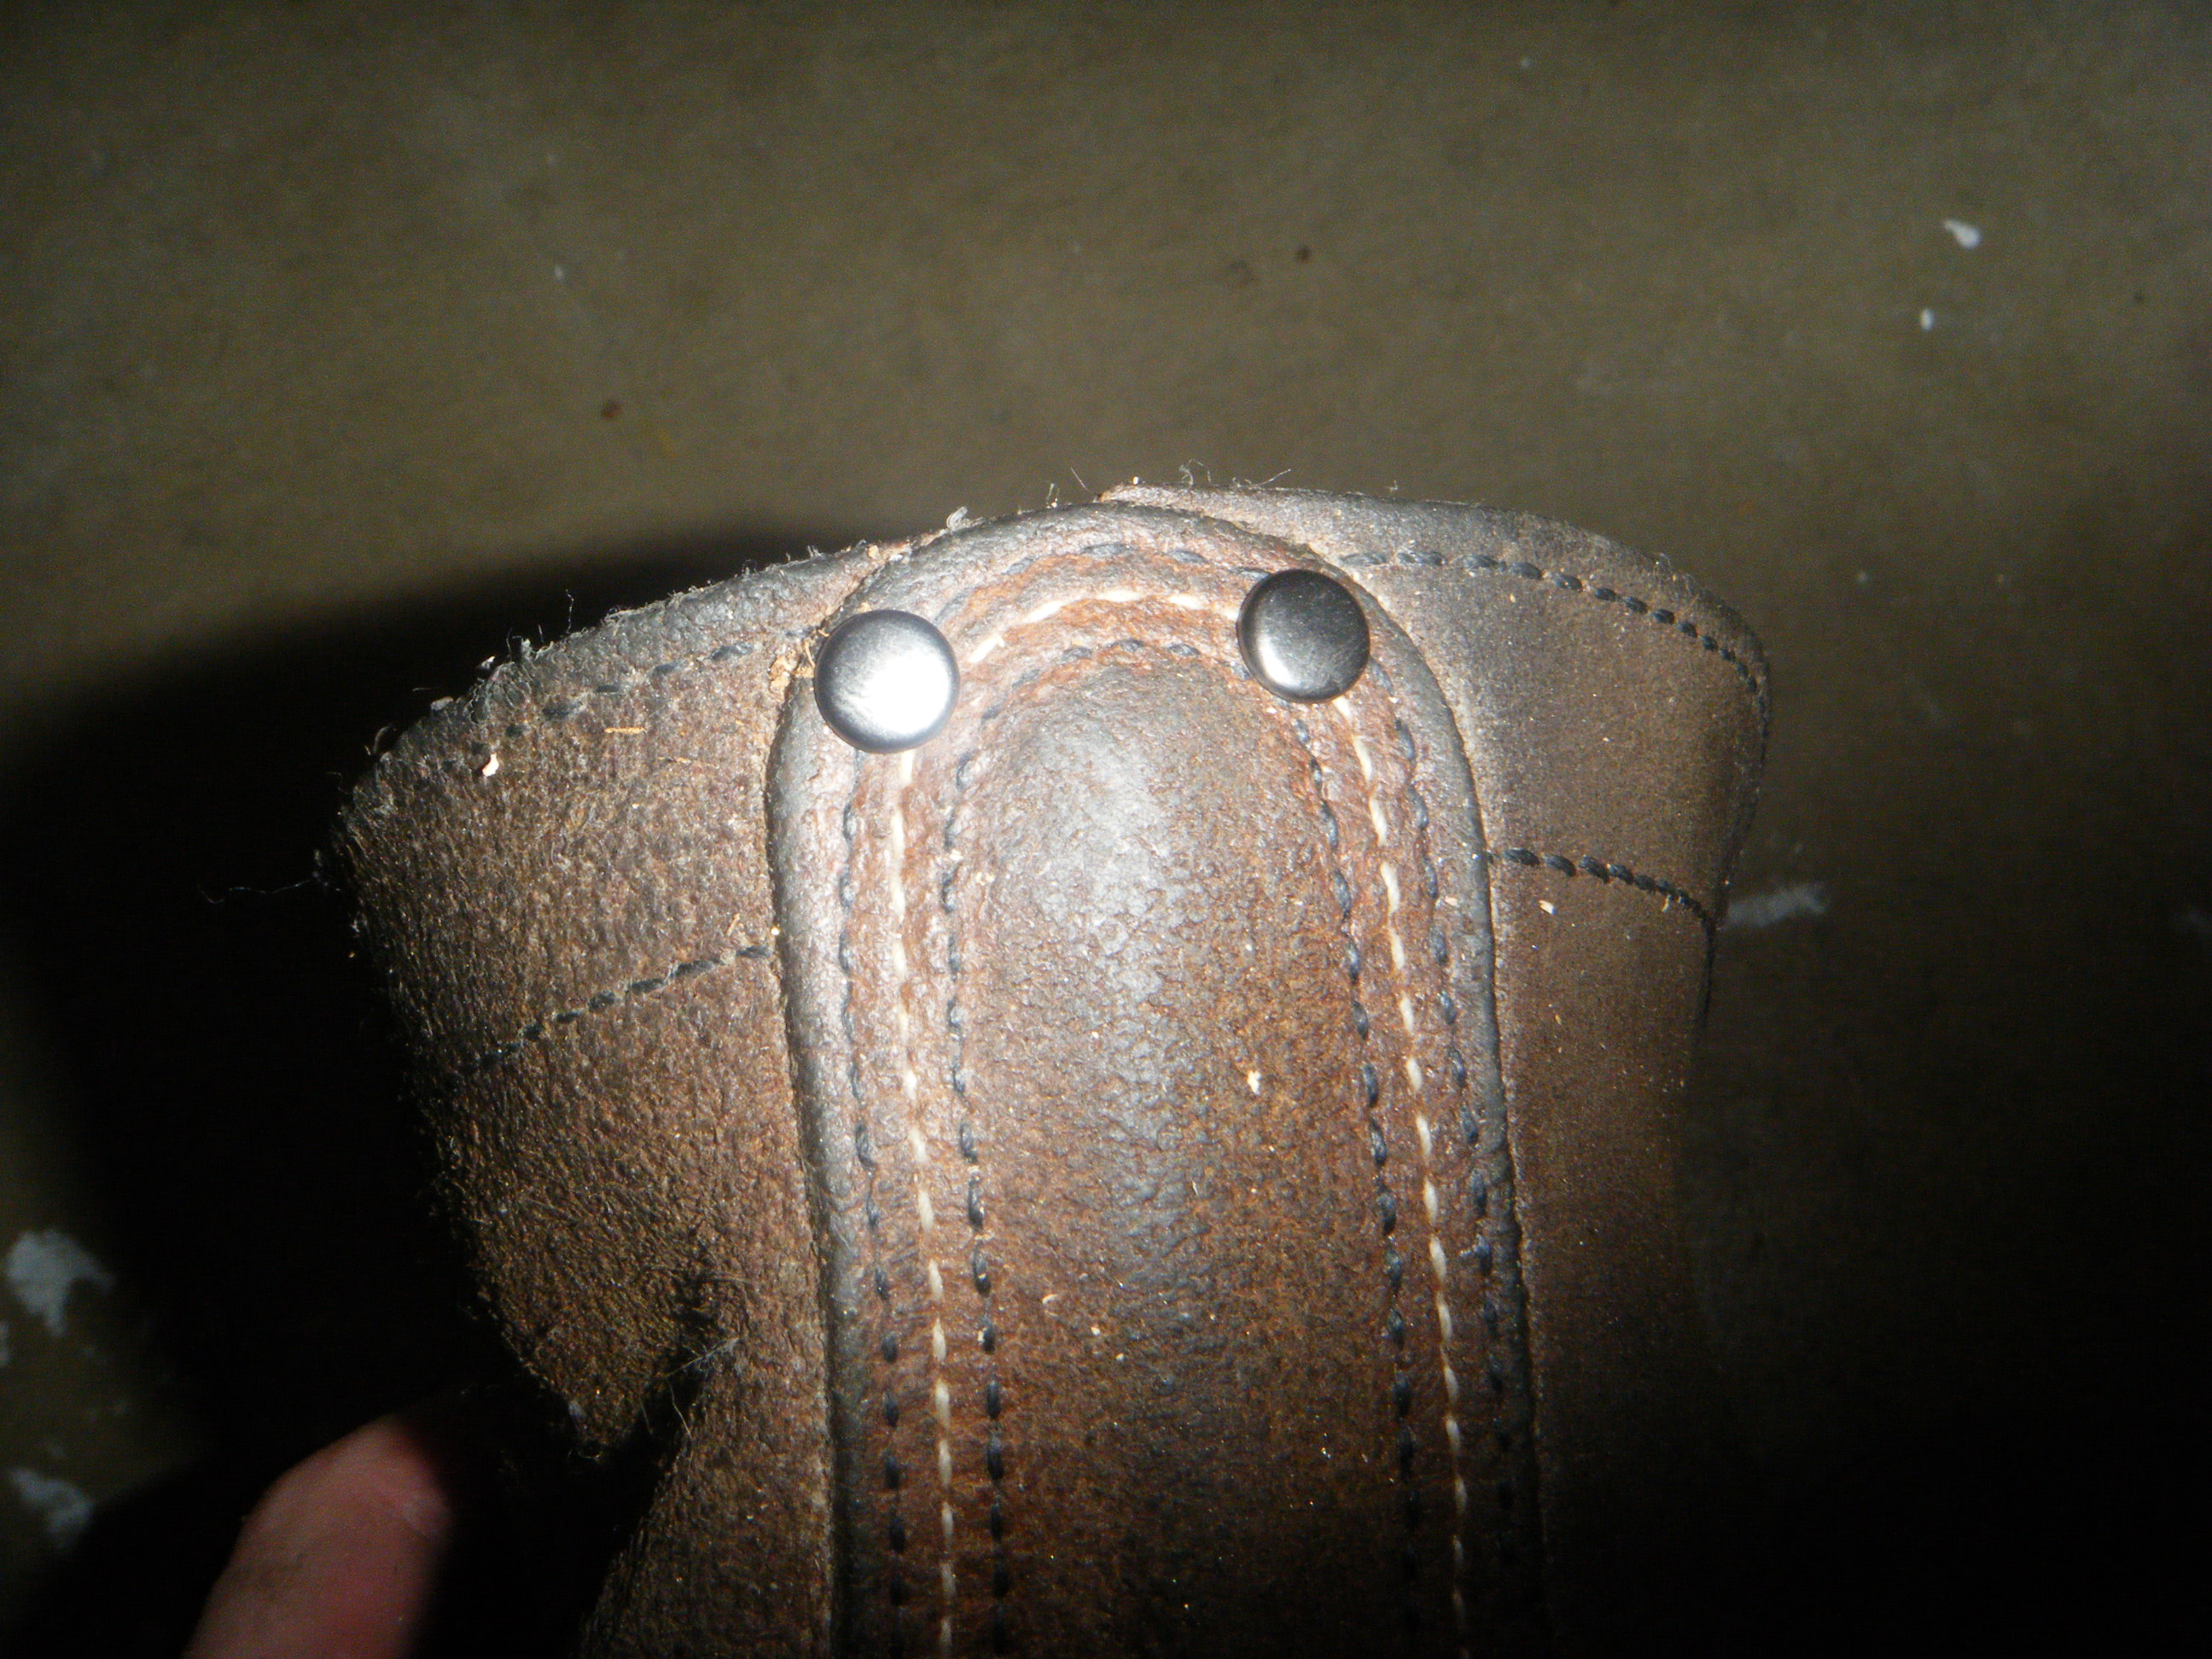
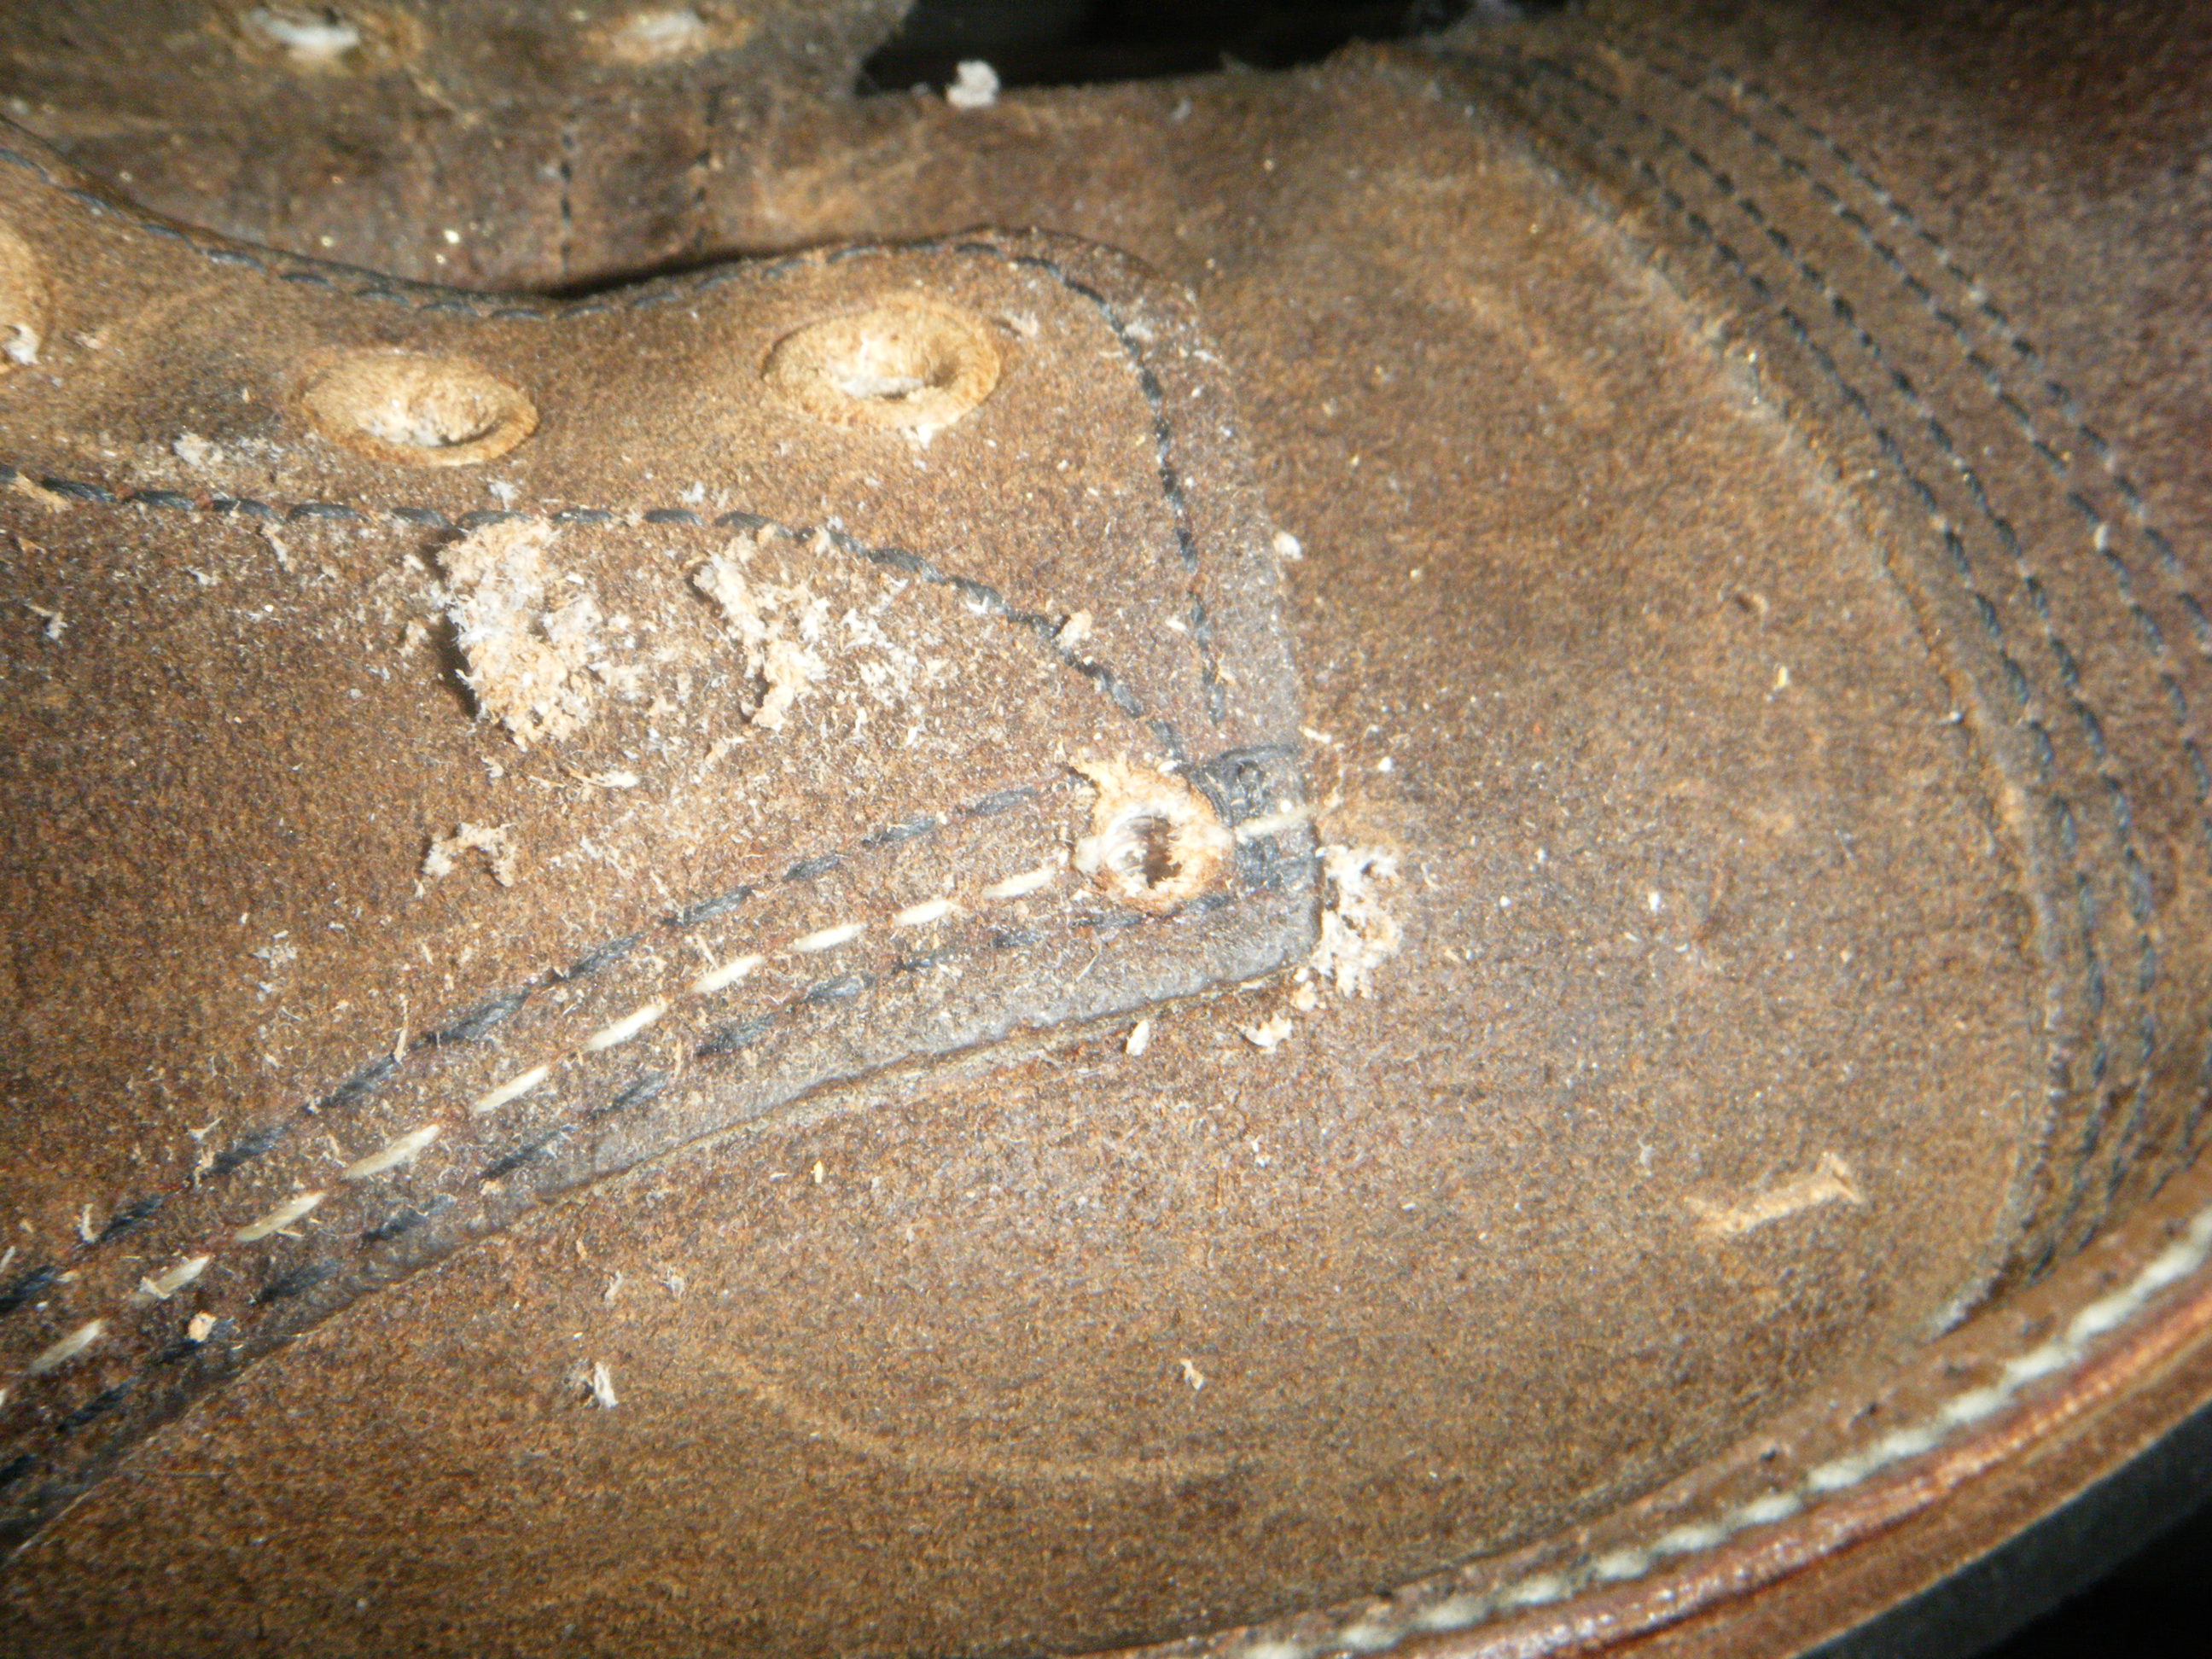
Once again back at the drill press, I drilled holes in the back stay for the rivets, inserted and crimped them in place with a hammer.
The lower rivets, where the upper meets the vamp proved to be a bit more difficult for a couple of reasons. There are multiple thicknesses of leather to set the rivet through -more so than the backstay, as well as the rivet being in an unexposed location.
I put a block of wood inside the boot, then pushed the leather down on top of the block prior to drilling the hole for the rivet.
This rivet placement proved to be problematic, in that I was never able to get one to actually set properly and lock in due to angles as well as the thickness of the leather.
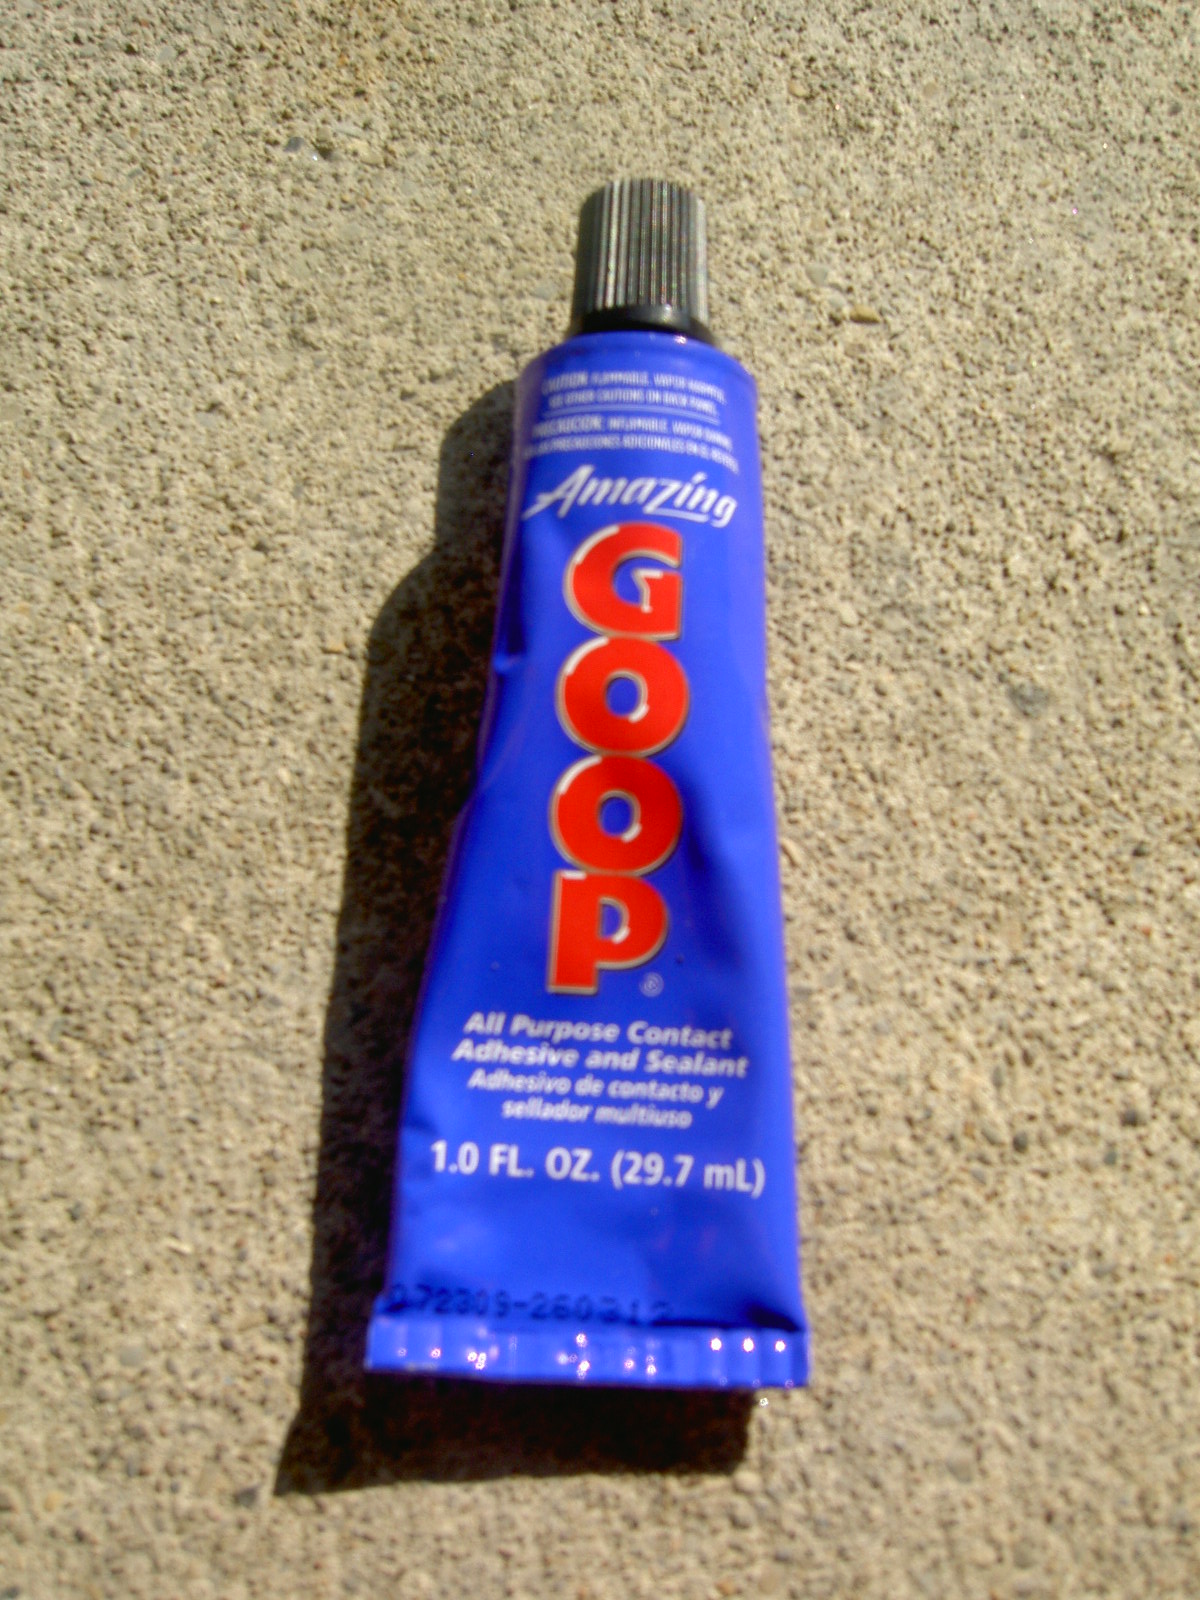
I resorted to using "Goop" all purpose cement to glue the rivet in the hole and glue the two sides of the rivet to themselves. I'm not very confident in how well this is going to hold up over the long term, but hopefully I'm wrong.
The Soles and Heels:
If the above hasn't deterred you yet, this portion was probably the biggest pain in the ass to source everything and a leap of faith with my cobbler. In the end it worked out OK for me, but I'm not about to gamble and press my luck again with it.
Sourcing the Soles and Heels:
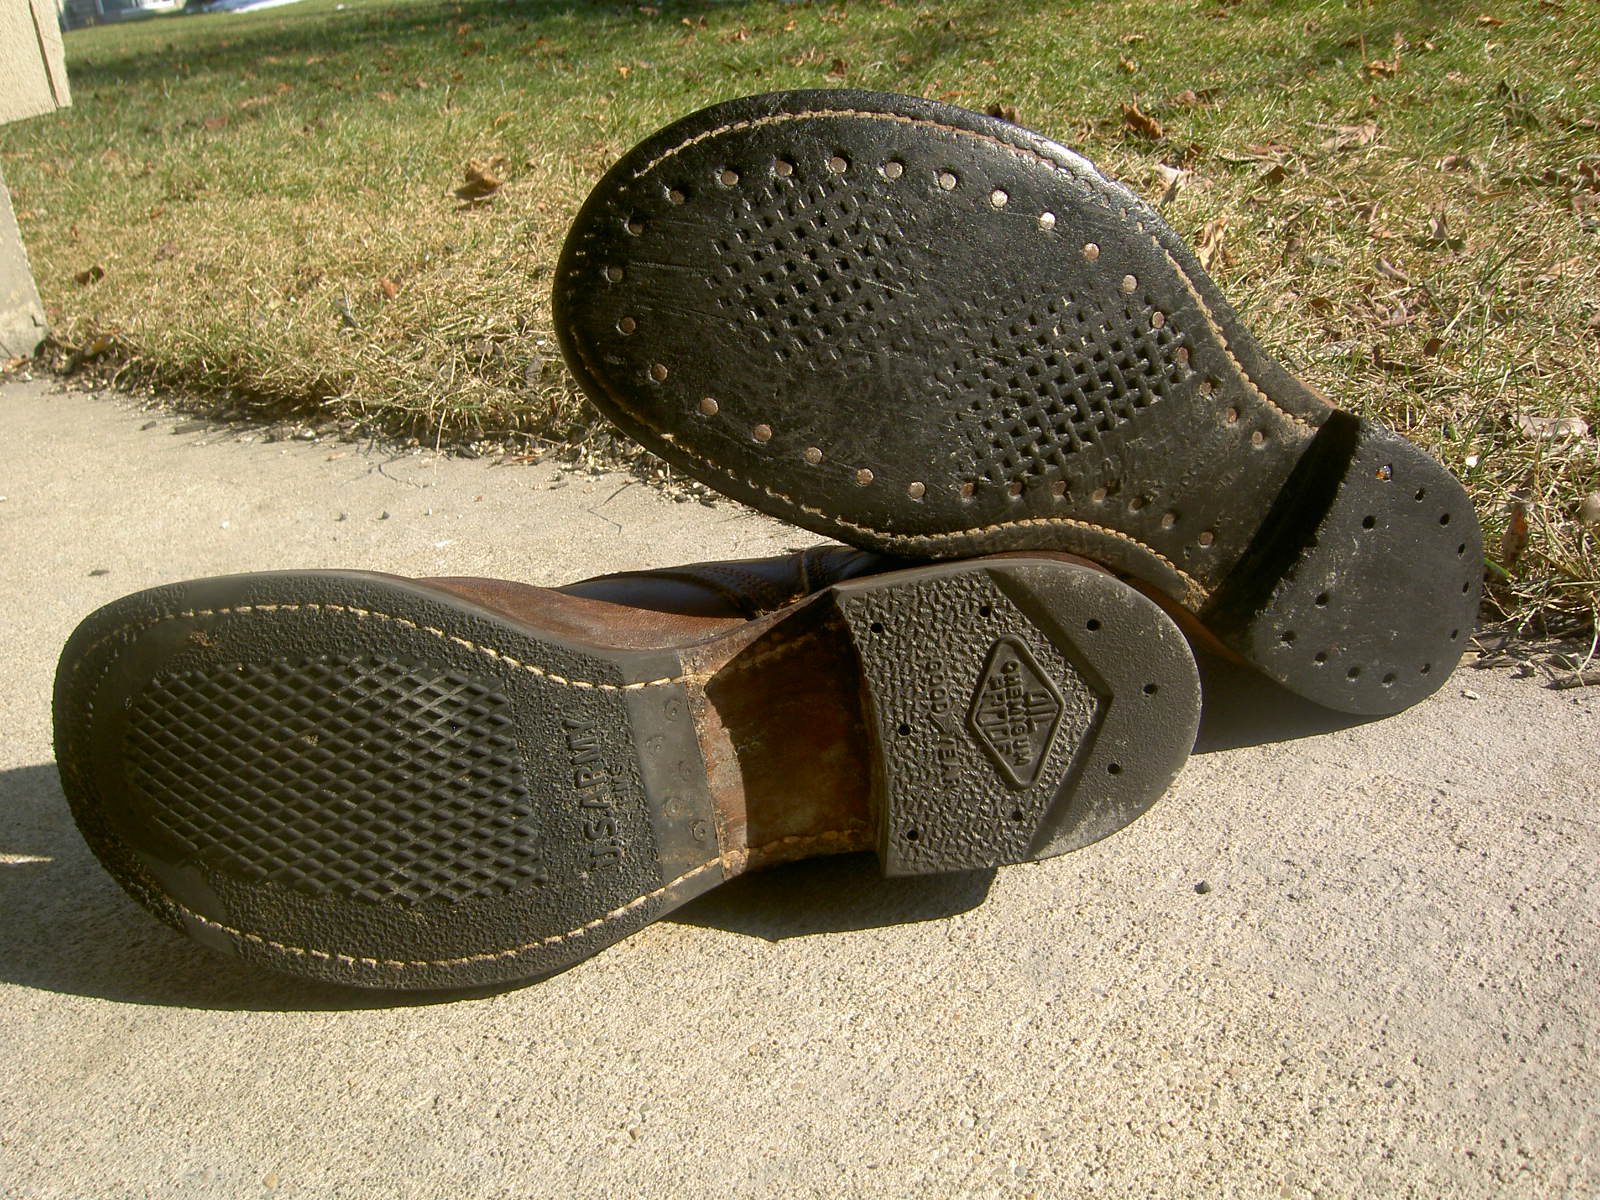
One of the differentiators between the Type II and Type III service shoes was that the Type II's had halfsoles and the Type III's had fullsoles.
Reproduction and Original replacement halfsoles are pretty easy to find. I found no less than 5 online retailers who happened to have some - as well as on ebay.
Reproduction and Original fullsoles have always been a bit more difficult. Years ago, I had purchased several pairs of repro fullsoles from Jerry Lee at Whatpriceglory - but subsequently used them up or lost them. Jerry was the only person I've known of in 15 years to have offered them. Back to Jerry's website I went, only to find them no longer listed - aka SOLD OUT.
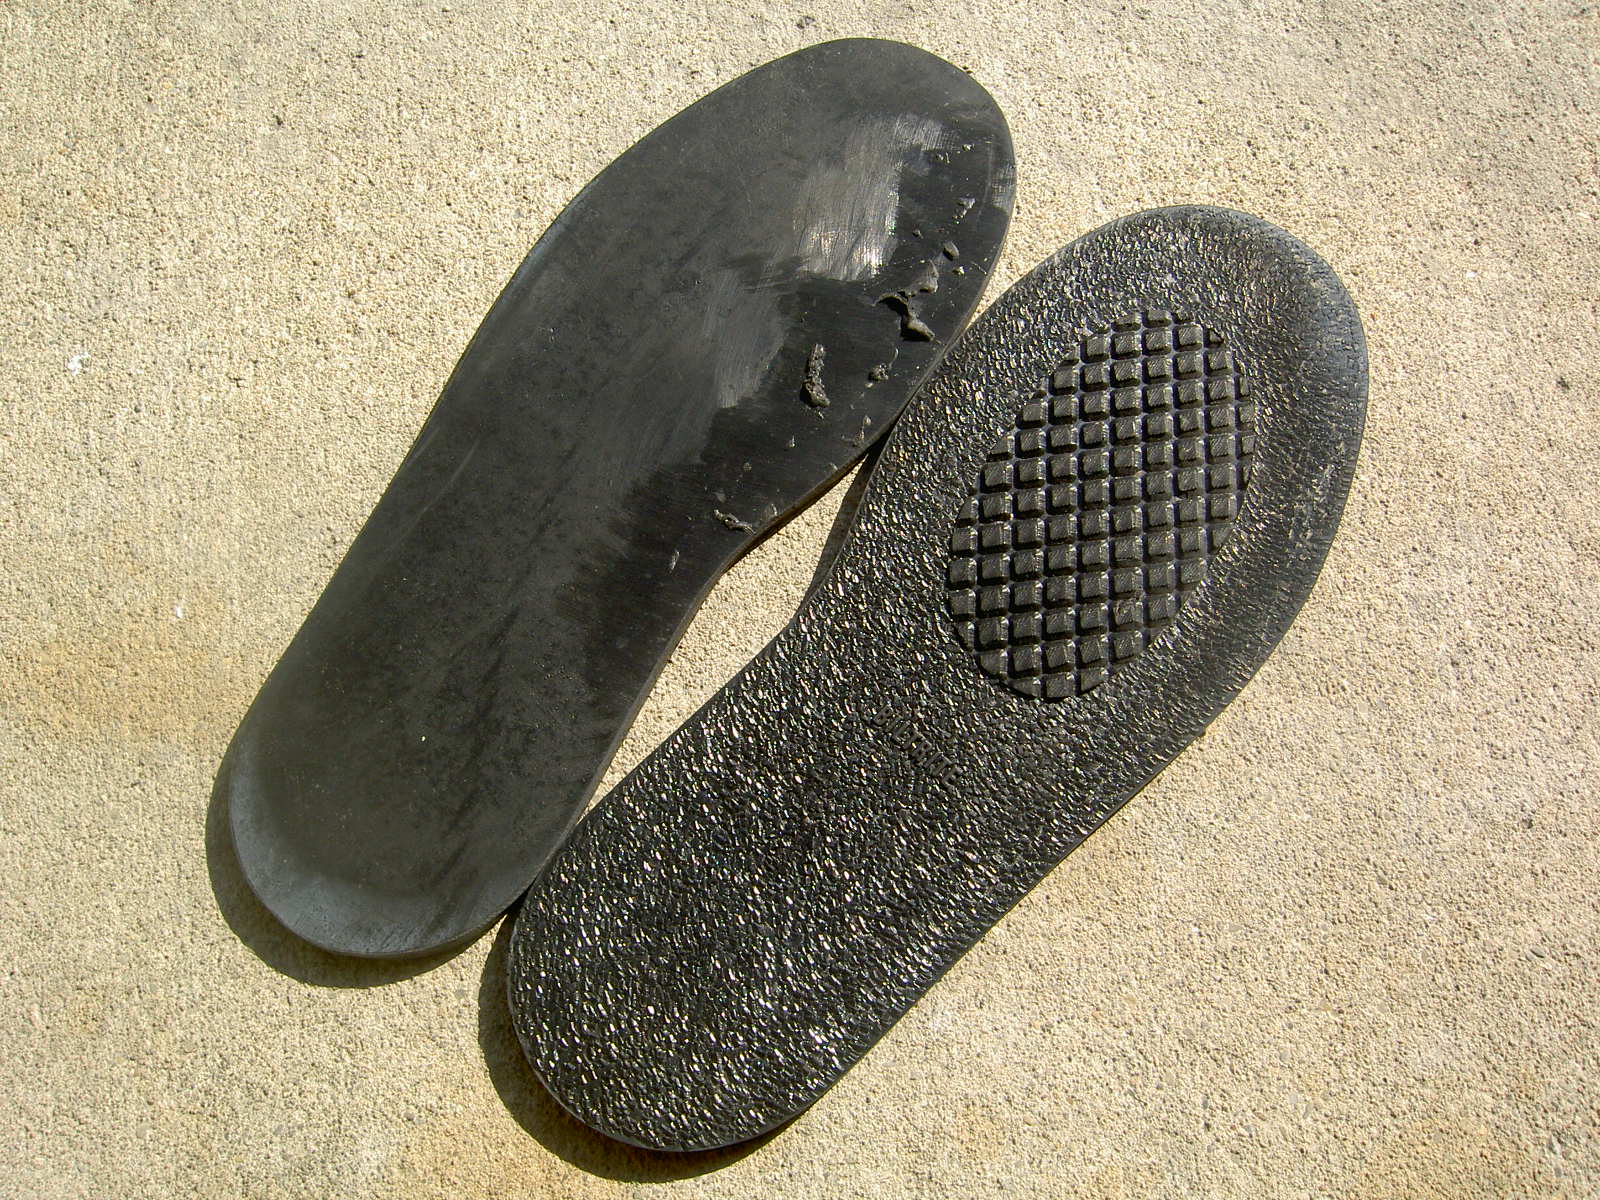
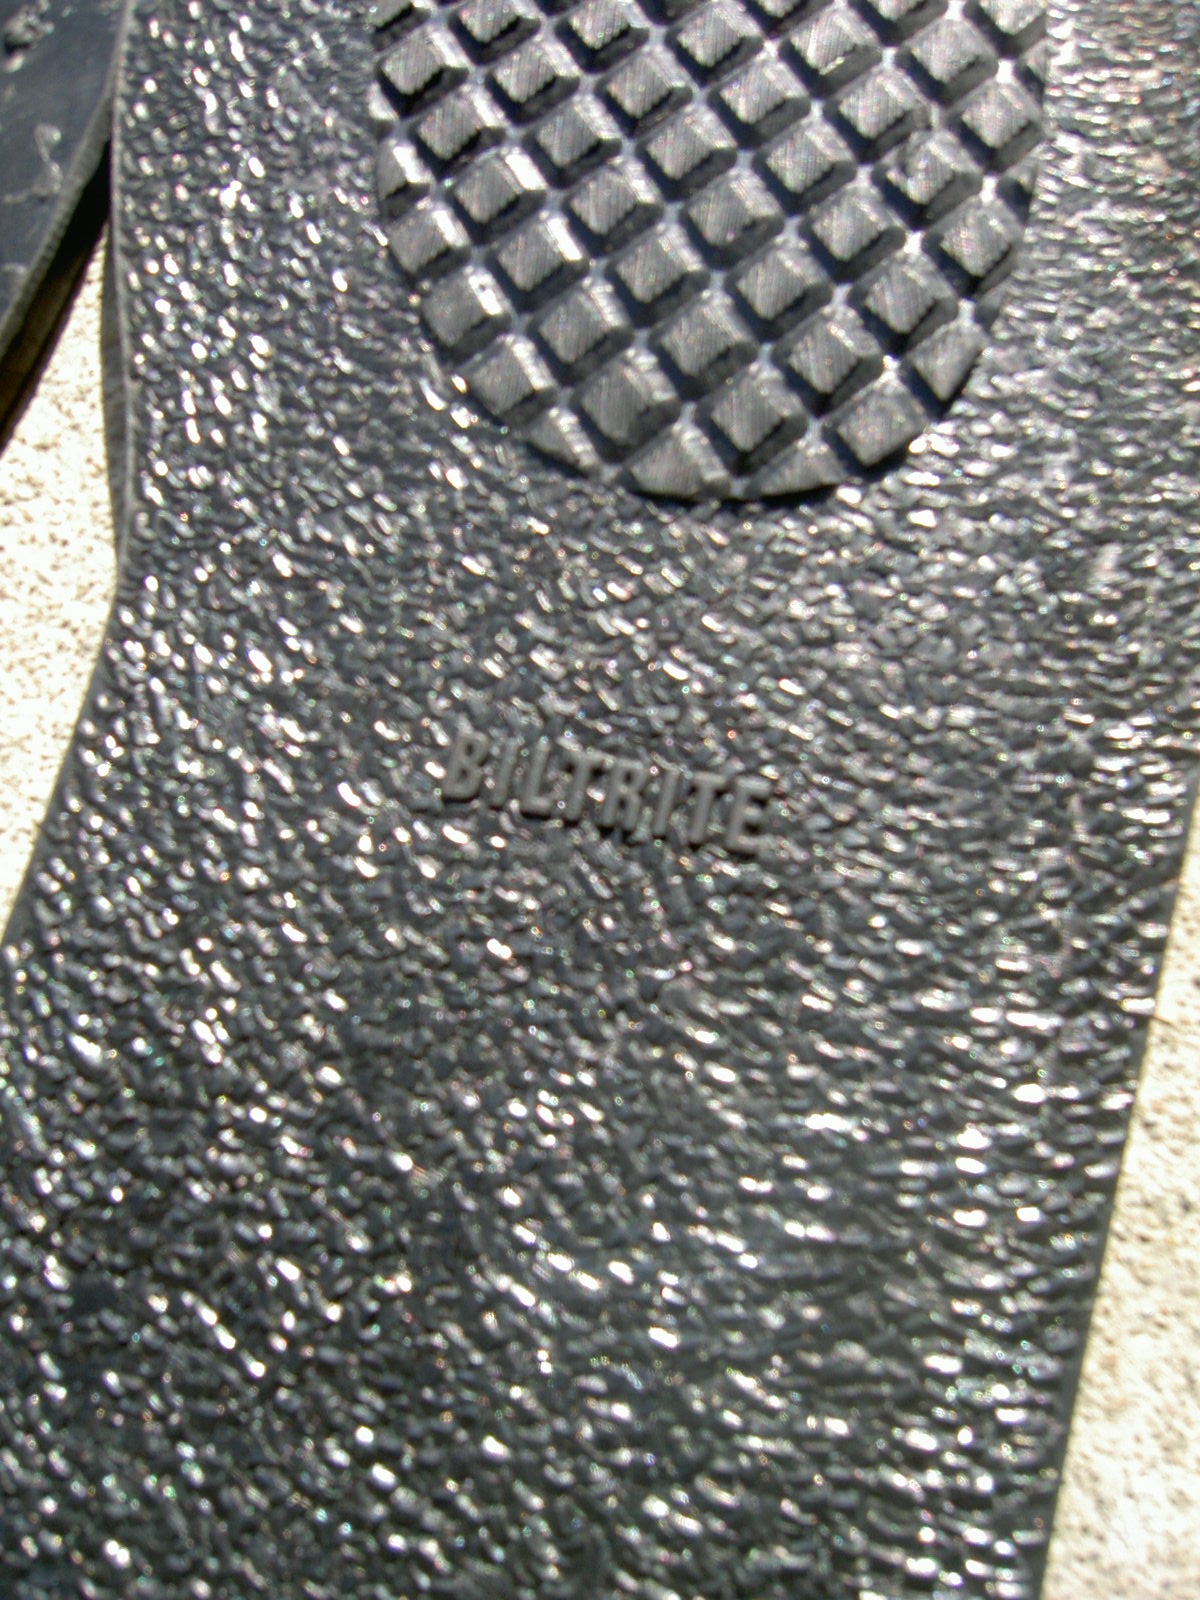
The soles that I got years ago were Biltrite soles which appear to be still in use by SM Wholesale on new production boots. I assumed that I would be able to contact Biltrite or a distributor and purchase a pair. Turns out that the US arm of Biltrite got bought out / sold several years back to Vibram - who no longer desire to distribute Biltrite products in the USA. I contacted Biltrite Canada, who had no intention or desire to take my money and simply referred me to Vibram.
When I went to ask my cobbler about Biltrite soles, he just laughed at me and said that theyve been out of business for 10 years. At this point, I was somewhat dismayed and annoyed.
A couple of months later and some more searching - I got an email back from Jerry saying that his warehouse helper had found "a box" of soles. I was in luck and was able to purchase several pairs as backups in addition to the pair that I needed for my boots. The soles were $10 a pair.
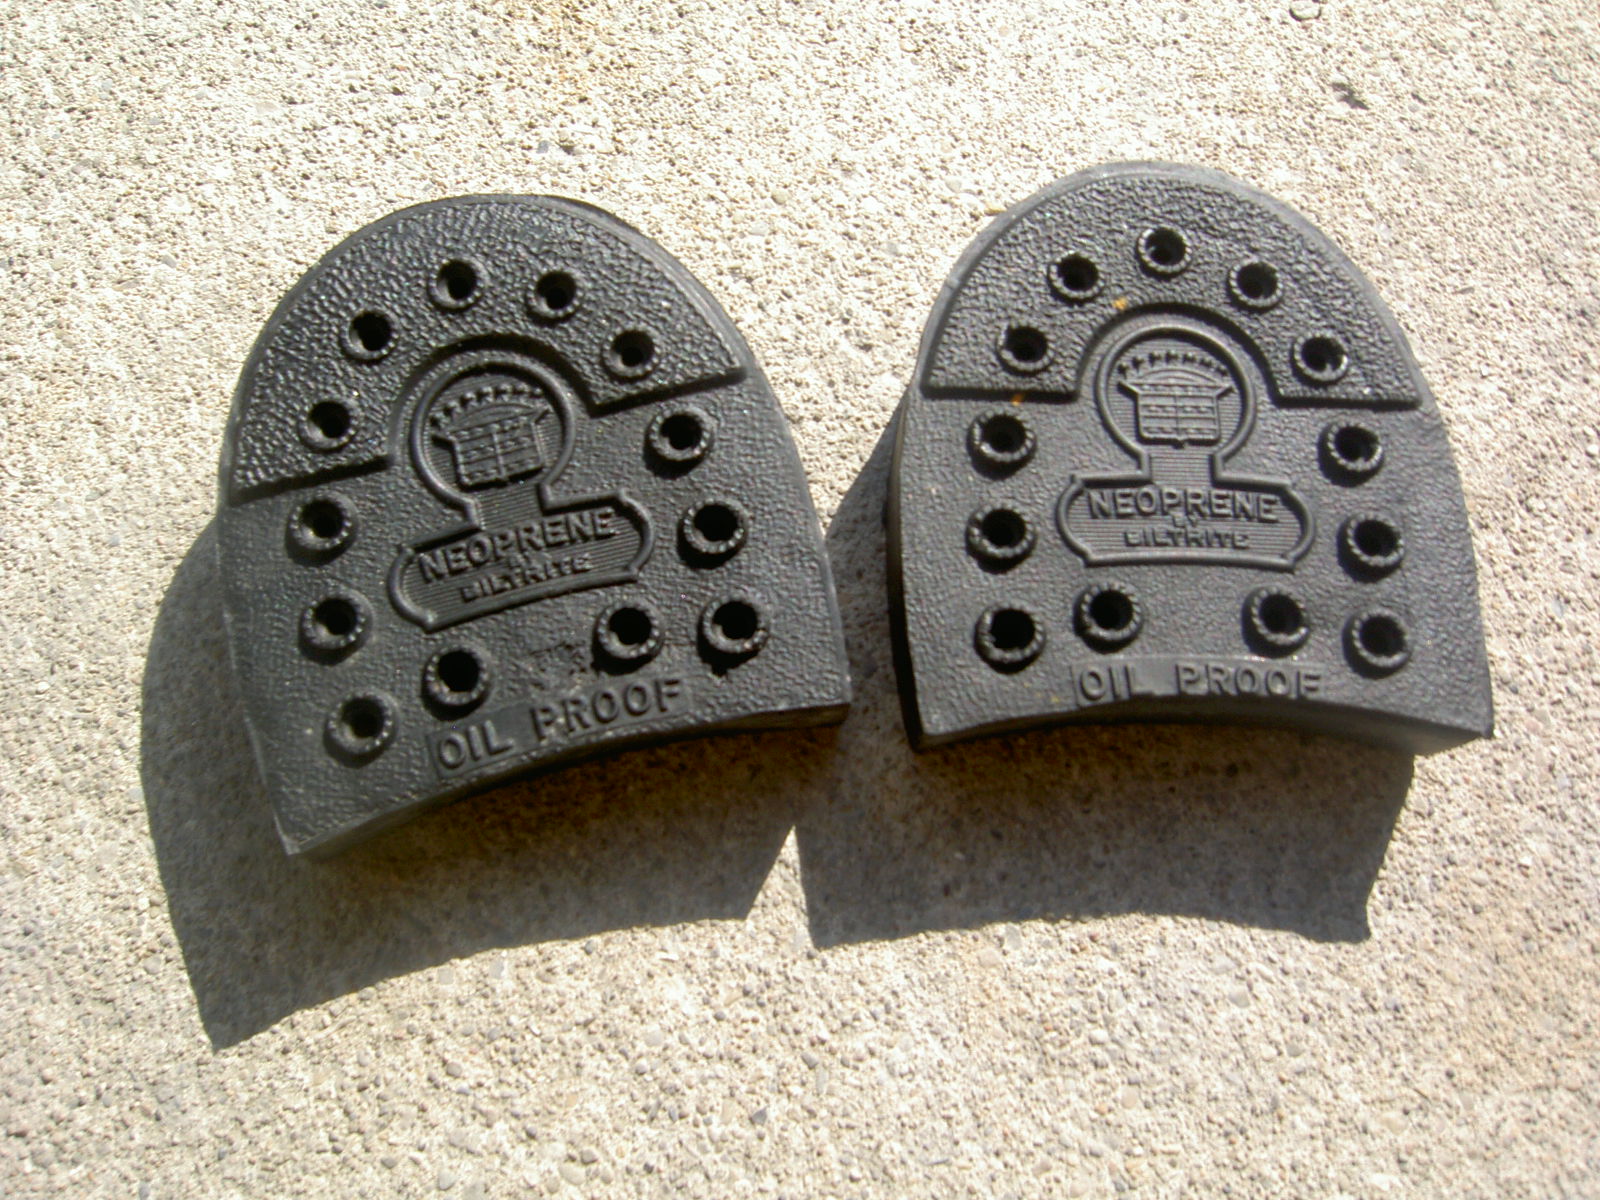
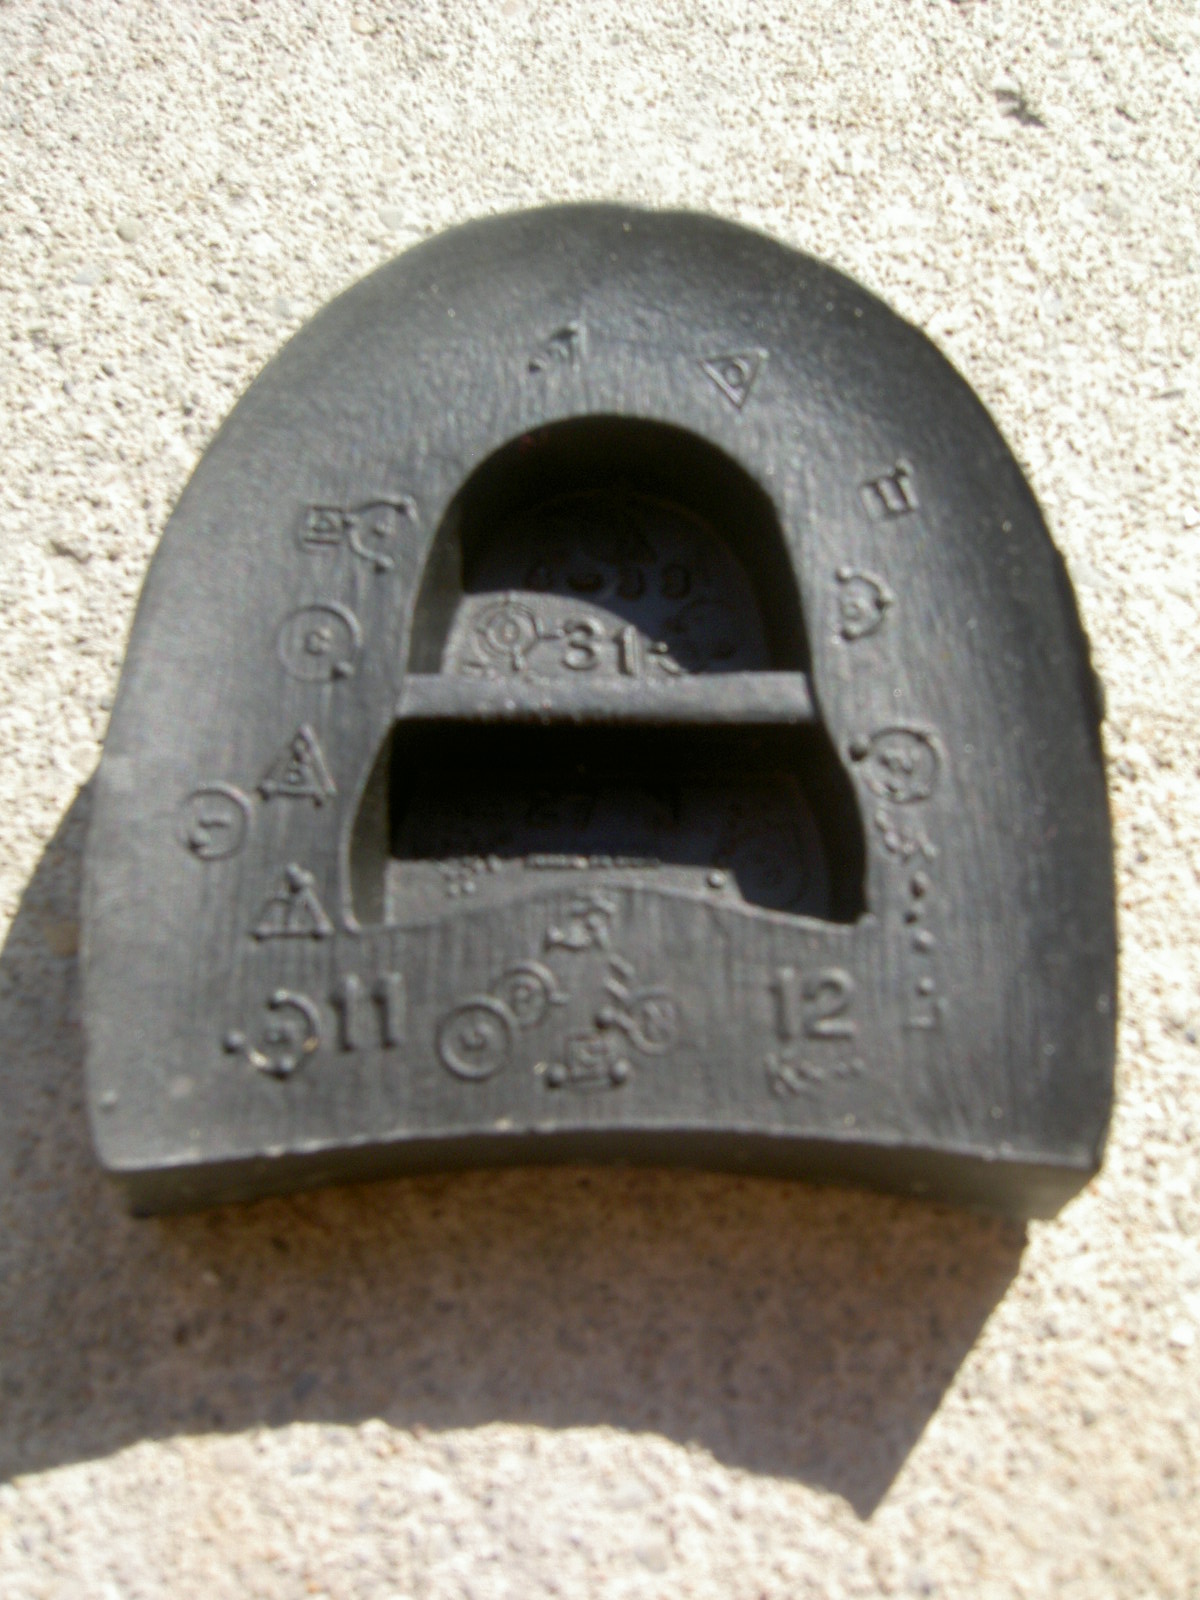
The heels were much easier to find. Jerry has some "Goodyear" brand replacement heels that are acceptable replacements. I wanted something a little different and was able to find several styles on eBay. The style I chose was the same style that has been used in the past by SM Wholesale as well as is in current use by WWII Impressions. The heels were $10 for 2 pair including shipping.
Back to the cobbler I went with soles, heels and boots in hand - ready for him to work his magic. When I handed everything over, he looked over the boots and stated "this will be expensive"...
Apparently, modern RedWing boots are constructed with a "lifetime" sole. This sole is far thicker than the soles we're used to on WWII US Army boots, in that this lifetime sole replaces the rubber outsole as well as the intermediate midsole or slipsole.
The cobbler had to unstitch the lifetime sole and remove it from the boot. Then he had to cut and sew/glue on a new leather midsole. After the midsole was on, he had to glue and stitch (welt) the rubber sole on. The rubber sole had to be cut even with the boot - then the heel glued and nailed on. Finally the edge of the sole and heel had to be dressed for a clean edge of the boot
Amazingly, when the cobbler said "expensive" - his definition of "expensive" wasn't in line with mine. The total for his work was $50.00. I was truly amazed and expecting something in the $75.00 to $125.00 range
I really don't think I could have, or can find anyone to do the same work for the same price. Really got lucky there.
My only gripe with the work that he did, was that the soles are slightly mis aligned...
Either way, I'll get over it for what he charged me considering the amount of work that went into it.
The Nails:
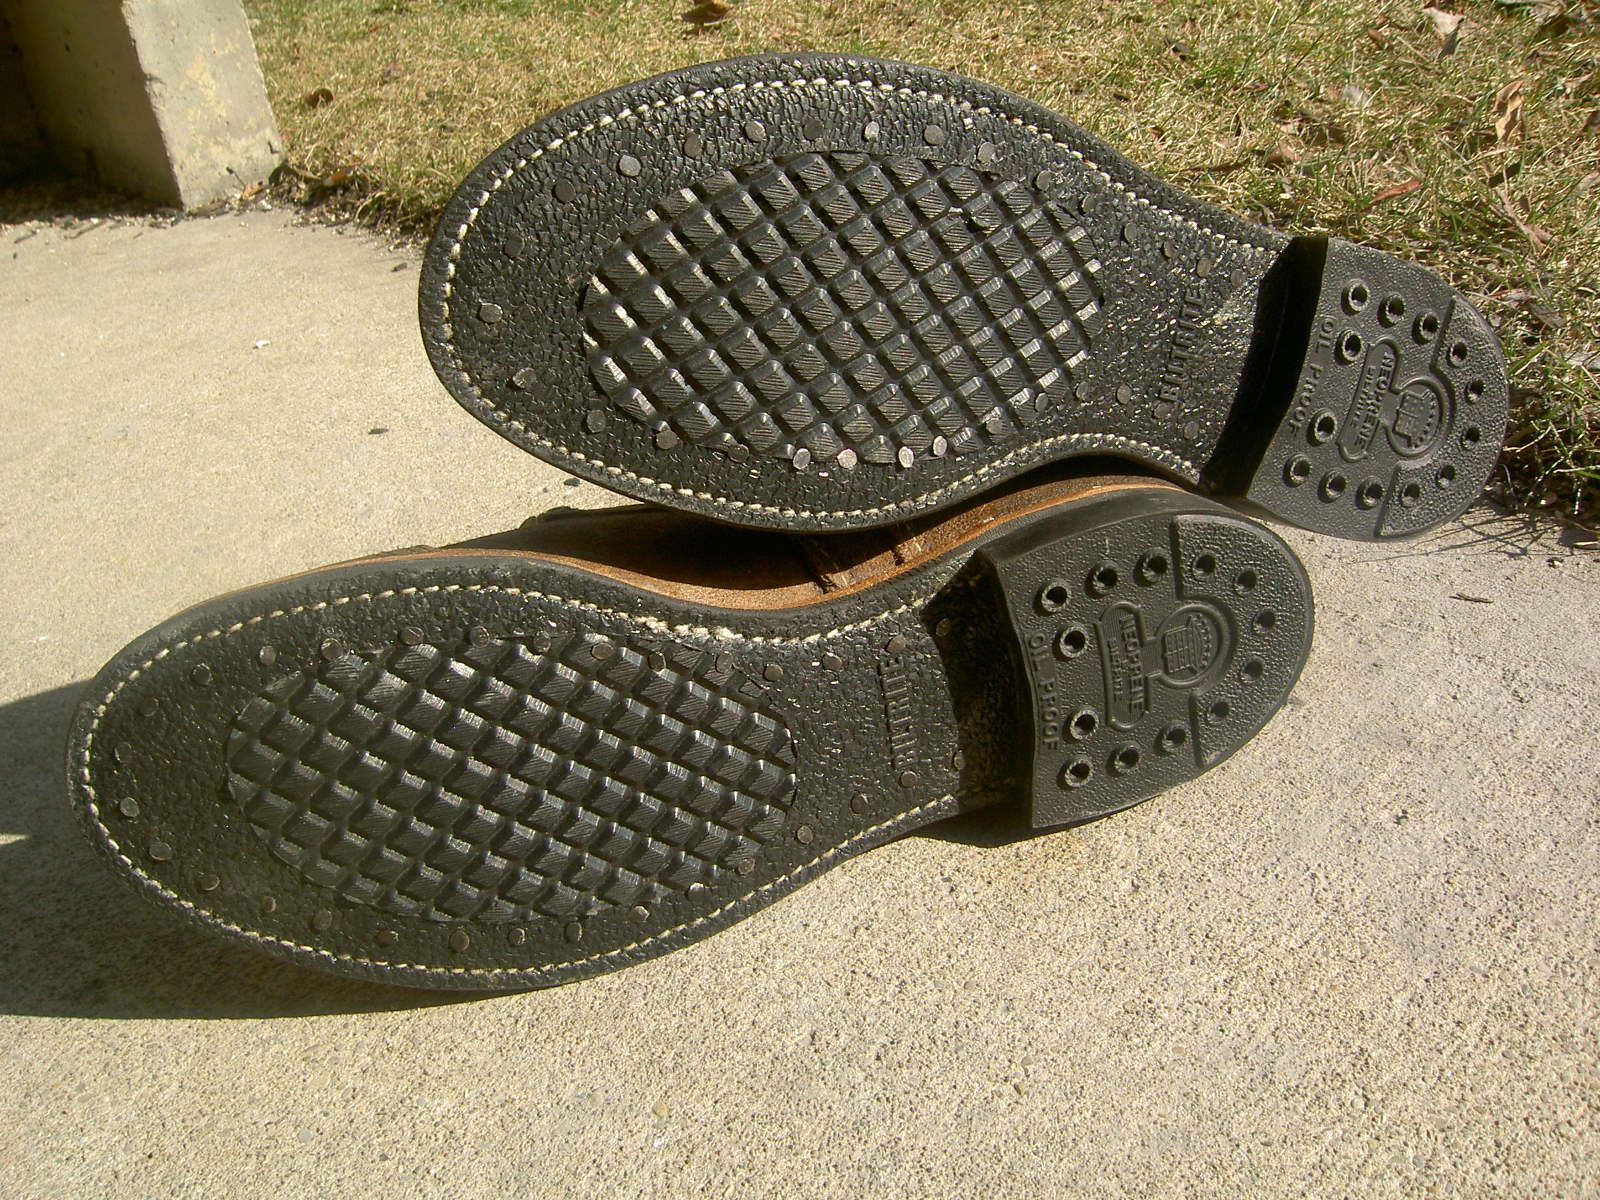
Something that stands out on the originals that some colleagues convinced me to attempt were the nails on the soles of the boots.
I used #3, 3/16ths inch blued steel carpet/upholstery/shoe tacks. The heads arent perfectly round, which is a difference between the originals and what I installed.
This was pretty straight forward: I put a wooden shoe form/tree inside the boot to give it a bit more rigidity during the process. Then I pressed the nail into the rubber sole with my fingers to start, then hammered it in and set it at or slightly below the surface with a nail set.
Back to Page 1: Background
Page 2: The Project
Page 4: Comparisons and Conclusions