Dying M1 Carbine Birch Stocks
Written: 7/6/2008
Author: Chris Guska
Background:
My buddy Tom, from the east coast 4th MP’s recently purchased a M1 Carbine and has been asking me questions out the wazoo on how to get it “reenactor restored” back to a war correct appearance. The carbine he purchased came with a post war pot belly M2 stock amongst many other postwar parts. With the availability of the CMP M1 Carbines, M1 carbine stocks have skyrocketed in price due to gun collectors and Joe Schmoe going on a buying spree to get their “kollectors karbine” all back to 100% force matched “korrekt” perfection. Stocks that used to be $30 are now going for $100 and legitimate early style high-wood stocks are normally in excess of $100 now. Tom wanted a highwood stock for display on his carbine, but refused to shell out the samoleans for one. His solution was to buy a postwar commercial Plainfield manufactured stock, which is an oval cut highwood stock, albeit made in birch – That’s where I come in.
I’ve been refinishing gunstocks for a few years and have picked up a few tricks and ideas from others on the internet and fellow unit member Squirrley. Piles of $5.00 Garand stocks later, a few k98’s, a few carbines and a dozen Beretta 38a stocks later, I’ve figured out what works for me. During my Beretta refinishing spree, I was able to experiment with several different techniques of making Birch or Beech stocks look like Walnut.
This article covers my method of staining / dying light wood stocks to look like USGI walnut stocks. There’s lots of ways to skin a cat, and this is just one way. Other methods use conventional wood stain, gel stain, or other traditional wood finishes. This method utilizes some of the products that may be left over from other projects appearing on this site – like leather dye, CitriStrip, Sno-Seal and shoe polish.
Supplies:
Klean-Strip paint stripper
Steel Wool, or Scotchbrite pad
Sanding pad or sand paper, medium grit.
Newspapers
Paper Towels
Rubber Gloves (latex, nitrile, vinyl, whatever your favorite flavor is.
Fieblings Cordovan Leather Dye
Denatured Alcohol
Boiled Linseed Oil
Paintbrush
Lincoln Brown Shoe Polish
Sno-Seal
Heat Gun
Cotton rag (old socks or underwear work well)
Before:
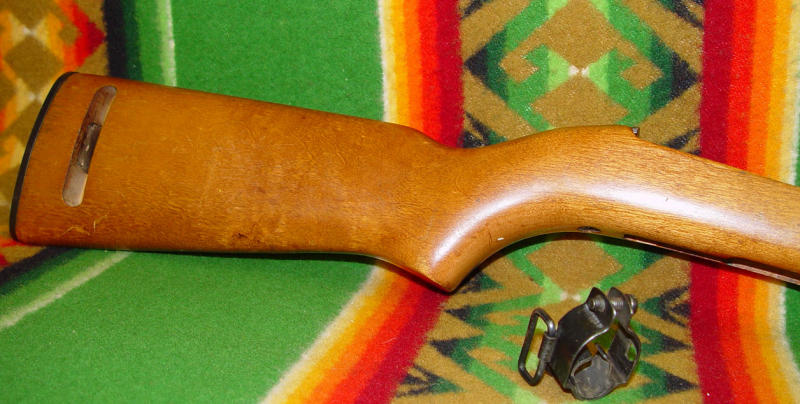
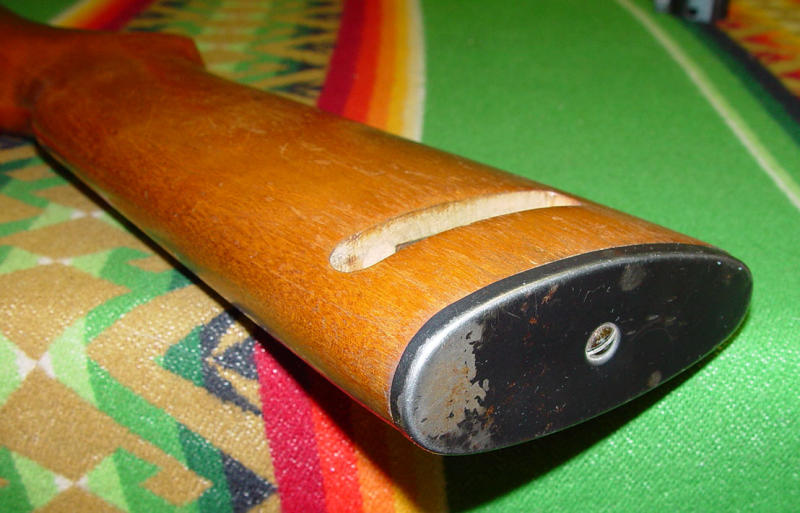
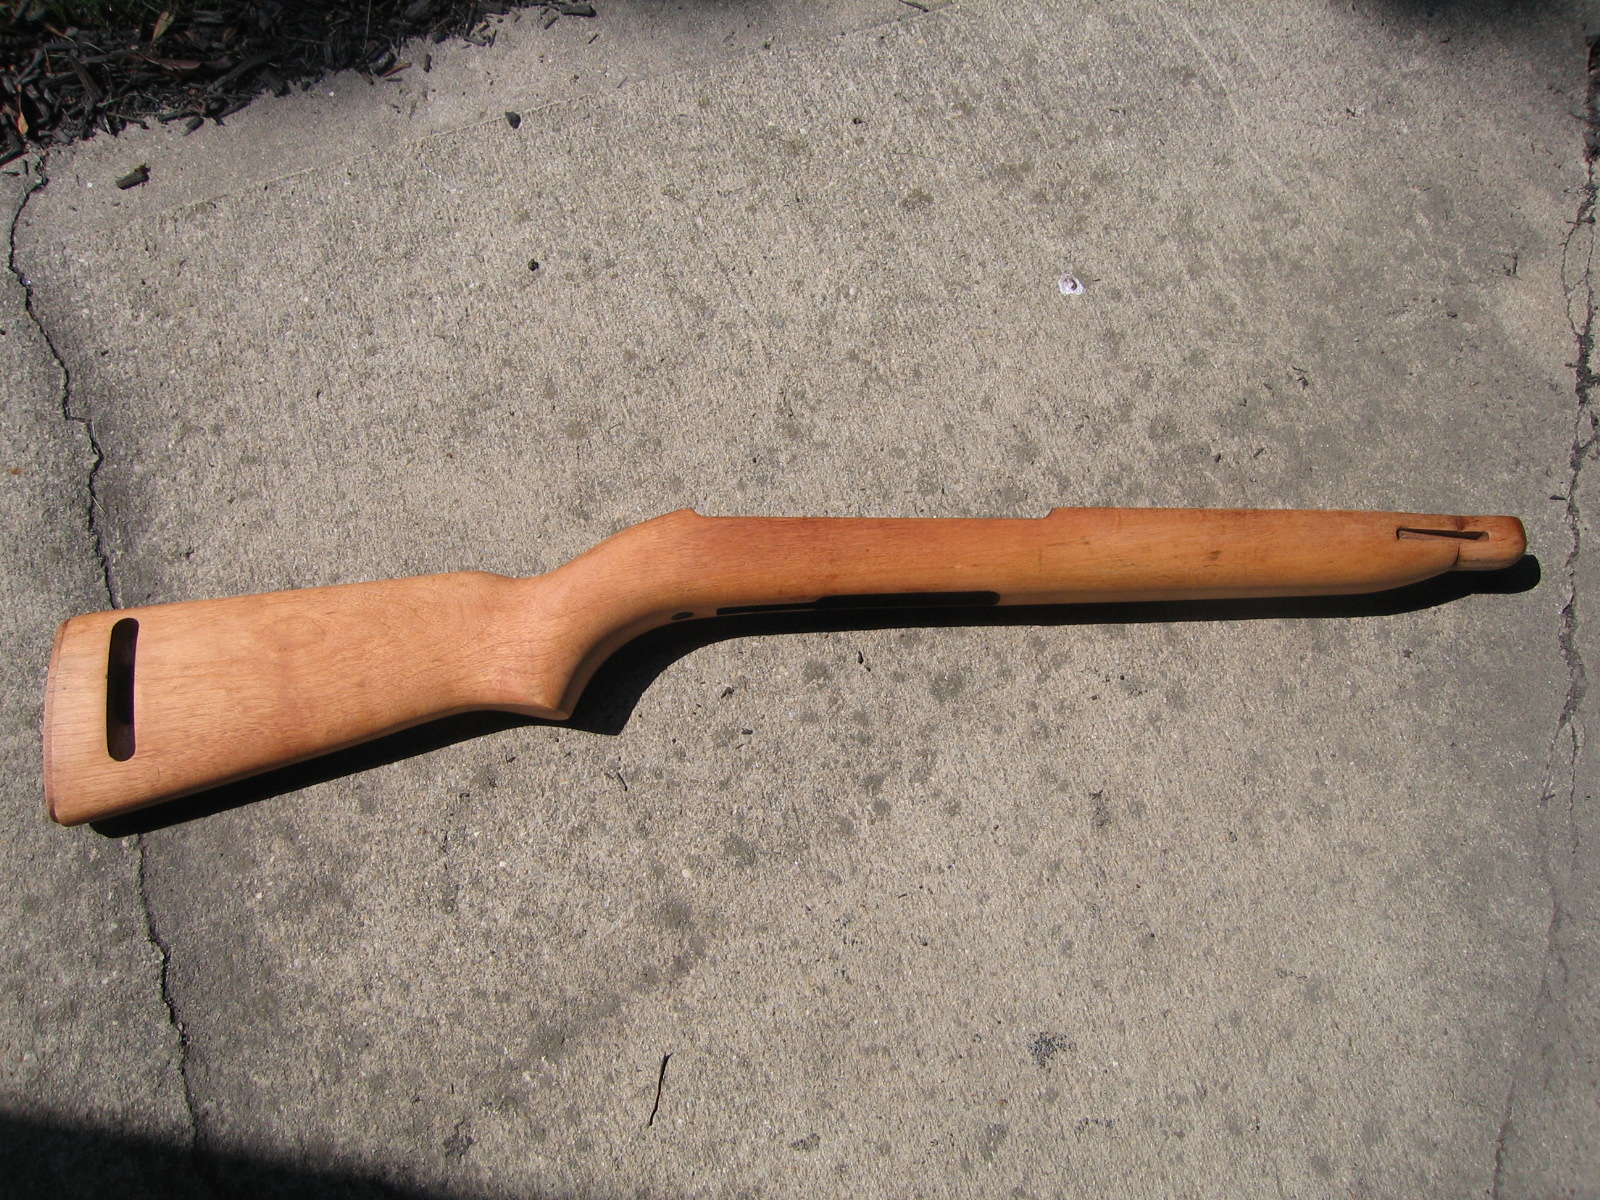
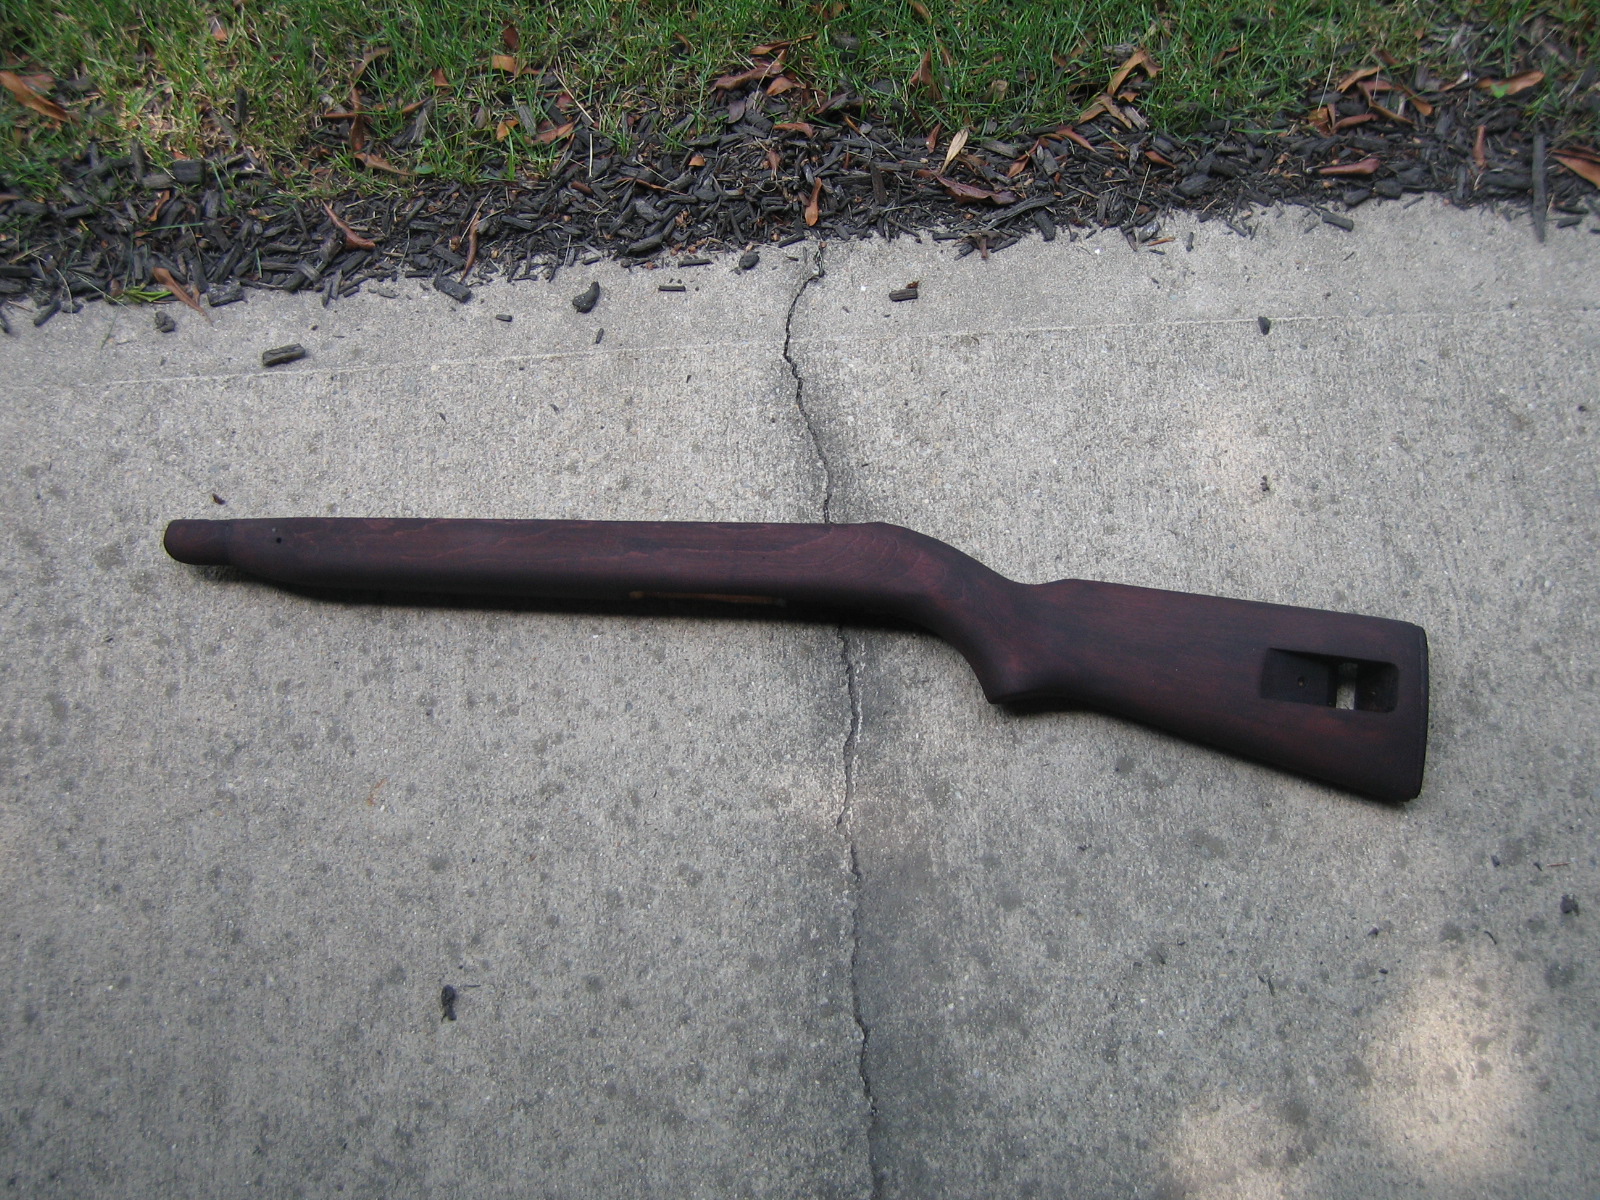
Here’s what Tom gave me to start with – a lacquered/varnished postwar commercial birch highwood style M1 Carbine stock. Tom plans on replacing the buttplate with the original plate off his m2 carbine stock, and purchasing a type 1 barrel band. On a side note, the type 2 band that came with the Plainfield was a turd.
Procedure:
First thing off – you need to strip the stock. How you go about stripping the stock will depend on the initial condition, whether it is simply striping varnish or years of caked on dirt and grime.
For caked on dirt and grime, I usually just throw the stock in the dishwasher, with whatever dish detergent I have at the time, set it on the heavy wash / pots and pans cycle, heated dry and let the thing go. This method strips the dirt, grime, grease, Cosmoline, and pops most of the dents out of the wood. Doesn’t this weaken the wood? Doesn’t this warp the stock? Won’t the heated drying cycle crack the wood? No, No, and No. Dozens of stocks later, I’ve never had any adverse effects. Most of the time, I end up with a stock a very clean, less dented stock that fits much tighter and locks up much more nicely.
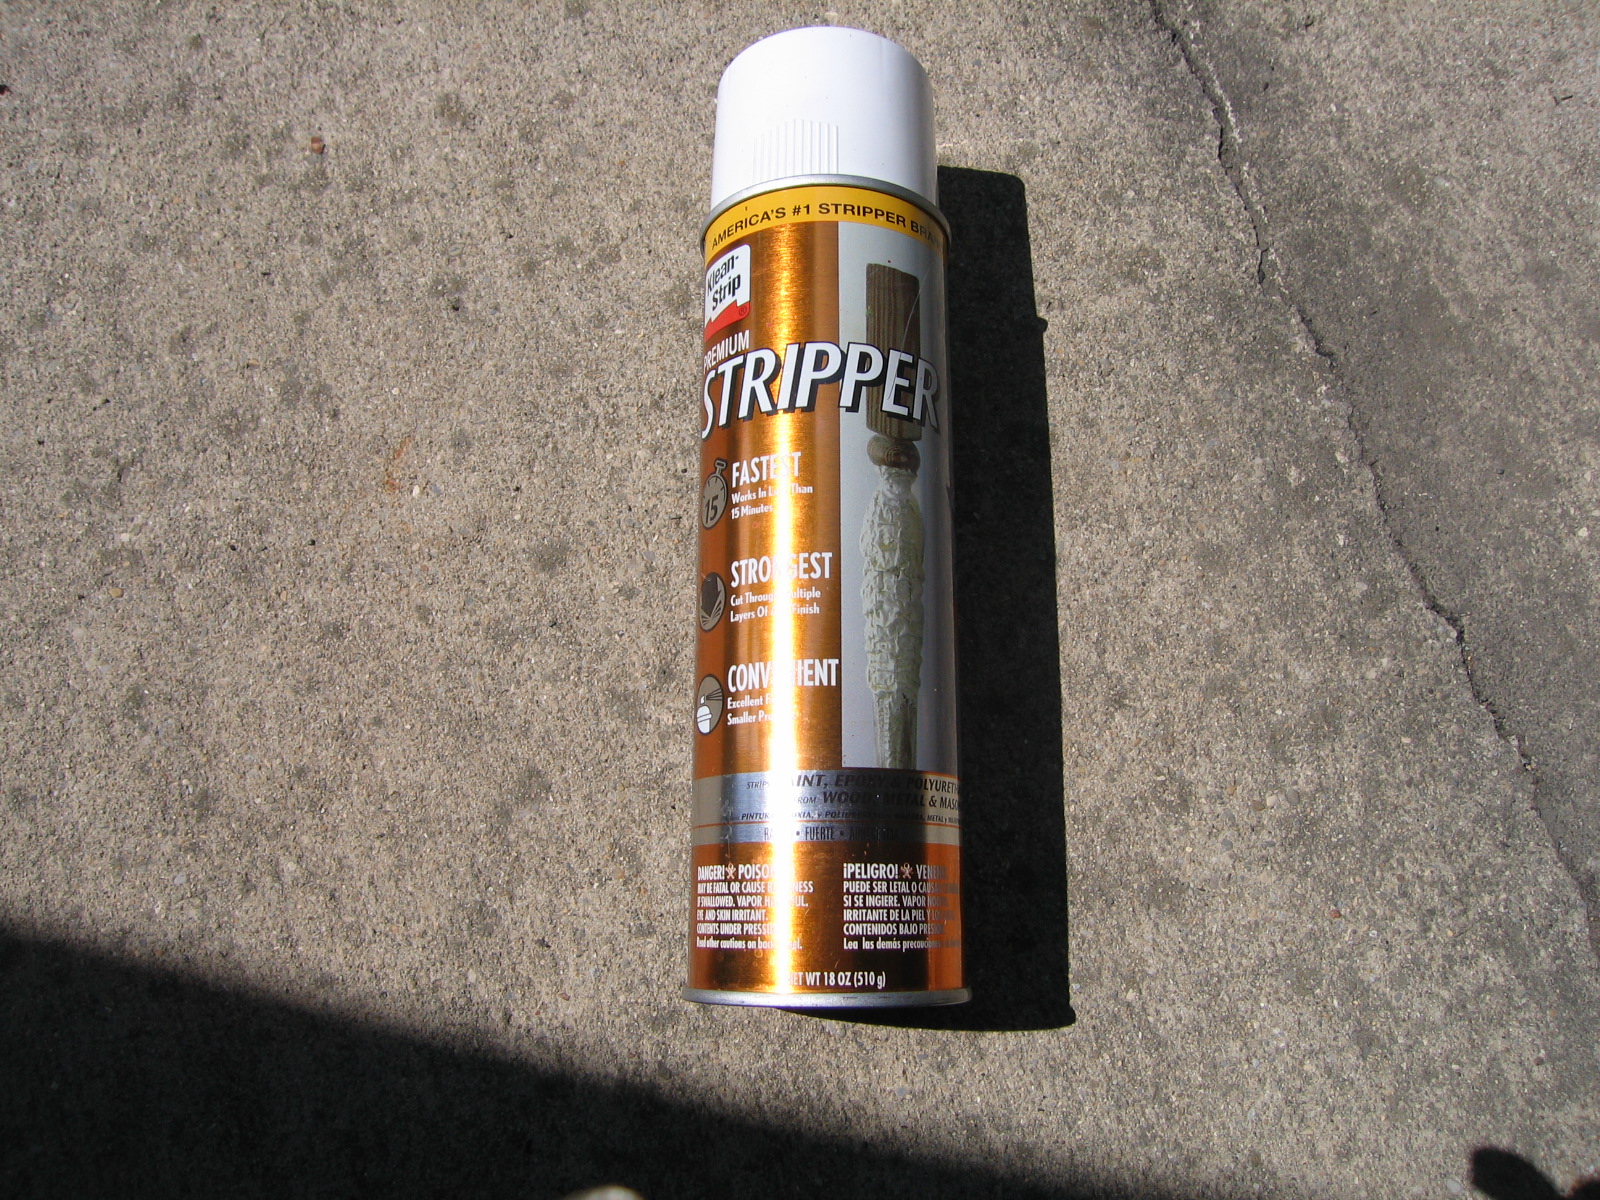
In this case, the stock was pretty clean, dent free, and only needed the varnish removed. I used “Klean Strip” brand “Premium Stripper”. Normally I use “Klean Strip” brand “Citri Strip” but I ran out and happened to have the “Premium Stripper” on hand.
I shouldn’t need to write instructions on how to use paint stripper… but I will for the sake of completeness. Wear gloves when using this stuff – this particular brand will melt vinyl and nitrile gloves, it will also burn the shit out of your skin if you get it on you. Use the newspaper to lie on the ground to put the stock on; this will be your work surface. Shake the can, Spray it on, Wait. I went and had a beer and came back after watching some Family Guy. I used Single 0 Coarse Steel Wool (you could use a Scotchbrite pad) to scrub the stock to knock off all the varnish. After scrubbing the stock down with the steel wool, I wiped the stock down with a paper towel to get the stripper and varnish off, then came back and wiped the stock down with a paper towel wet with denatured alcohol. Check to see if there are any areas of varnish left on the stock. If there are any areas, scrub them again with the steel wool pad and clean up with the denatured alcohol. Any trouble spots can be sanded with a sanding pad or sand paper as necessary.
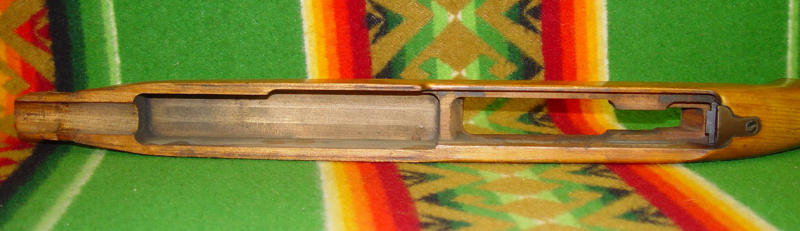
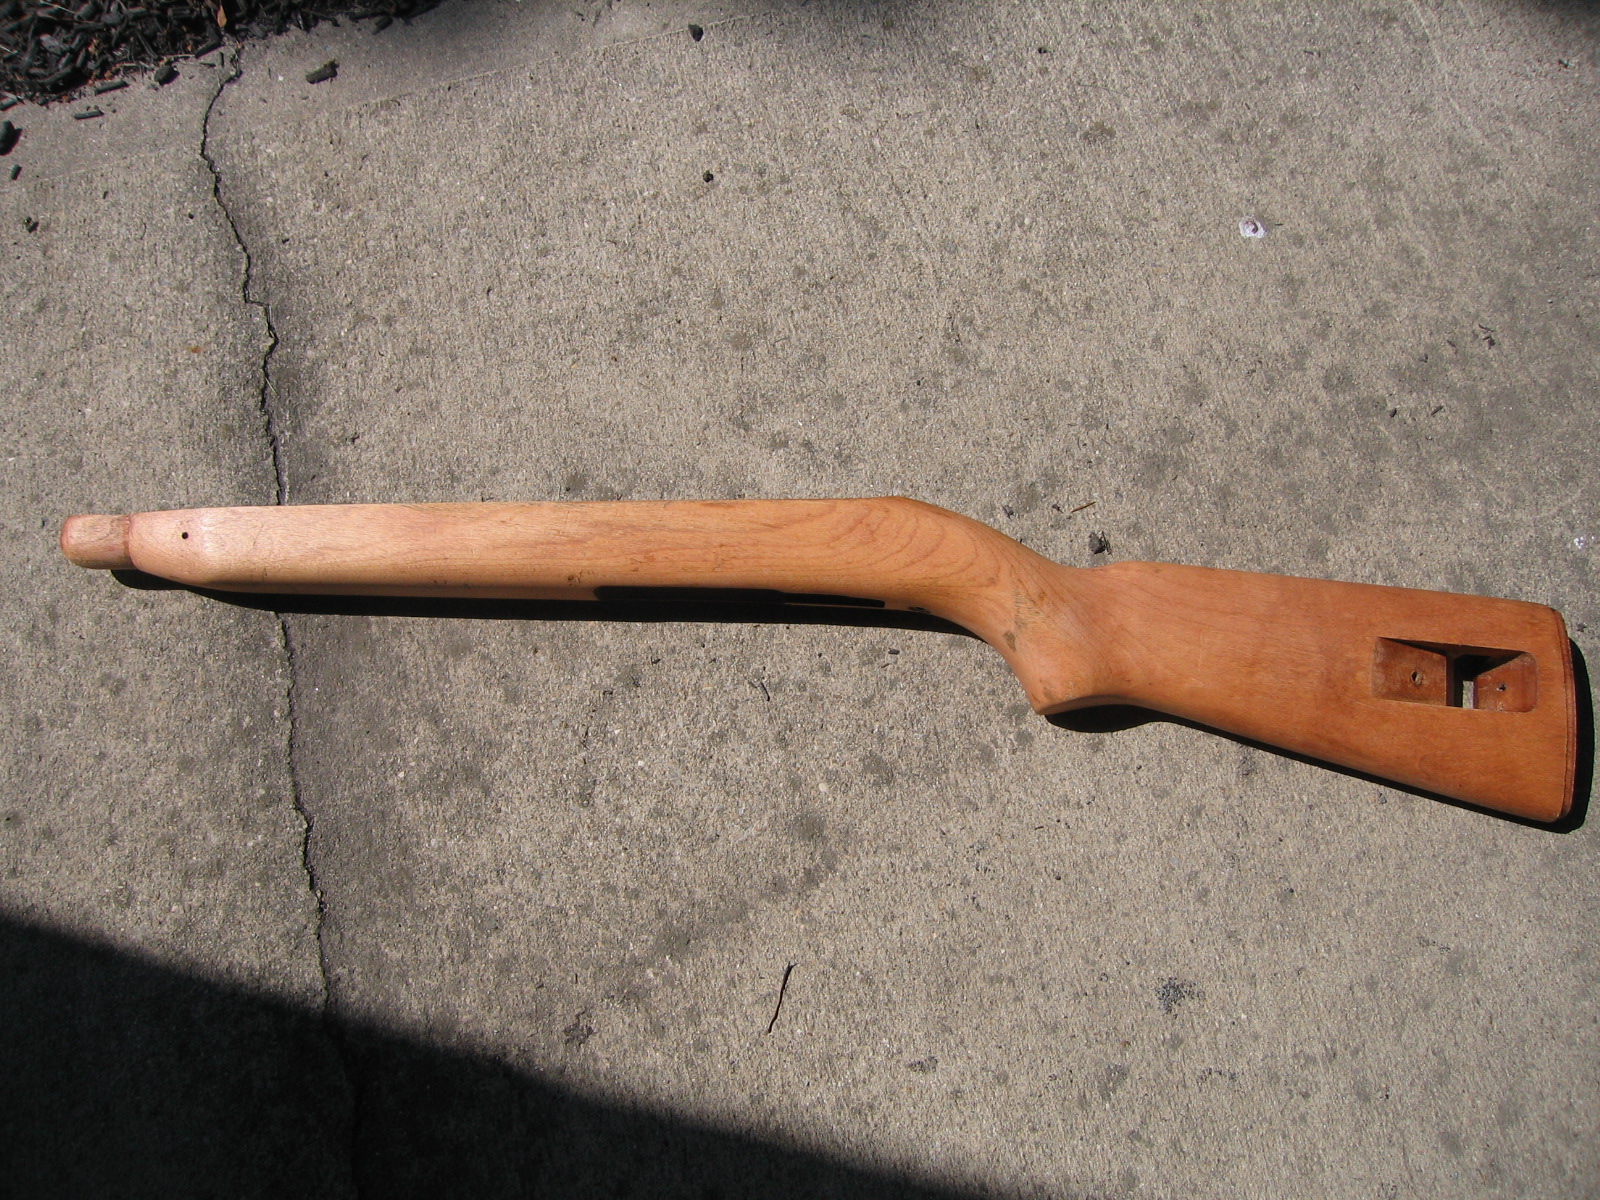
Here’s the stripped stock, wiped down with denatured alcohol, prepped for dye.
Dye Process
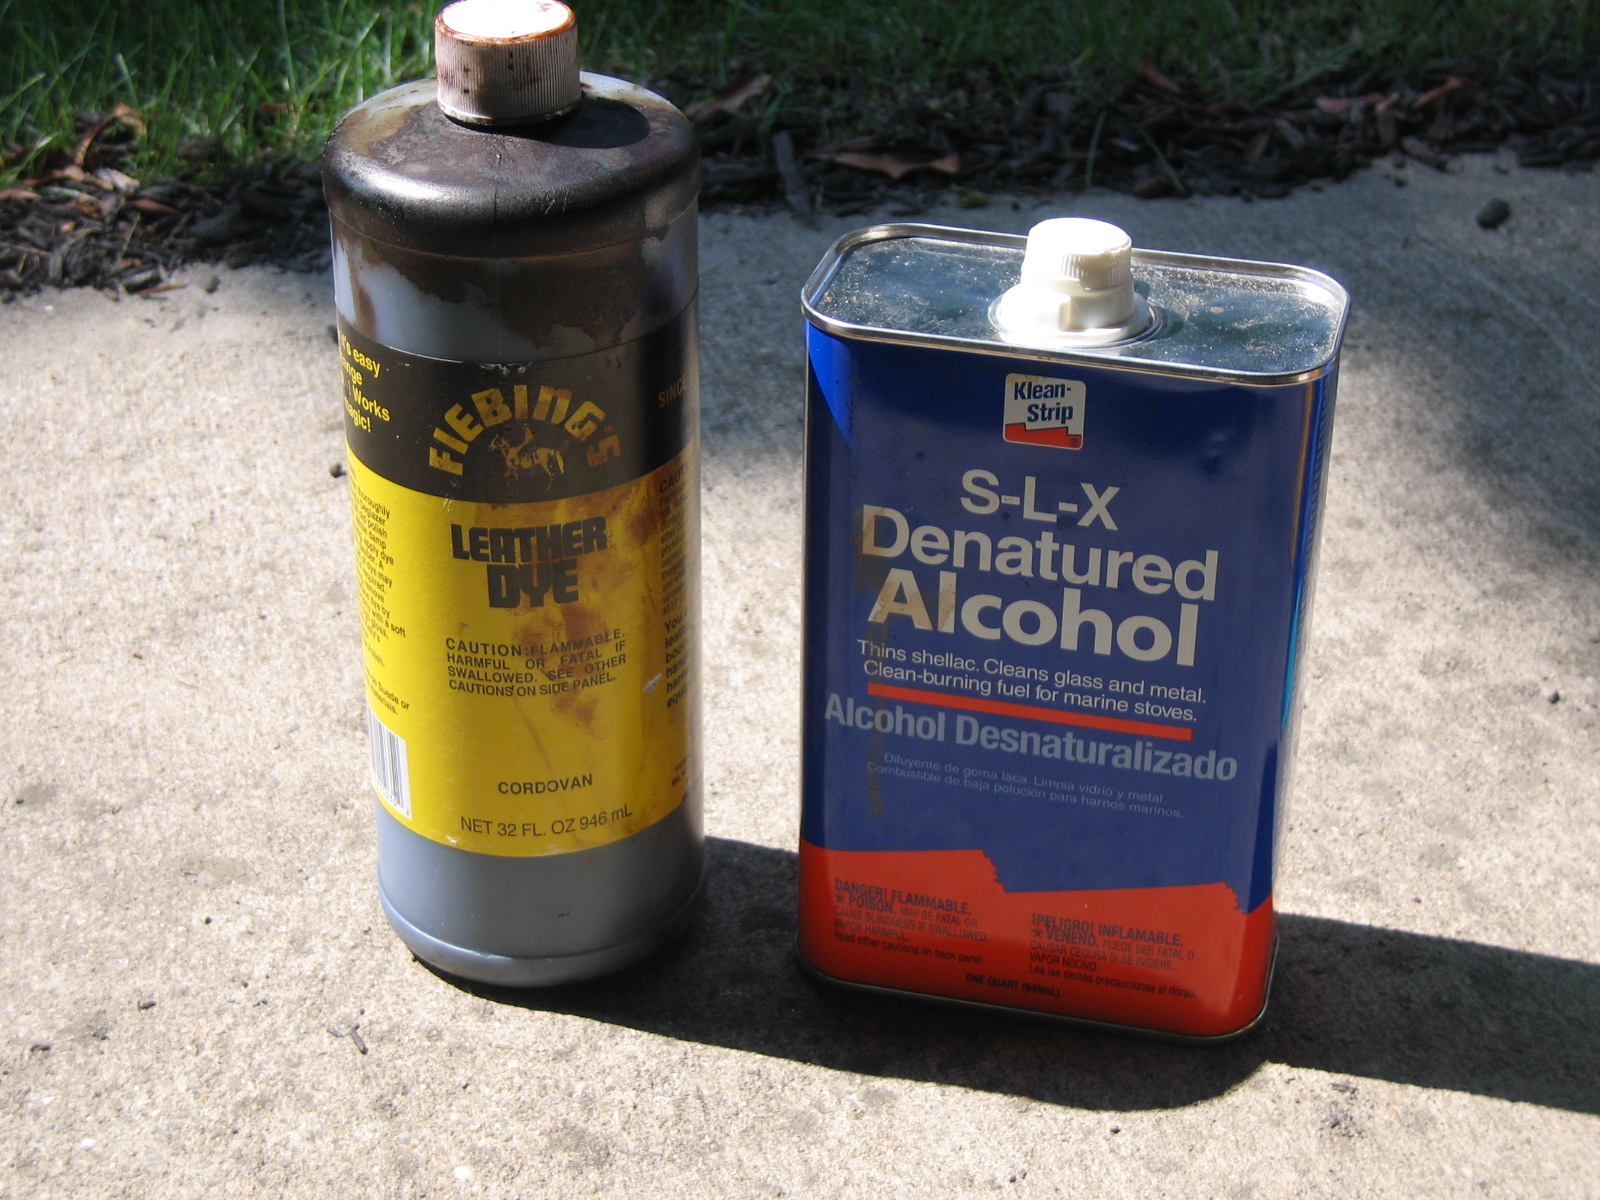
You could use any of the commercial off the shelf purpose made wood stains, and I’m sure they’d come out nice – but I use leather dye. I’ve found that the leather dye is easy to work with, dries quickly, and has a degree of “fudge factor” that allows me to manipulate the finish. I’m specifically using Fieblings Cordovan Leather Dye, which is an alcohol based dye that I purchased at the local Tandy Leather store.
I use a paint brush or an old rag to apply the leather dye – WEAR GLOVES. Put a fairly heavy, even coat on the wood, making sure to work the dye around. Take time to coat areas well the first time, avoiding double coating the same area. Give the stock 10 or 20 minutes to dry, good time to walk away and have a Dr Pepper or something.
After the dye is dry to the touch, take a rag or paper towel wet down with denatured alcohol and wipe down the stock. This is your chance to manipulate the dye around the stock to cover any light areas, as well as to remove any excess dye. I usually go through 2 or 3 paper towels soaked with denatured alcohol taking off the excess dye and evening out the finish.
Denatured alcohol will remove any dye that you have got on yourself by this point. Just wet a rag down and scrub it off. Much nicer than petroleum based stains – no noxious fumes that stick with you all day long.
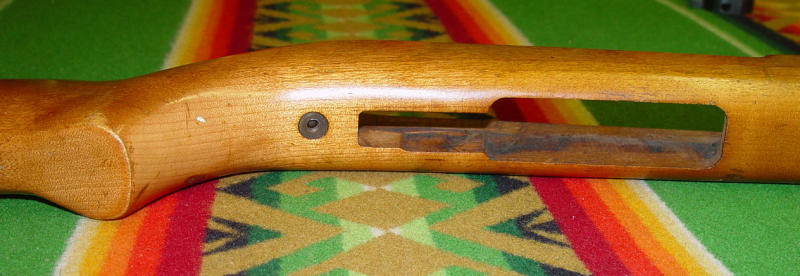
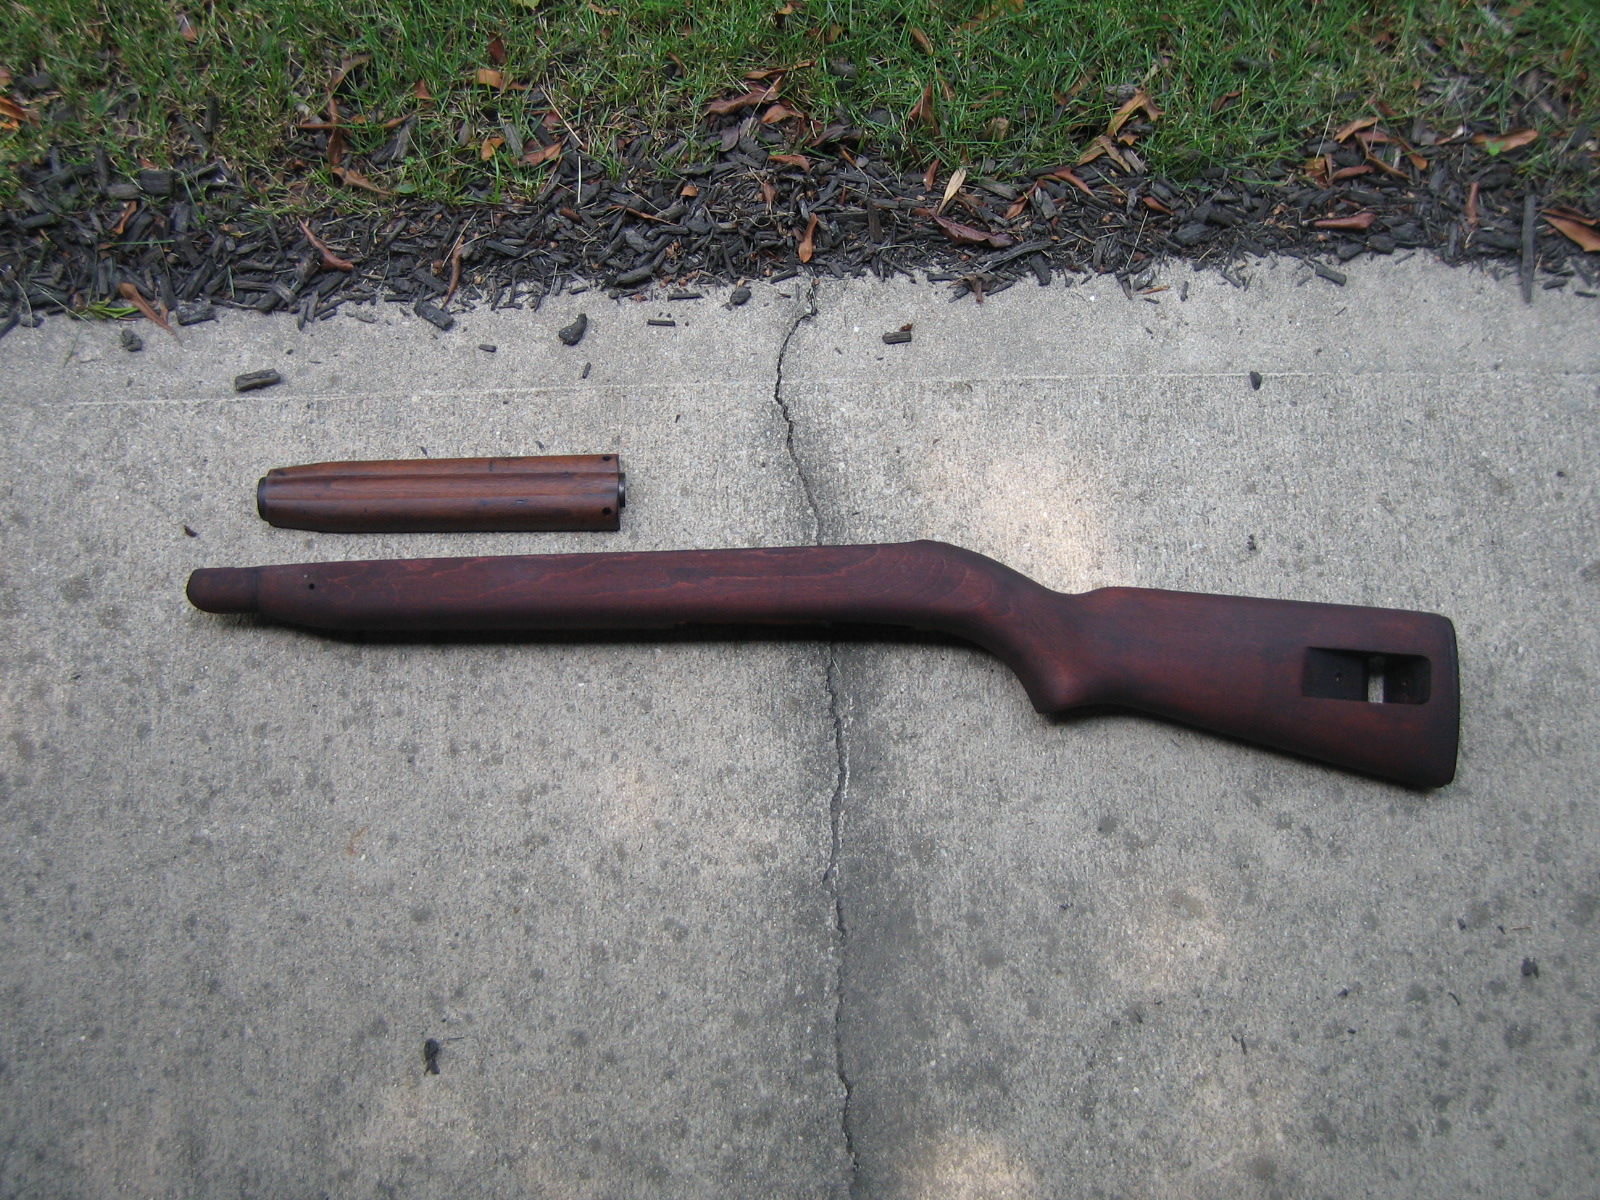
Here’s the stock after it has been wiped down with denatured alcohol, notice that it’s somewhat lighter.
It’s paired up with the hand guard that I’m going to be using for this project. The hand guard is a walnut guard that has been treated with boiled linseed oil only. I went ahead and stripped it, dyed it and finished it to match the stock. This is just a comparison to see approximate colors.
Finishing
After I’ve got the stock dyed and manipulated to where I wanted it, I went ahead and applied 2 coats of boiled linseed oil. I applied the boiled linseed oil with a paint brush, allowed the linseed oil to sit for 20 or 25 minutes, long enough to go check my email – came back and wiped off the excess with a paper towel. I applied the second coat, wash, rinse, and repeat, except for a trip to Rally’s for a Big Buford combo.
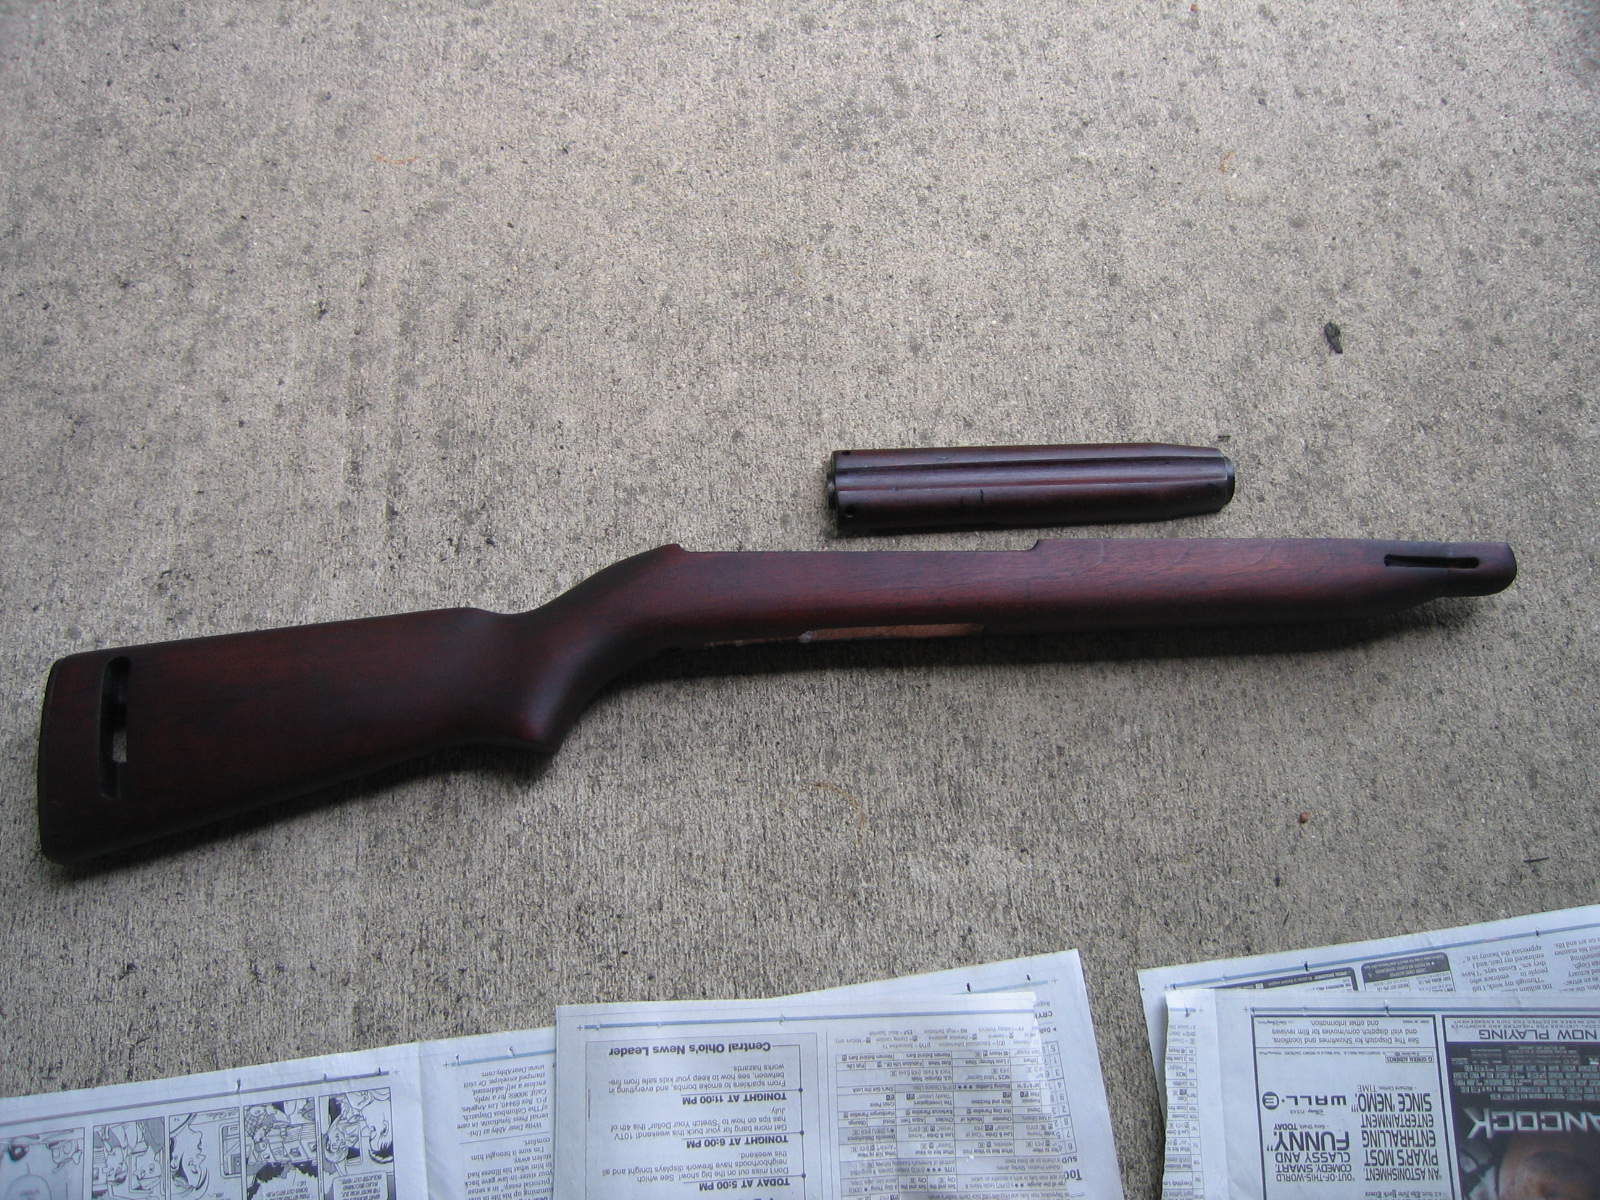
Here’s the stock after a couple of coats of linseed oil. Pretty disappointing? Yeah.
Next step is wax. I went ahead and rubbed the stock down with Lincoln brown shoe polish. After applying a thick coat of shoe polish and rubbing it in, I melted the shoe polish into the stock with a heat gun. Once the shoe polish was done, I applied a coat of Sno-Seal, and then melted it into the stock. By this point, the stock wasn’t absorbing much more as most of the pores had been filled in.
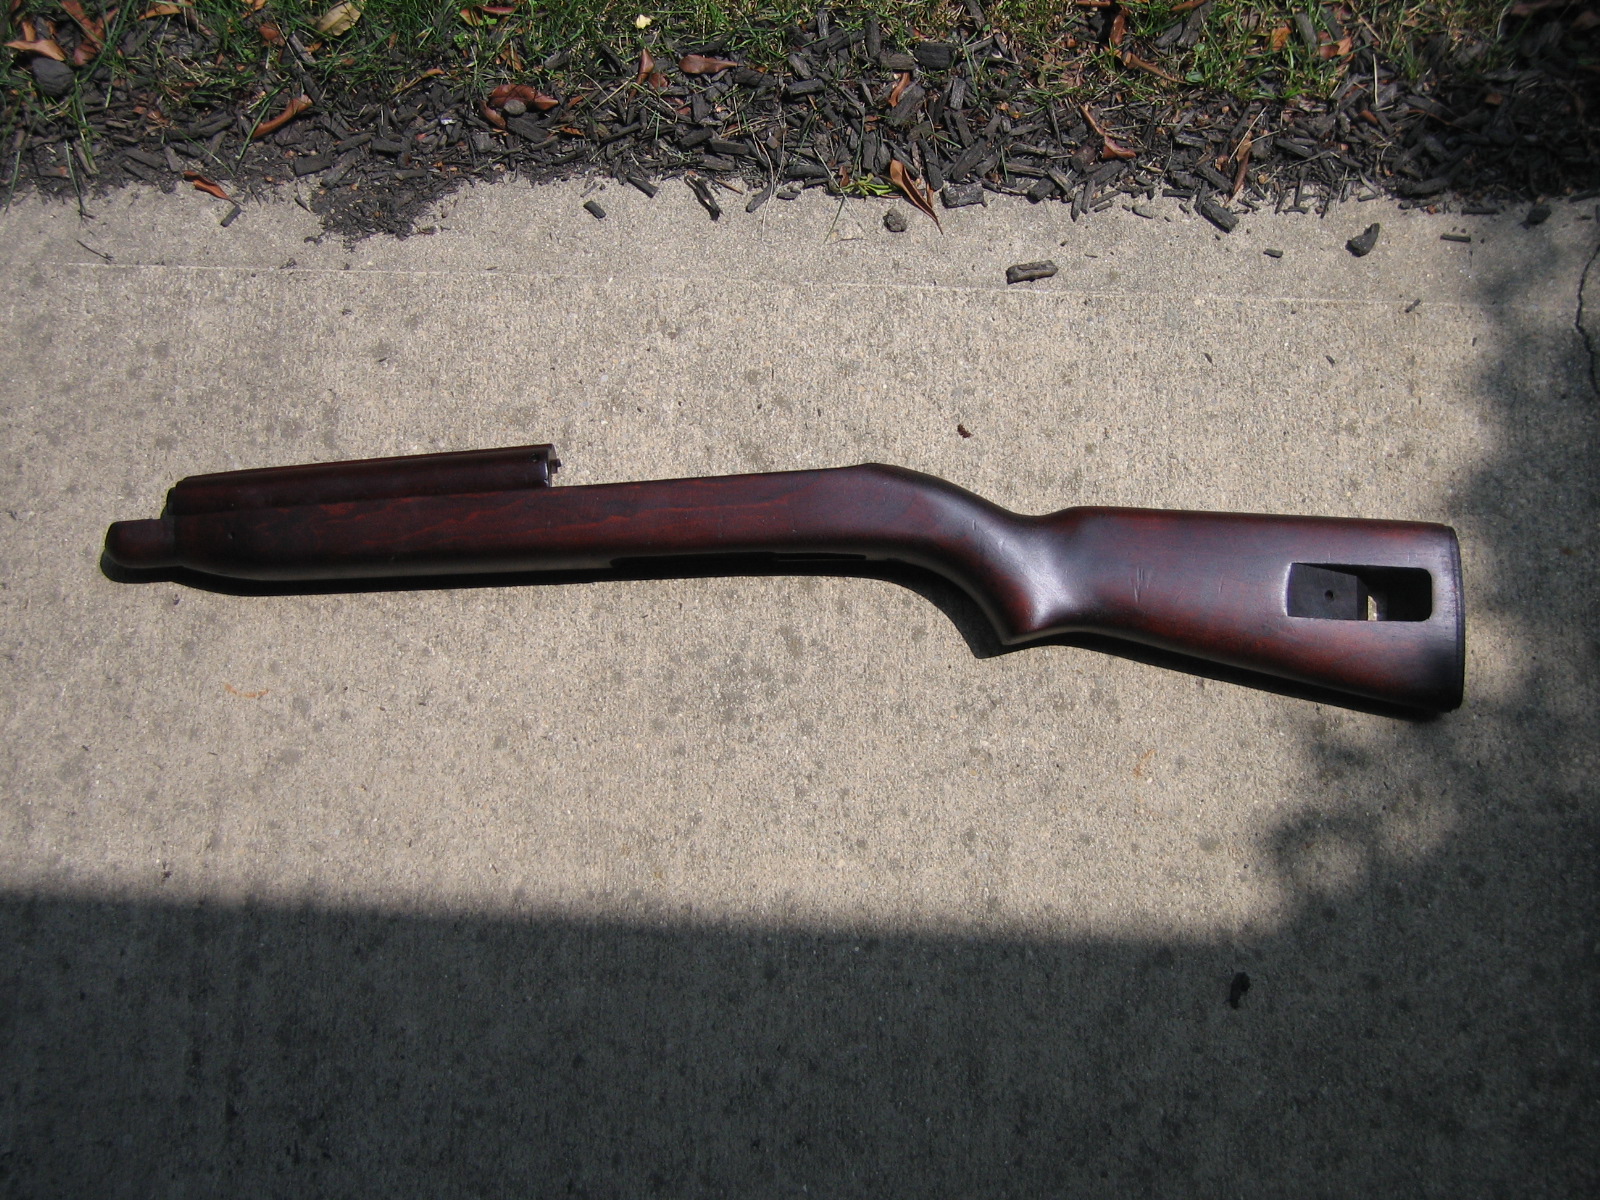
Finally, I wiped the excess wax off the stock buffed it up with an old sock. Here’s the finished product, and a reminder of where I started.
Conclusion:
The whole project took the better half of an afternoon, which is one of the quicker gun stock restorations that I’ve done. Yes, you probably should give the boiled linseed oil more time to dry between coats and applying a wax finish – but I haven’t seen any adverse affects yet.Overall, I’m very pleased with the results – it came out pretty well all things considered. I’ll have to be on the lookout for cheap birch wood sets now for carbines, and birch Garand fore-wood.
Hopefully you’ve been inspired and have the instructions necessary to do a nice job of dressing up a birch stock to have an affordable, less farby substitute.