Restoring the M2 Tripod
USGI Tripods from Israeli service back to USGIDate Written: July 7, 2012
Author: Chris Guska
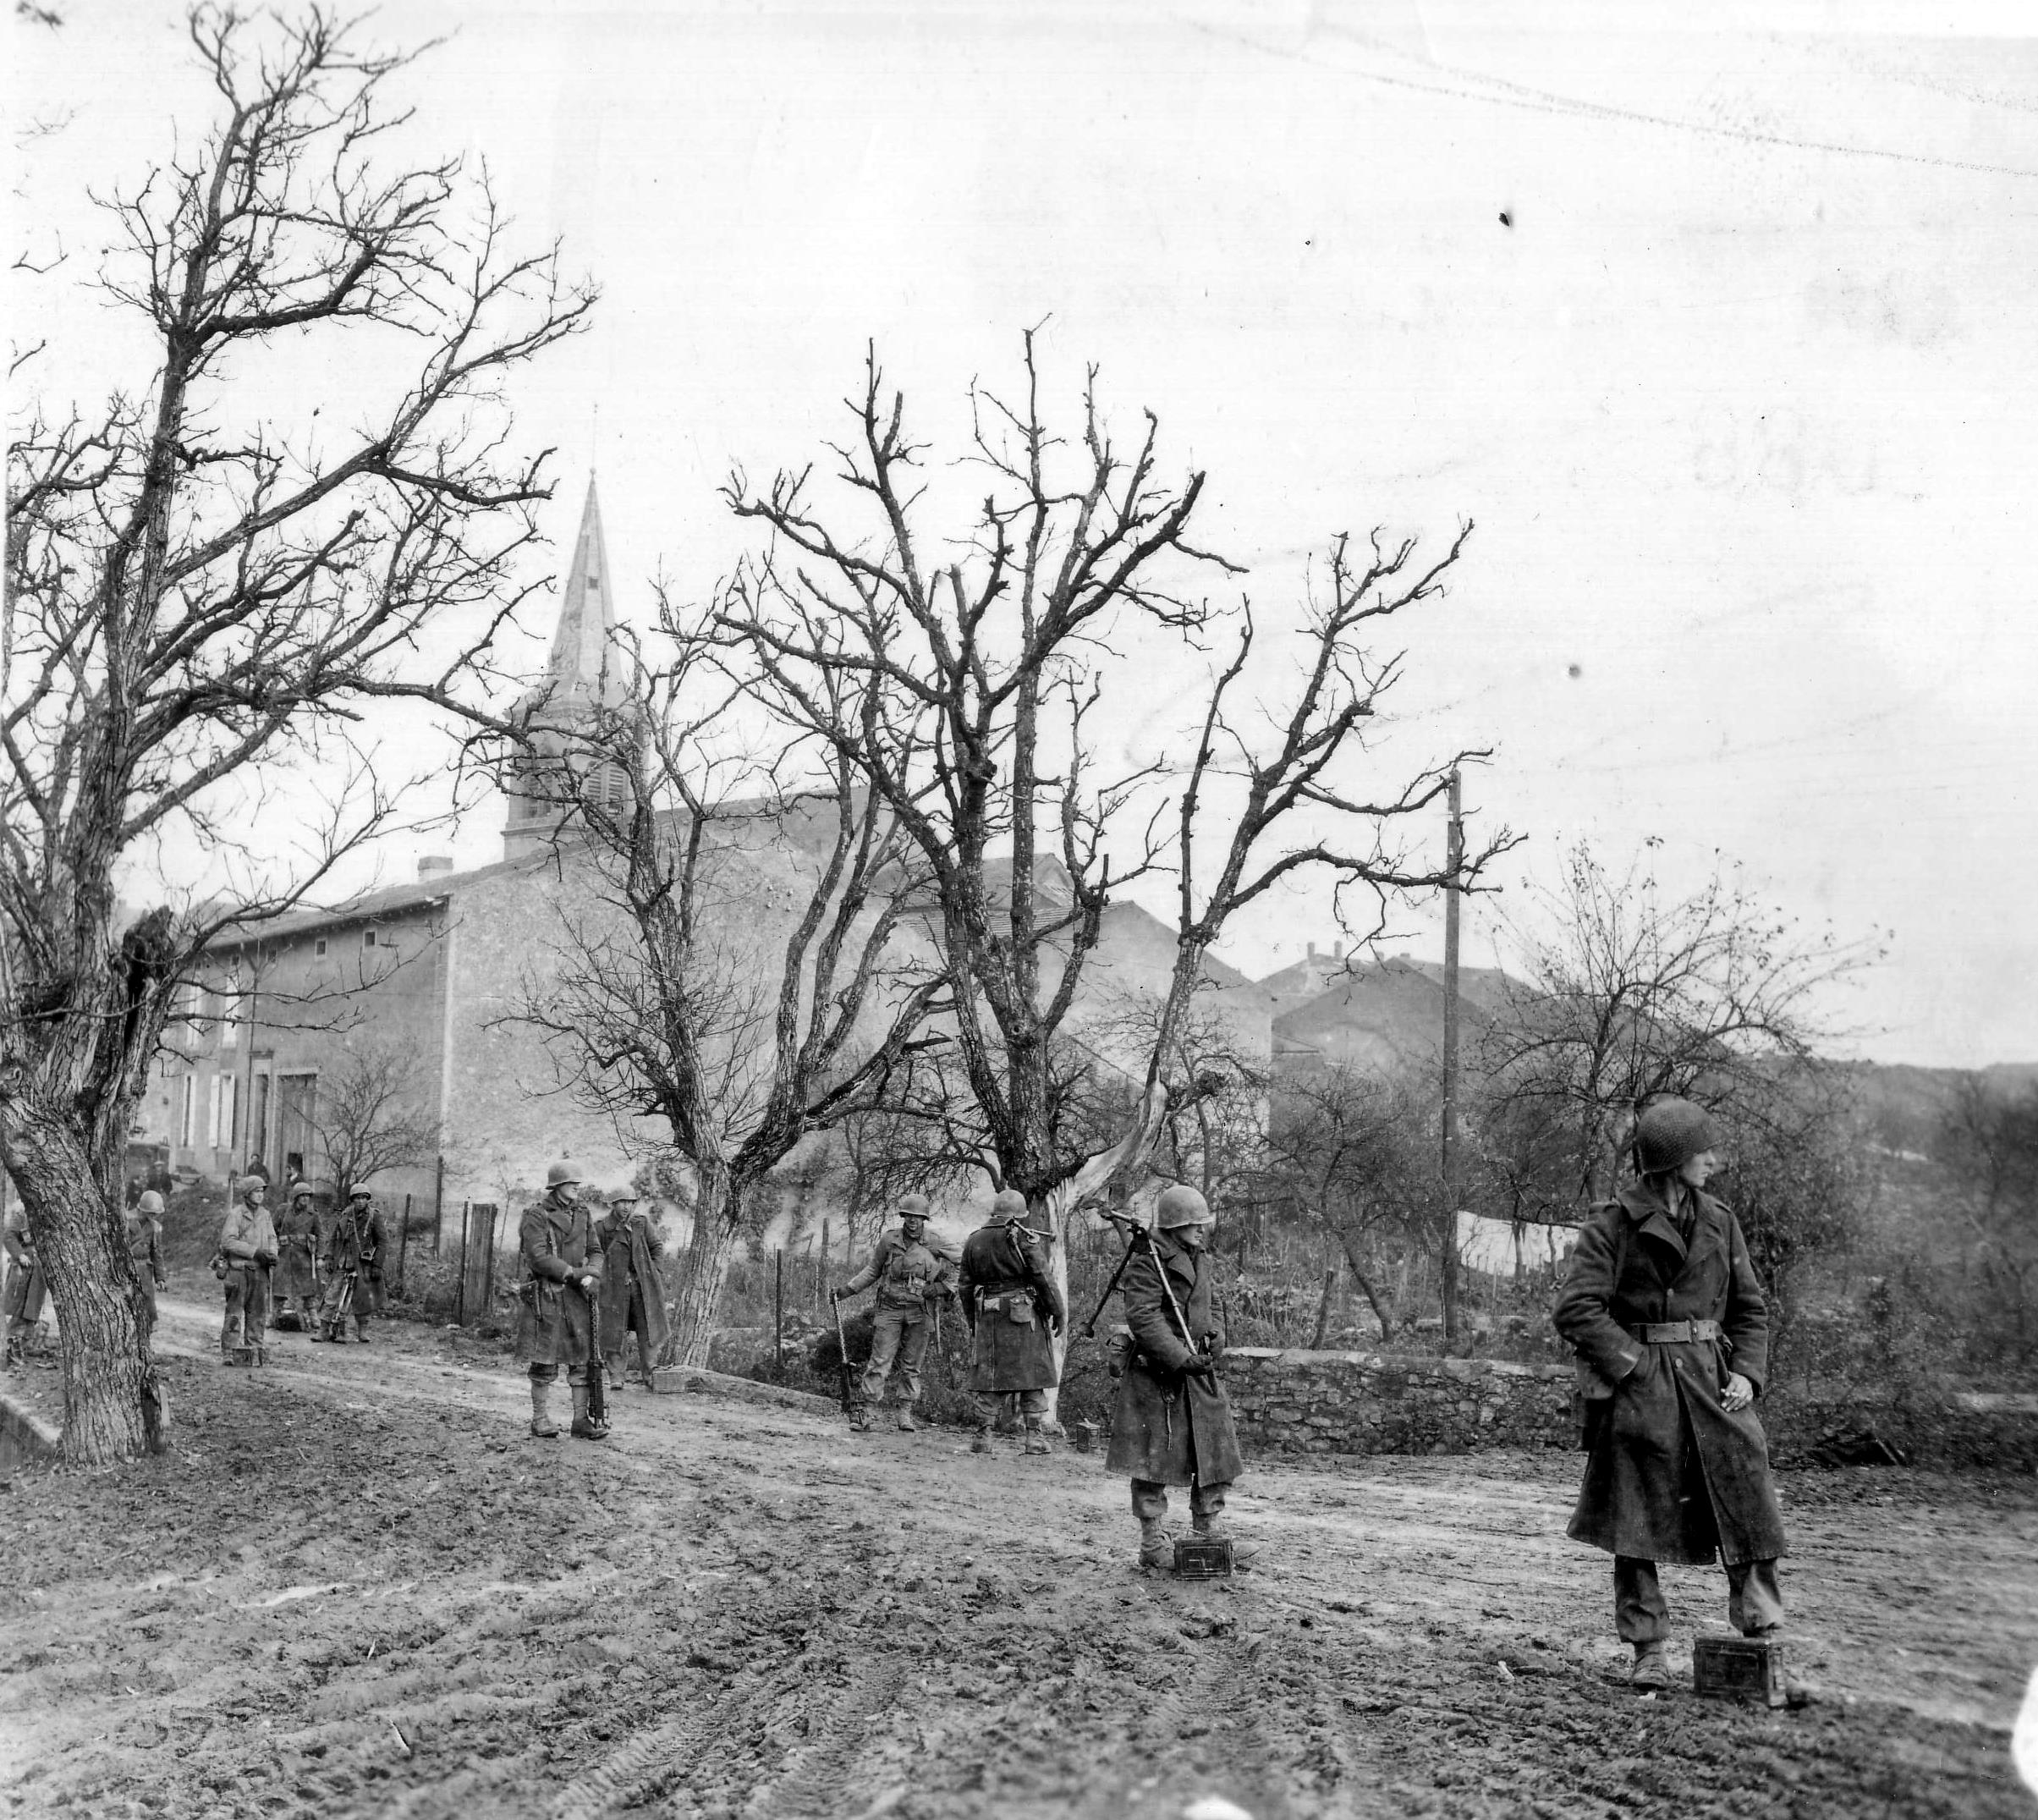
American Infantrymen of the 358th Infantry Regiment, 2nd Battalion, 90th Infantry Division, Wait for supporting artillery to soften German positions before pushing on beyond Metzervisse, which they took the previous night and had completely cleared of Germans by the following morning. 17 Nov 1944. (National Archives)
Background:
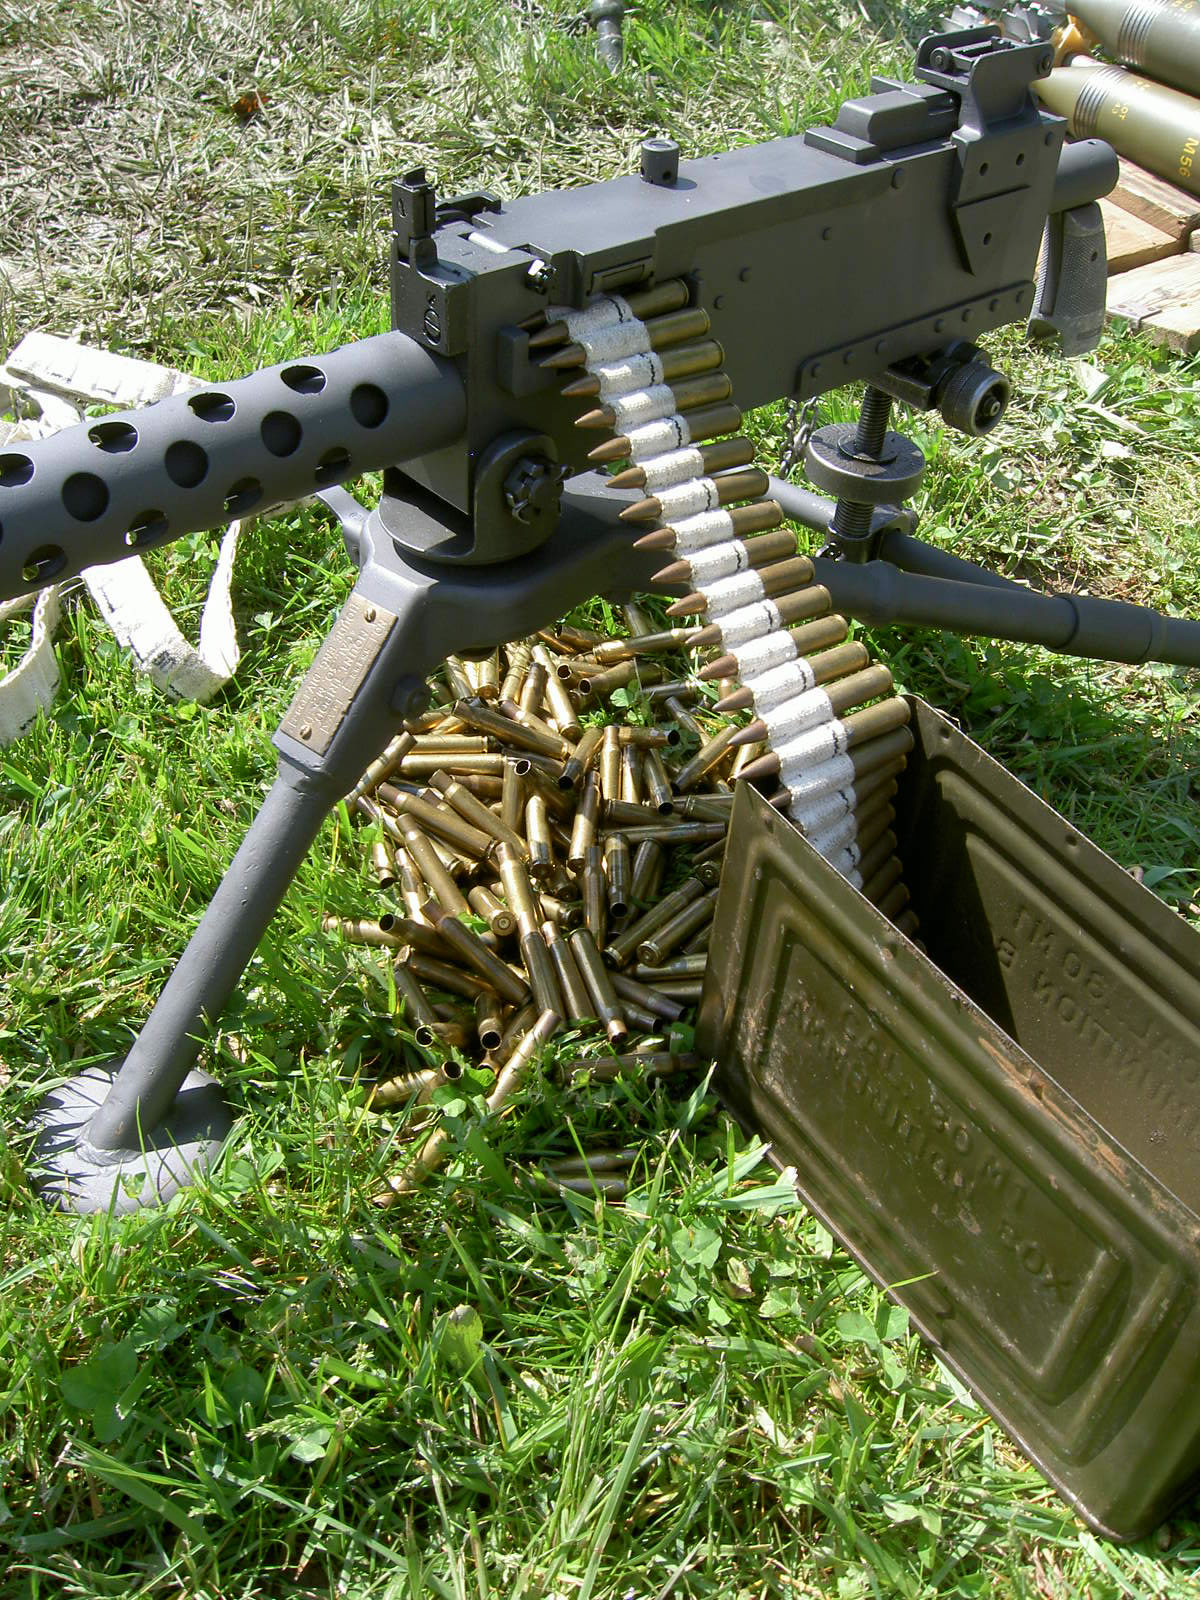
The United States supplied a significant quantity of M1919A4 Browning 30 caliber machine guns with M2 tripods to Israel. These M2 tripods and M1919A4's began to return to the US in the 1990's and 2000's as 1919 parts kits and surplus tripods.The Israeli Defense Forces made extensive use and modifications to the Browning 30's in service with them. The 1919A4's were converted to 7.62 Nato, with a number of small modifications being made, and the M2 tripods were modified and painted to better suit the demands of the IDF. Browning MG's has a nice page quickly summarizing the differences.
These painted, modified M2 Tripods have been an inexpensive source of USGI M2 tripods for a number of years. The condition they are in as surplused is not acceptable for WW2 reenacting. The color as well as modifications made by the IDF was something not seen during WW2.
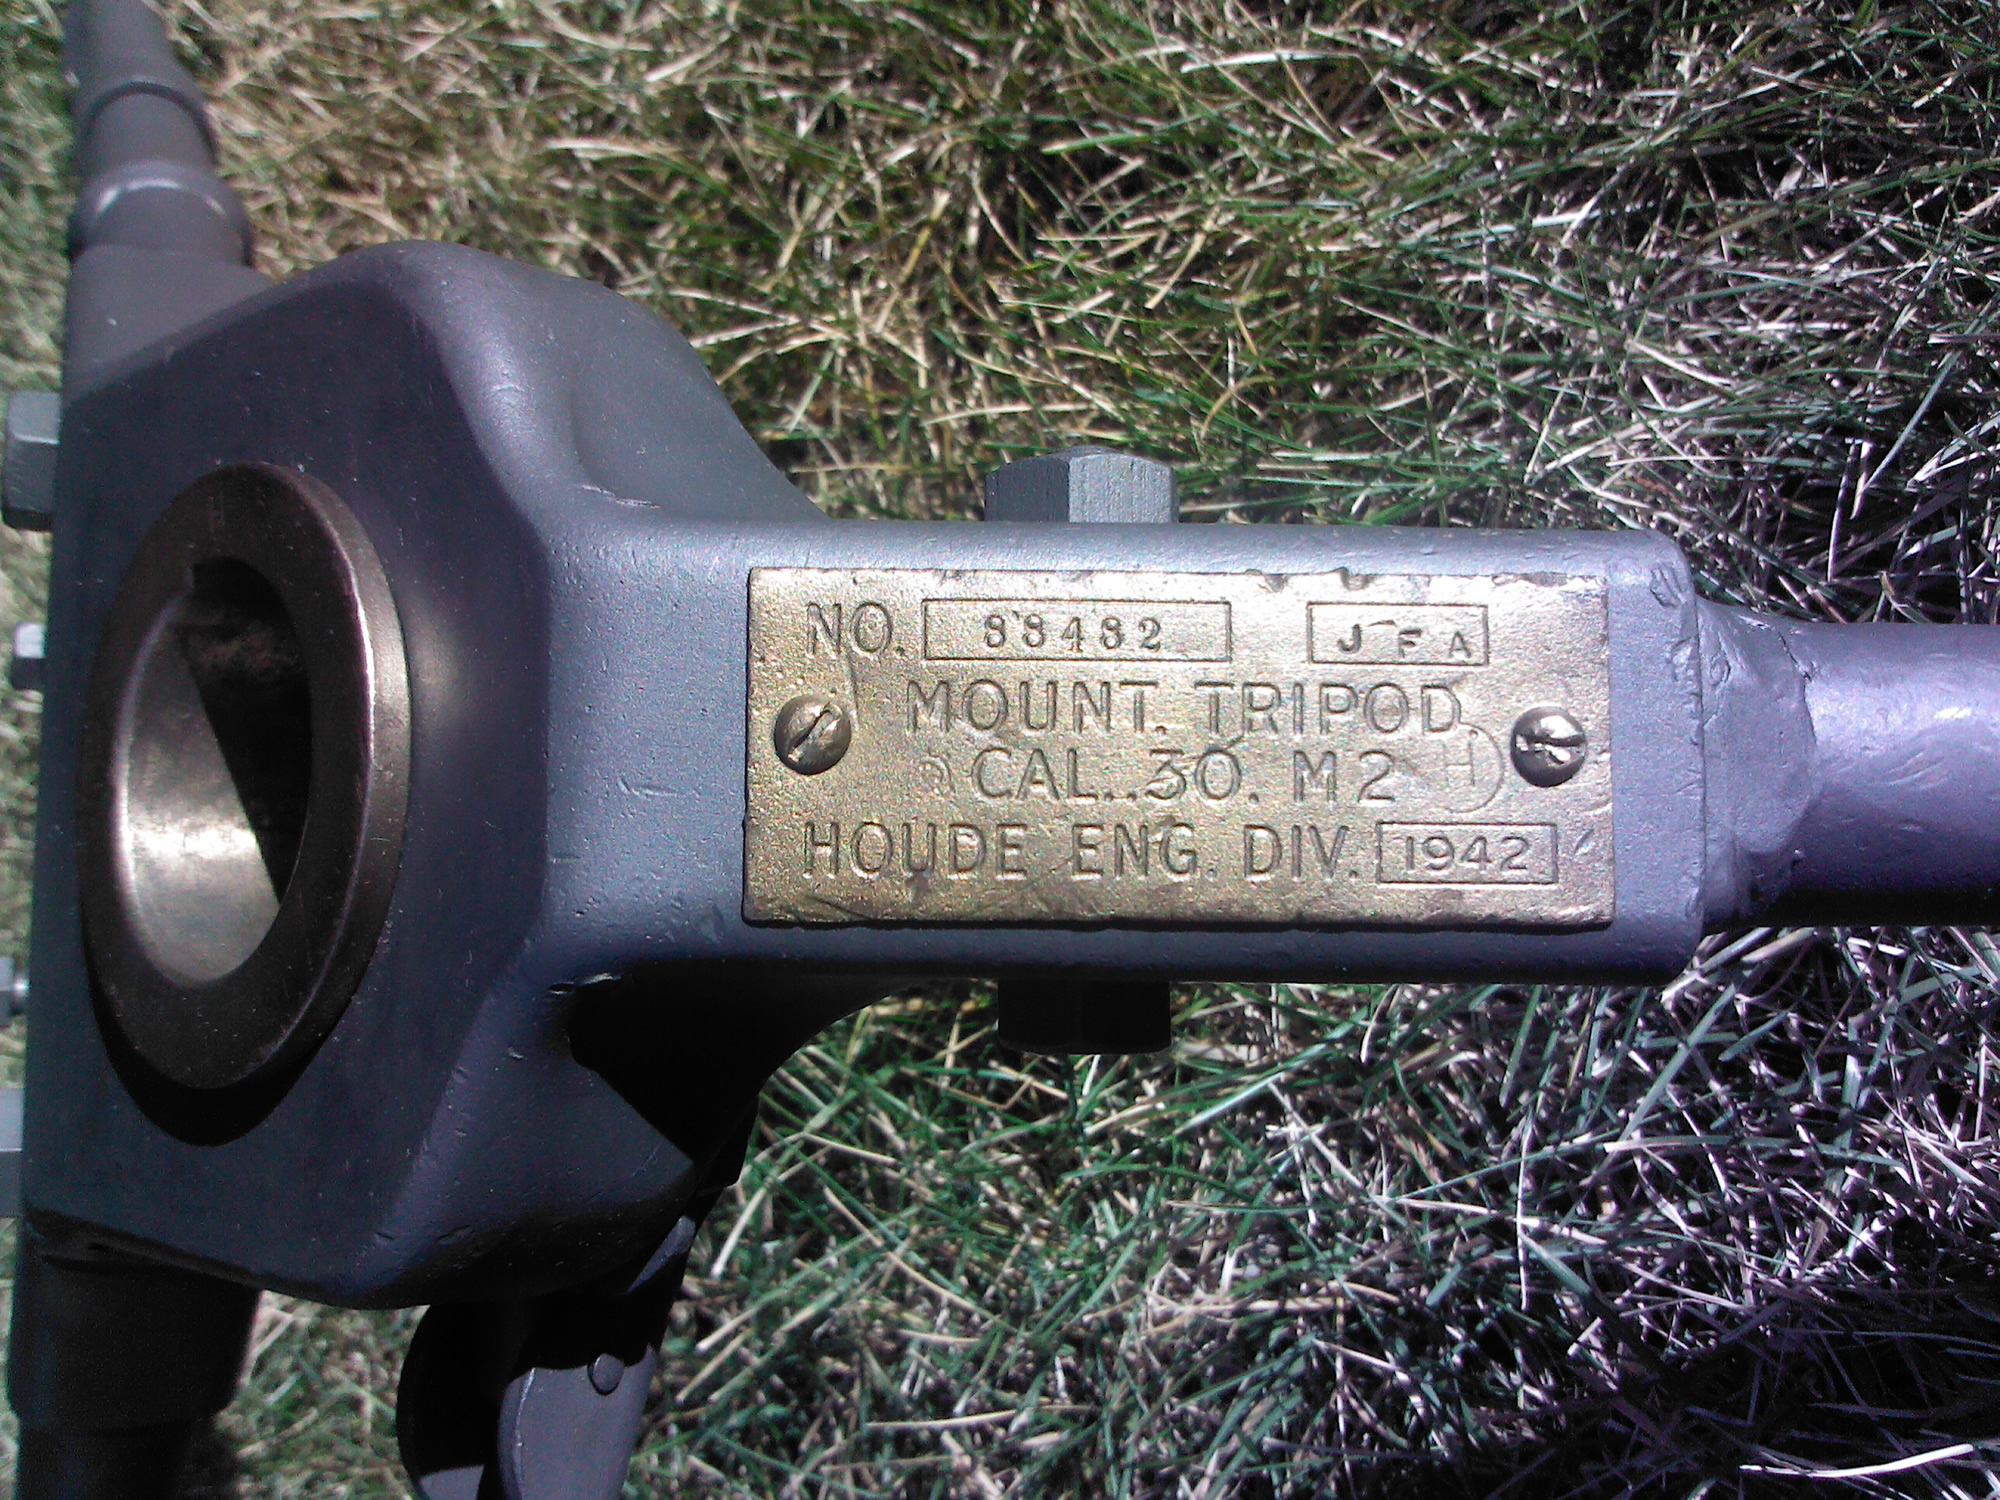
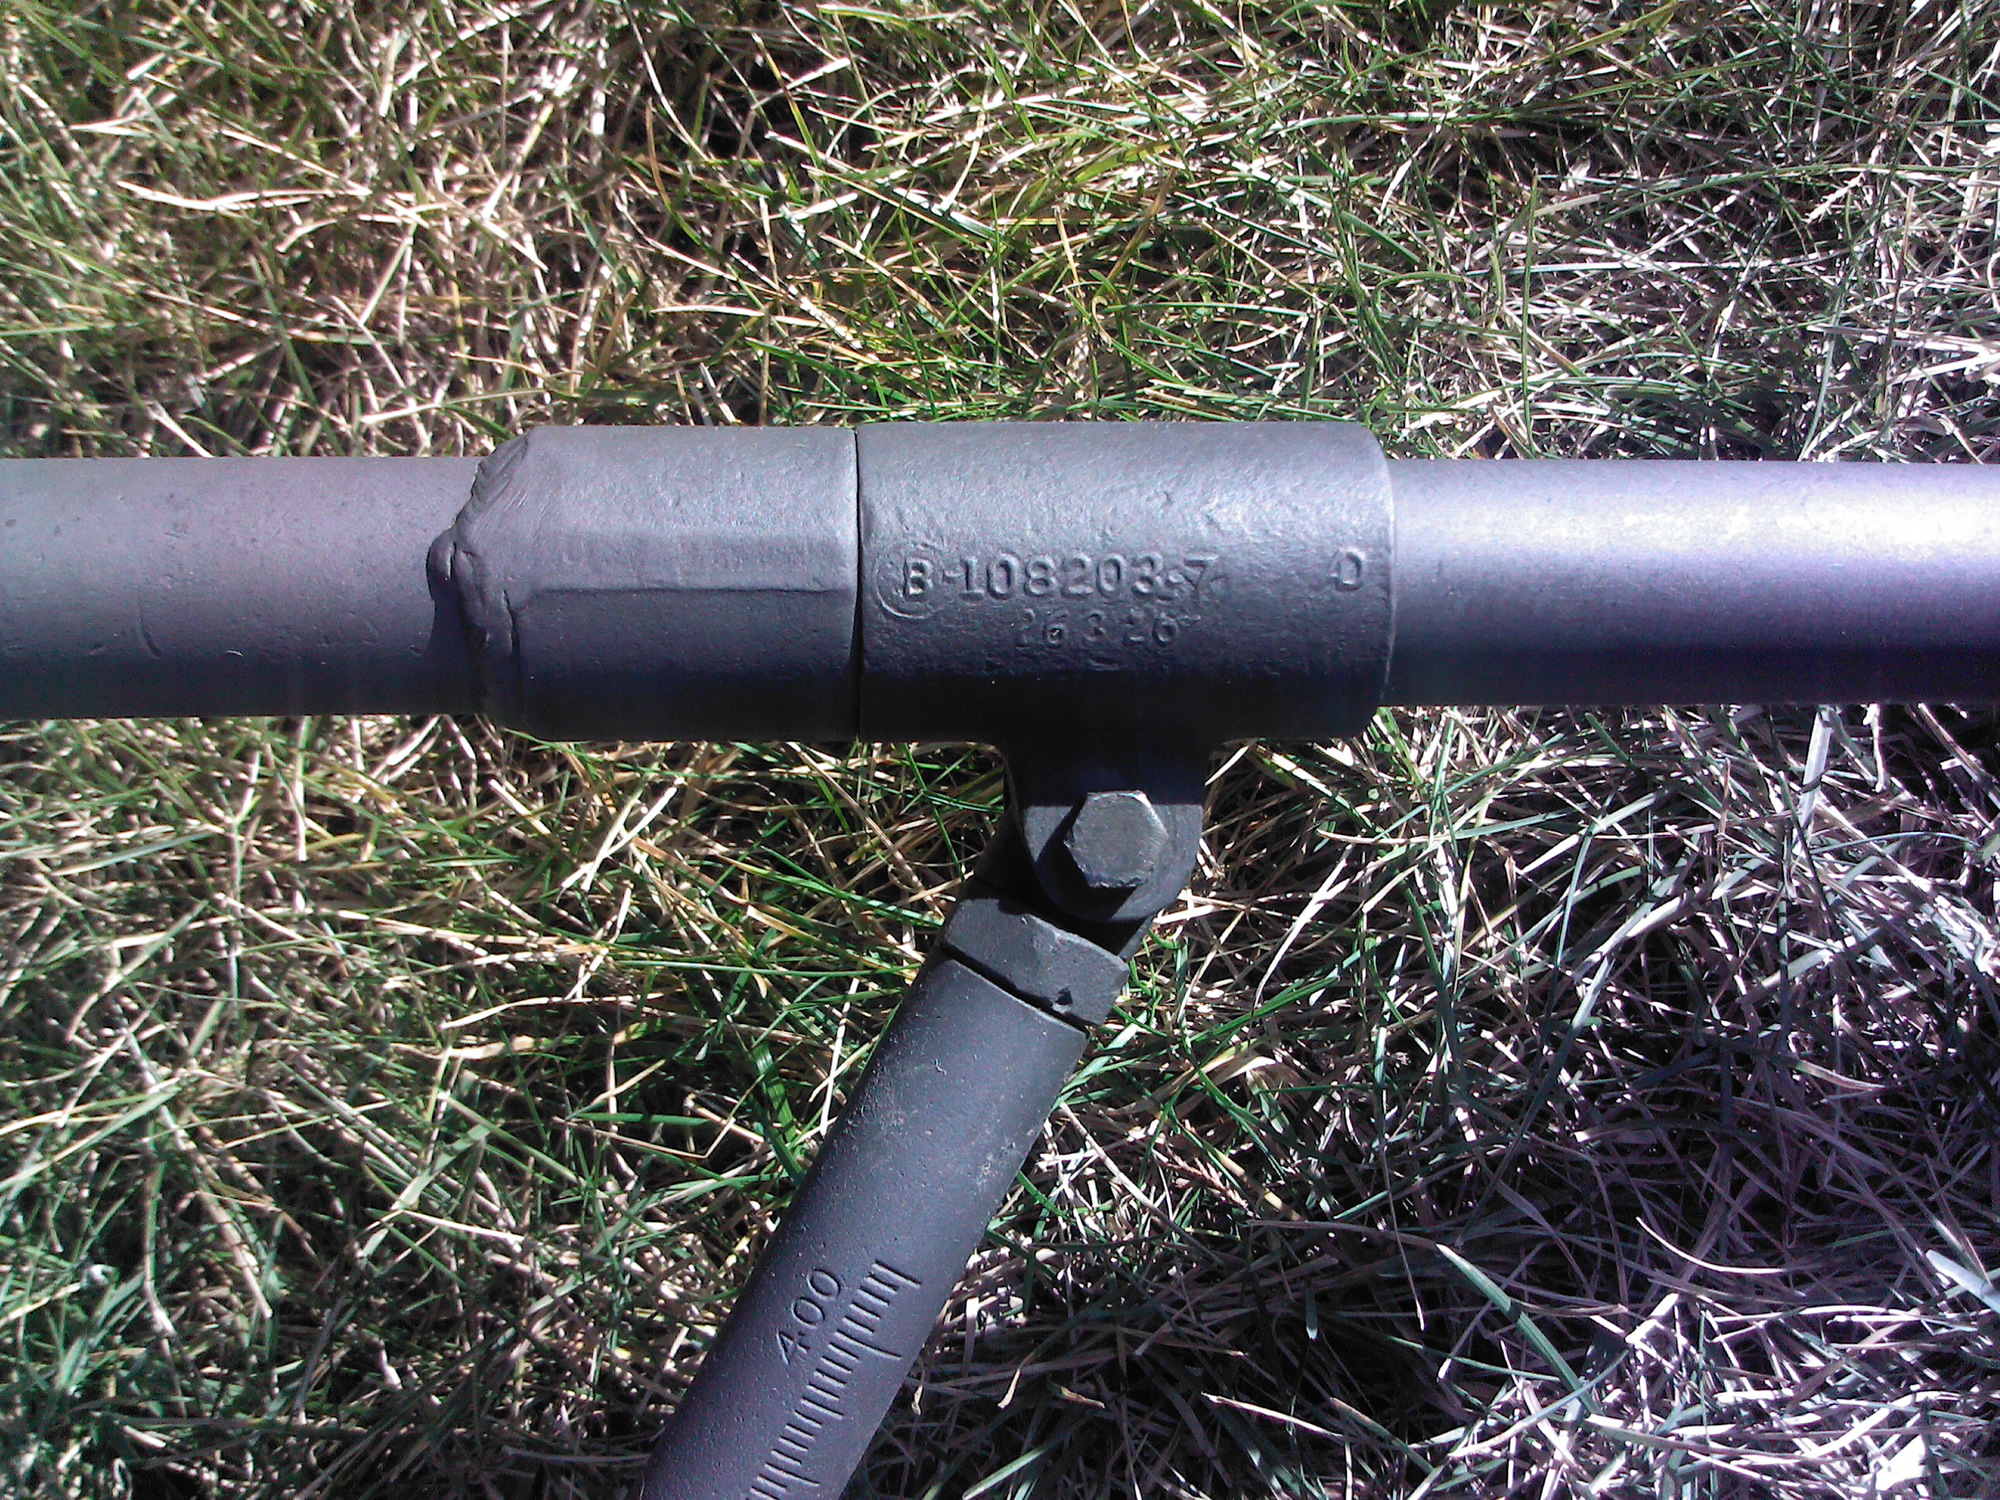
I've done about a dozen (lost count) of these in the past year. I've been surprised how many of these Israeli surplus tripods retain their original data plates or are otherwise nicely WW2 marked.
This is a very achievable project provided the basic tools and supplies are readily available. A welder, compressor, die grinder, sandblast cabinet and parkerizing setup is required.
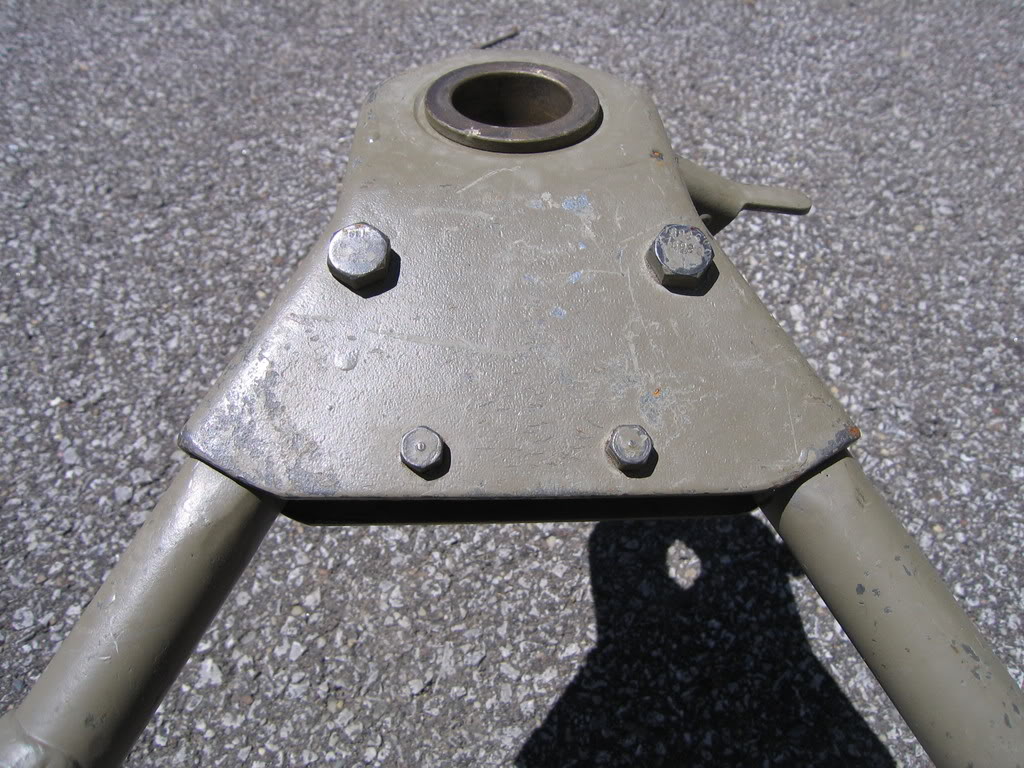
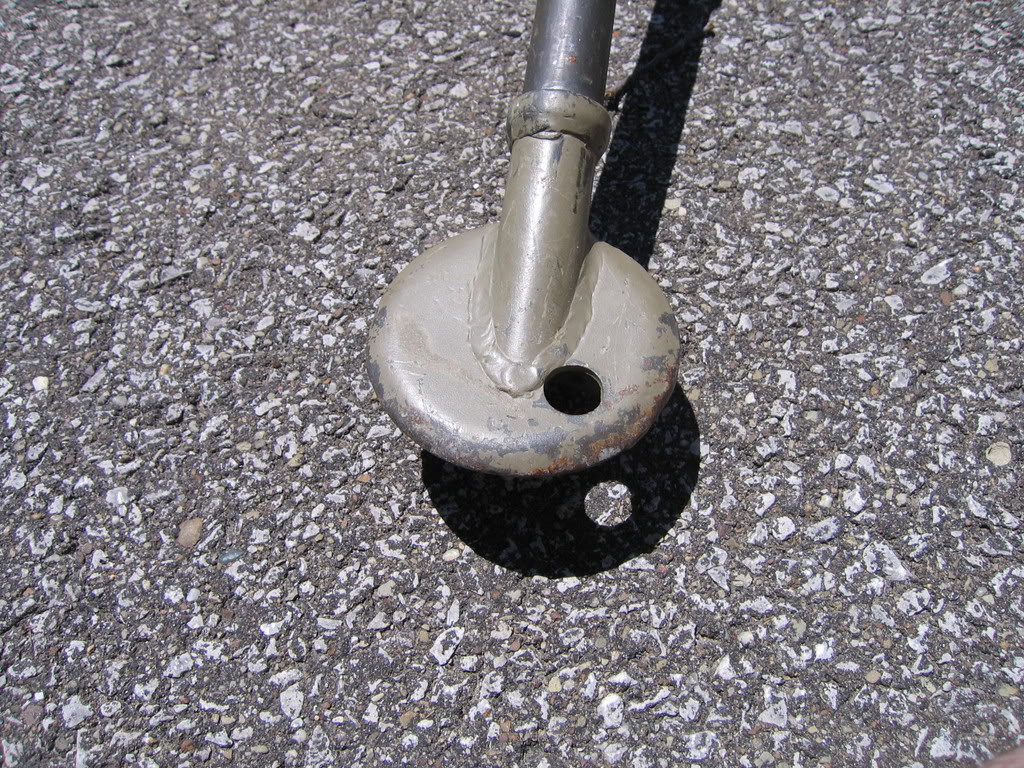
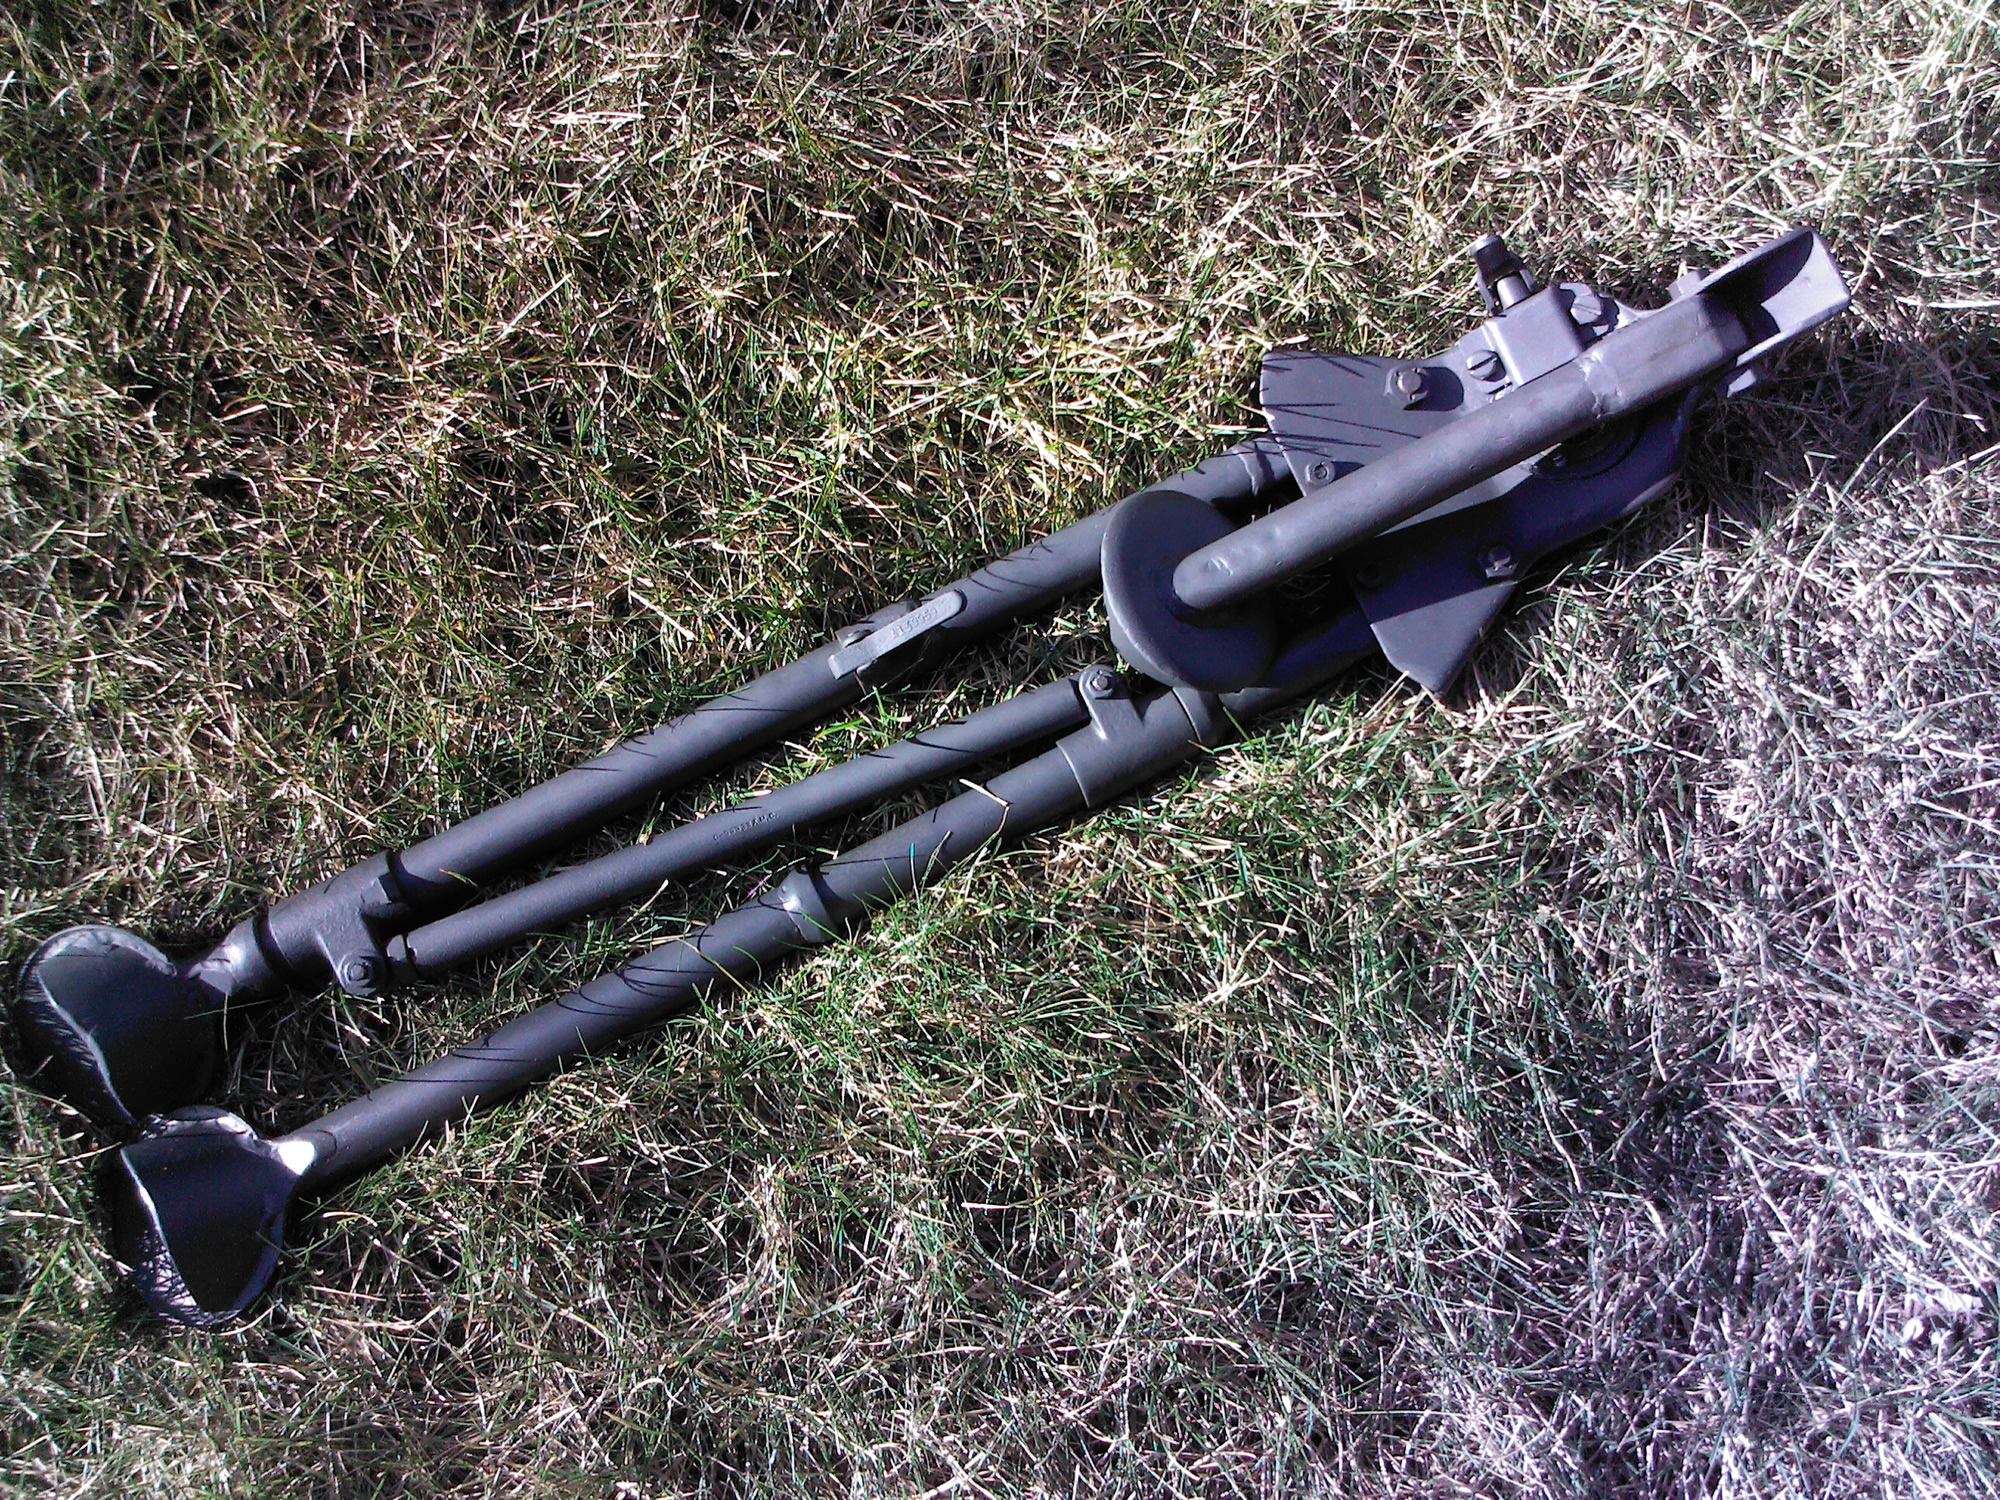
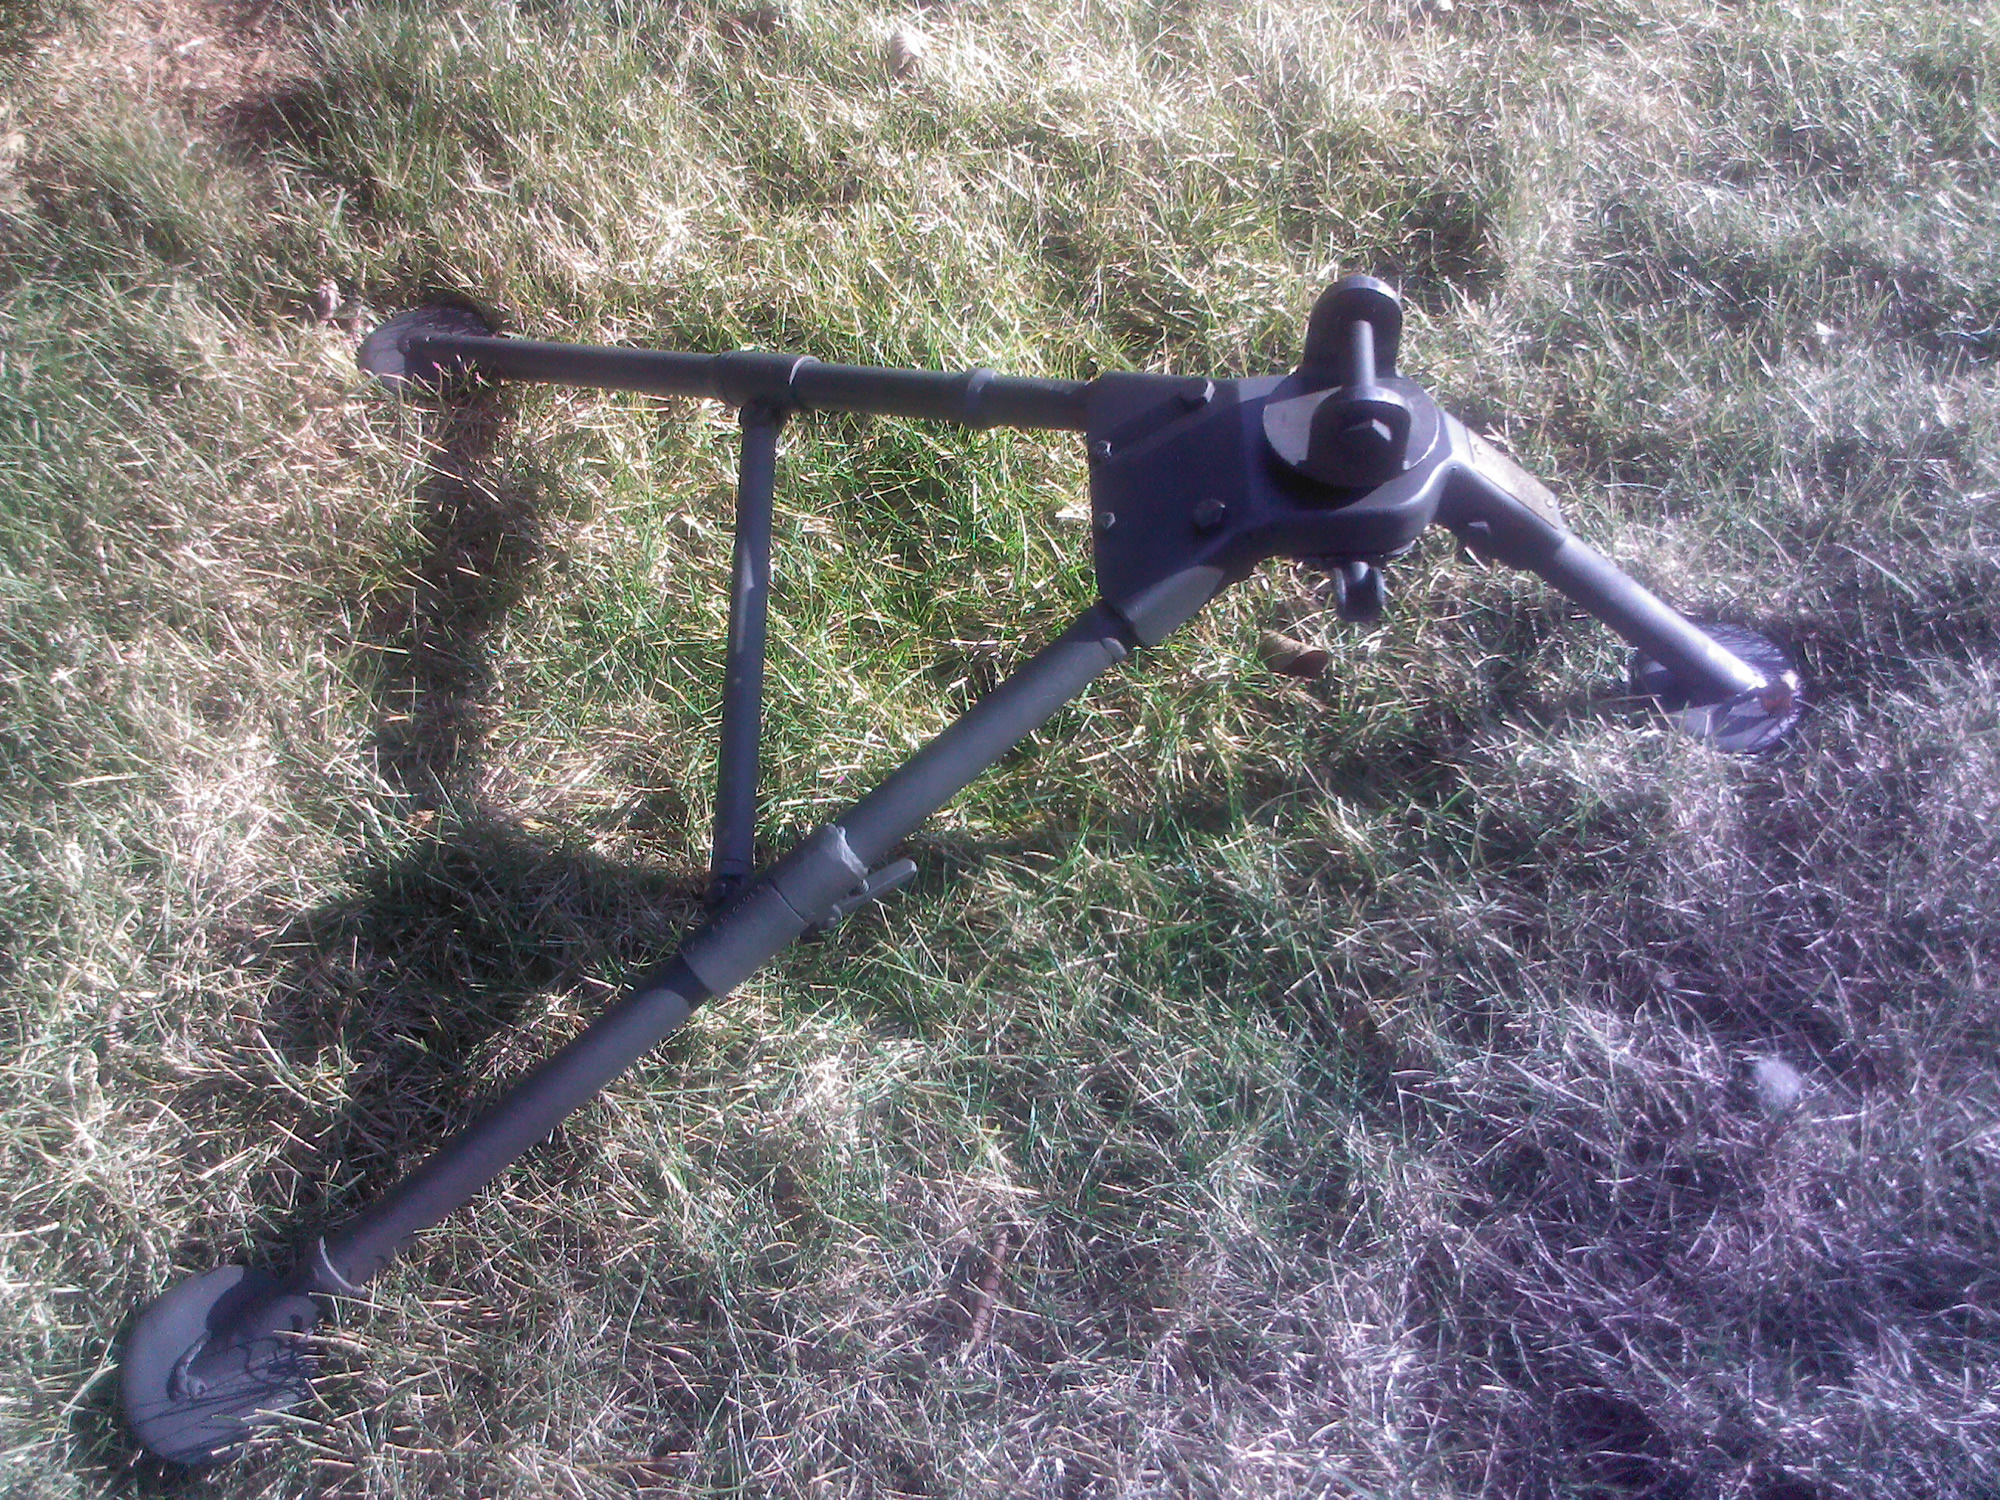
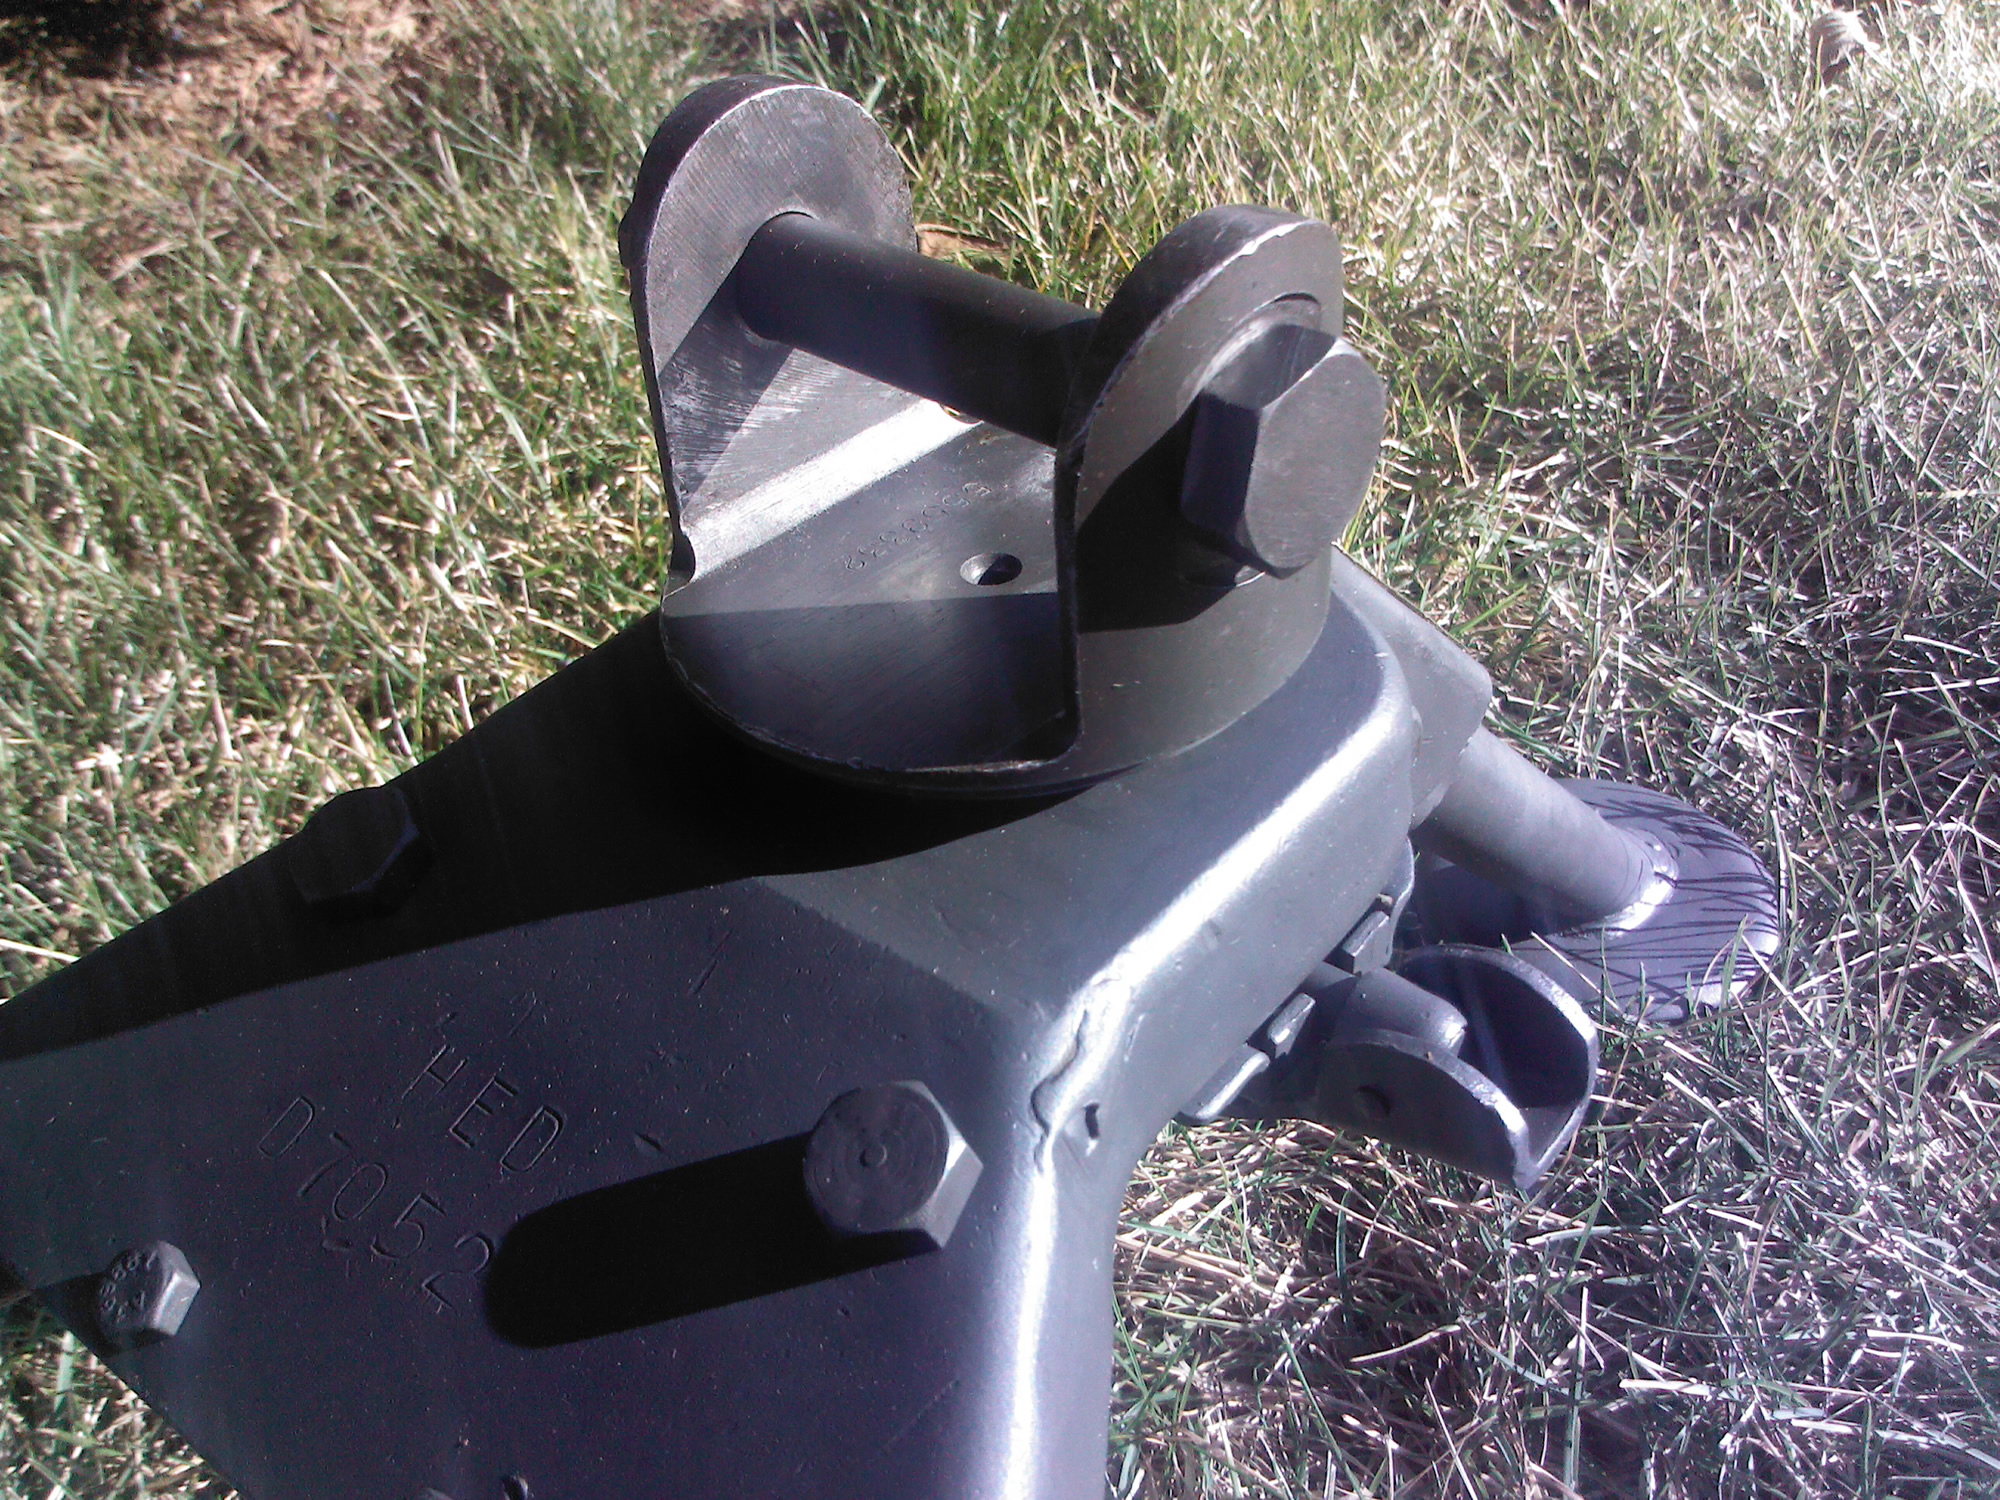
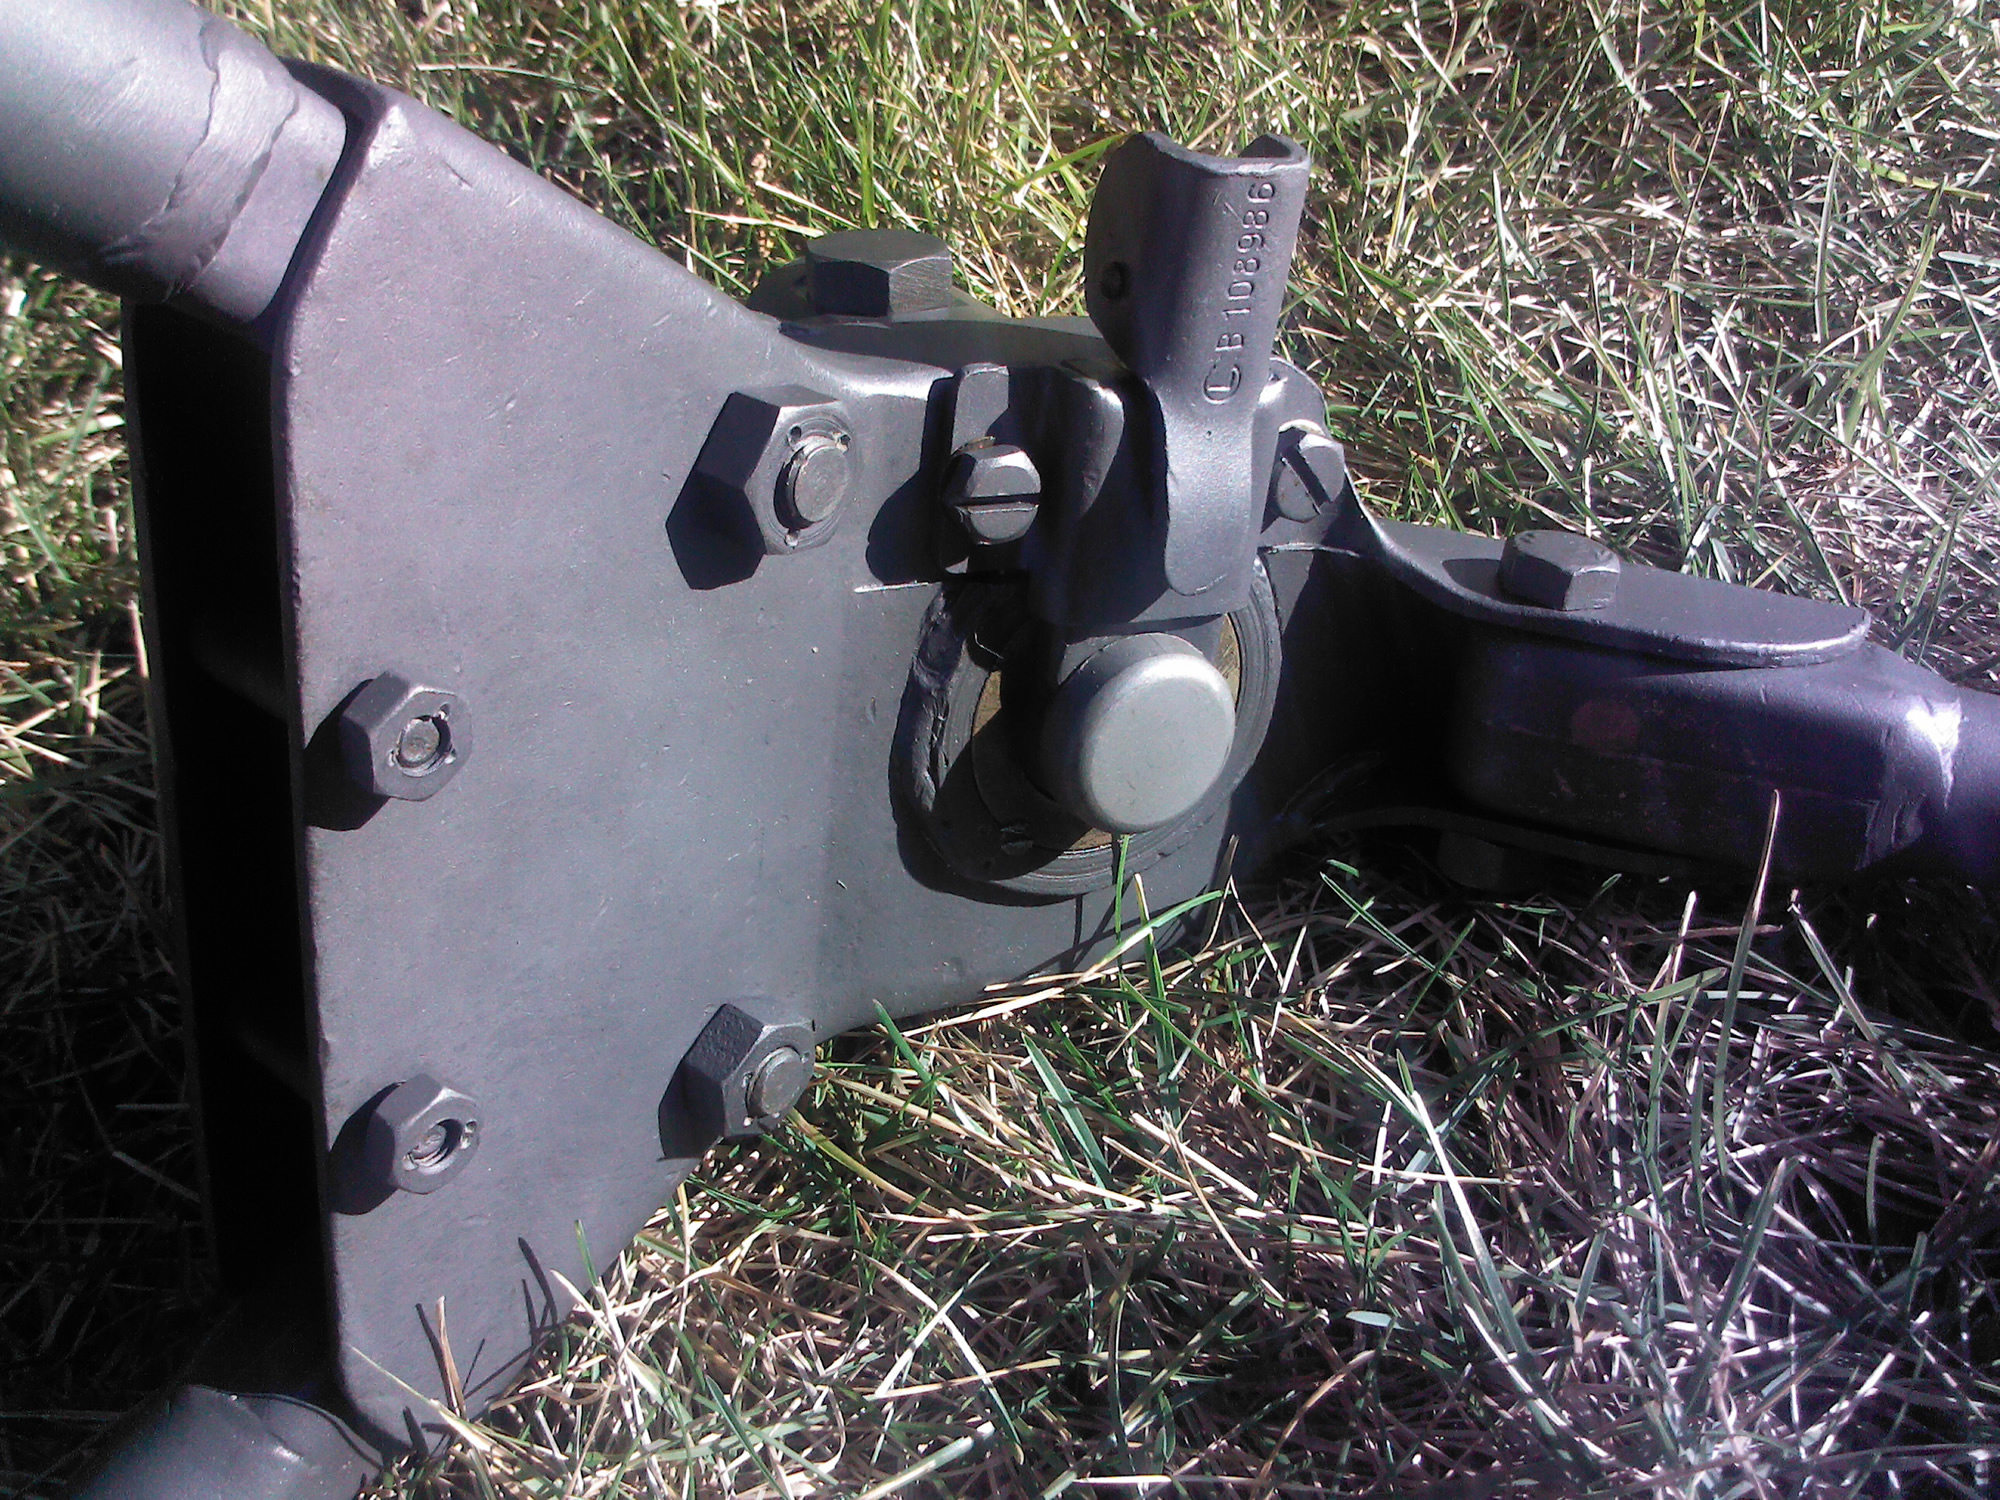
Starting Condition:
Summary of Farb:
- Israeli Desert Tan Paint
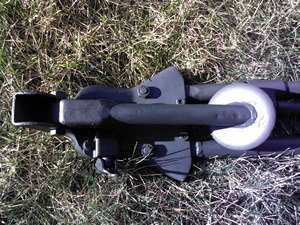
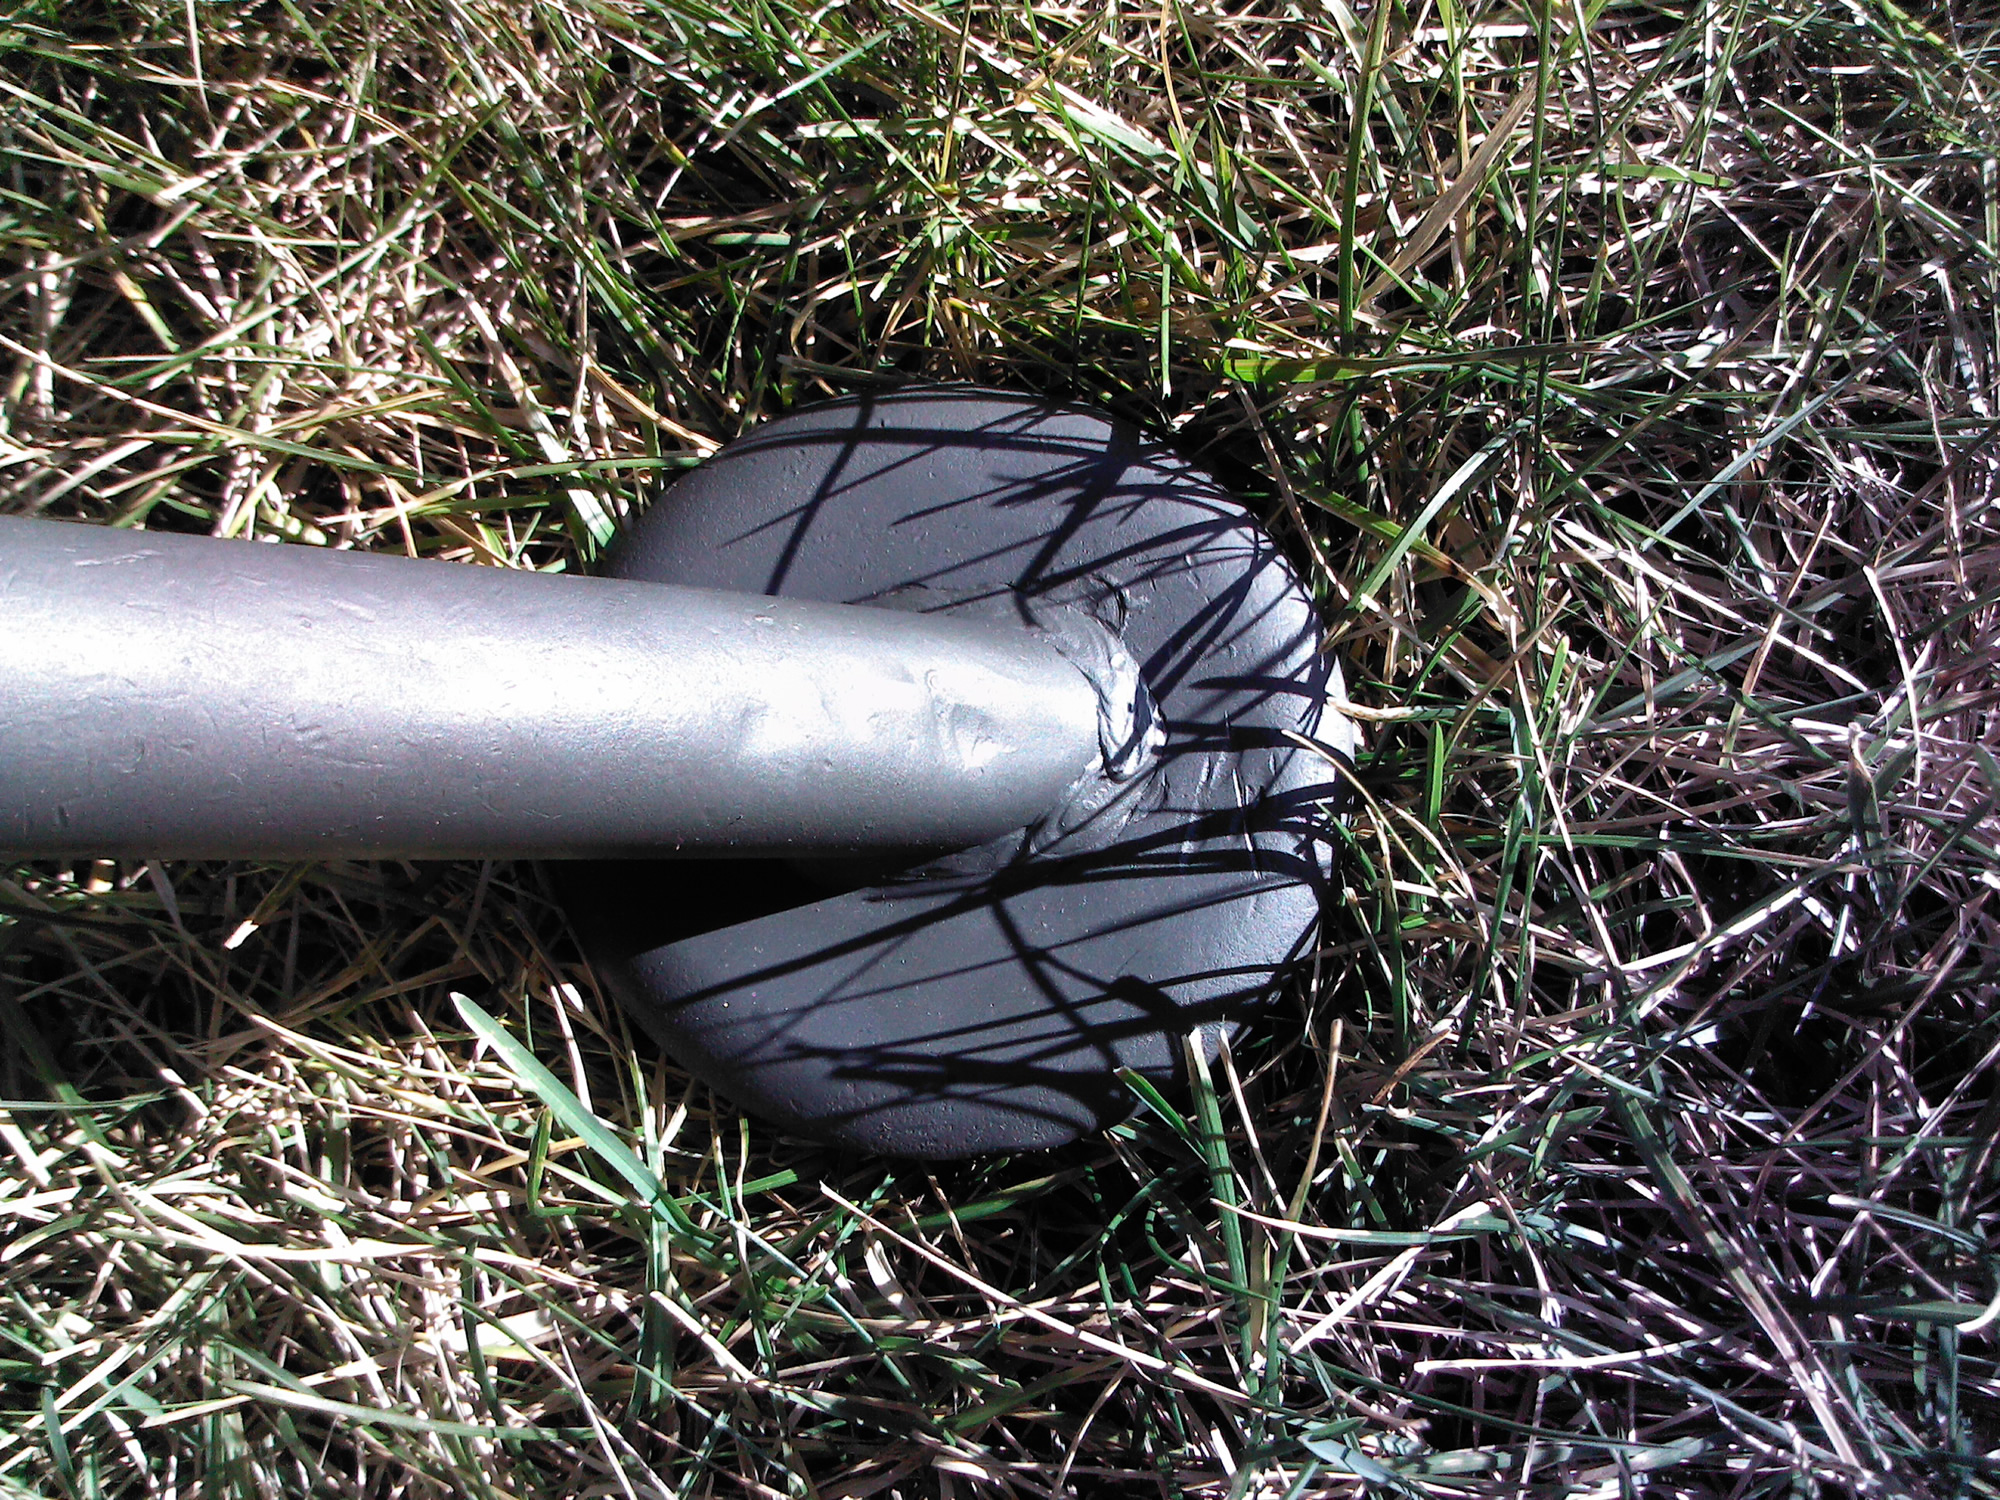
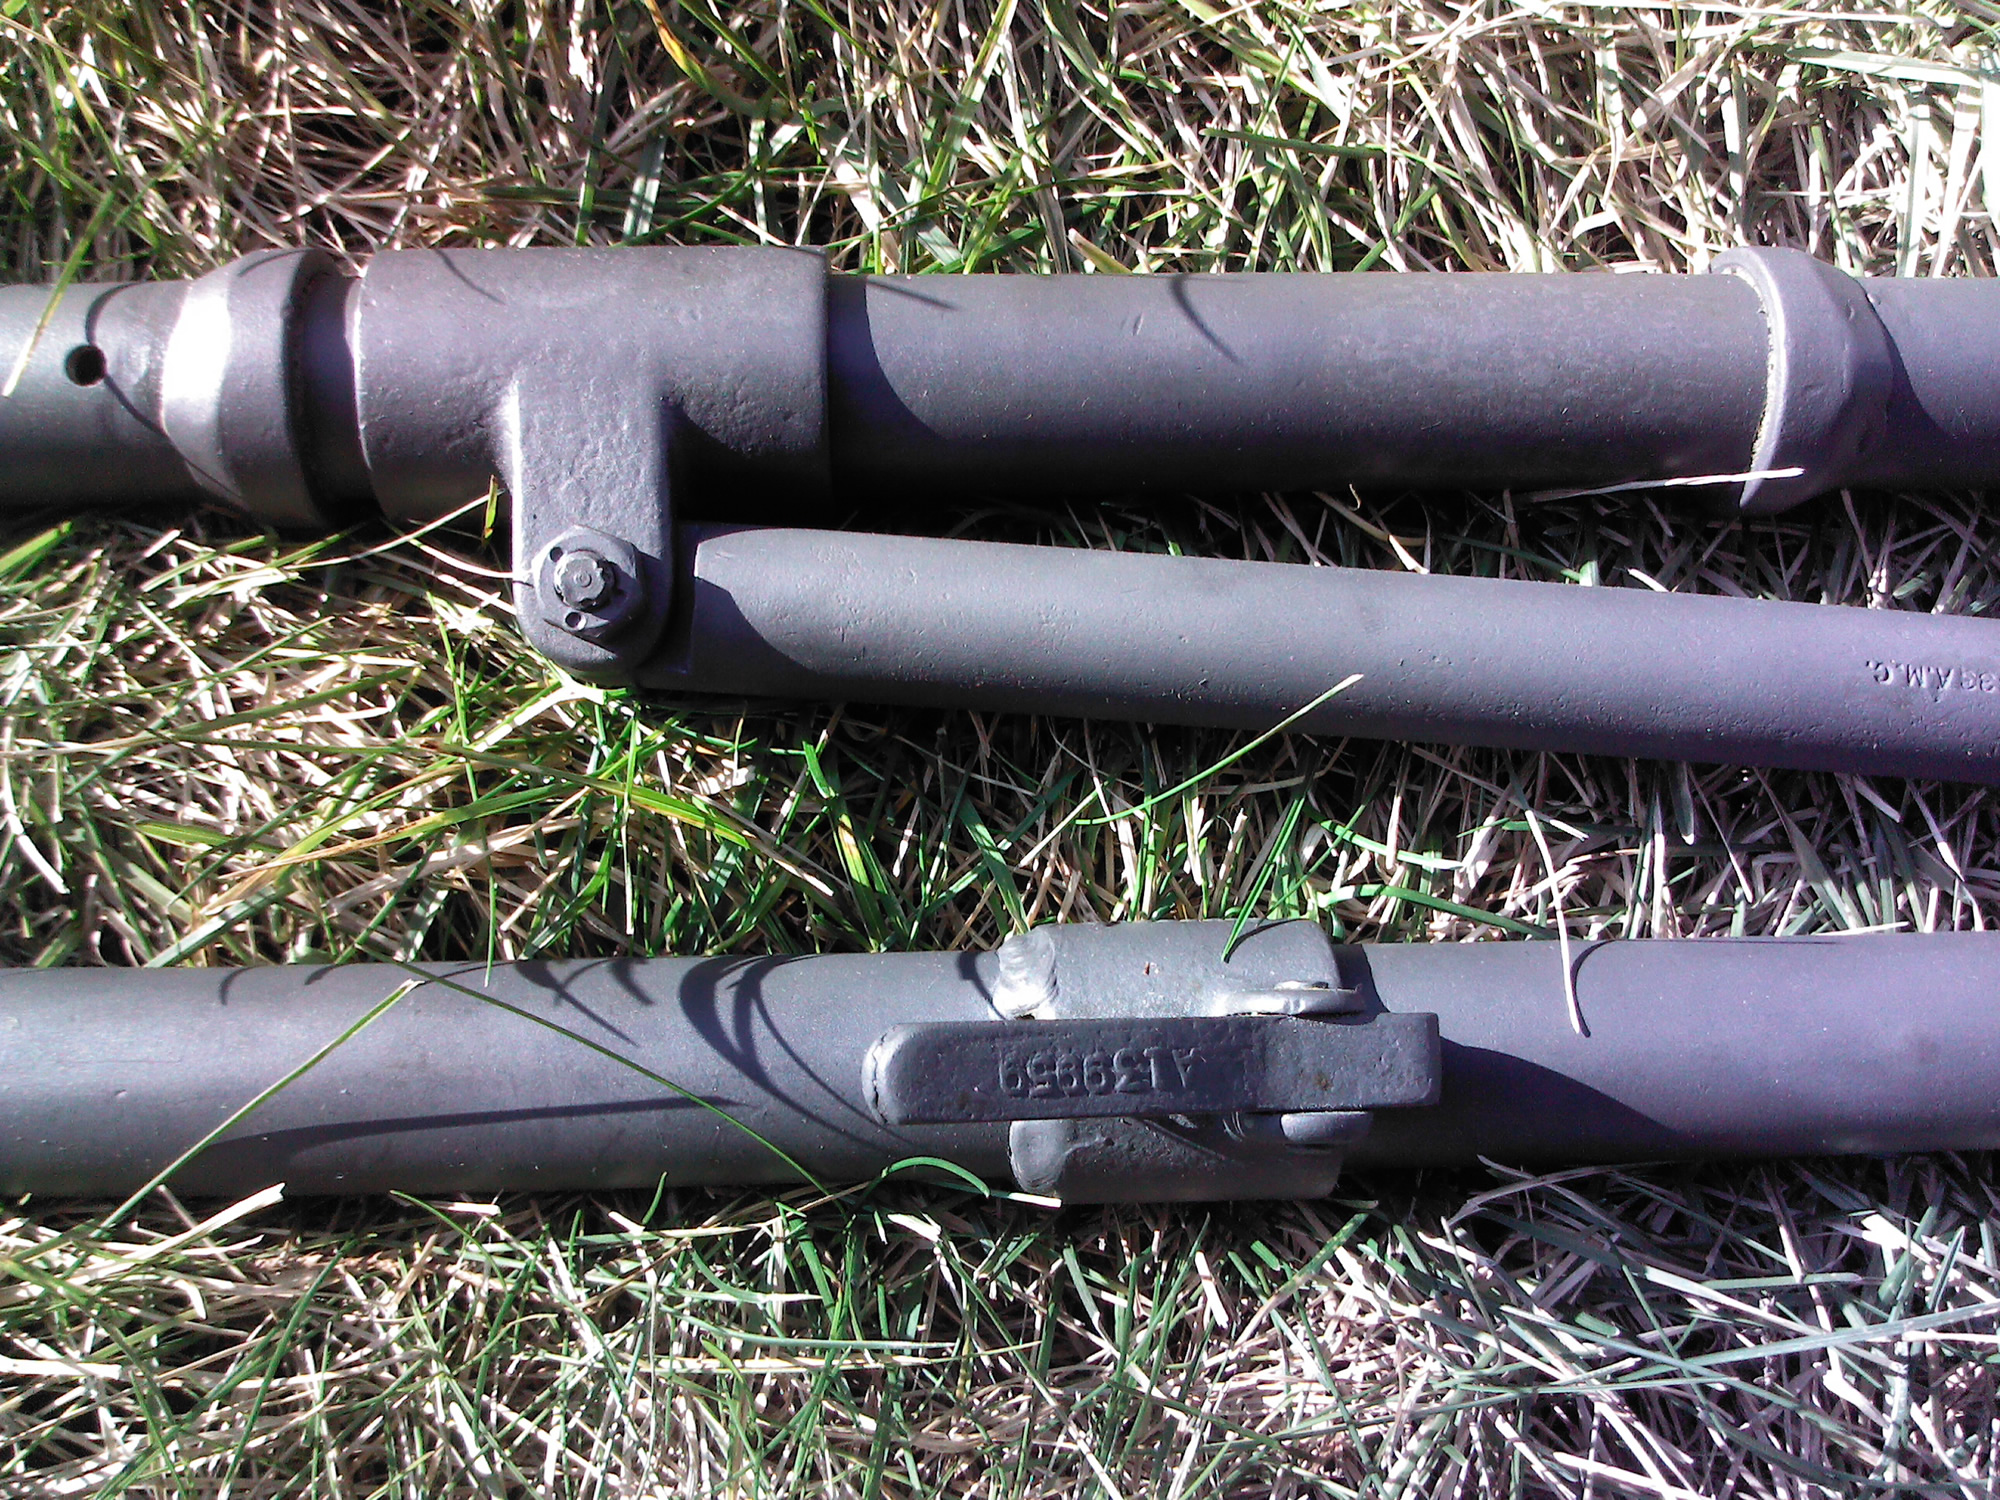
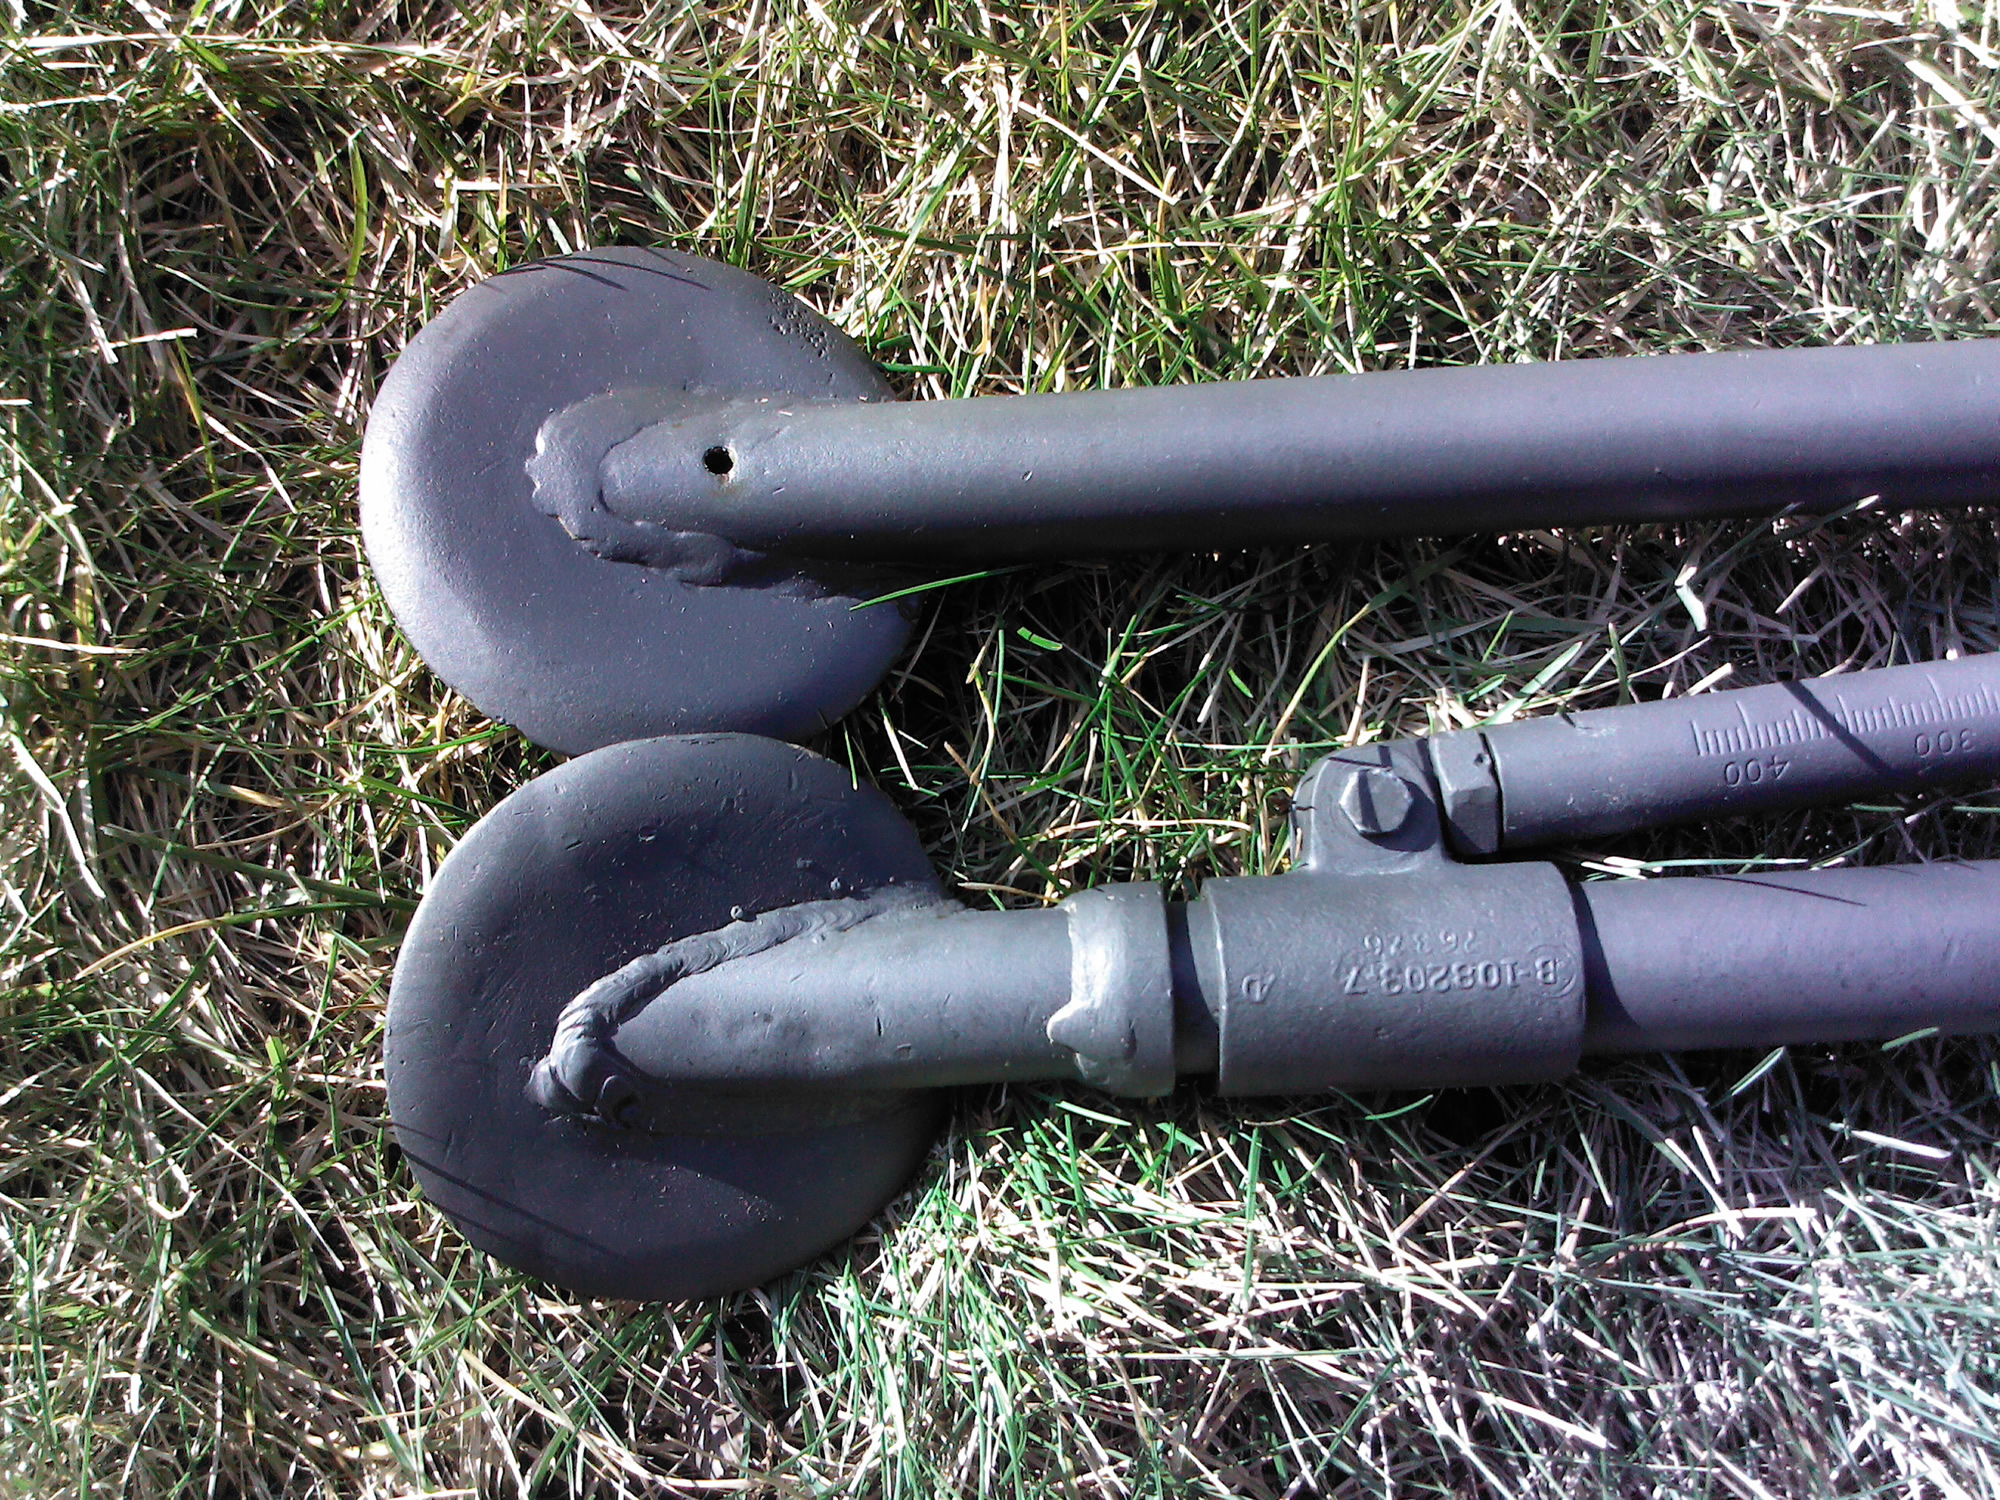
- Holes in the feet
Process:
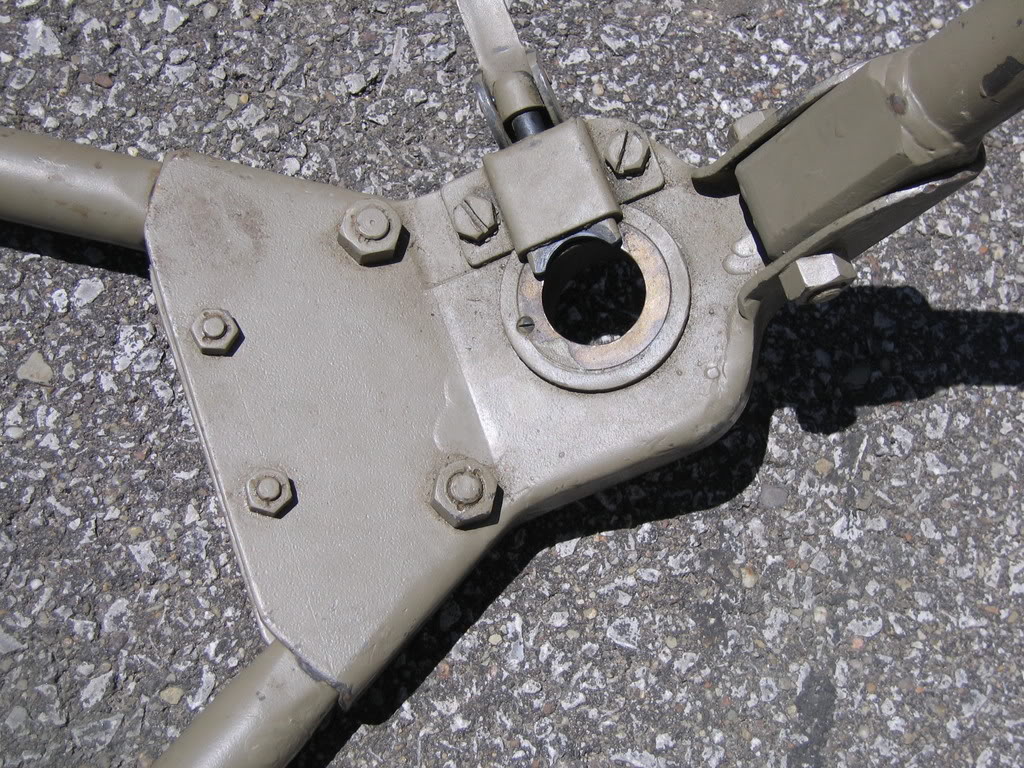
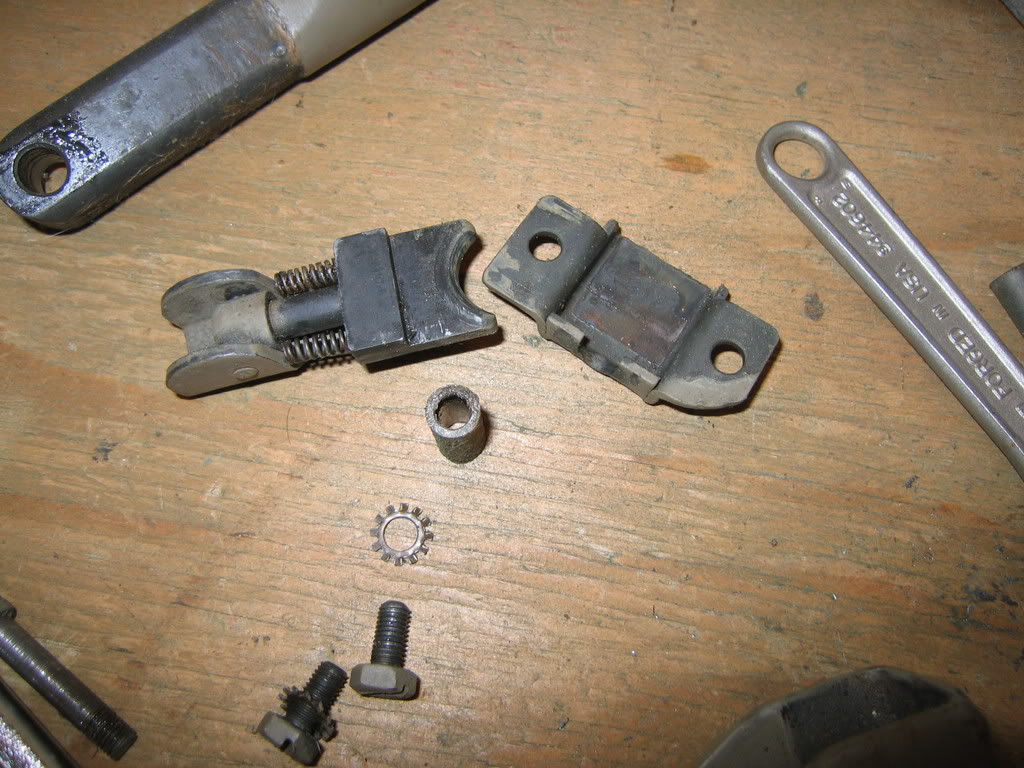
- Fully disassemble the tripod.
If you so desire, you can press out the brass pintle insert. I did so when rebuilding these tripods. It may be overkill, but i found that it provided nice results.
- Strip the paint off the tripod with a cup brush on an angle grinder
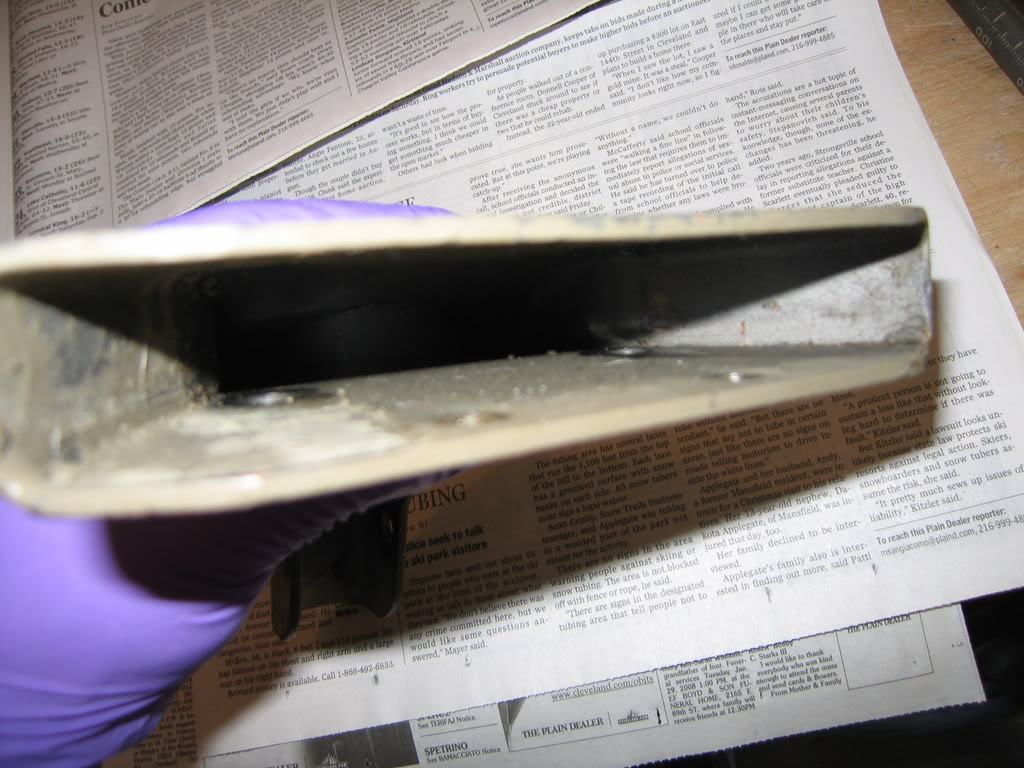
- Degrease the inside of the head and strip with chemical paint stripper. Take the time to do this before it goes into the sandblast cabinet. It is a pain in the ass to clean out all the grease and paint in the sandblaster, without a little prep work.
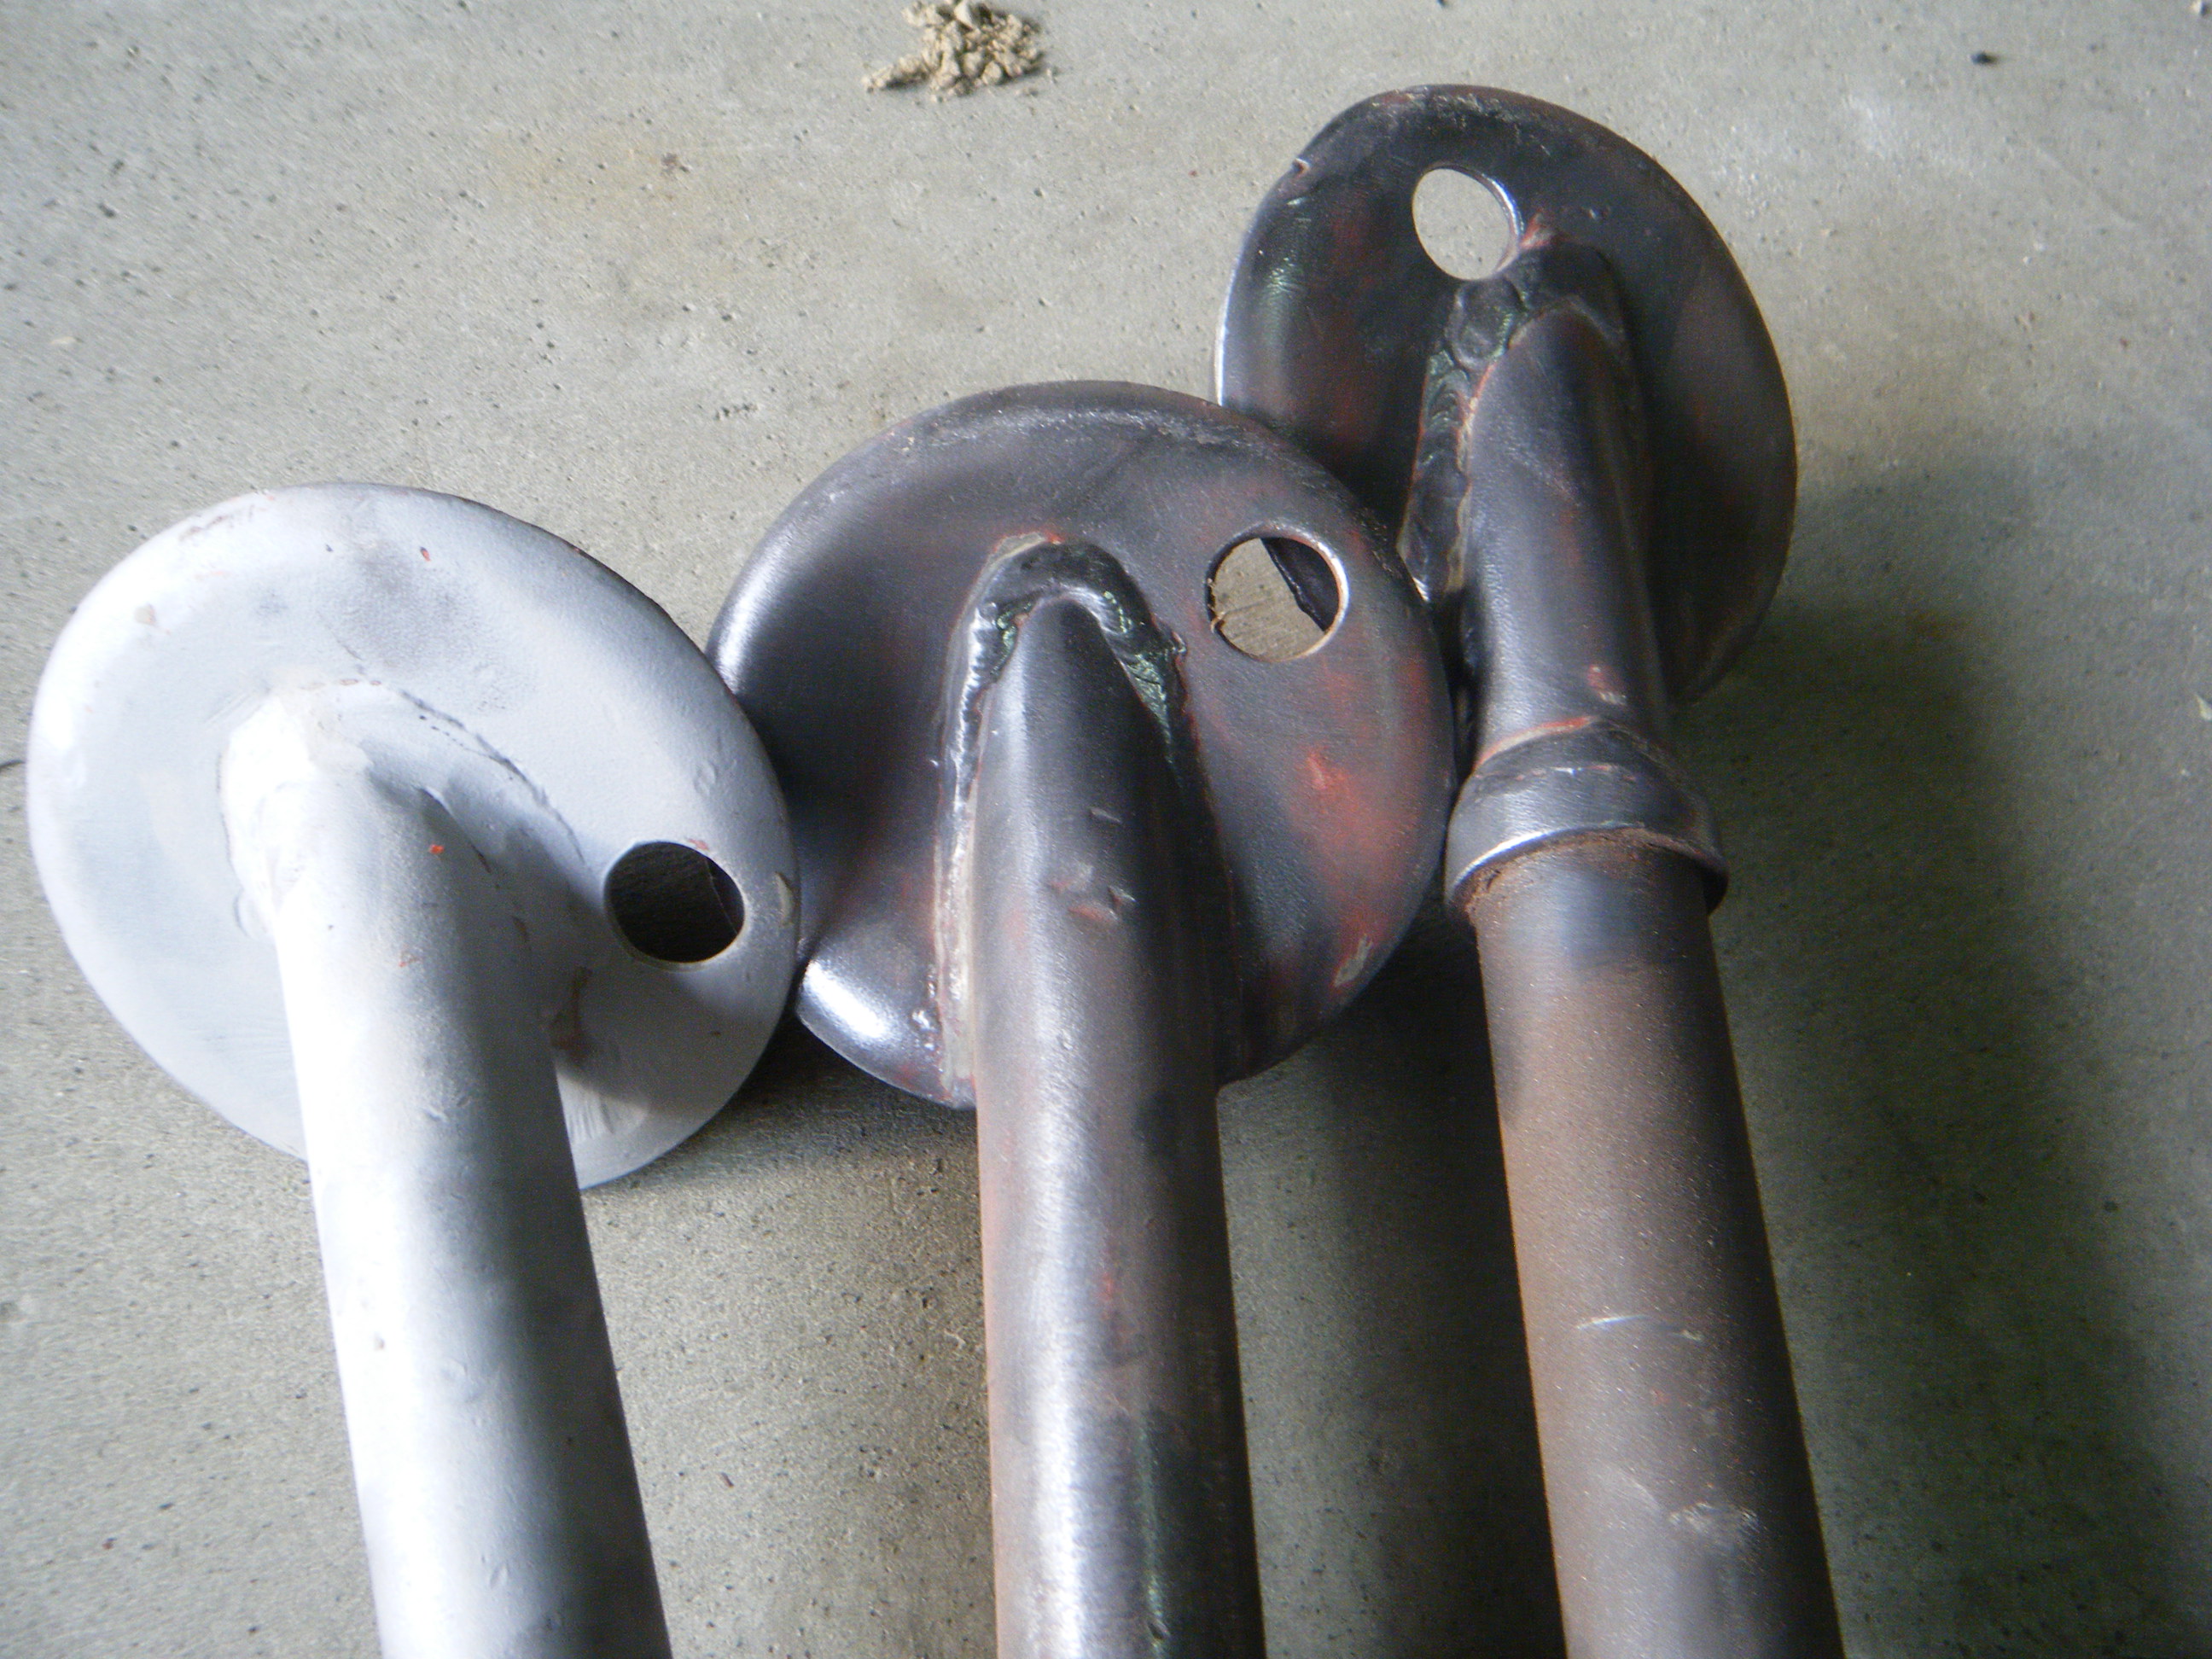
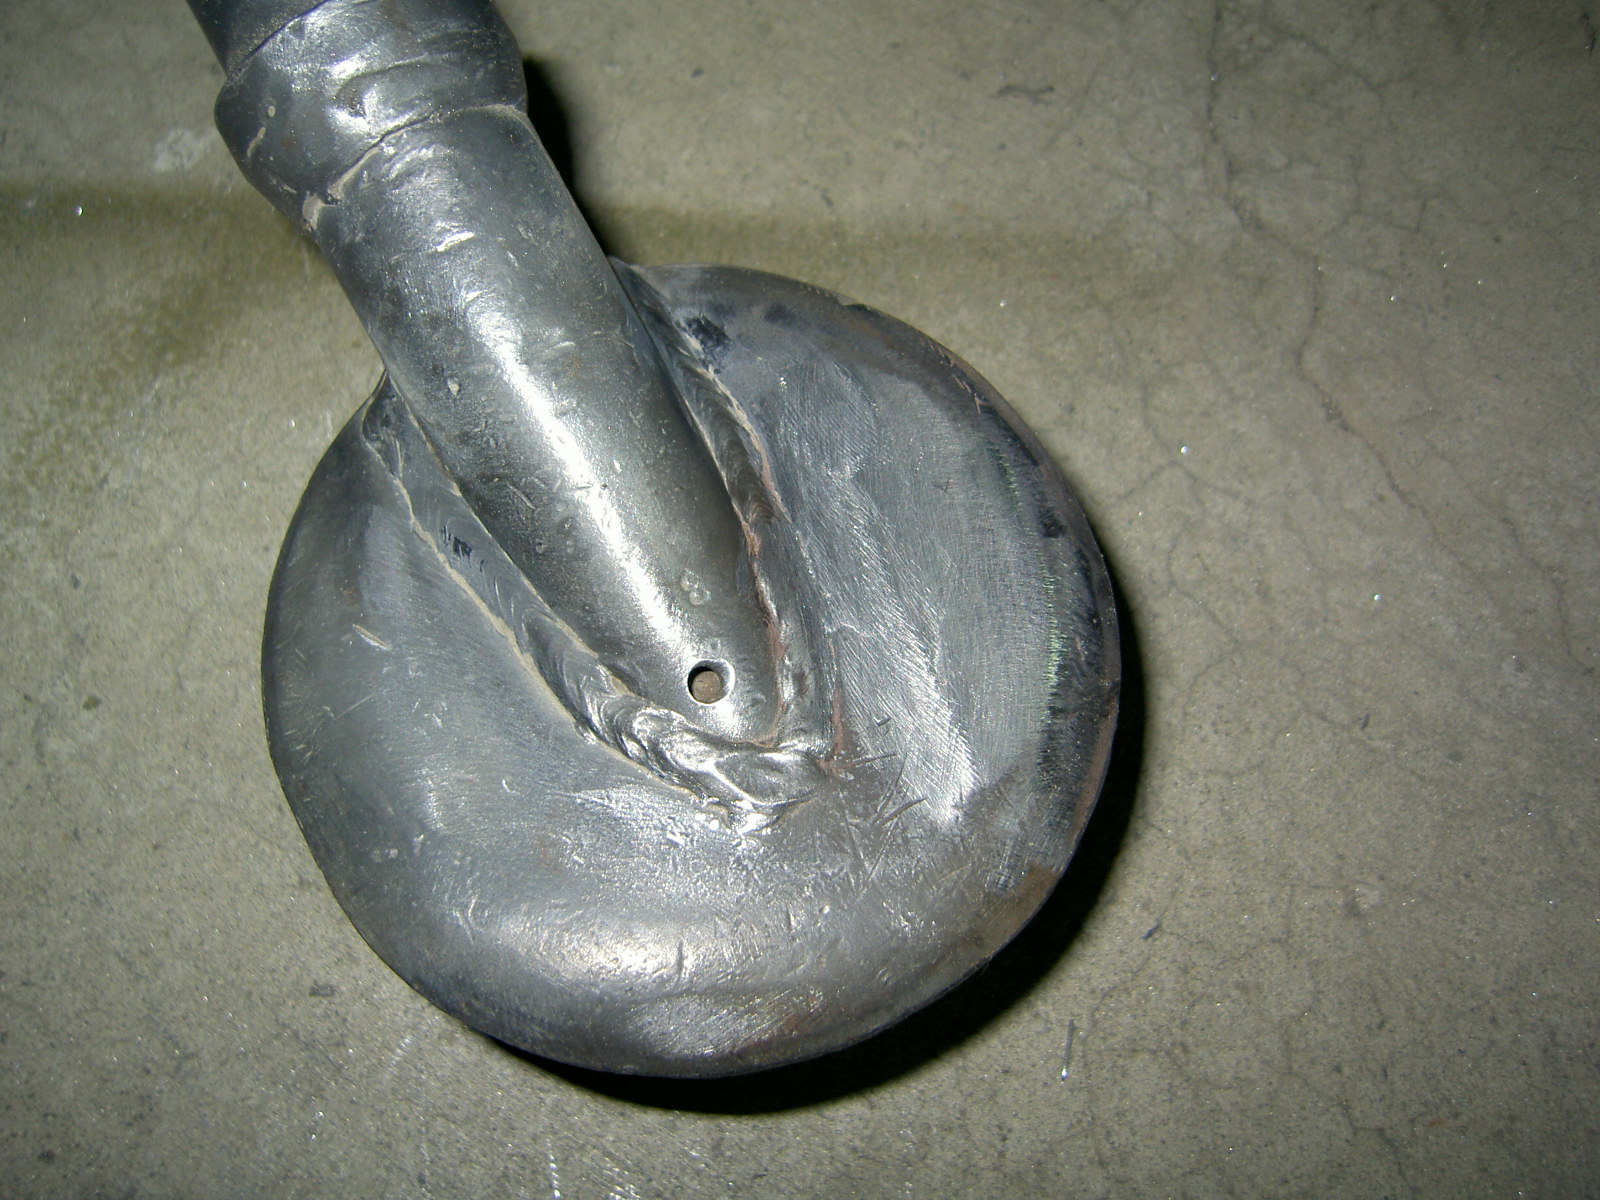
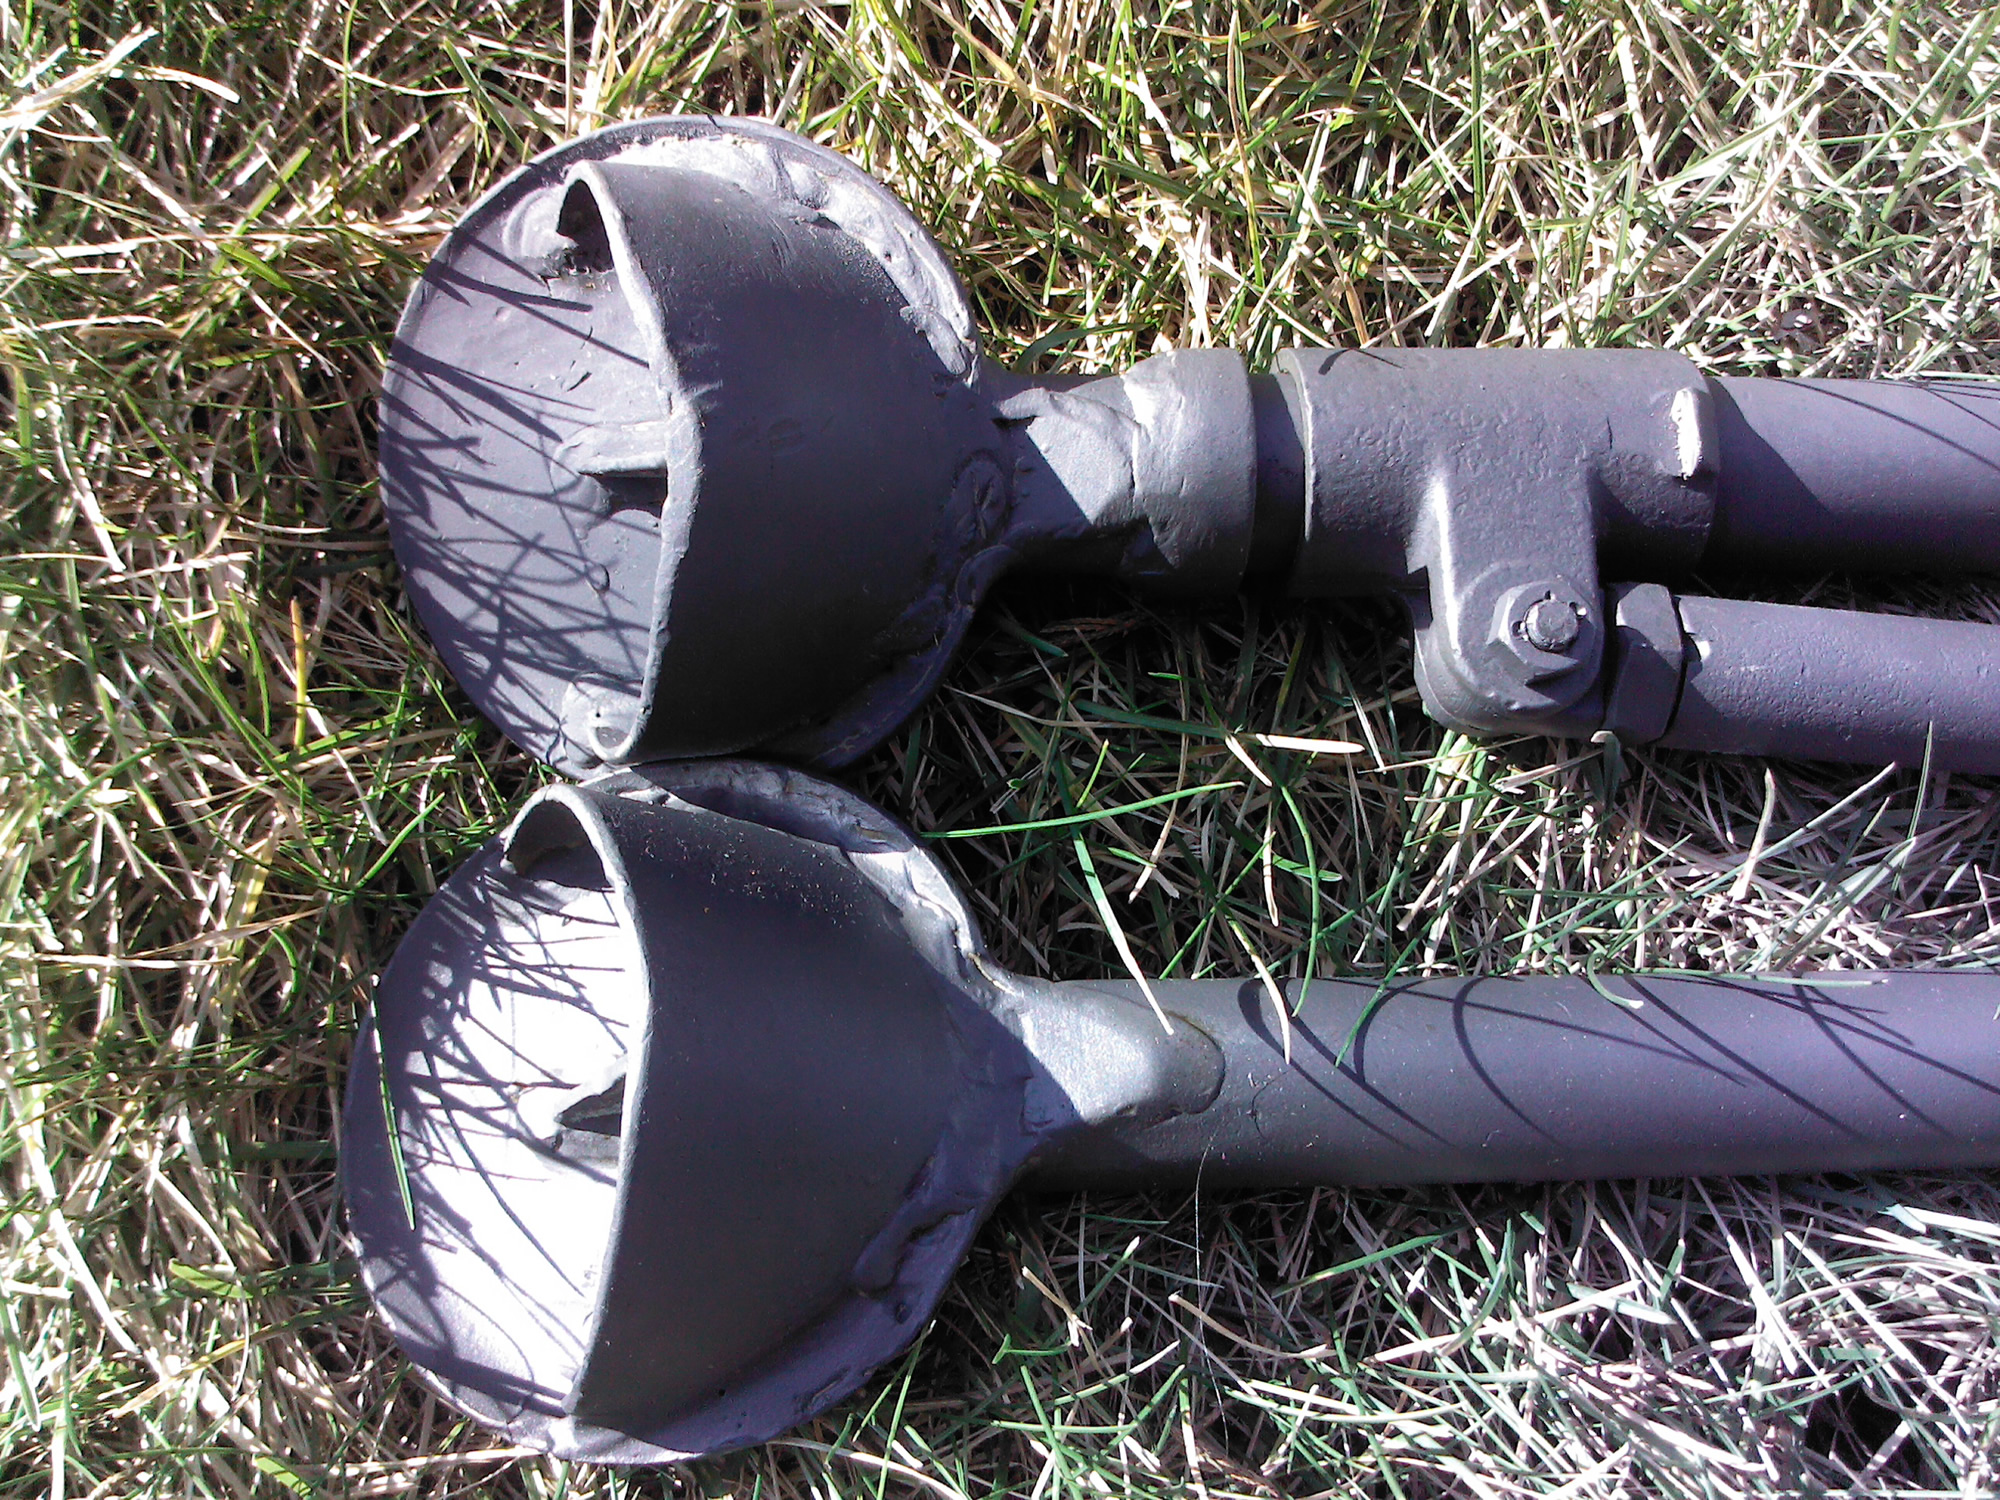
- Weld up the holes in the feet. I did not make a small metal disc to weld in like Browning MG's. It was far simpler to just "stitch" around the radius of the hole with my MIG welder. The process should be apparent through the photo.
- When welding, adjust your heat so that you get good penetration and burn off as much of the cladding as possible. If you get good penetration, the weld tends to not show up nearly as much when you go to parkerize.
- Dress the weld on the top with a right angle die grinder and sanding disc, or even a file.
- Dress the inside of the foot with a straight die grinder with a carbide burr and a small sanding disc on the right angle die grinder if you have a backup pad and disc set small enough.
- I use a large flame and small cone carbide burr. Carbide burrs and sanding discs / backup pads are available from McMaster Carr.
- Sandblast and Parkerize. I prefer using silica blast media and Zinc Phosphate parkerizing solution from Palmetto Enterprises.
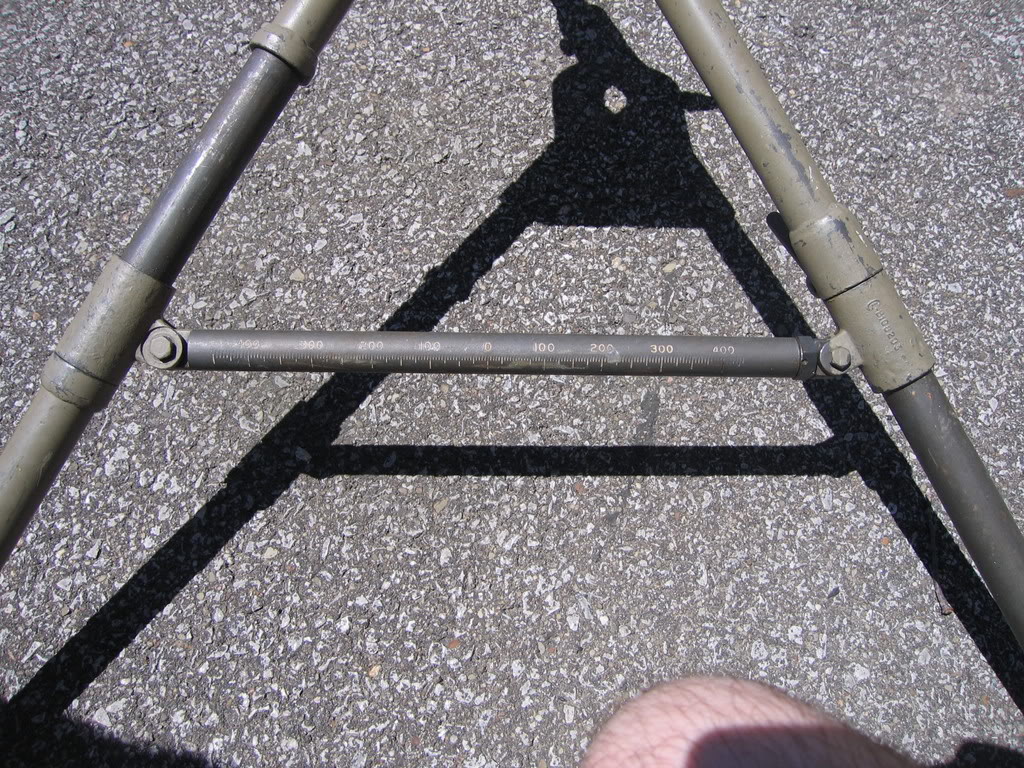
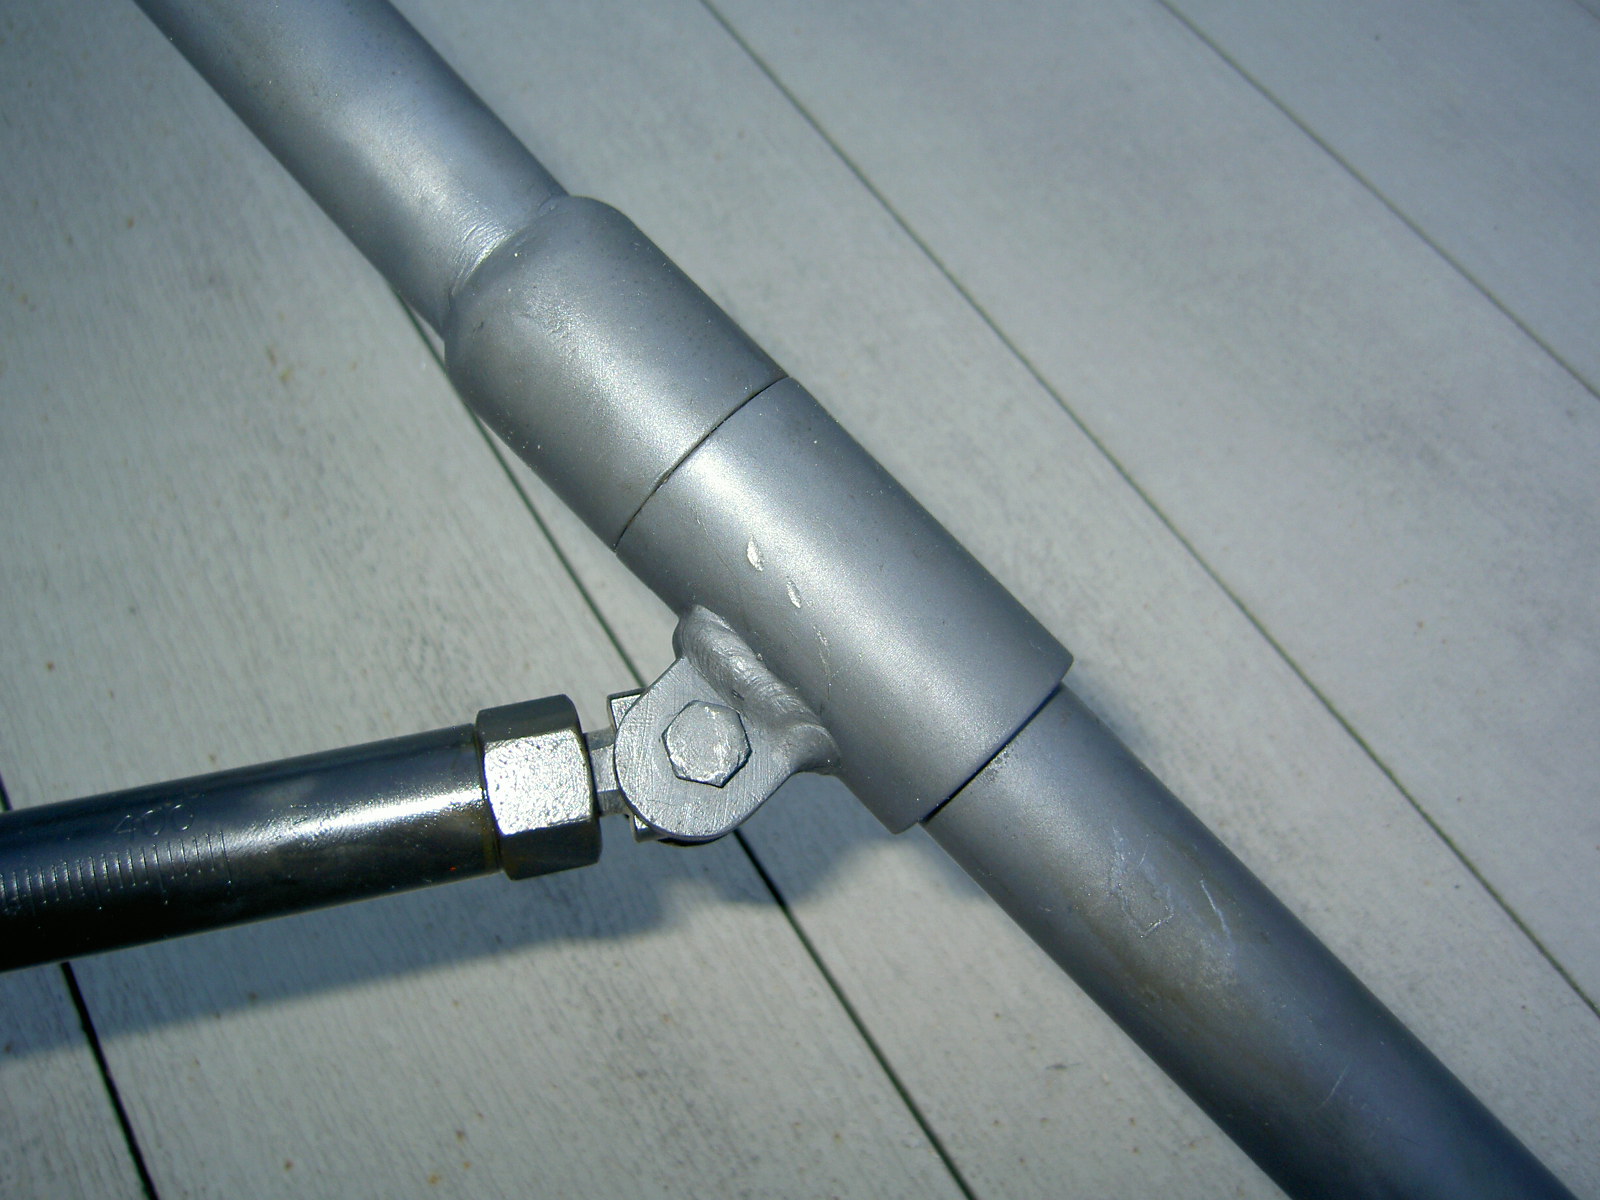
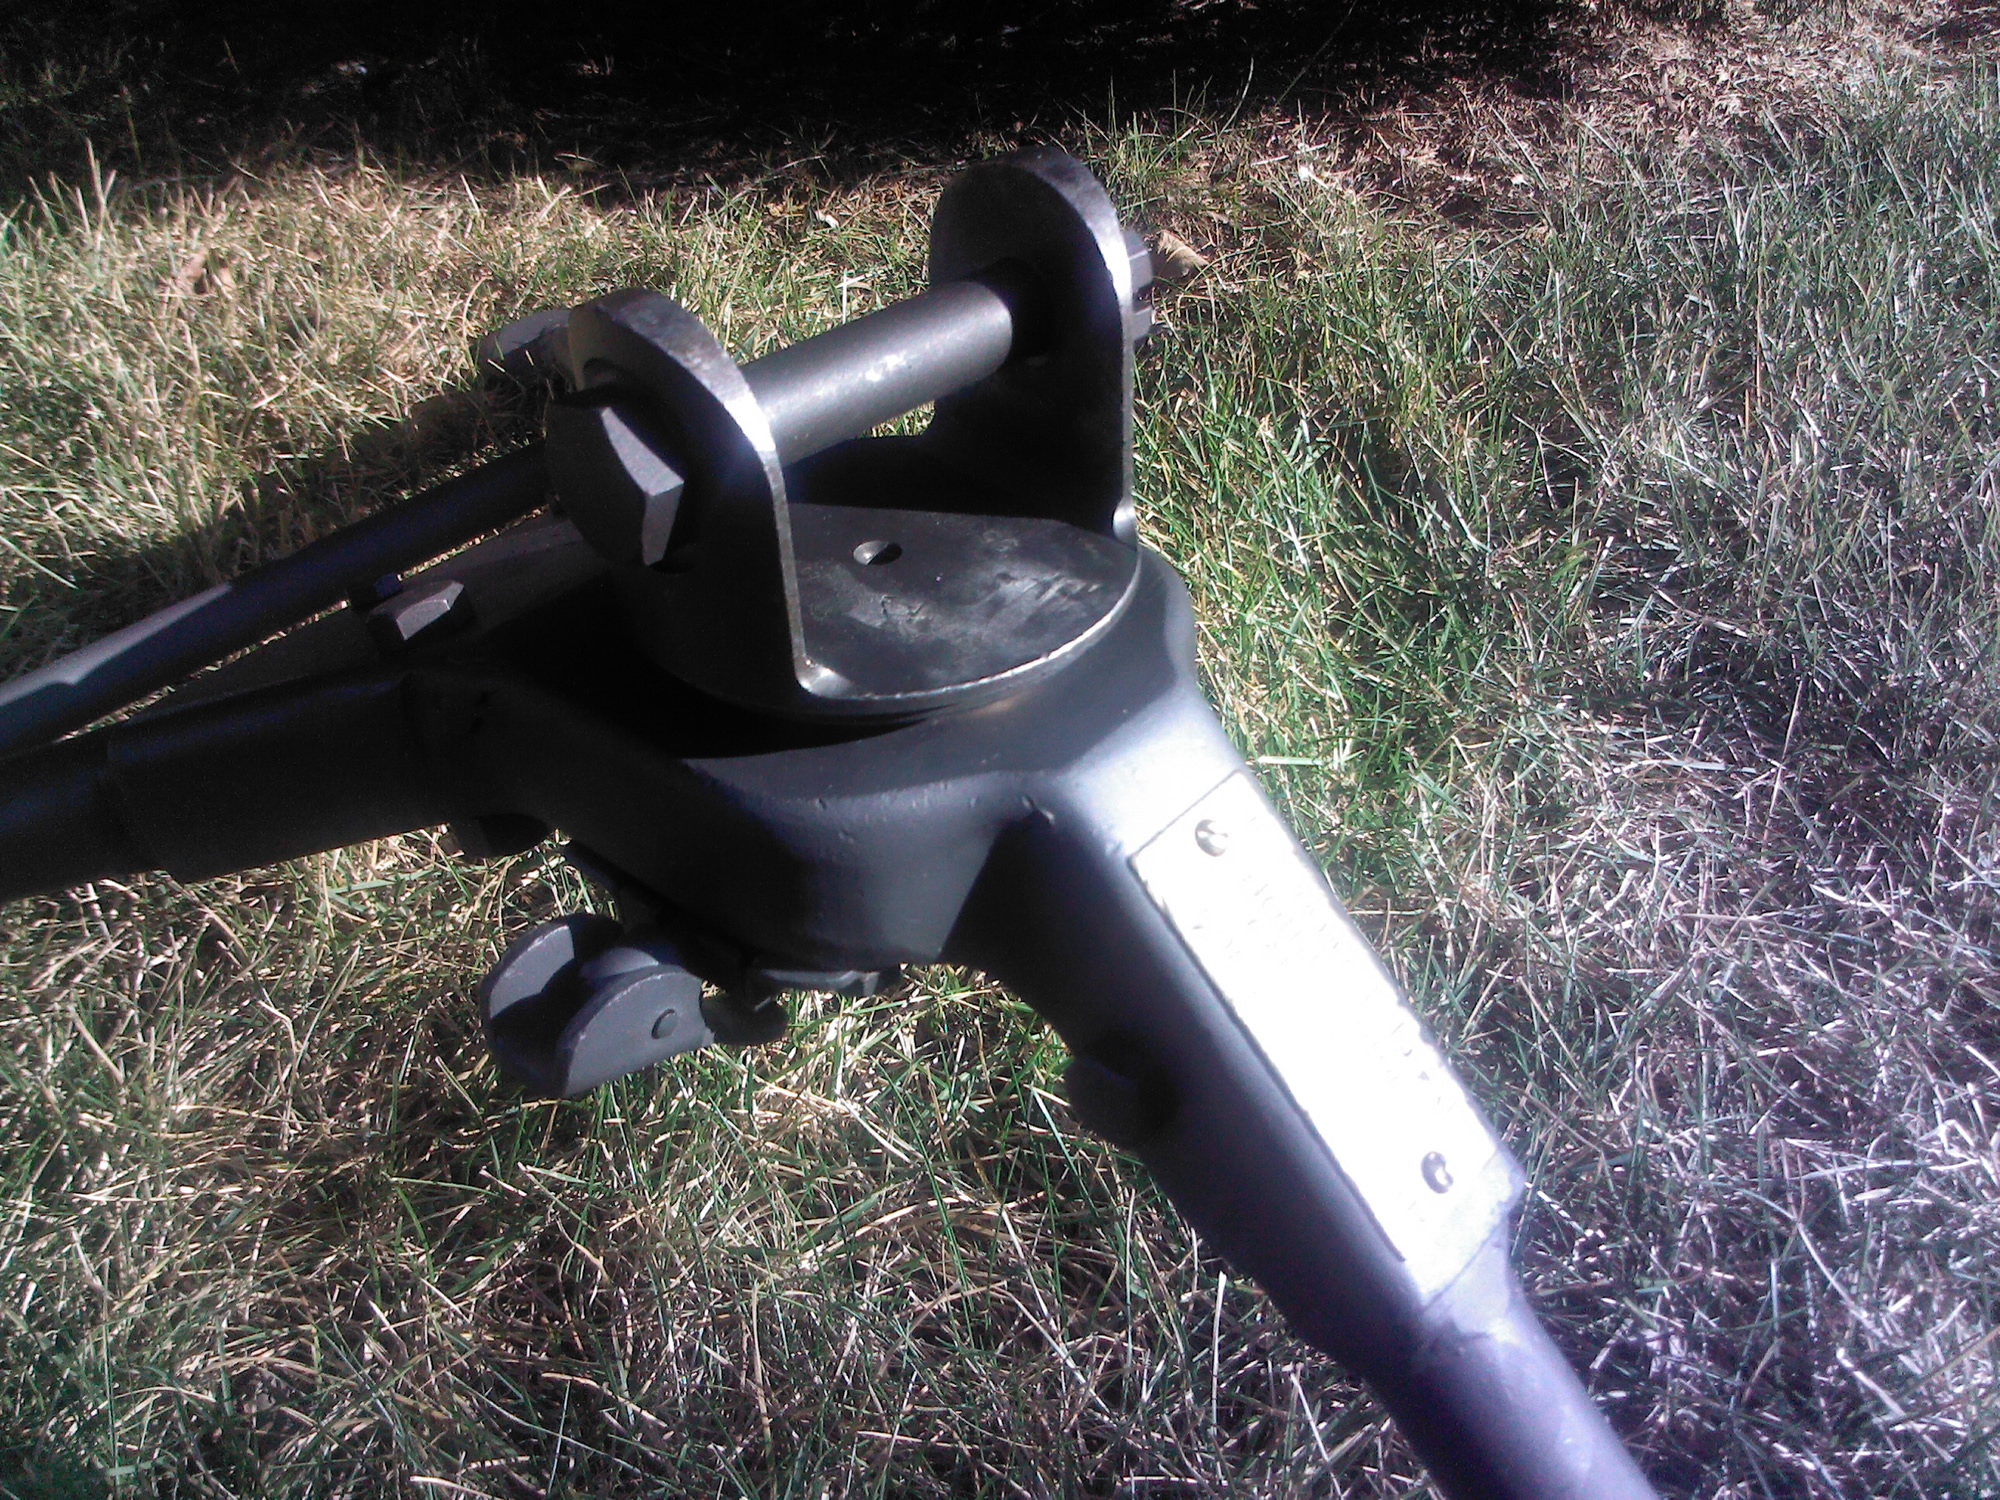
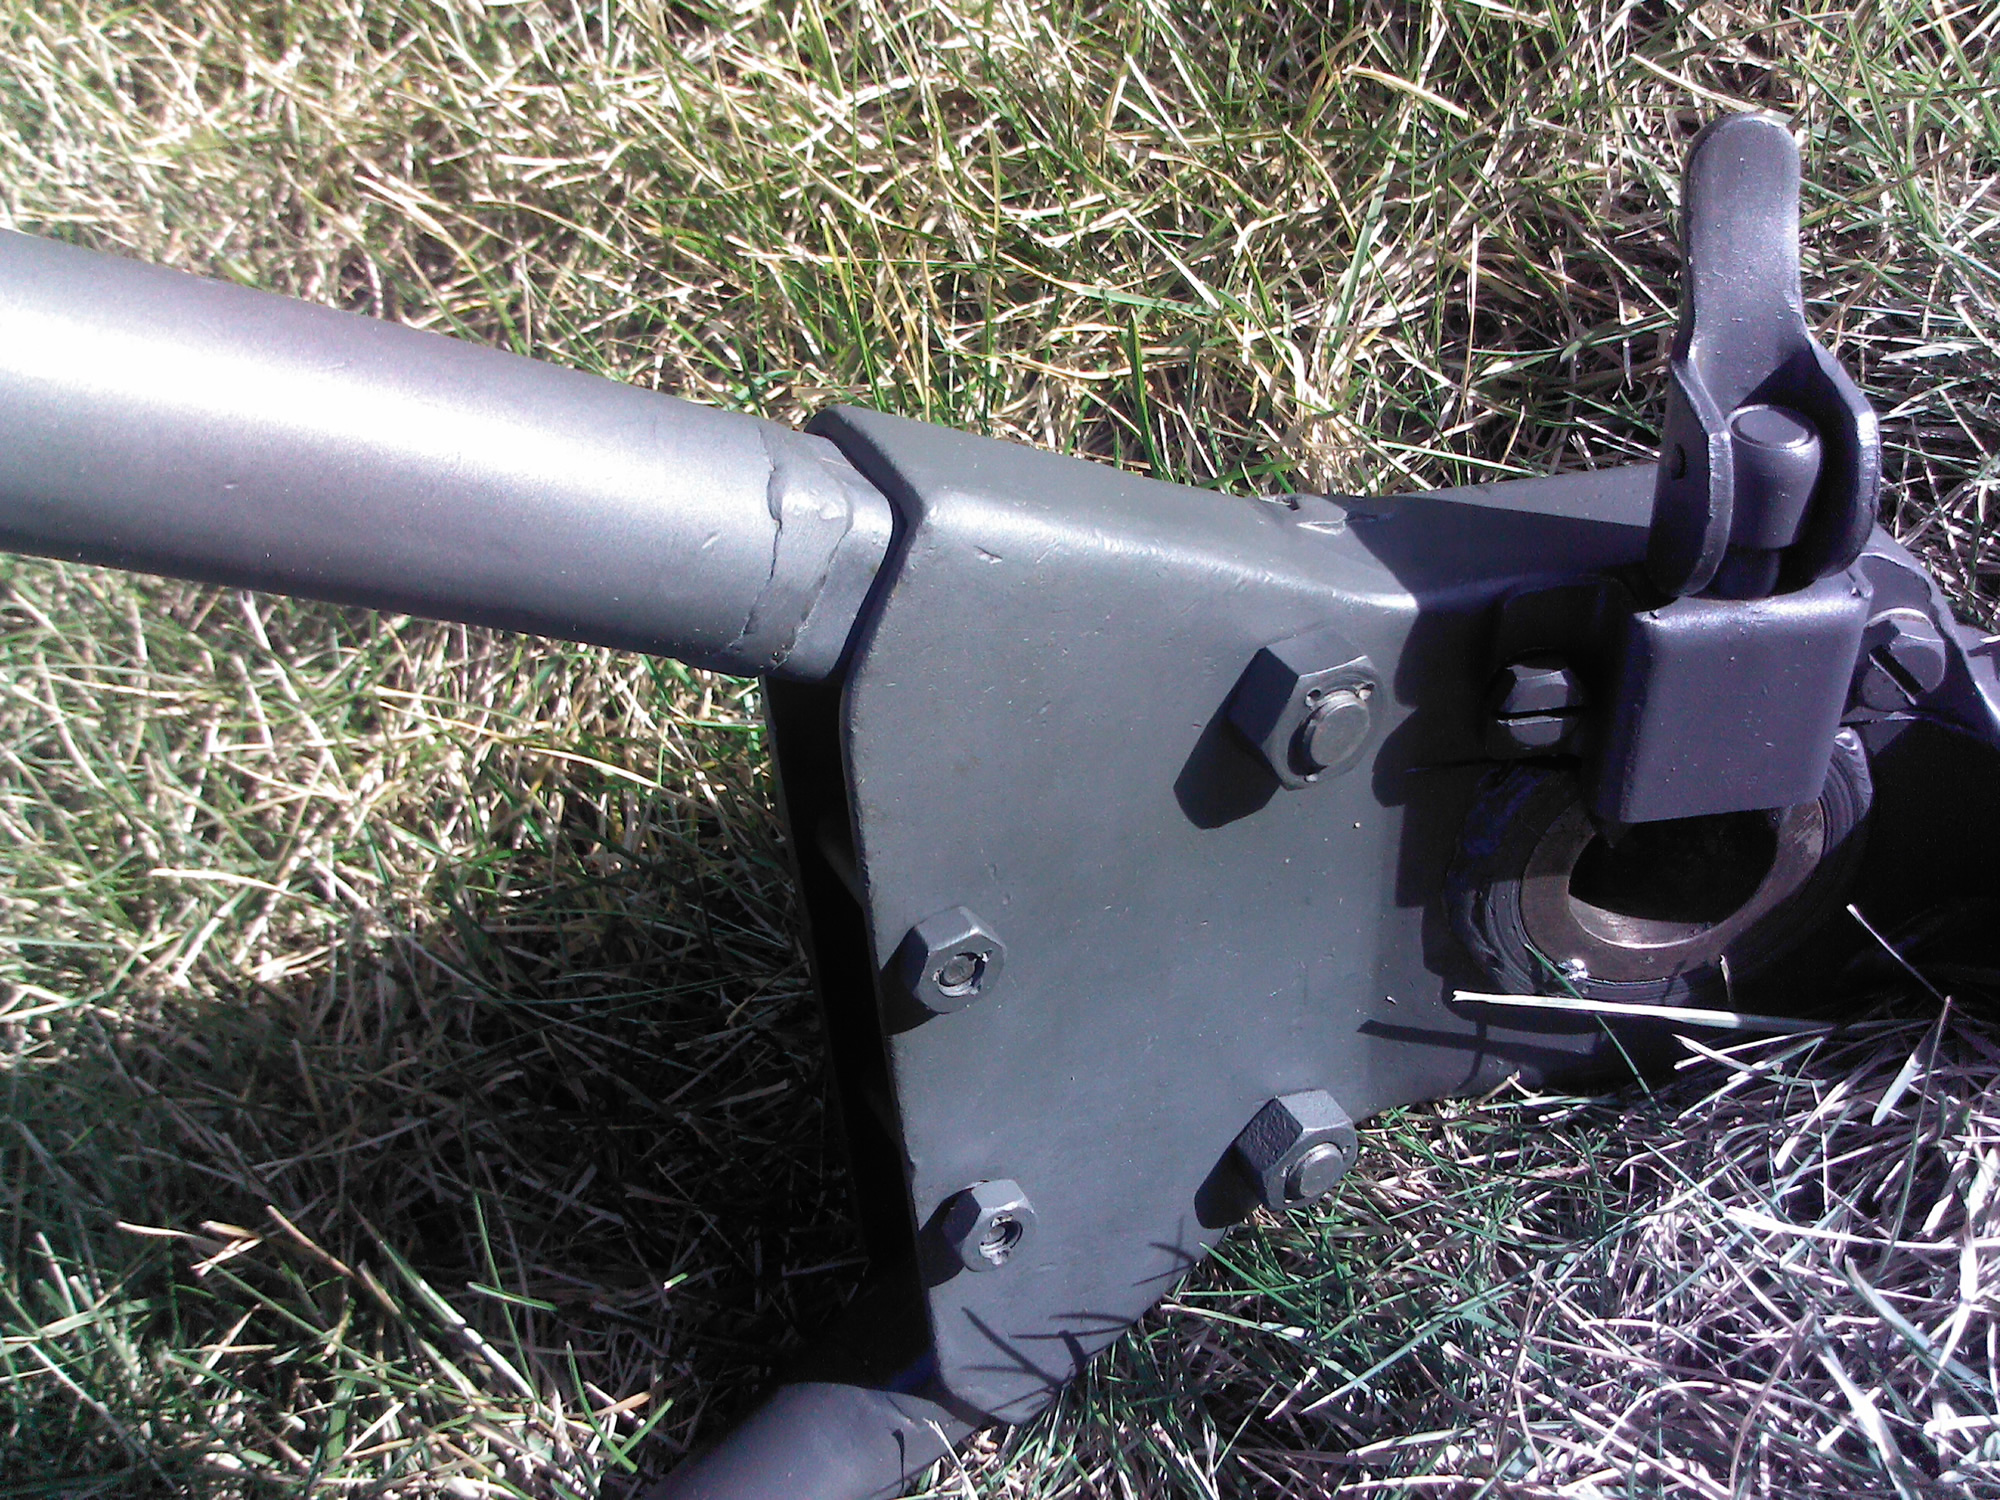
- During re-assembly, adjust the nut and eye on the traversing bar so that the legs are "tight" and dont wobble back and forth with the traversing bar locked in position. This is an important step on re-assembly to get everything to fit right and be stable. **Of note, a couple of the original M2 tripods did not have adjustable traversing bars.
- On some of the tripods, the traversing bar was blued. I typically left these as is and did not re parkerize them. If it had worn bluing, I stripped the existing bluing with white vinegar and then hot blued.
- You may need to "adjust" some of the legs and bend the end that goes in the head unit. Some of the legs have been bent / splayed out with use and need straightened.
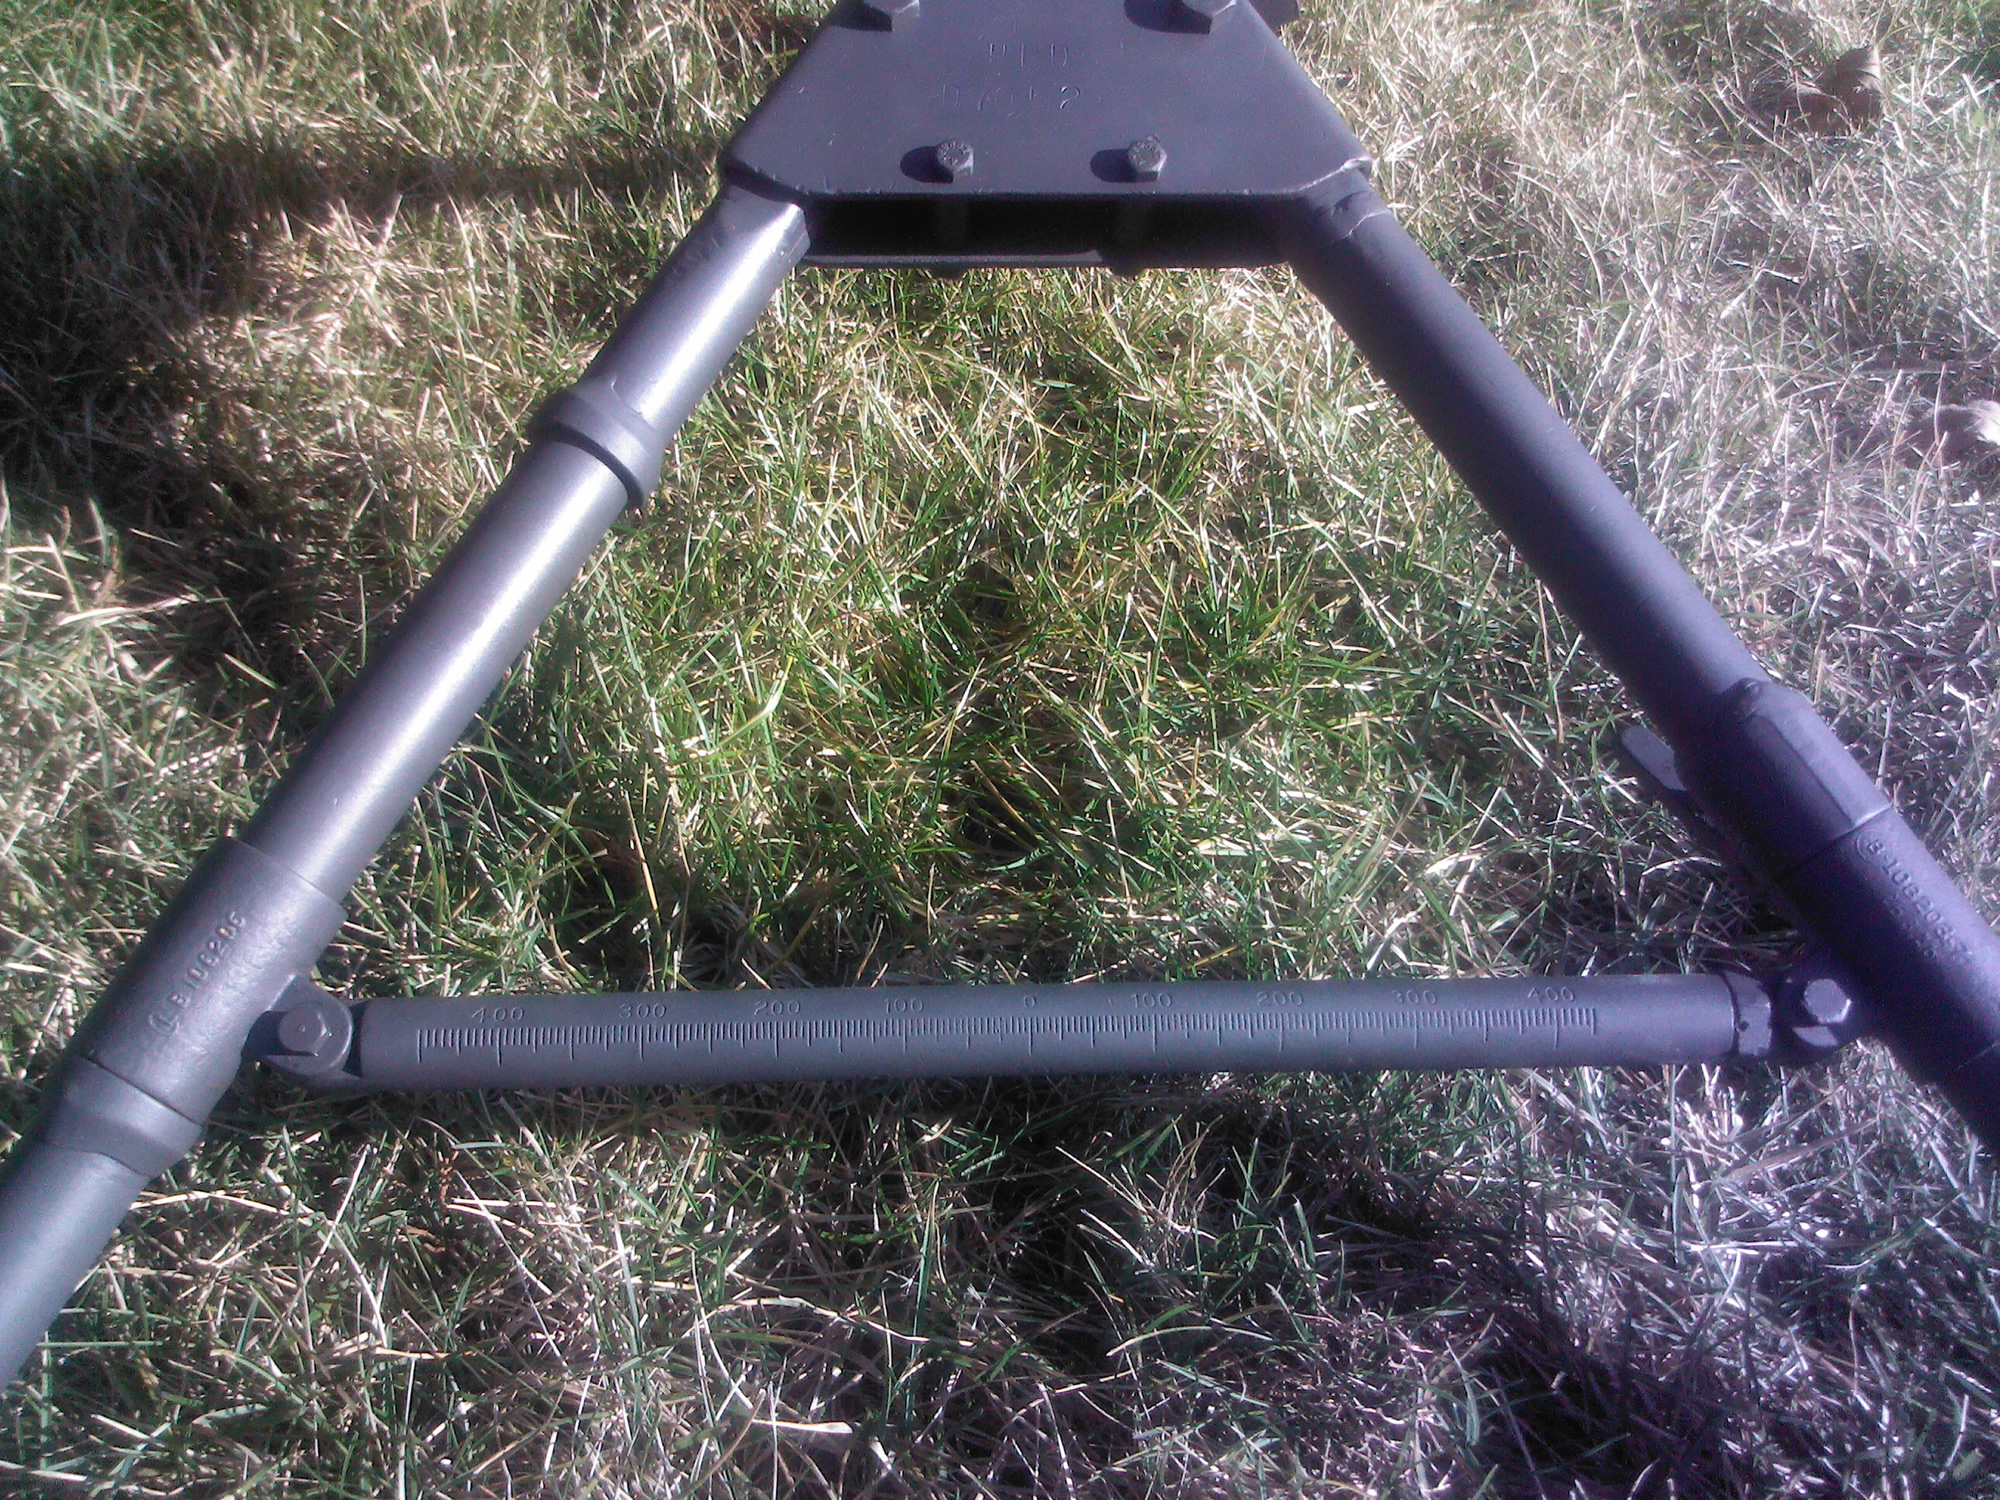
- If you want to fill in the markings on the T&E bar, use a white china marker. These are available from McMaster Carr or your local art supply store.
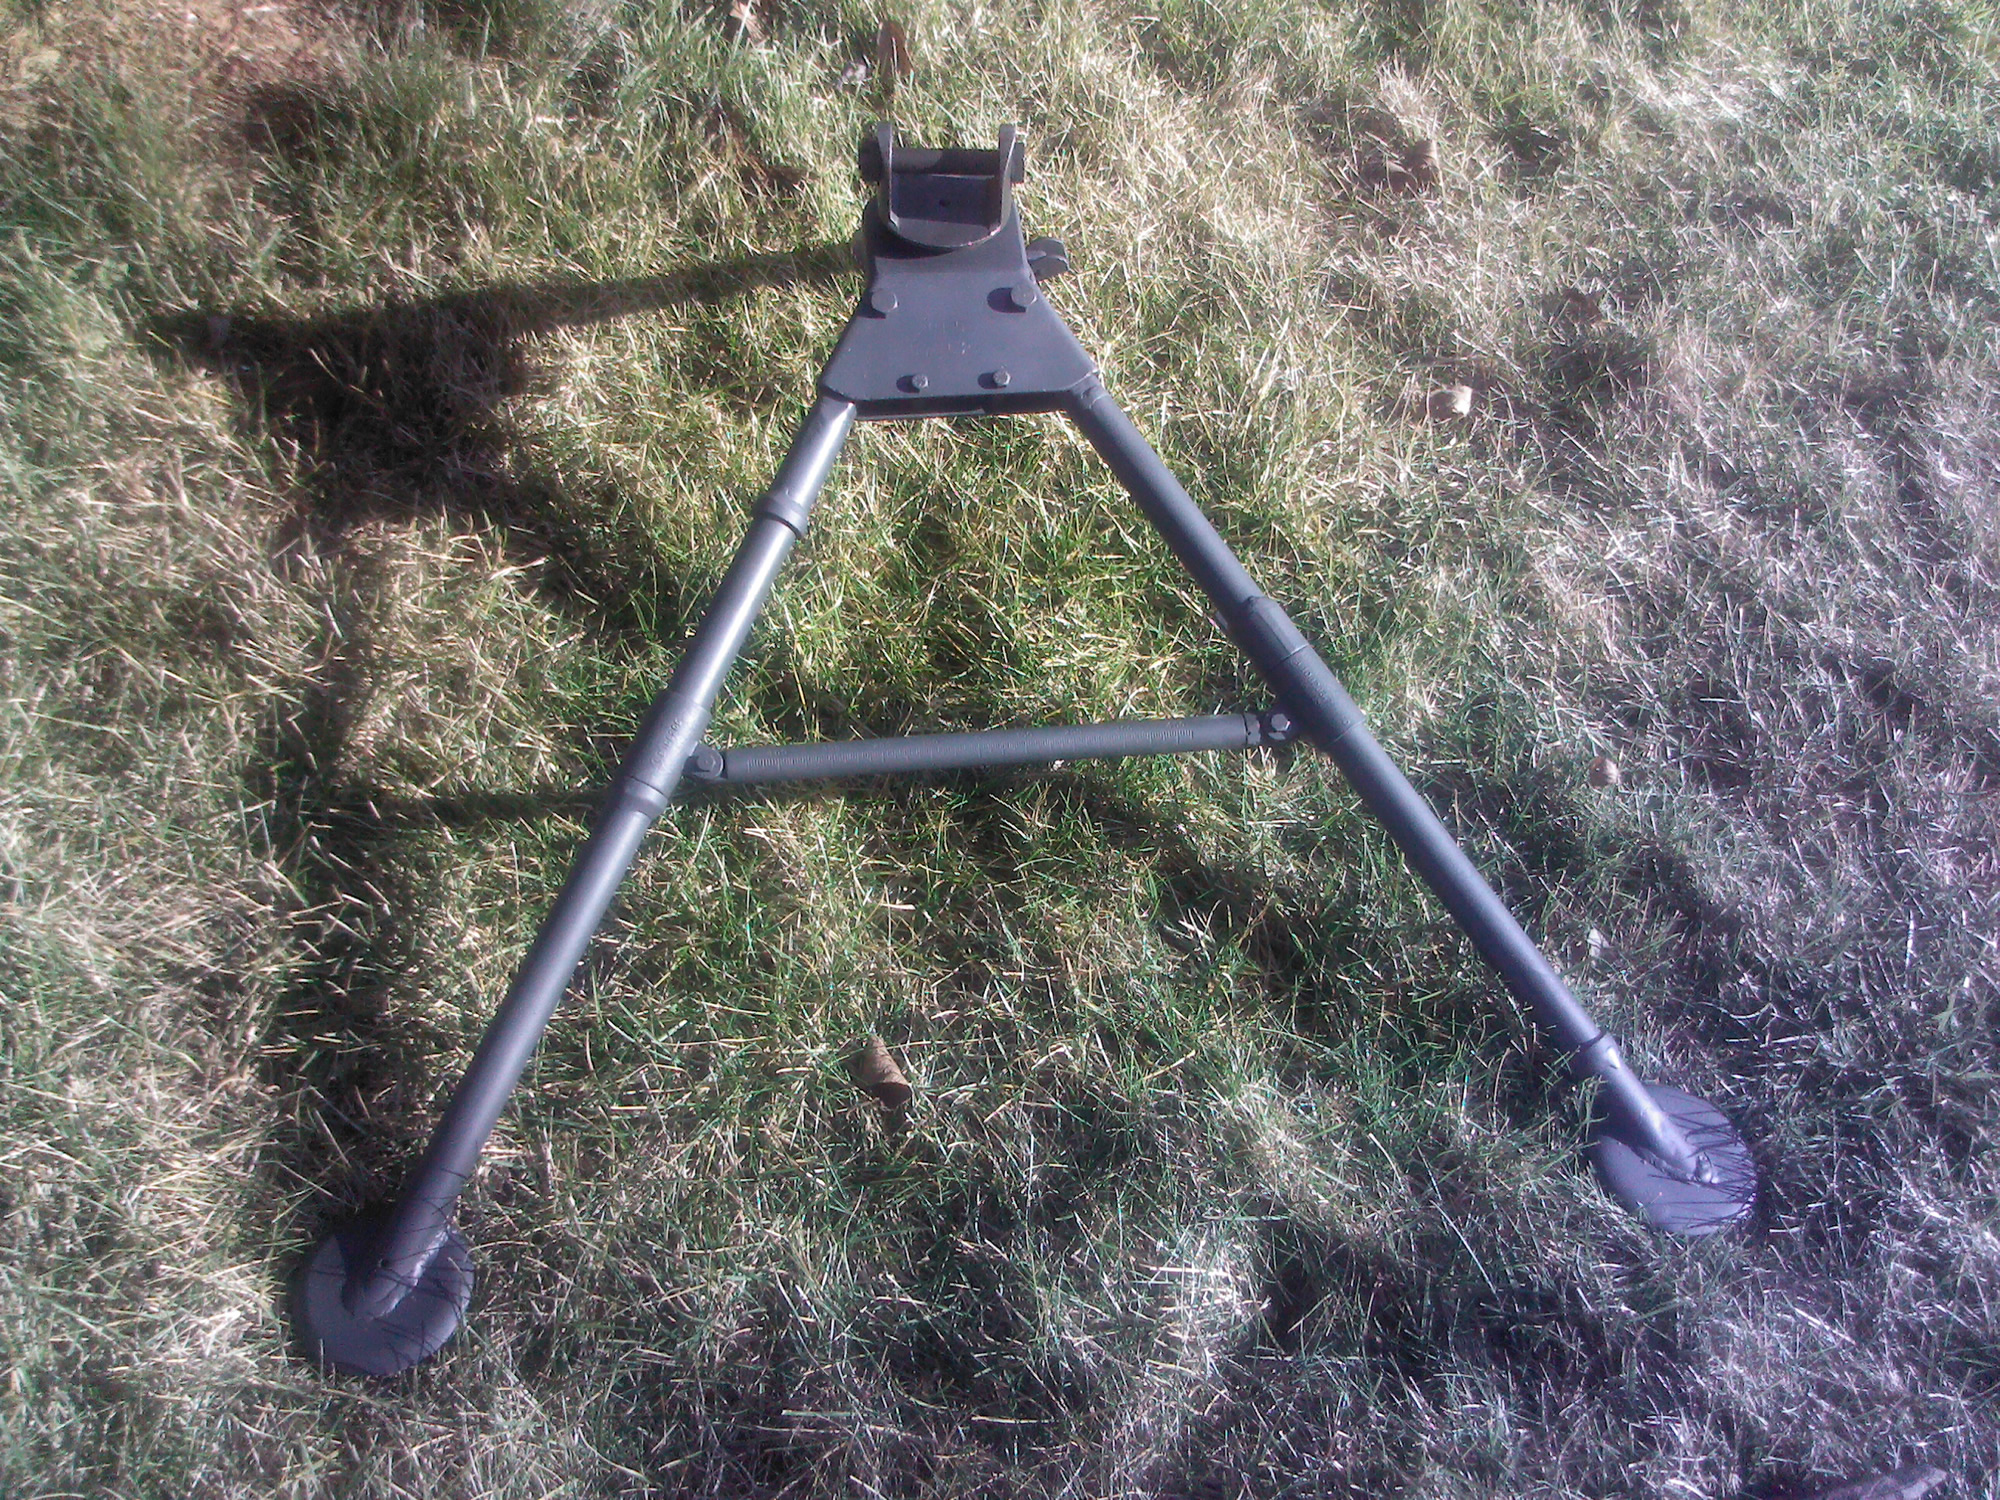
Finished:
While not the exact same tripod as shown throughout the process, this is one of the dozen or so that I've rebuilt in the past year. This particular M2 tripod remains in the unit to be displayed with a 1919A4 I recently built up for Rick.
Conclusion:
Provided that you have the facilities to tackle the project - its a pretty easy one. The price differential between USGI and Israeli surplus tripods is absolutely worth the sweat equity that this project requires.
I've observed original USGI M2 tripods in both parkerized finish, as well as parkerized finish with OD paint. Both ways are equally as correct for WW2 reenacting. Should you only have access to a welder, simply welding and dressing the holes then painting OD would be an appropriate solution.