IMPORTANT:
Proceed at your own risk. We're not responsible for you blowing yourself or your gun up.Blank Adapting the P38
Date Written: 7/24/2007
Author: Chris Guska
Blank adapting the German P38 and its variants
Supplies Needed:
Machinists vise
Cutting oil
Propane or MAP gas torch
P38 Barrel, recommended it be shot out, pitted bore, or just not collectable
Tap wrench
3/8ths inch national coarse thread tap (3/8ths inch 18 threads per inch)
3/8ths inch national coarse thread cup point set screws (3/8ths inch 18 threads per inch)
3/16ths Drill bit
#14 & #13 Drill bit (0.182, 0.185) (Note: Drill bit sizes should be specified by the provider of your 9mm blanks. IF YOU ARE USING JOE SWANSON MOVIE BLANKS, THESE SIZES WILL BE MUCH LARGER)
Allen wrench or bit driver to fit your set screwProcedure 1:
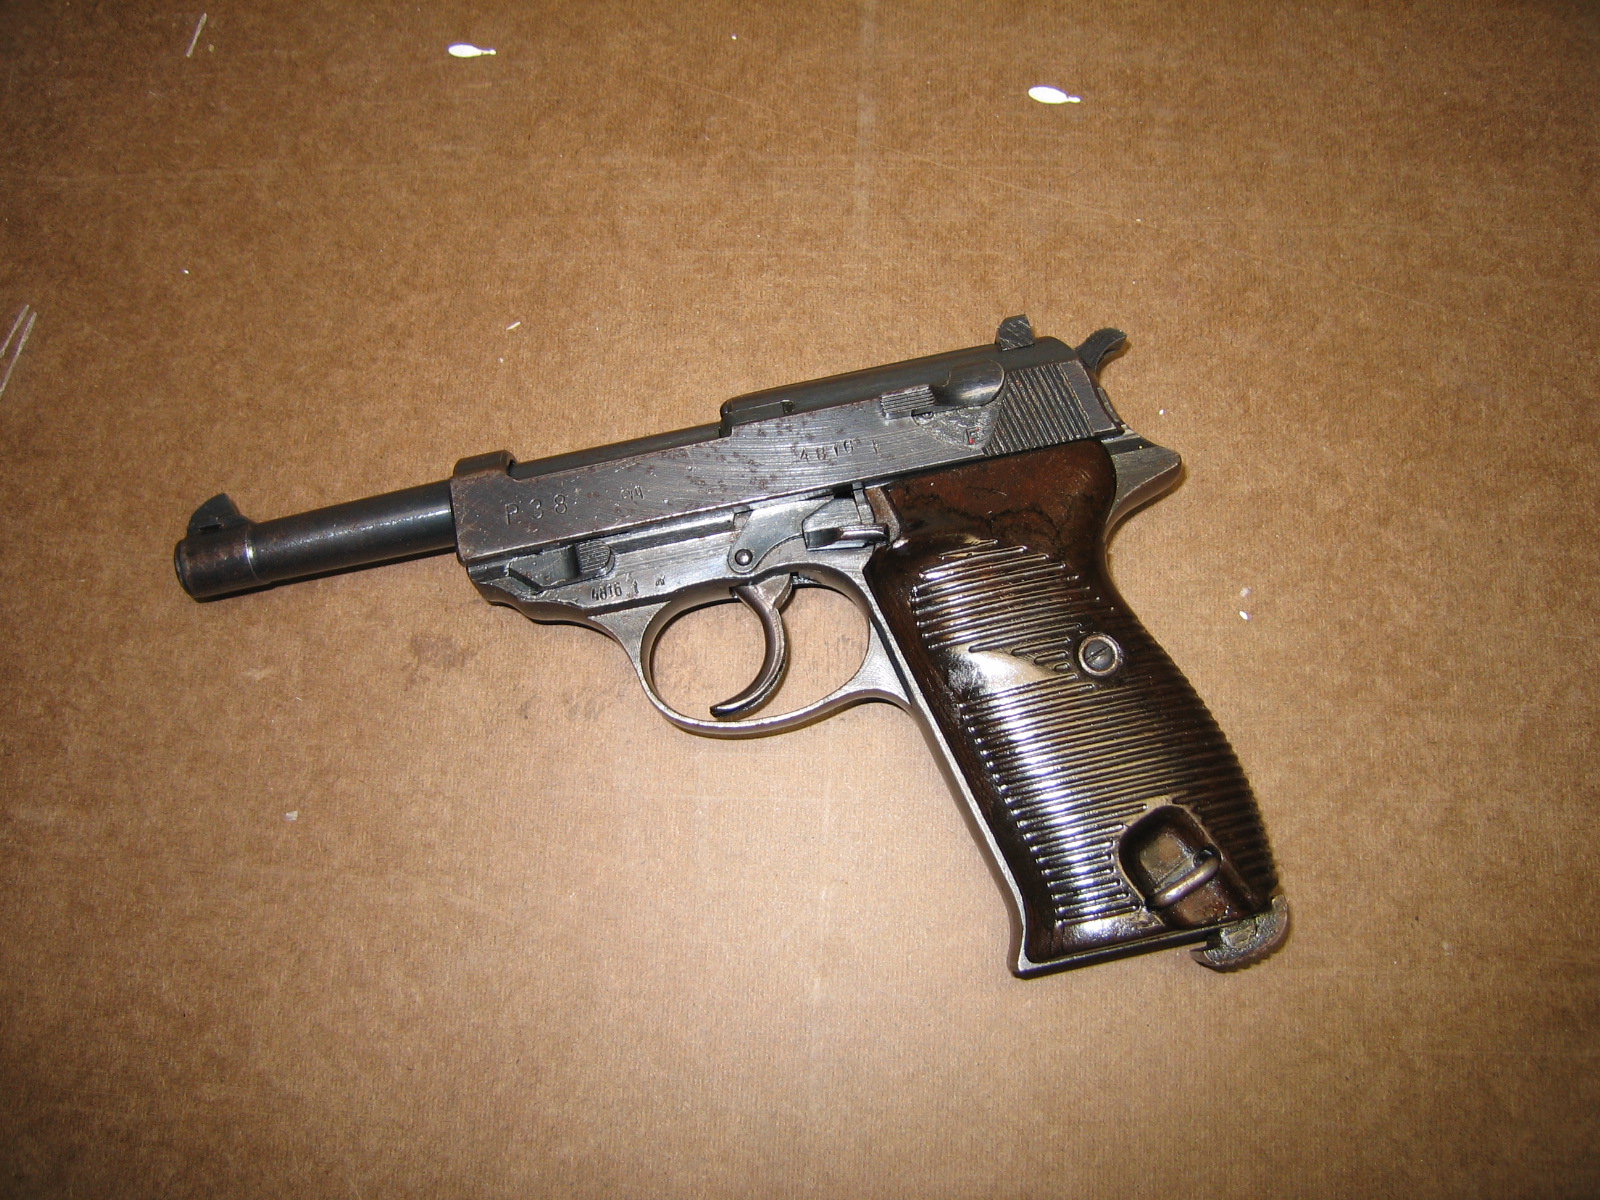
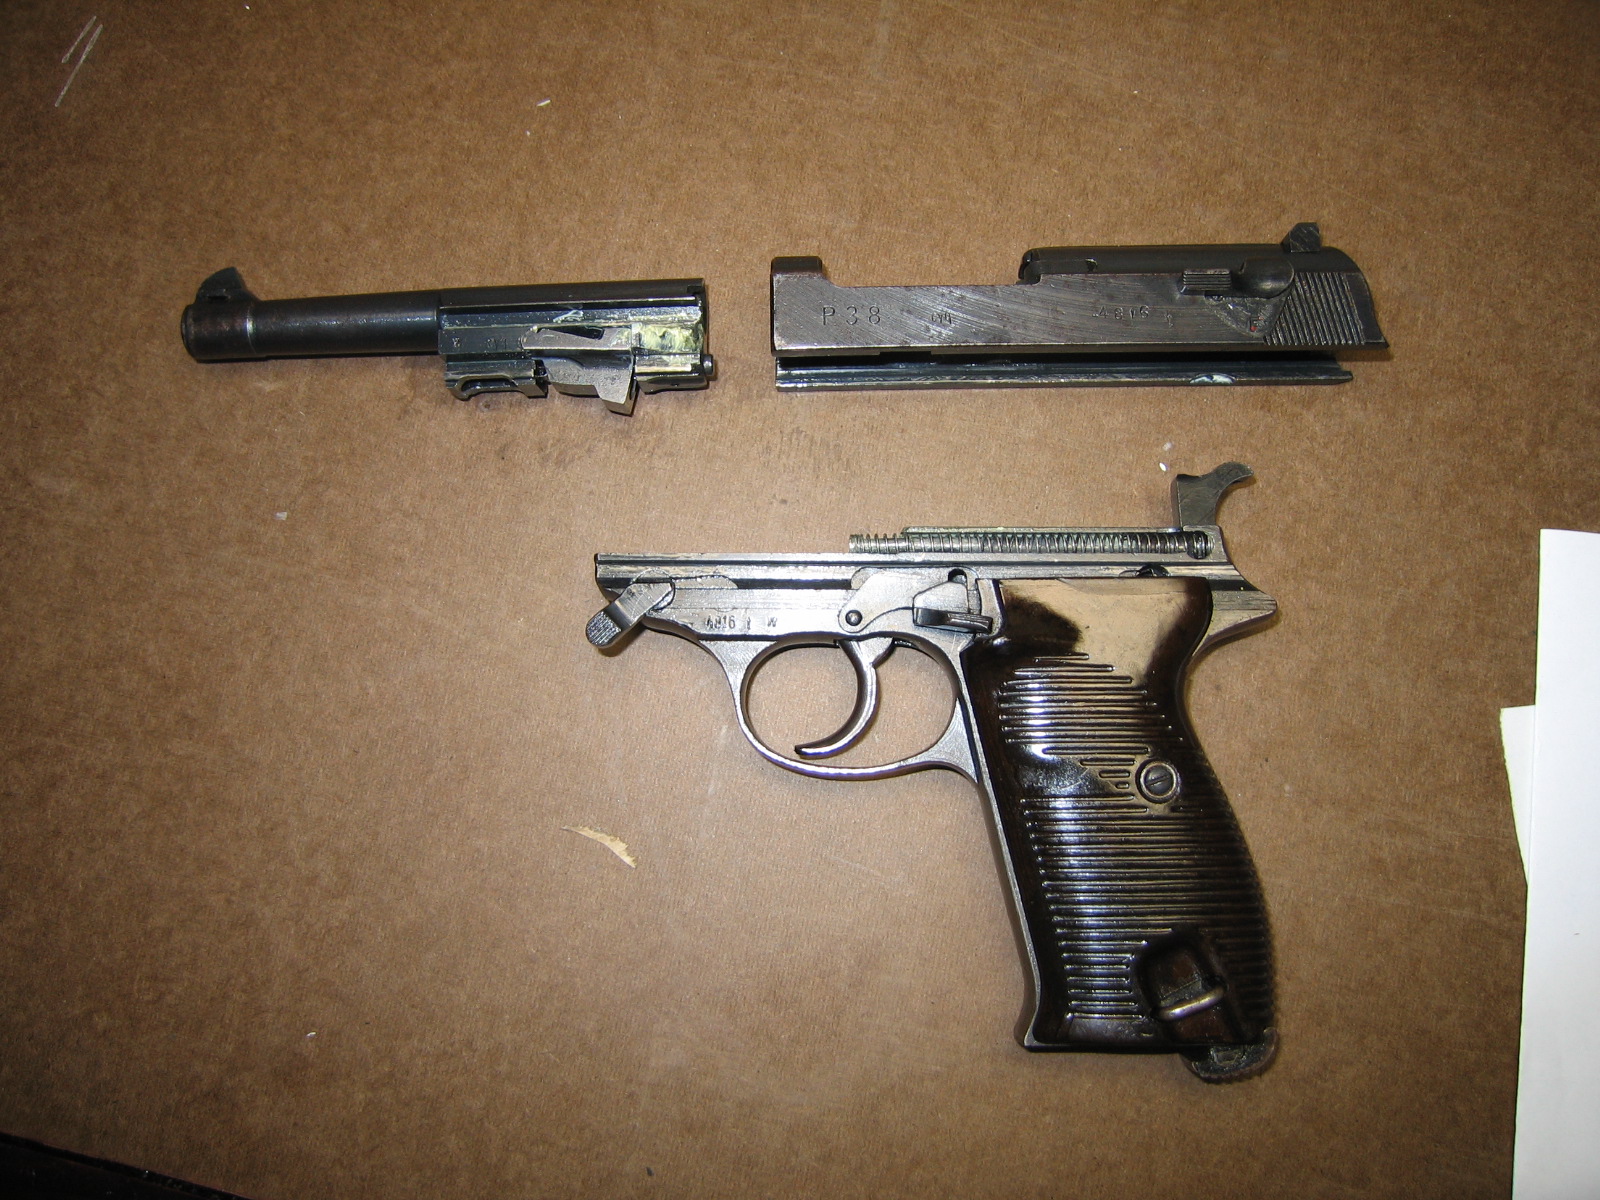
-Take down your P38 to its major component groups, Frame, Barrel, Slide.
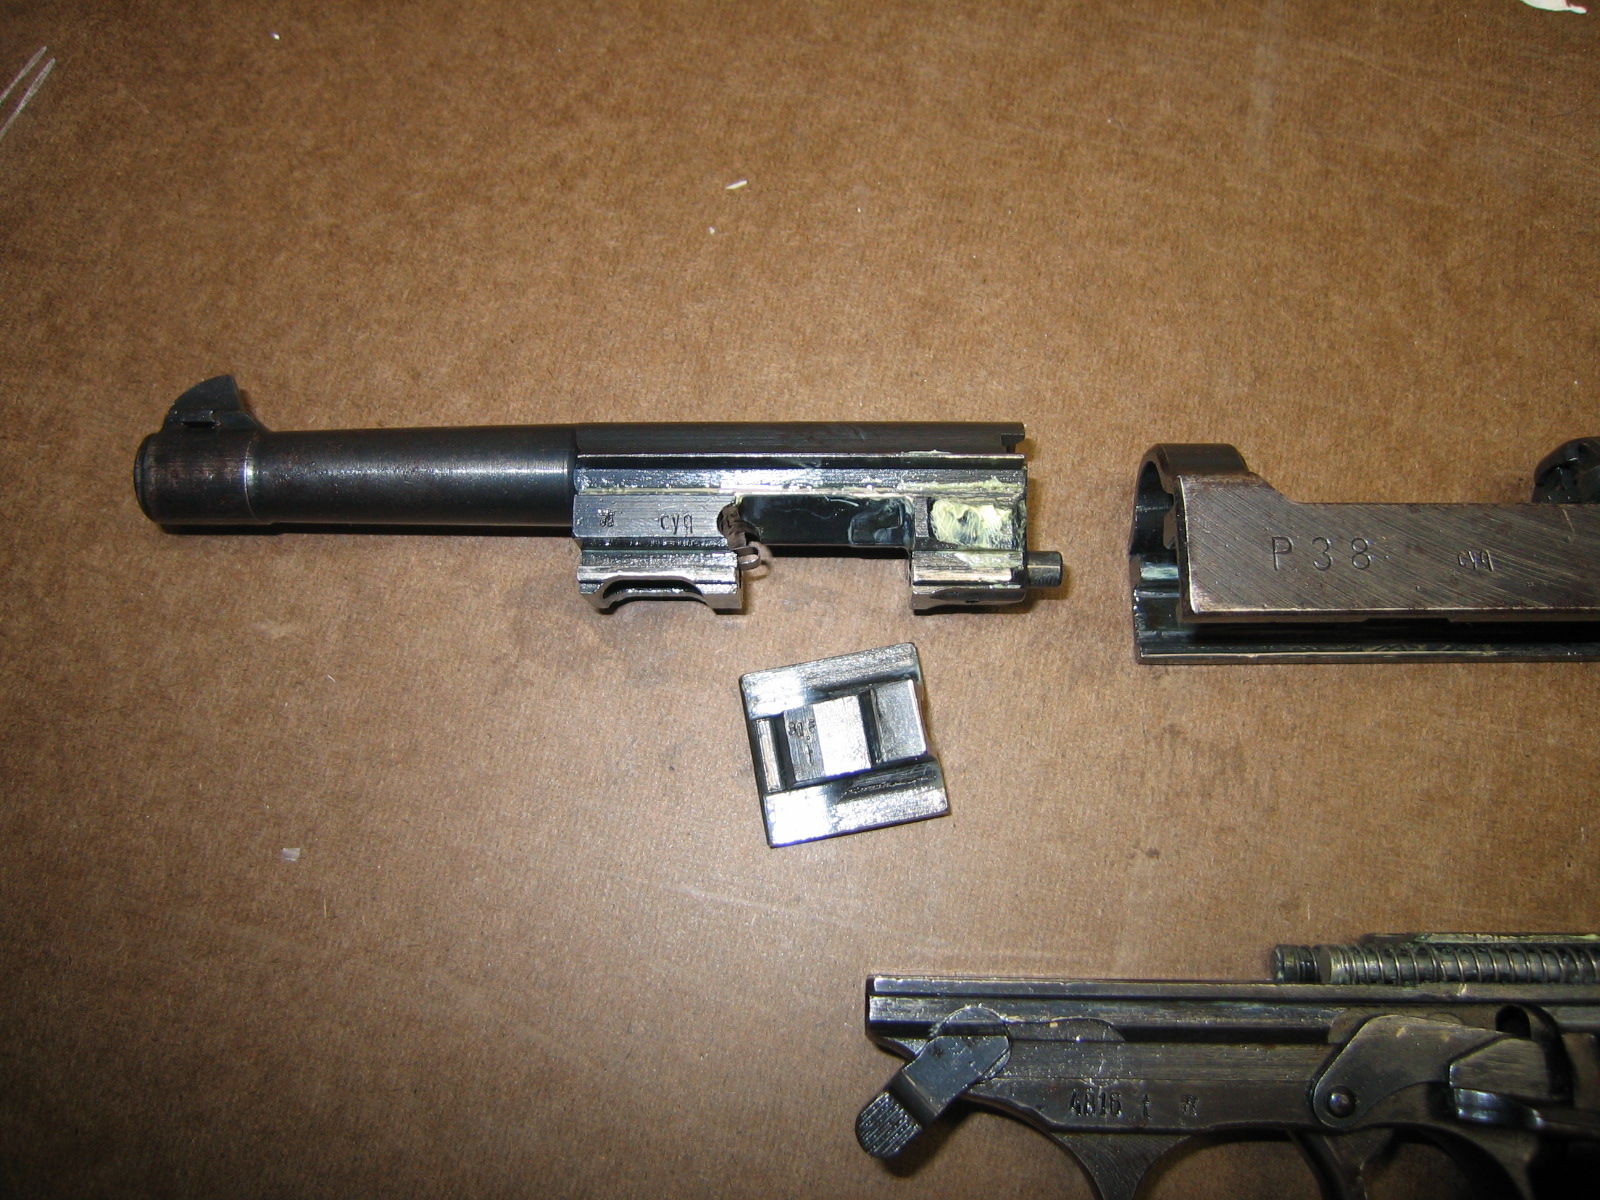
- Remove the locking block. The locking block is held in via spring pressure, simply rotate it down from the breech end down and it should pull out. Some people recommend grinding the lug off of the locking block, which is entirely unnecessary. Just remove the part, and save it for when you want to live fire, or sell it. Just don’t destroy a perfectly good part.
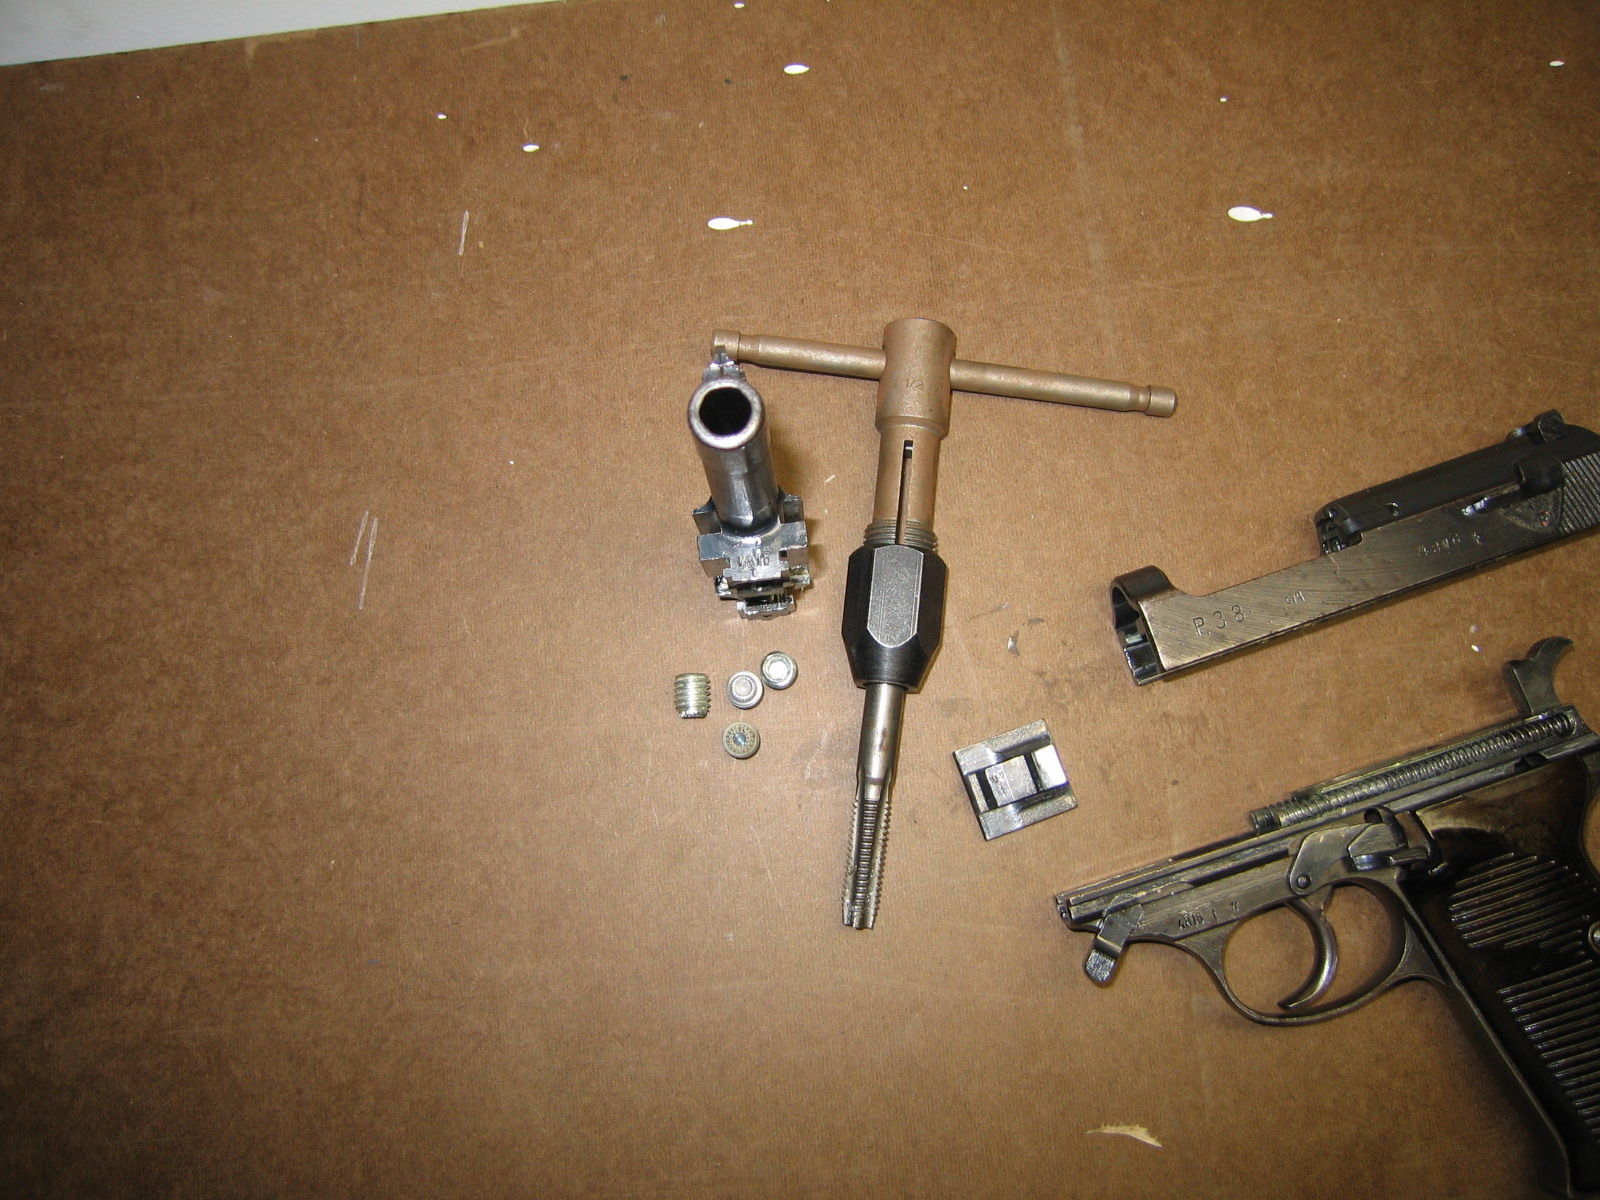
Procedure 2: Tapping the barrel
Note: Using a 3/8ths tap doesn’t require you to even drill this barrel. I’m using 3/8ths and not drilling, versus using a larger size thread and drilling; because I have no intention of shooting this barrel live ever again. It’s a JUNKER barrel.
-Firmly secure P38 barrel in jaws of machinists vise, using wood blocks or other non marring material. Take care as to not over tighten the vise as to cause damage, deformation or marring to the barrel.
-Advance the tap into the bore by hand (using tap wrench) taking care as to maintain the tap true to the bore. Occasionally reverse the tap to break any chips as they form. Use cutting oil liberally to flush chips and lubricate the tap during this process. Advance the tap approximately ¾ inch to 1 inch into the bore.
-Clean threads and barrel. Test fit set screw to ensure proper fit and that the set screw bottoms out slightly below the muzzle.
Procedure 3: Drilling set screws
-Heat set screws on heat resistant / fireproof surface until the tips are reddish orange in color to soften them, if the set screws are hardened.
-Secure set screw in vise, using blocks of wood so that the threads are not marred or deformed.
-Center drill the set screws (preferably using a drill press to prevent hogging of apertures) with the drill bits specified. Start with the largest sizes first.
-Create a means of marking or otherwise identifying the set screws. A block of wood with holes drilled and threaded in, then labeled, or commercial off the shelf pill containers.
Procedure 4: Testing / Troubleshooting
-Be sure that your P38 functions properly with live ammo, with your non-drilled and tapped barrel. If your gun has problems with live ammo, don’t expect it to work with blanks either.
-Re-assemble your P38. Install the LARGEST APERTURE SET SCREWin your barrel. Test fire. If the blank fails to cycle the slide or eject but fail to chamber the next round, install the next smaller size aperture. Repeat.
If your recoil spring is heavily used / old, it may cycle with a larger aperture than the recommended. Always use the largest aperture that will consistently cycle your P38 to reduce wear/stress. If you have any doubt as to the age of your recoil springs, or how many rounds they have been used for, replace them. Wolff Gunsprings has new made springs available for the P38.