Fixing the What Price Glory M1938 Dismounted Raincoat when the sleeves fall off
Updated: 11/10/2012
Author: Chris Guska
Foreword:
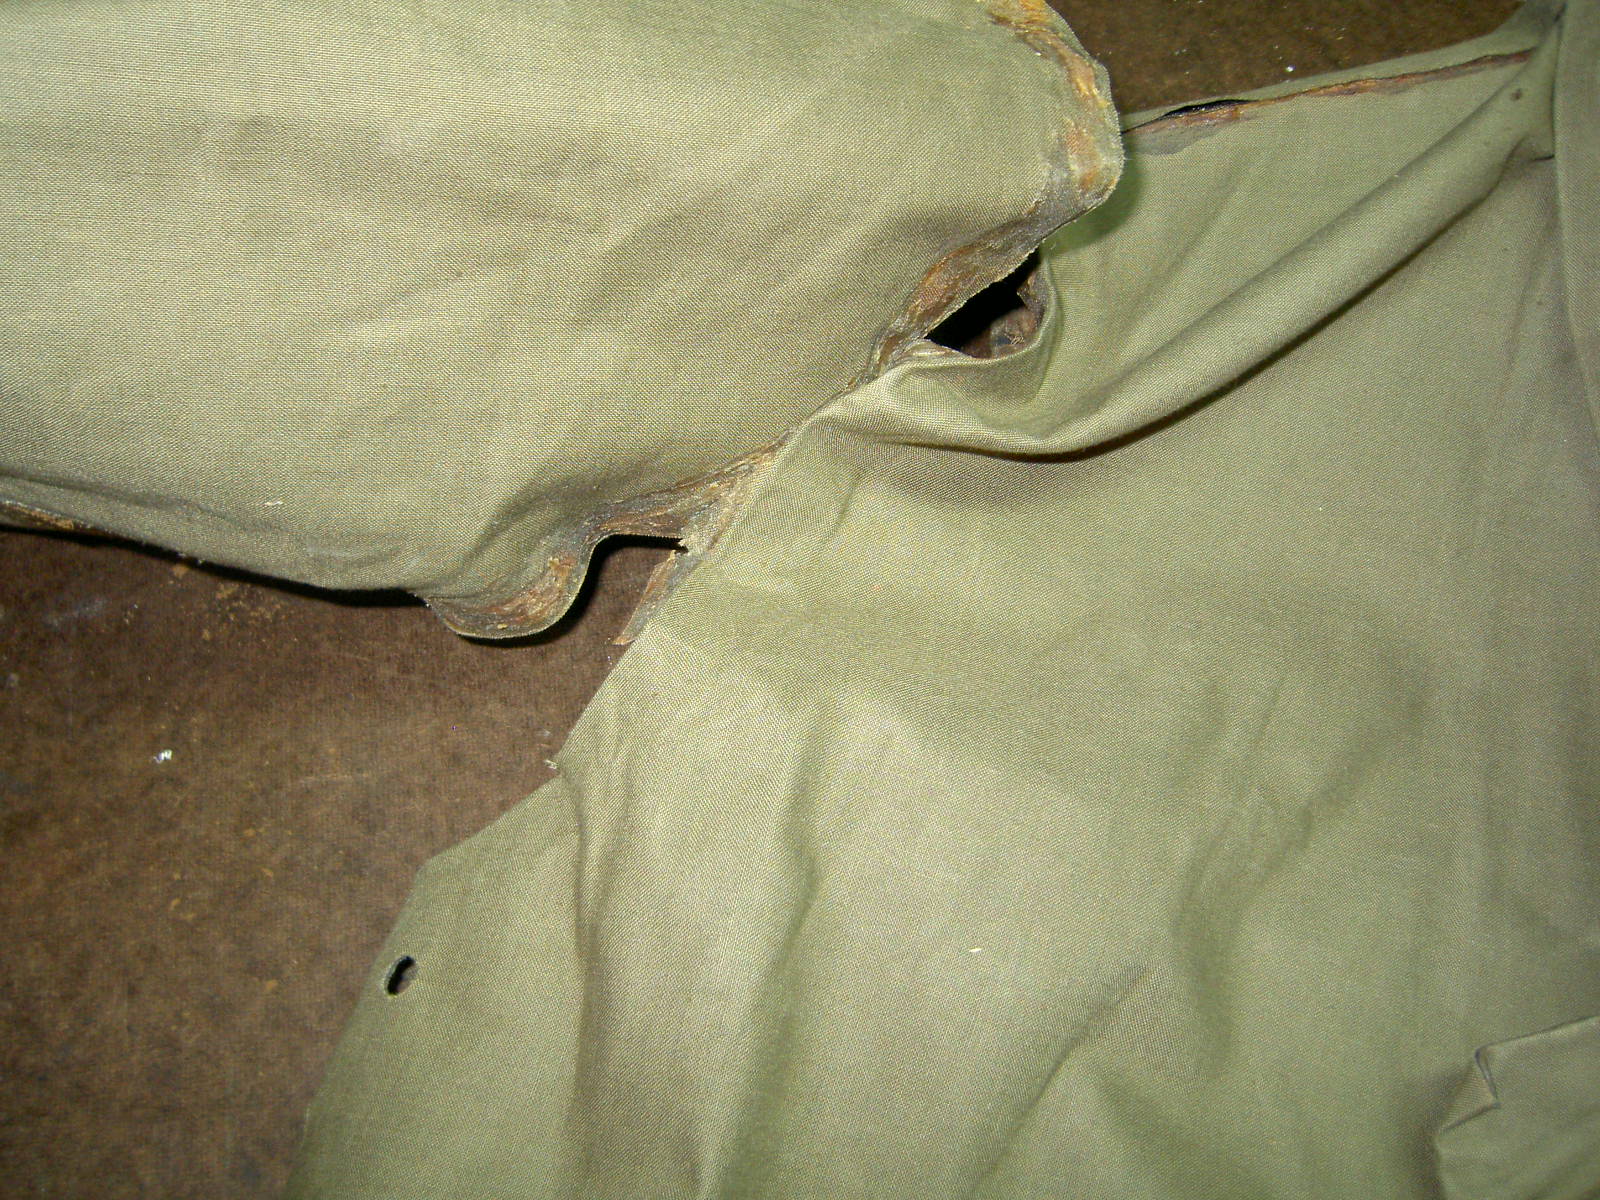
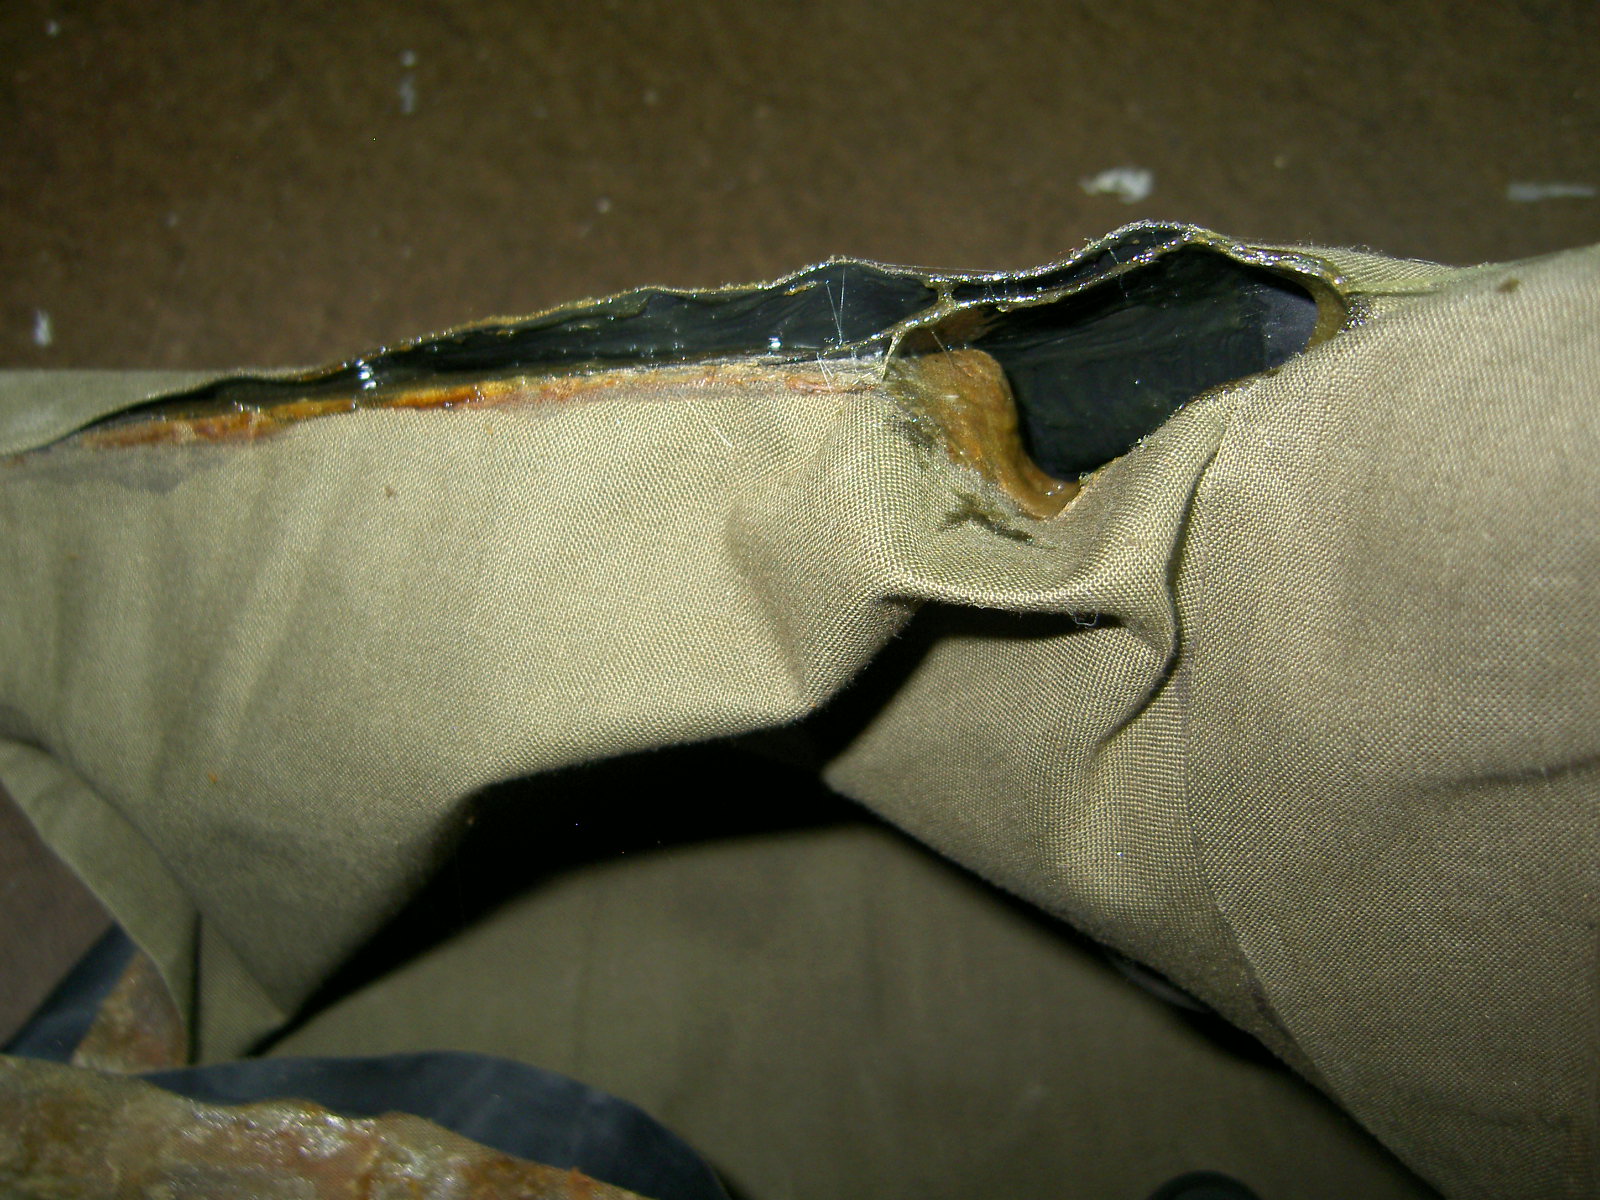
Unit member Lee purchased one of the WPG M1938 Dismounted Raincoats a few years ago. He's had it folded up in his 28 pack - until at Carlisle Barracks this September. A rainstorm rolled through, so he pulled it out to put on - and both sleeves promptly tore off.
WAH WAH! Sad trombone. WPG FAIL.
We were able to fix the raincoat, but it was something we shouldn't have had to do...
Here's how we did it.
The Fix:
Assuming both of your sleeves haven't completely torn off...
Start off by finding where the top of the sleeve would be and mark a line with pencil for an alignment key to the shoulder seam.
If there is any dirt or glue residue that you can clean off - go ahead and do so before proceeding.
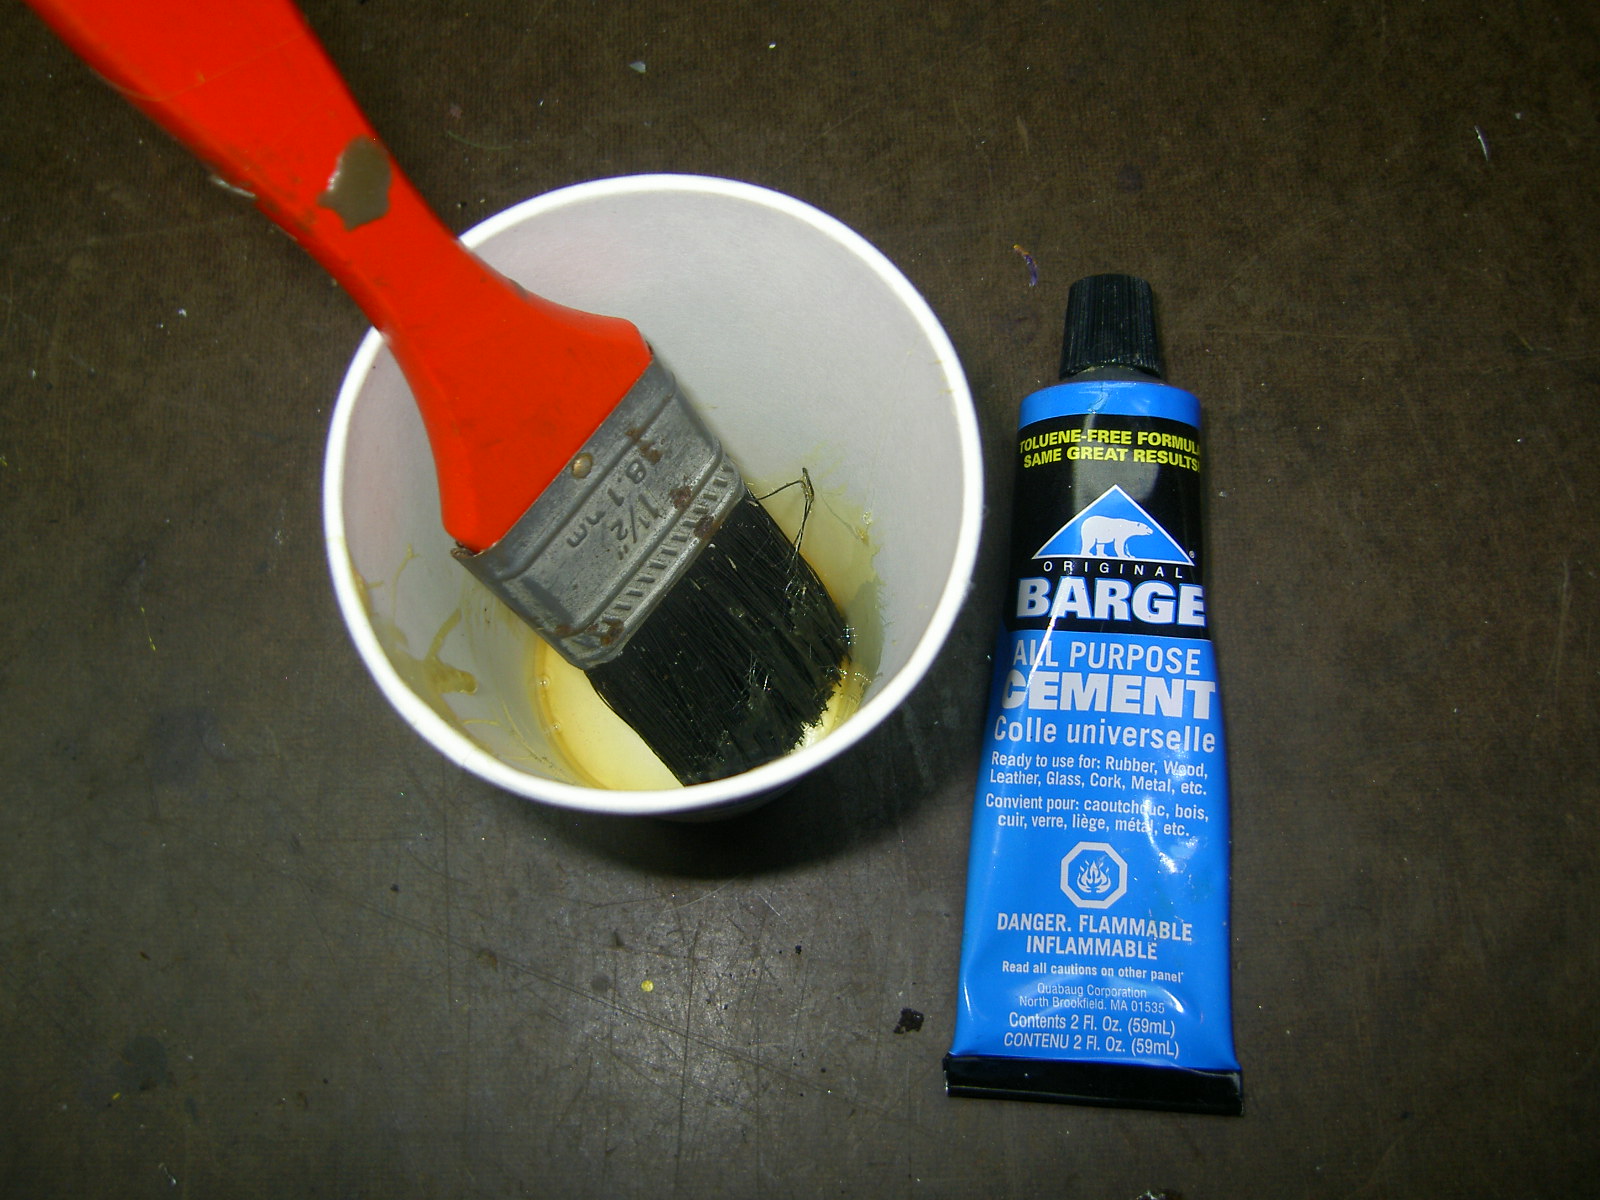
For this repair, we will be using Barge Cement. Lee purchased a tube, which is about the right amount for this repair, at the local Tandy Leather store. If you don't have a Tandy Leather nearby, check your local shoe repair shop or hobby store.
I used a paper cup and a disposable synthetic bristle brush to apply the glue throughout the project. Do not use a foam cup or plate as the glue will eat it...
The way Barge Cement works is very similar to the rubber cement you used as a kid in art class. Brush it on each piece you want to glue together, then let it dry for about 10-15 minutes.
After the glue has dried to the touch (10-15 minutes), start to bond your sleeve back on, starting with the top of the shoulder where you made your mark to start. Work slowly and carefully to align the seam - as you don't really have the ability to pull it apart and reset it as many times as you want.
Once the sleeves are on, take something hard - like a piece of wood or a hammer handle and rub down the outside seam to really make a good bond.
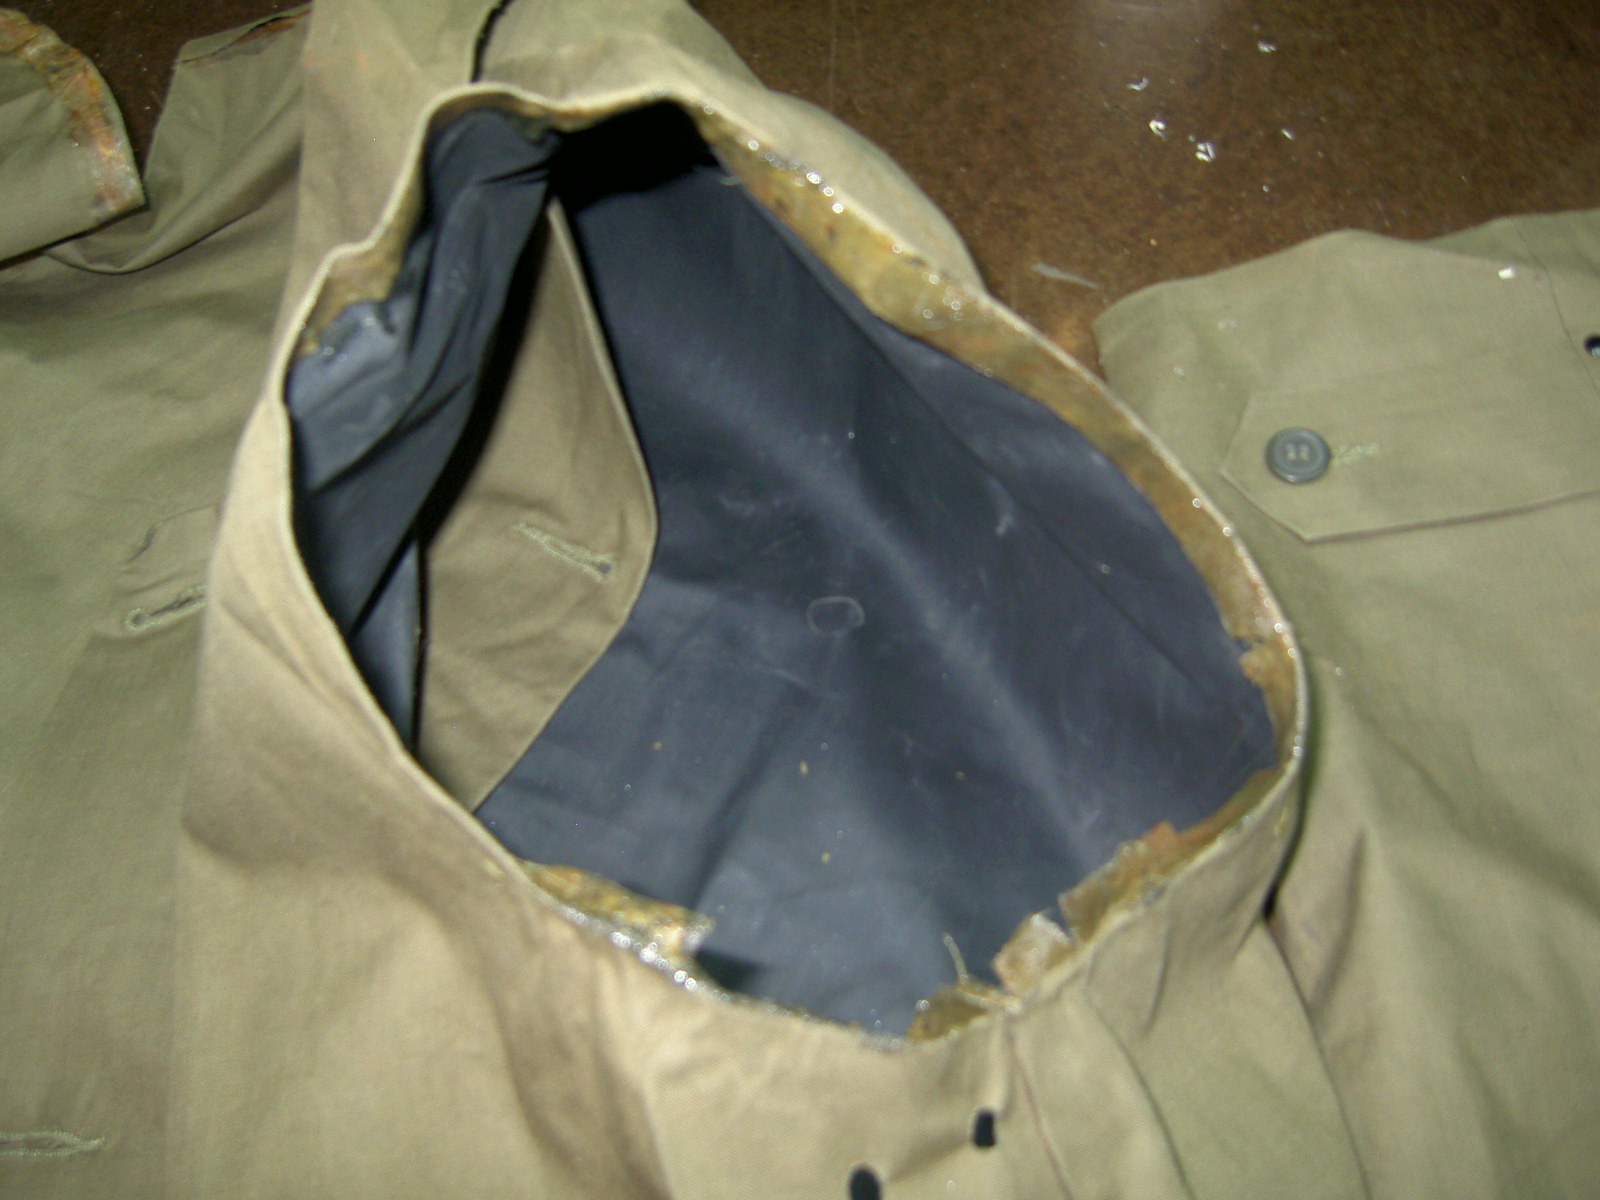
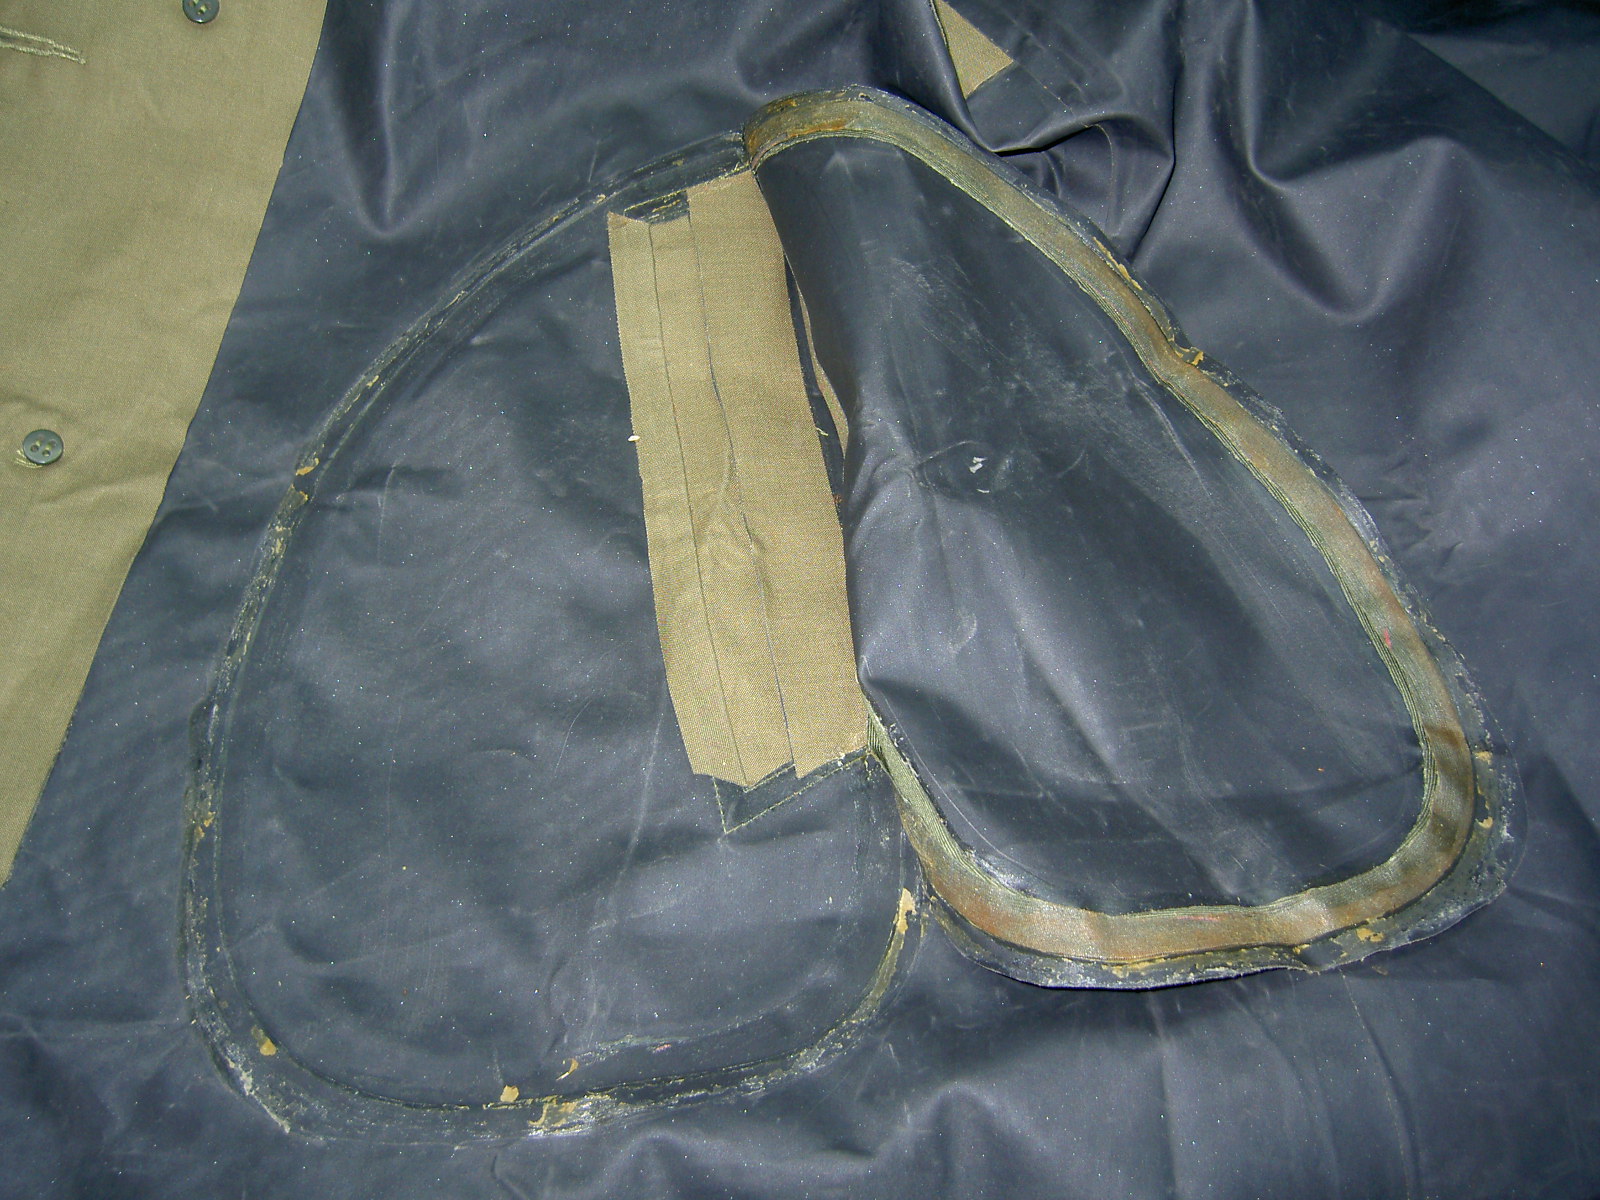
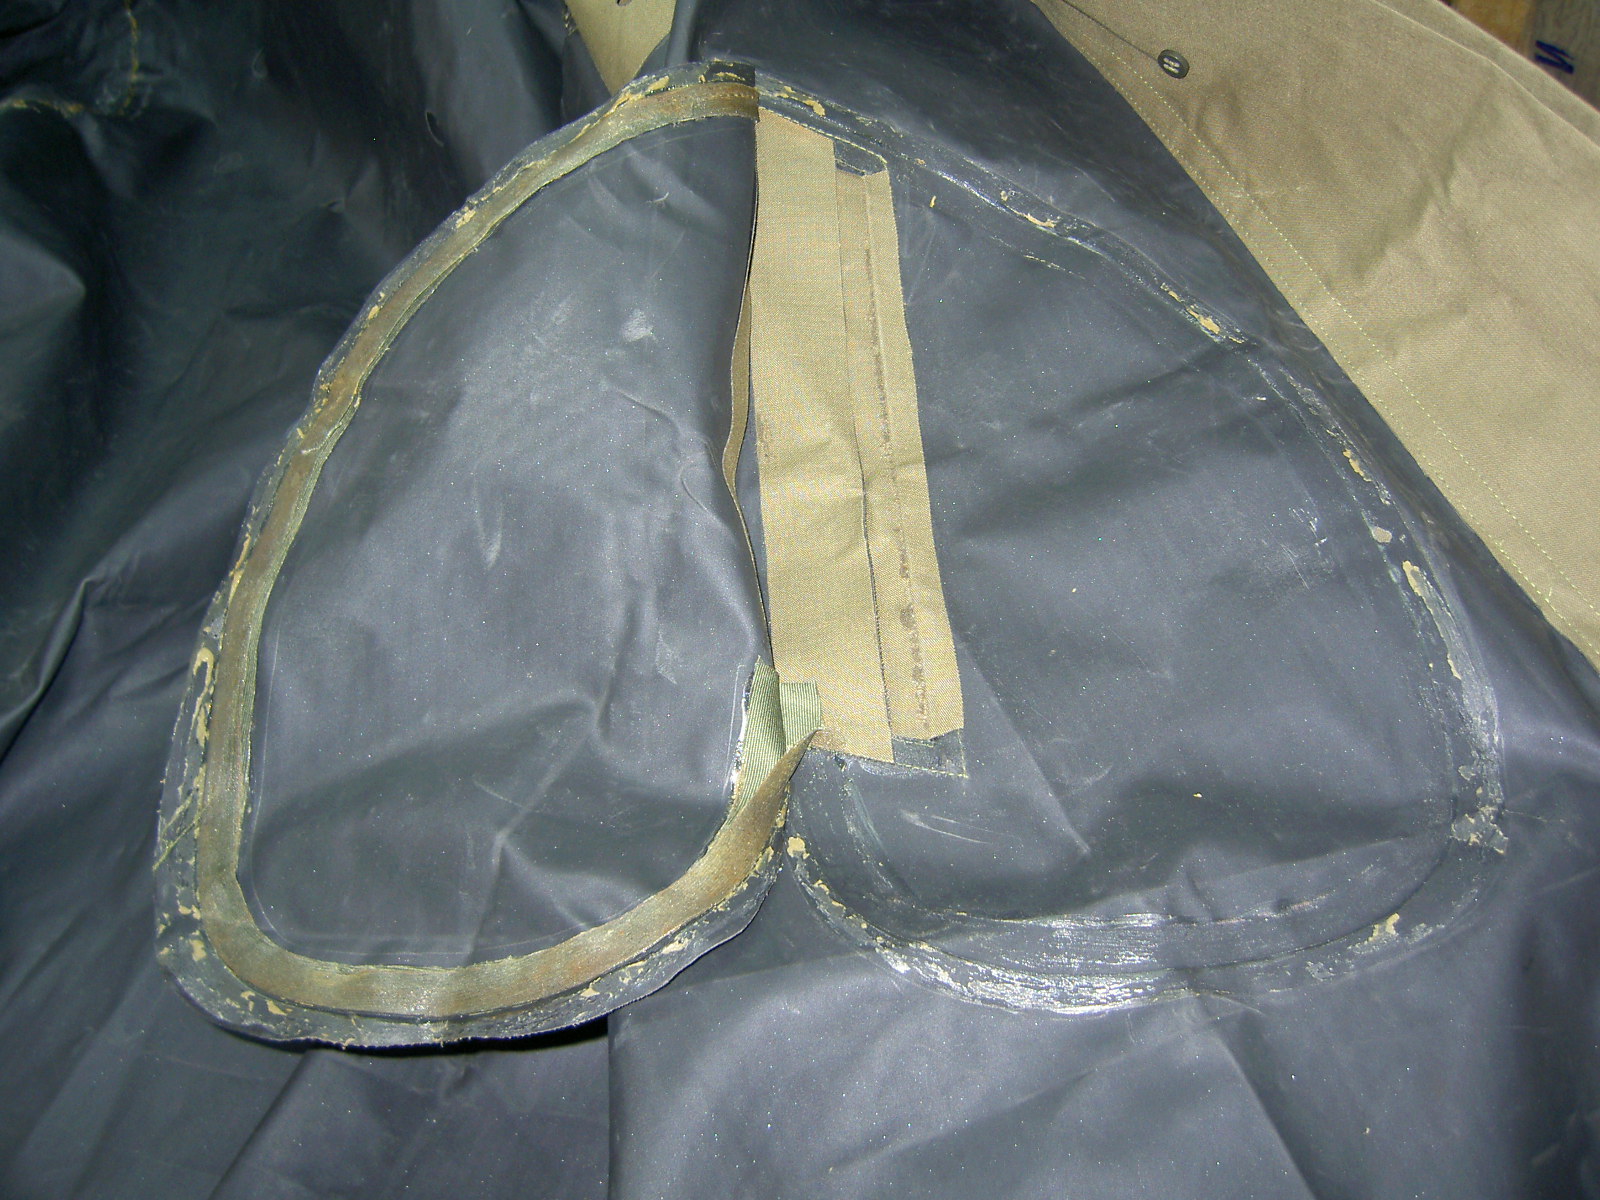
Since the sleeve is on securely now, the inside seam can get dressed down. Peel up any areas that are free.
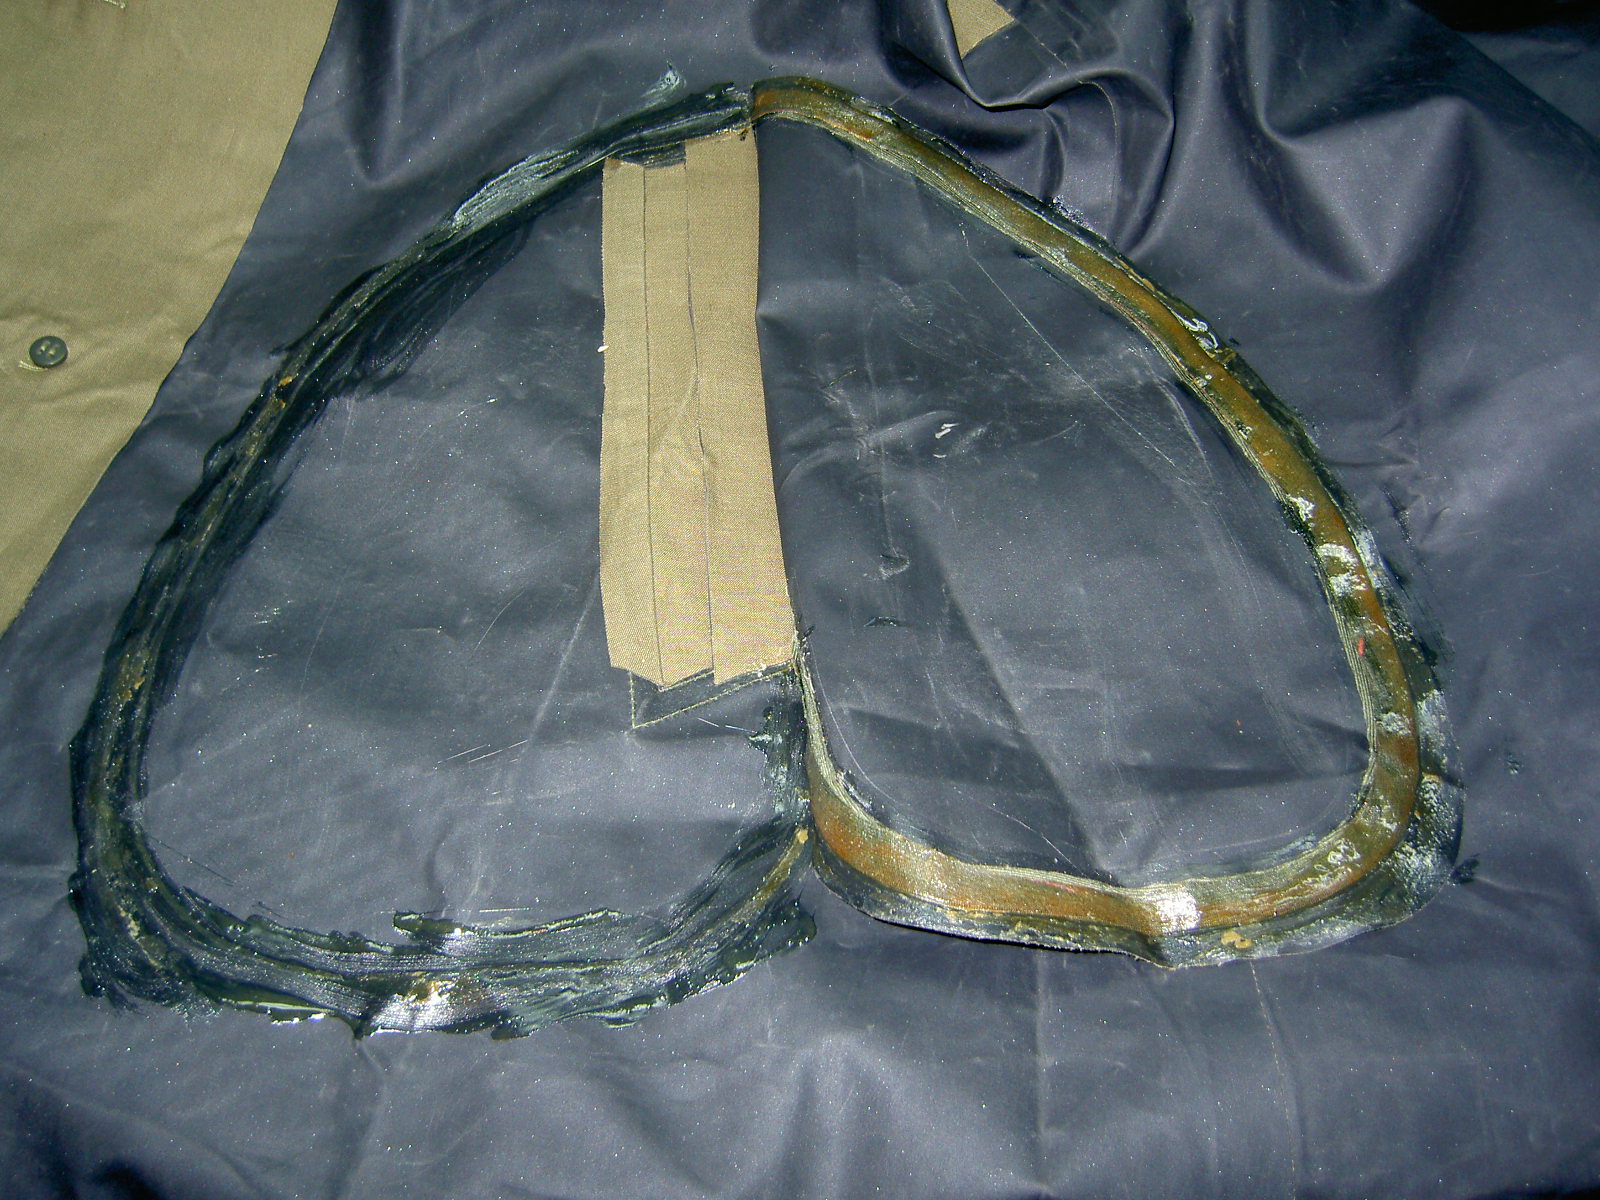
Apply glue around the seam, just as you did before - waiting about 10-15 minutes for the glue to dry to the touch.
Fold down the seam and burnish it again with something hard.
By this point, I had used about 2/3rds of the tube of Barge Cement.
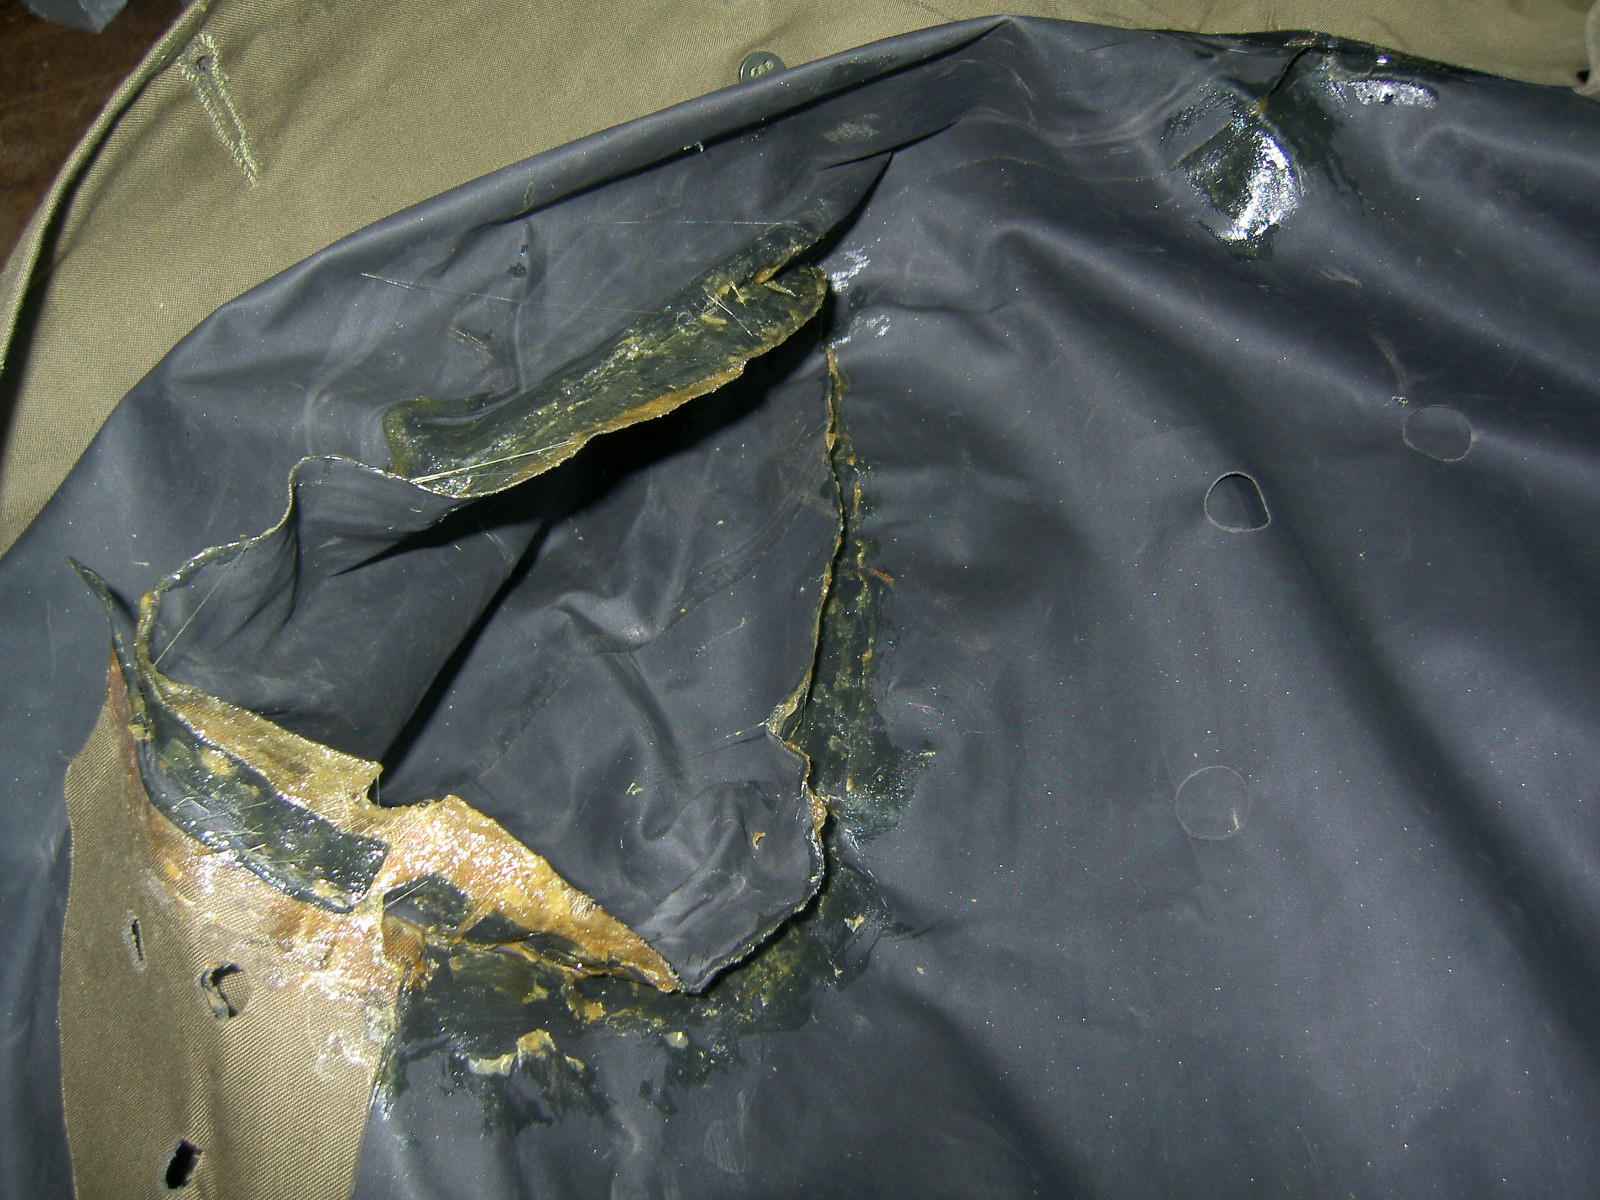
After I got the sleeves back on, I realized that the shoulder seams were coming apart. Carefully peel back the seam as far as you want to - brush some into the seam and let it dry before you make contact and burnish the sides as before.
After inspecting my work, I realized that the pockets were tearing free as well. The glue used on these raincoats is seriously poor quality.
Go ahead and pull the pocket back to the rivets.
Apply glue, wait 10-15 minutes as before....
Then make contact and burnish your seams down. This pretty much used up the remainder of the tube.
Wait overnight - (a few days is even better) for the glue to cure out before you put the raincoat on or put it through any hard use. If you need to touch up any areas, just use some more Barge Cement to attack problem spots. I had to do this on a couple of small areas in the inside armpit seam.
The repairs I made feel pretty secure. I'm confident that they'll hold up reasonably well - but I'm somewhat concerned about the collar and right shoulder seam that I didn't do. I'm assuming those will come undone at some point, as those are the only other glue joints on the raincoat that I didn't have to re-do.
This is a pretty easy and straight forward project - reasonably cheap to save a trashed raincoat- about $10 for a tube of glue. With that being said, it is a fix that should have never been required, especially after little to no use.