Water Can Restoration
Written: June 2008
Author: Chris Guska
Introduction:
During WWII over 30 Million 5 gallon gasoline and water cans, aka Jerry Cans were produced and sent to war. A single infantry division would have in excess of 3,200 cans as part of their organic equipment, and armored divisions would have over 13,700 cans.
Jerry Cans were produced by numerous countries, in many different patterns and styles, both during the war and up to current day. WW2 dated Water and Gasoline cans are available at flea markets, garage sales, and on eBay. Many times, their postwar civilian owners repainted them to be in compliance with the law – resulting in a glut of red painted WW2 gasoline cans.
Additionally, many cans that were originally water cans, with their distinctive cam lock lid and enamel coating were unknowingly or accidentally used for gasoline, rendering them dangerous for their original purpose of carrying potable water.
There have been a number of discussions amongst hobbyists, namely over on the G503.com forum on how to restore Jerry Cans. This article is a summation of many of those discussions combined with my personal experiences.
Before:
I am usually able to purchase decent condition gasoline and water cans for under $10.00 per can locally. Typically I find them two or three at a time, at flea markets or antique malls.
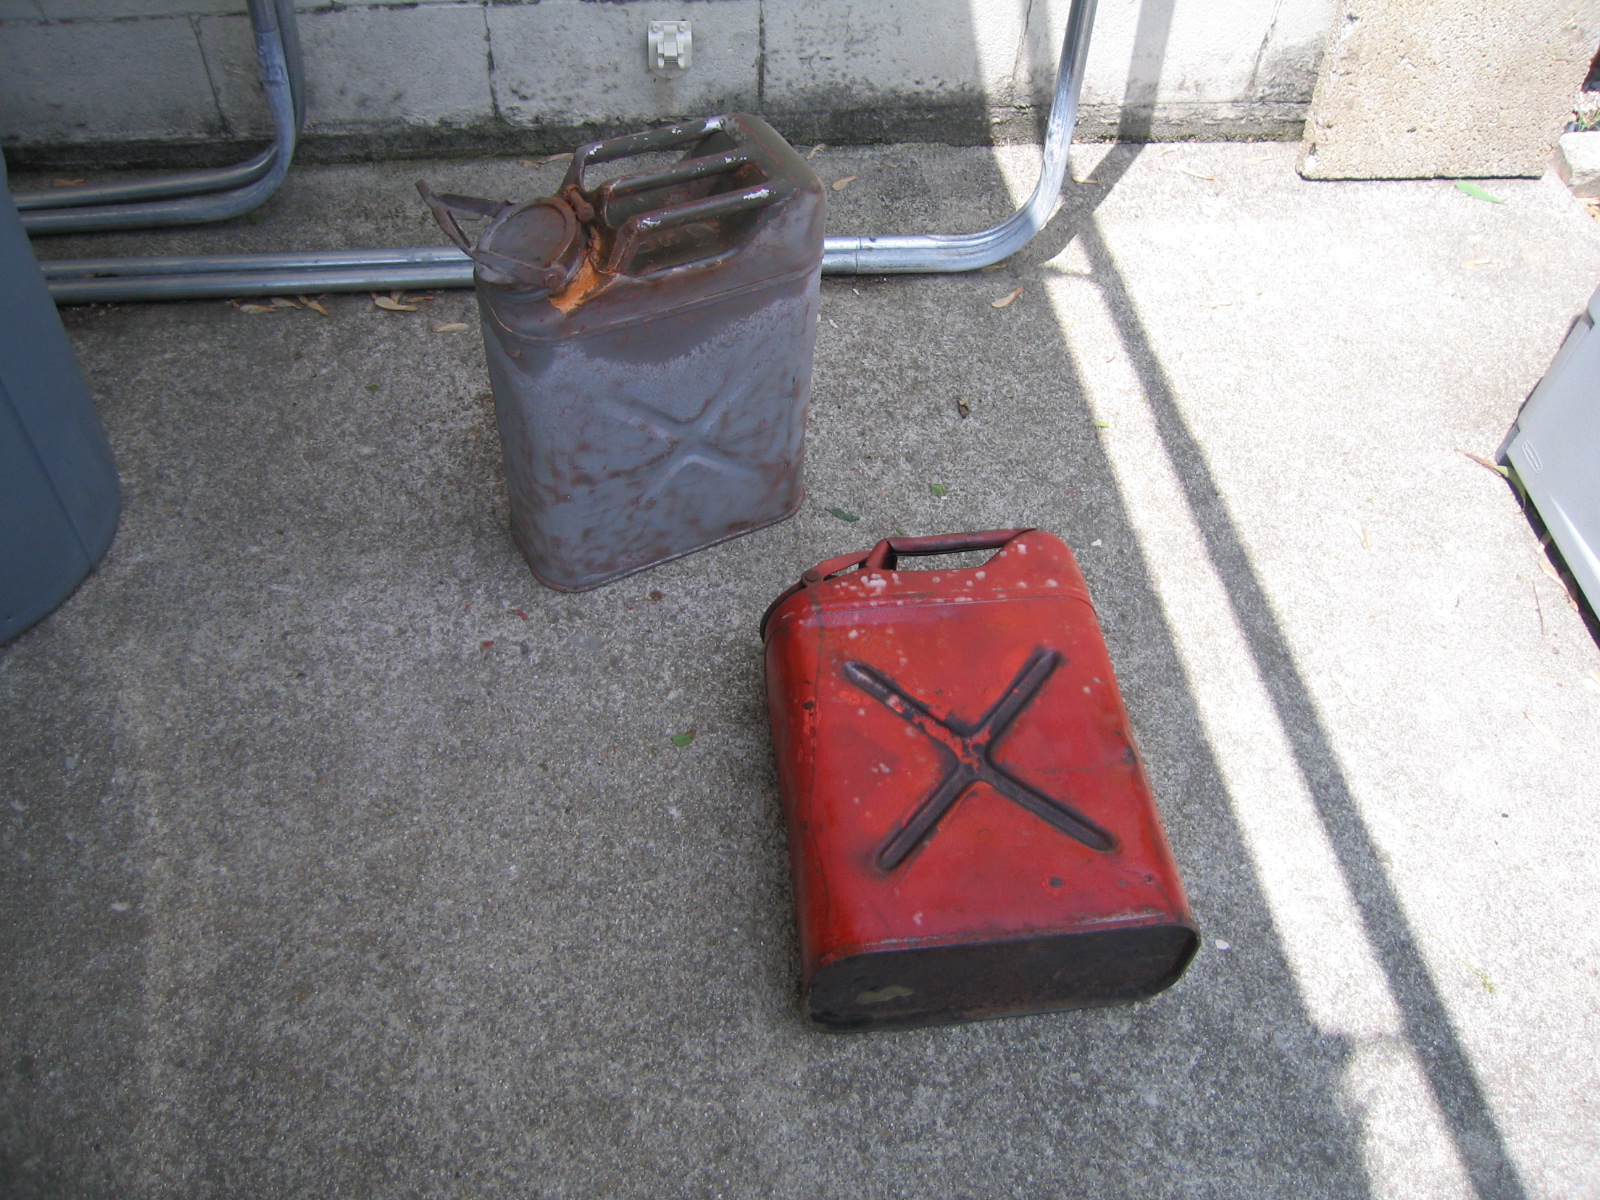
Here are a couple of water cans that I picked up out of an Antique Mall in Streetsboro Ohio for $3.00 apiece.
Both of the cans were painted red when I bought them, with several thick layers of paint over the original OD paint.
Preparation
The first thing I do to the cans is strip the paint off, and clean up any rust that there may be on the outside and inside of the can.
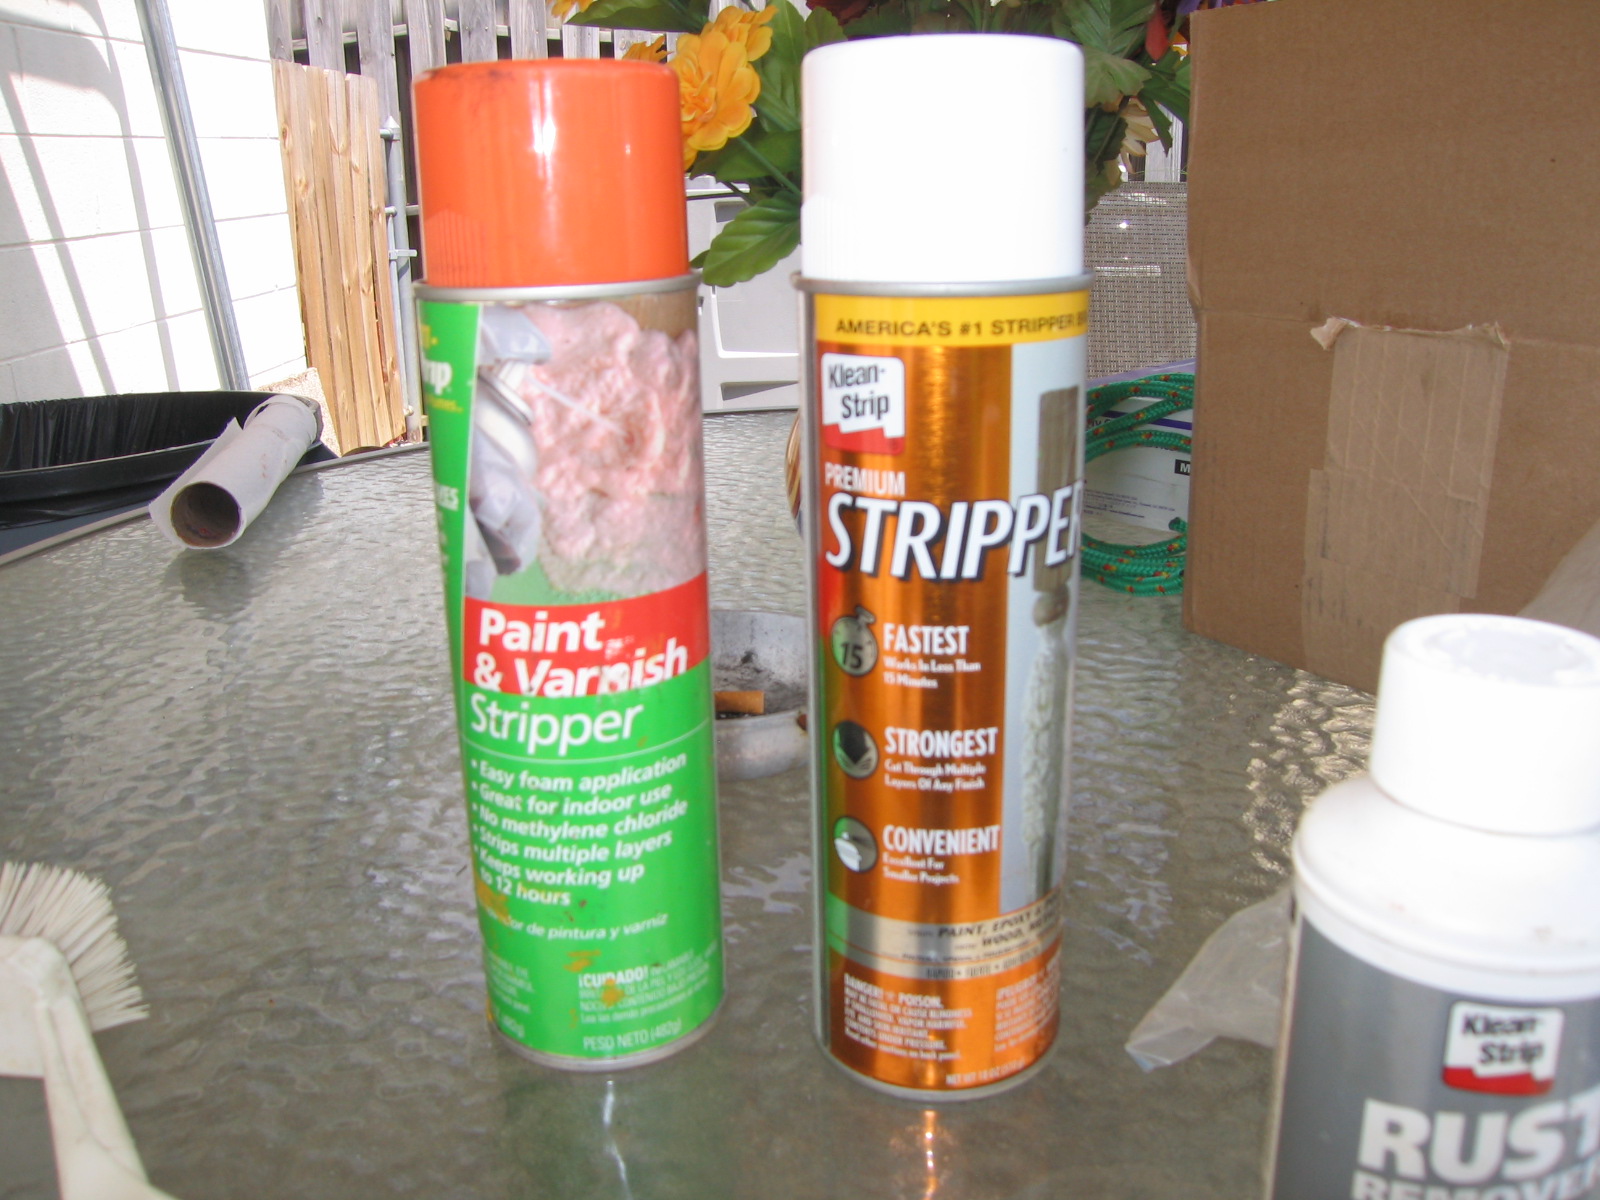
I’ve found that the paint on the jerry cans is extremely hard and is not very conducive to modern chemical paint strippers. I have used both “Citristrip” and “Kleen-Strip” with mixed results.
Both of those chemical strippers have worked extremely well on other projects that I’ve done, but not on these cans. You could do a repeated process of chemical stripping, and follow up with a cup brush to remove any lingering paint or rust, but the top handle assembly is a real pain to chemically strip.
Beadblasting or Sandblasting the cans is another option. I’ve gone this route before, with great success; but it just takes a really long time. Make sure that you have fresh media and a very capable compressor. It usually takes me about an hour to fully sandblast a single can. Media blasting is able to clean up the handle assembly more easily than chemical stripping.
The other route is to have someone else do the paint and rust removal for you. If the inside of the can has a large amount of rust and scale, I highly recommend just spending a few dollars and having the can sent out to be acid dipped. To me, it’s worth the $15 or $20 that it may cost to have the can dipped and to not have to mess around with any chemicals, or spend an hour standing at the blast cabinet. Acid dipping is the most effective way of getting all of the rust out of the inside of the can. Look in your yellow pages under “Paint Removal” for companies in your area that will do this for you.
There are 2 other methods of removing rust from the inside of a can – abrasive and chemical. Phosphoric acid chemical rust removing solutions are available at most home improvement stores, and will most likely work well for small amounts of rust. Abrasive removal of rust can be achieved by using pea gravel or other small abrasives being put in the can with some liquid and agitated until clean. I tried the manual agitation with gravel in a water can that was very rusty with little success. It would have taken hours, and the use of a concrete mixer or commercial paint mixer to provide enough agitation for it to clean that can.
Lining the can
Regardless if the can is a water or gasoline can, I believe that if you are restoring the can, you should apply some kind of liner to the inside. Original gasoline cans were painted on the outside and left as bare sheet metal on the inside. The gasoline cans had a tendency to leak at all their seams, especially on warm days when the metal would swell. By using an epoxy or flexible resin lining product, this will eliminate any leakage along the seams, as well as seal any pinholes that may have propagated over time.
Water cans had a straw colored enamel lining in them that was water and food safe. This lining is often chipped and rust spots are left where the underlying metal has been exposed. Once the rust is removed and neutralized, repaint the interior of the can with Krylon “Woven Tapestry” paint – which is very close to the original enamel color.
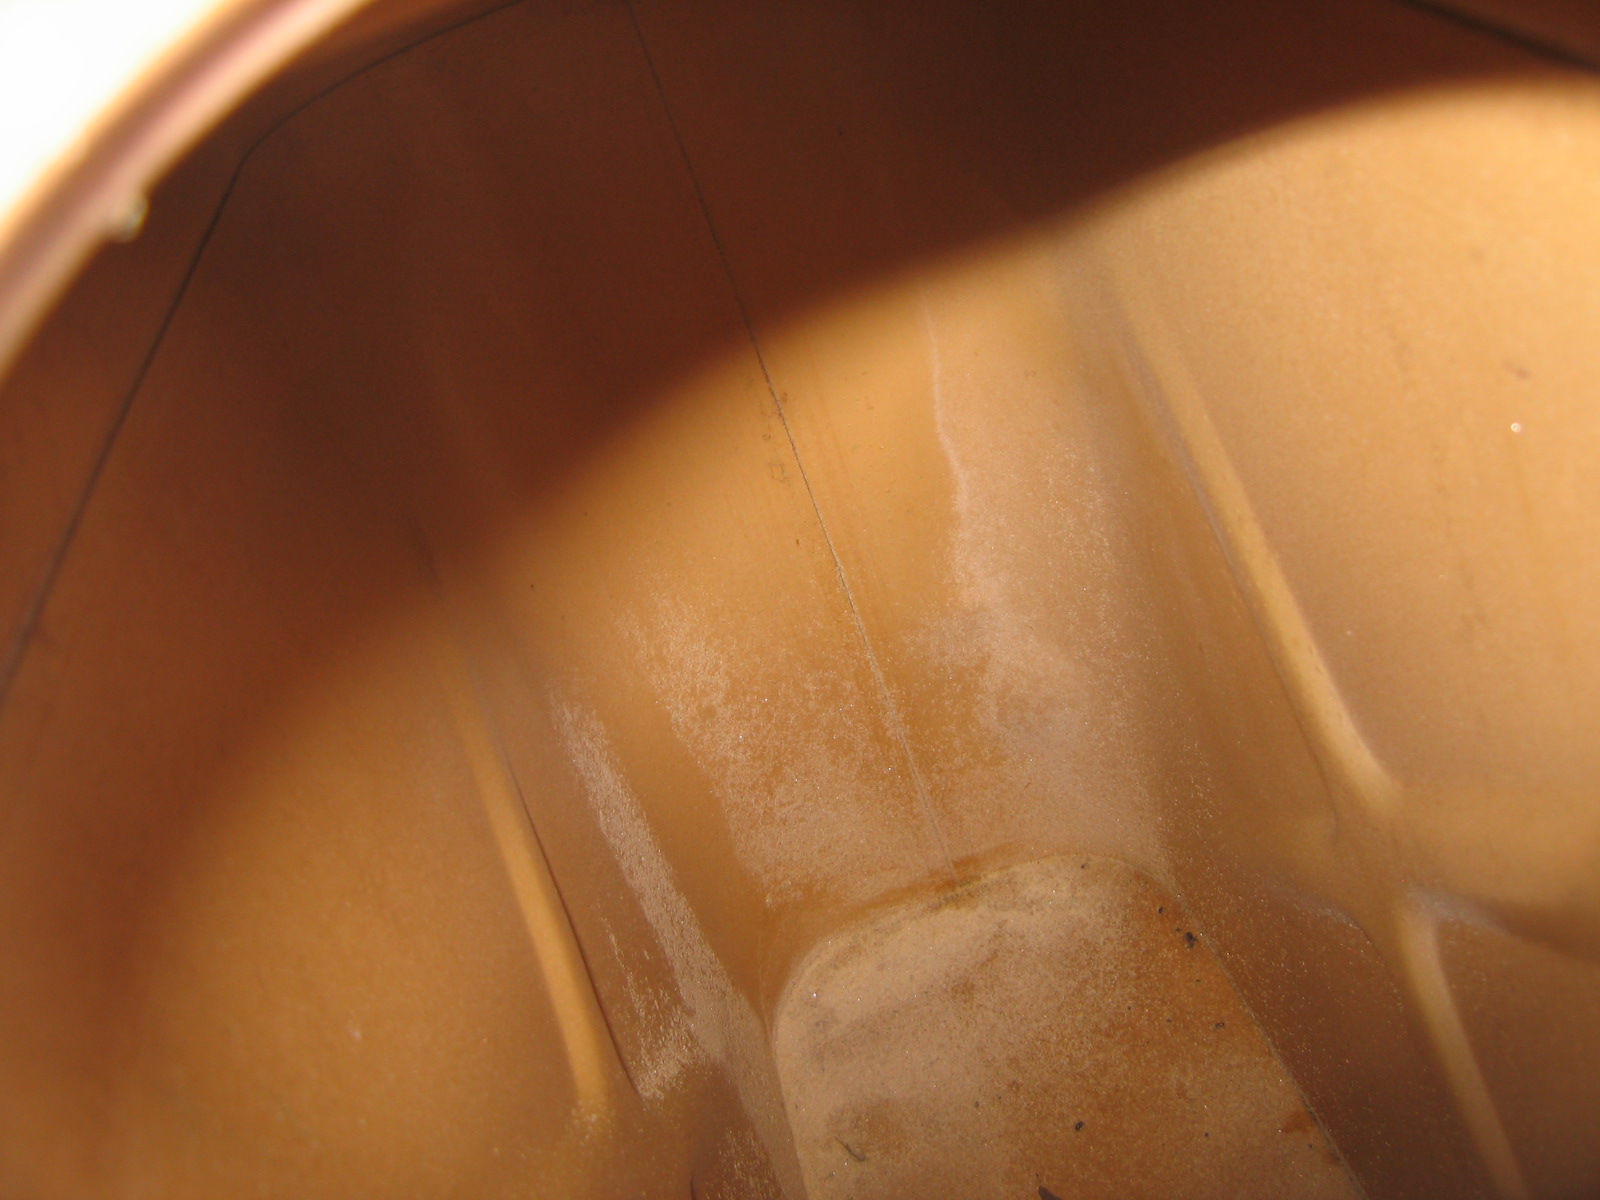
Interior of one of the better cans – showing the original enamel color, as well as some sand that came in during sandblasting.
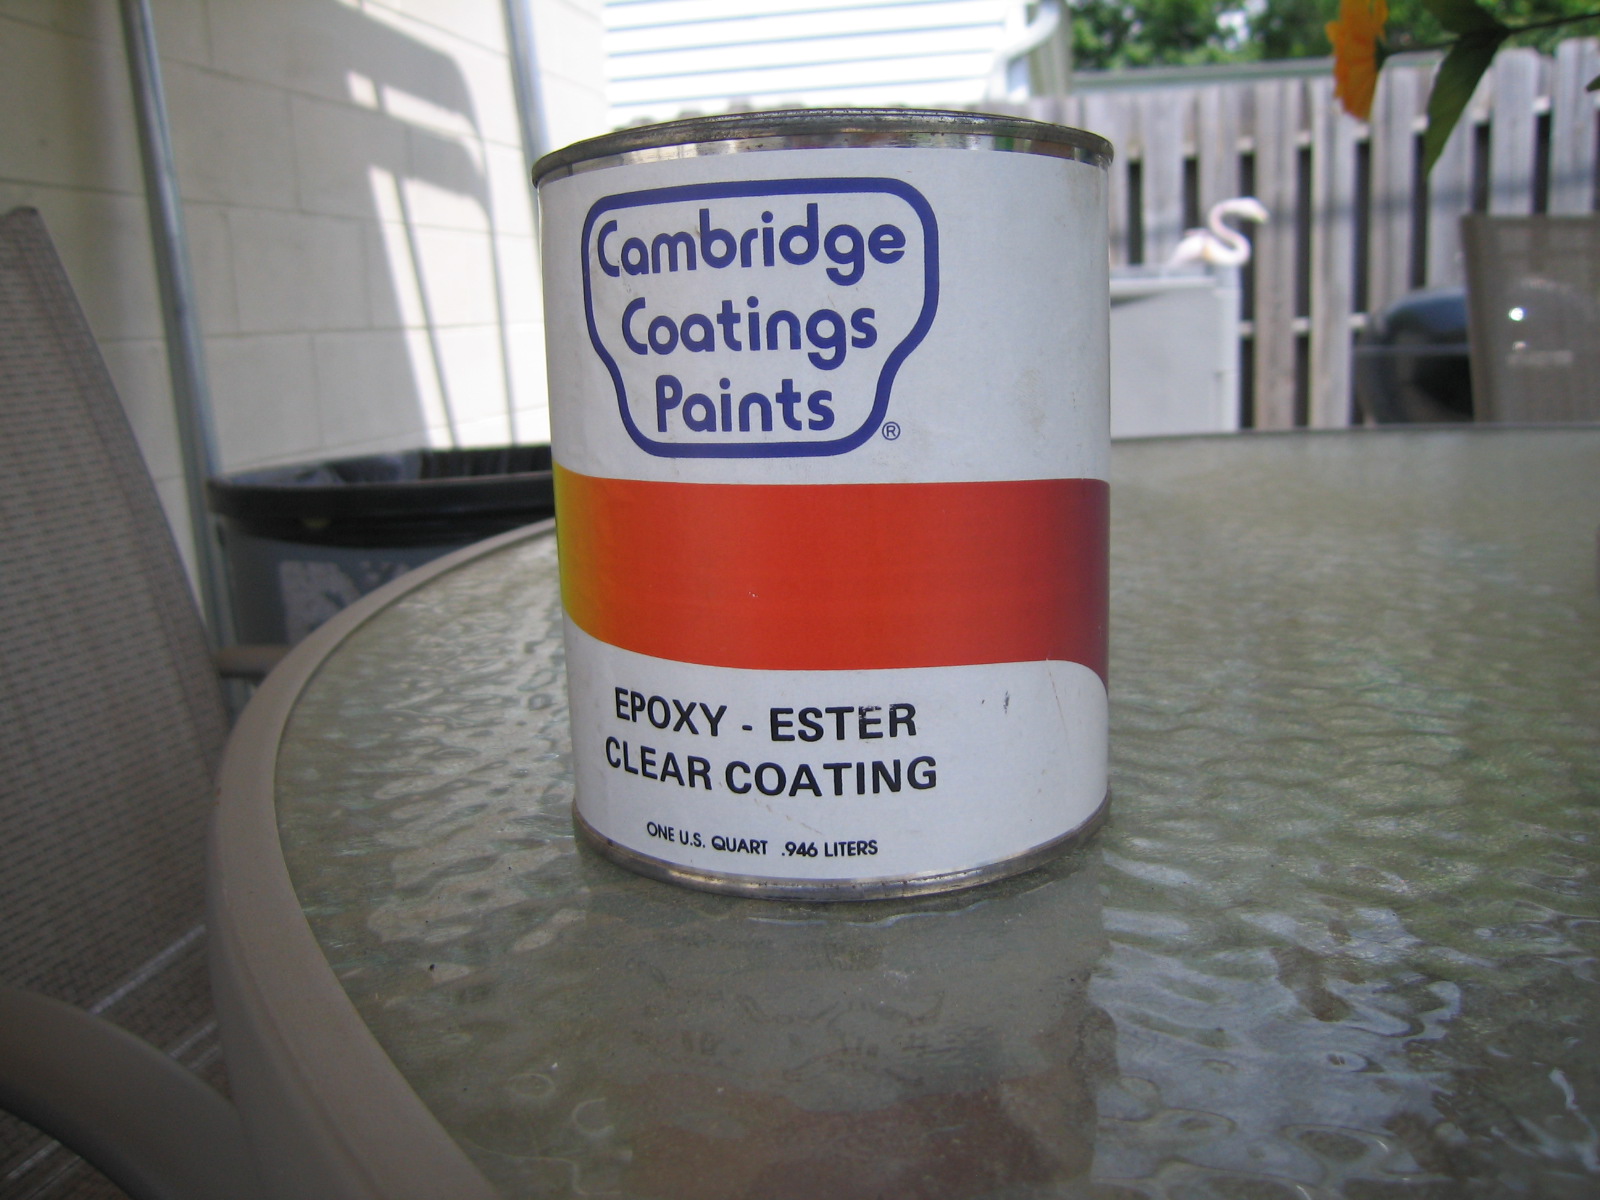
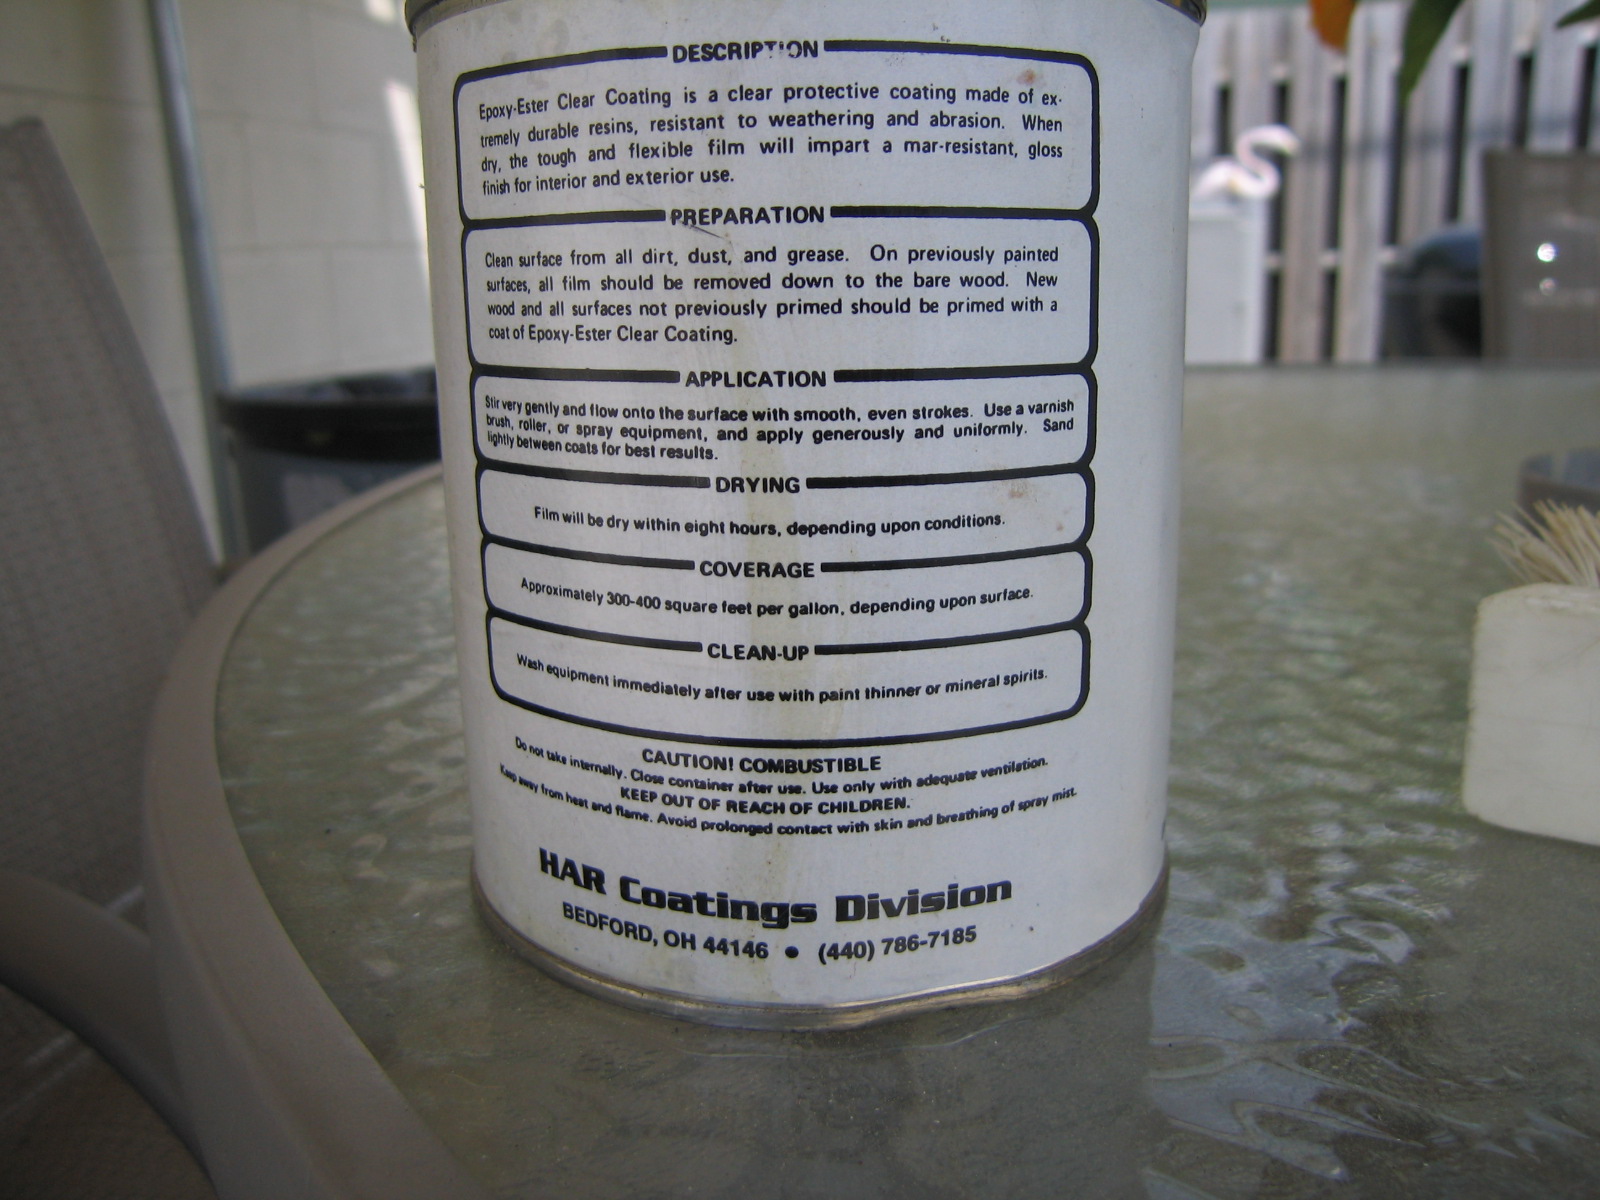
There are 4 lining products that you can use to seal the interiors of the cans. POR 15, Camcote Kreem, and O'Sullivan Gondola Enamel. POR 15 and Kreem are designed and marketed as gas tank refinishing systems. Camcote is marketed as a food grade epoxy coating for beekeepers. O'Sullivan Gondola Enamel is marketed as a food grade enamel for wine production.
I have not used the O’Sullivan Enamel – but have read about it and am interested in trying it. The product is available (LINK) by the pint for around $8.00. The advantage of the Enamel is that you can buy a colored enamel “Wine Press Yellow – 5-964” that is water soluble and will eliminate the step of painting, then sealing. Others who have used the product recommend cutting the enamel with water to make it flow better, and using multiple thin coats. The product can be poured into the can and the can rotated to coat all surfaces, with the excess being poured out.
I have used Camcote (LINK) and have been satisfied with the results. Once the inside of the can is thoroughly cleaned, painted (if needed) and dried, the Camcote can be simply poured in and the can should be rotated and turned so that the product covers all the interior surfaces of the can. Make sure to mix the Camcote well prior to application, it should have the consistency of honey or heavy weight motor oil. Any excess can be poured out of the can and set aside. Ideally the goal is to get a thin coat on all surfaces so that the coating dries in a reasonable amount of time. Camcote seems to take a long time to dry – I’d wait atleast a day or two between coats. In my water cans I put in 2 or 3 coats depending on how energetic I am and how many pinholes there are.
I have not used POR 15 or Kreem, but have heard of positive results from both products. Both products have a kit that comes with rust remover and surface prep chemicals to use. Camcote does not come with any surface prep or rust removal chemicals.
I’m not sure if POR 15 or Kreem is USDA approved, where Camcote is – this might be a consideration you may want to make should you be restoring water cans for potable water.
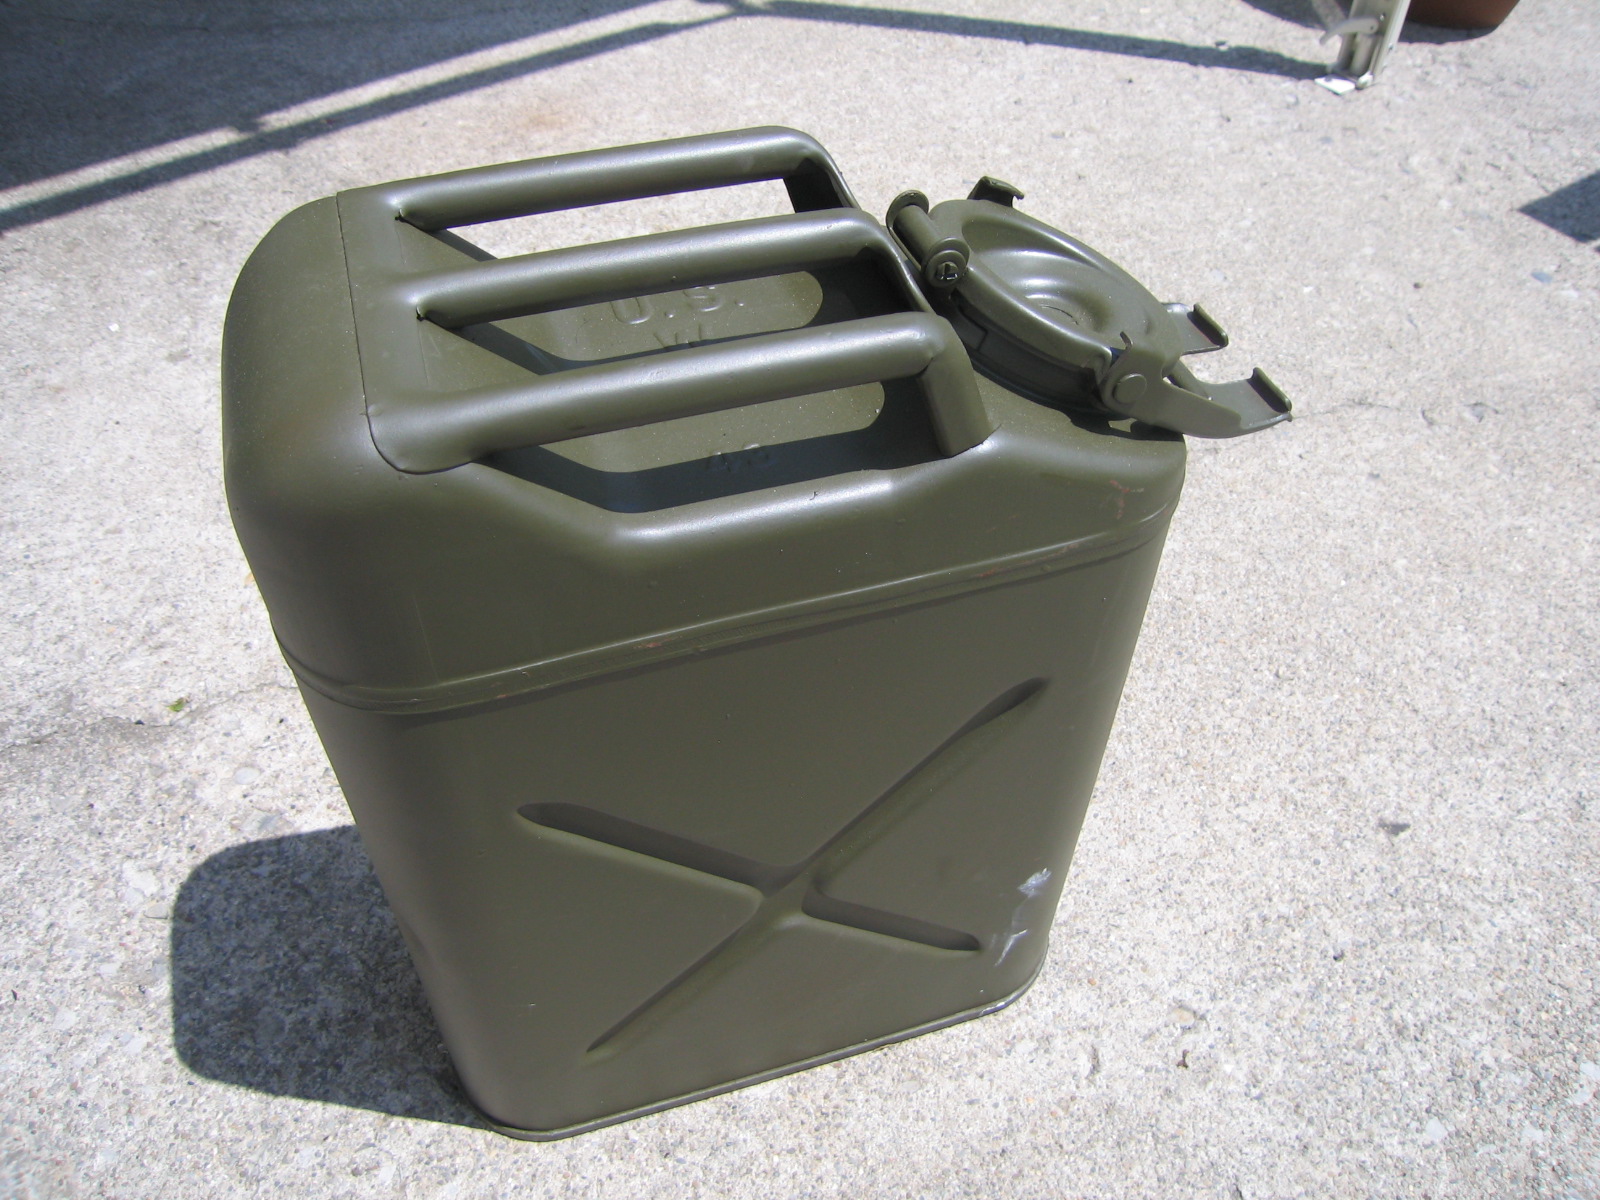
Paint –
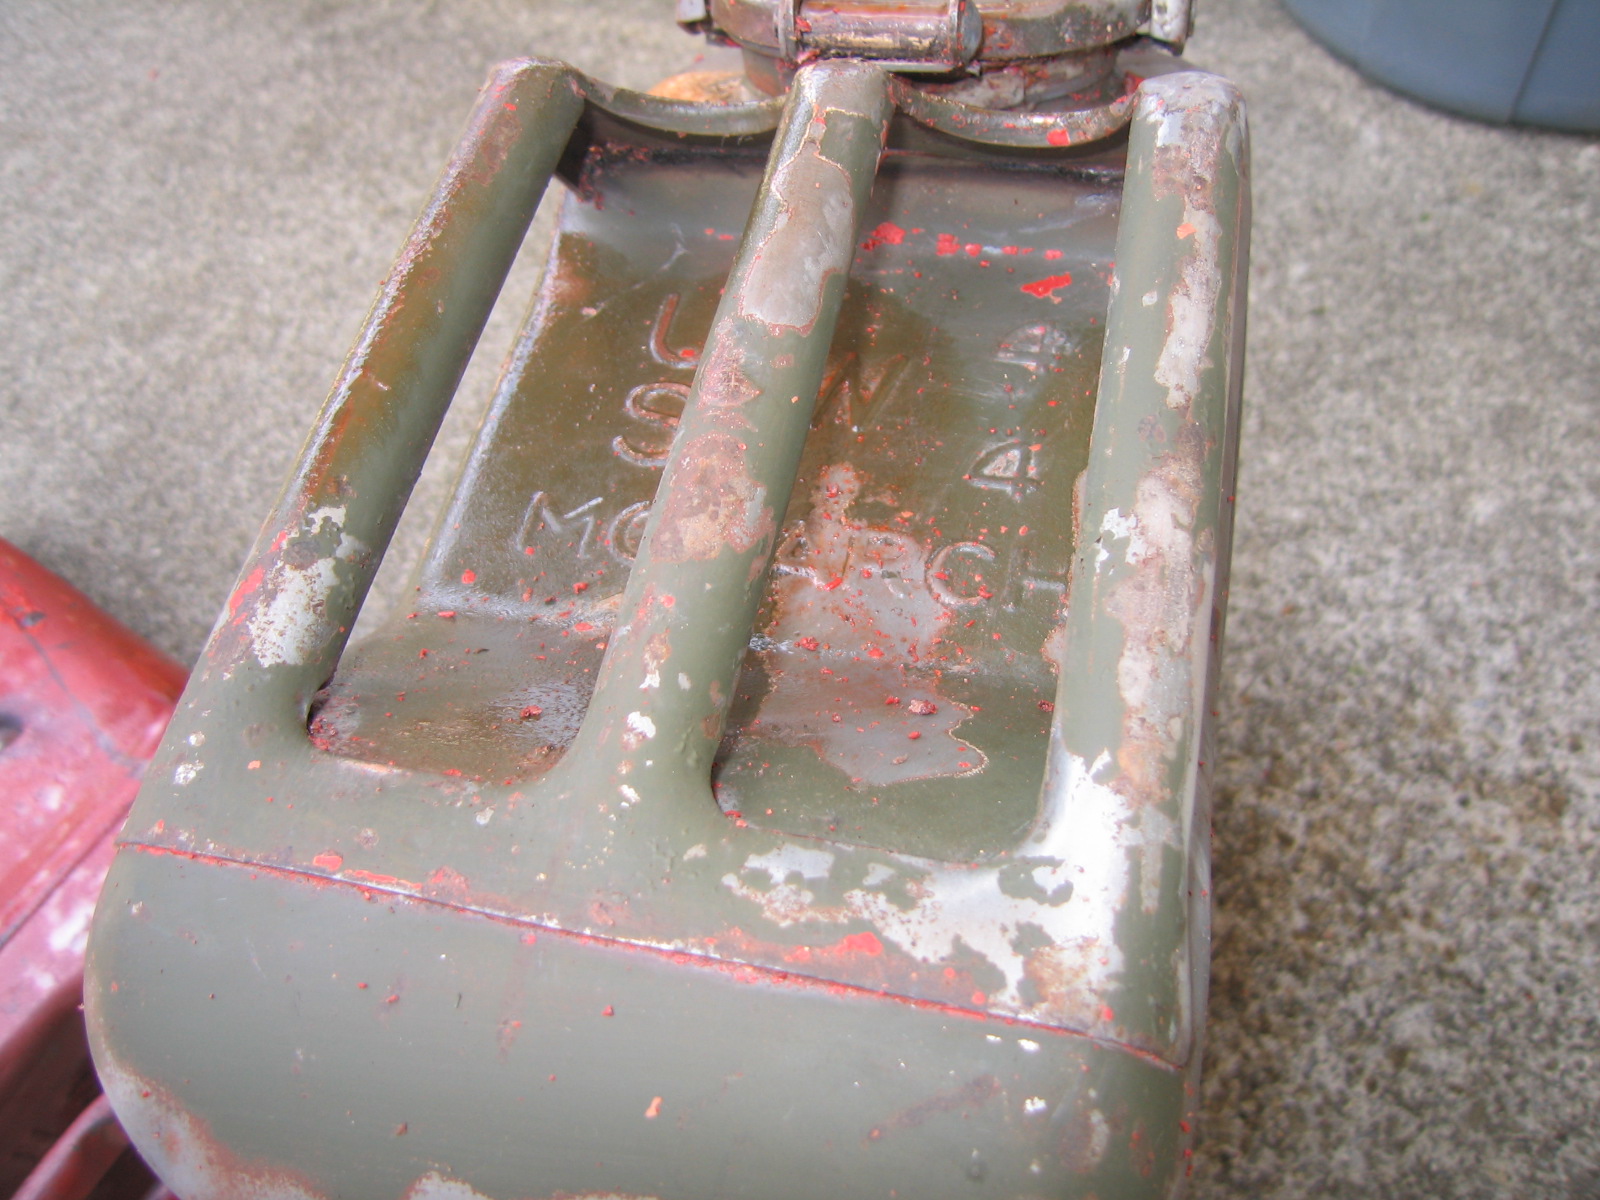
From the cans that I have chemically stripped and bead blasted, it appears that jerry cans were not primed before being painted olive drab.
In the case of the cans that I have restored, I have taken the extra step of priming the cans prior to applying olive drab paint. Even though it was not done originally this way, I wanted to add a layer of rust resistance and a rust inhibitor by using the Rustoleum Red Oxide primer. I also find that cans that are primed take paint much better, and dry faster than cans that are unprimed.
I have been very happy with the color and finish of Rapco paints. I particularly like the OD 319 and OD 23070 from Rapco.
Gasket-
The gaskets on my cans are 3/16 inch thick, with an outisde diameter of 4 inches, and inside diameter of 3 & 3/8 inches . There are several options on making your own gasket or buying something off the shelf. For gasoline cans, new old stock USGI and new production rubber gaskets are available. A Google search will turn up numerous places that sell the gaskets, usually for under $2.00 each. Water cans have two options available to them, rubber or cork. Rubber sink drain gaskets from the hardware store come in sizes that are very close to what is needed for the water cans. Find a gasket that has the correct inside diameter, and trim the outside to fit. The rubber gasket can be glued in with contact cement or rubber cement. Cork gaskets which were usually used on cans originally can be made yourself. McMaster Carr sells sheets of cork gasket material in various thicknesses and with the option of having a pre-applied adhesive backing. Measure the inside and outside diameter of the gasket you will need with a compass, draw on the adhesive backing paper (if you went that route) and cut out with scissors and an X-acto knife.