How to dub your boots with Sno-Seal
Date Written: 7/9/2007
Author: Chris Guska
Supplies Needed:
Roughout Service Shoes
Sno-Seal
Electric Hair Dryer or Heat Gun (heat gun preferred)
Old shitty toothbrush
Brown shoe polish
Dauber
Horsehair brush
Background:
Rough-out service shoes need to be “dubbed” or otherwise coated with a waterproofing agent. During the war there were several types of “dubbing” that were issued. I’ll try and get some photos of original cans at a future date. Basically, the “dubbing” was a heavy grease that was meant to both waterproof, and gas-proof the boots from chemical warfare agents. The rough-out finish on the boots allowed the waterproofing/anti-gas dubbing to more effectively and easily be applied to the boots.As far as I’m concerned, I think its bullshit when I see reenactors with rough-out boots that are not dubbed and polished. Rough-outs that are not dubbed soak up water, have dirt and all varieties of shit stick to them, and generally get beat up faster. Dubbing isn’t hard, nor is it expensive. It’s a wise investment of half an hour and 5$ for the $100+ dollar boots you just bought. Not only is it protecting your investment, you won’t have farb boots.
What do you use to “dub” your boots? Everybody and their sister has a favorite product to use, the most common seem to be Sno-Seal (my personal favorite), Huberds Shoe Grease, Mink oil, Olive Oil, and original Dubbing. This article is being written on the application of Sno-Seal, I’ve had great results with it, it’s easy to work with, it’s good for the leather, it’s non toxic, and ok to get on your hands.
A word of warning about using original dubbing or food products: There are a couple of kinds of original dubbing – one of which being a hydrocarbon based dubbing, and the other being a vegetable base. Discussions have been had on forums as to the merits and problems with each, just think about what you are doing and the potential ramifications when you use original dubbing. Hydrocarbon based dubbing is flammable – no shit Sherlock, and think about the effects that hydrocarbons have on leather. There’s a reason why modern “Neatsfoot Compound” sucks and is generally not good for leather – HYDROCARBONS. Additionally, vegetable based products, whether it be original dubbing or olive oil, will eventually turn rancid and oxidize. Rancid oil or vegetable products aren’t generally cool (turn smelly and sticky), do you want that on your boots or other leather goods? Basically, think about what you’re doing before you do it. The life of a pair of boots in combat was expected to only be 3 months by the Army in WW2, let alone the life expectancy of a front line GI. I bet you want, and expect your boots to last a lot longer.
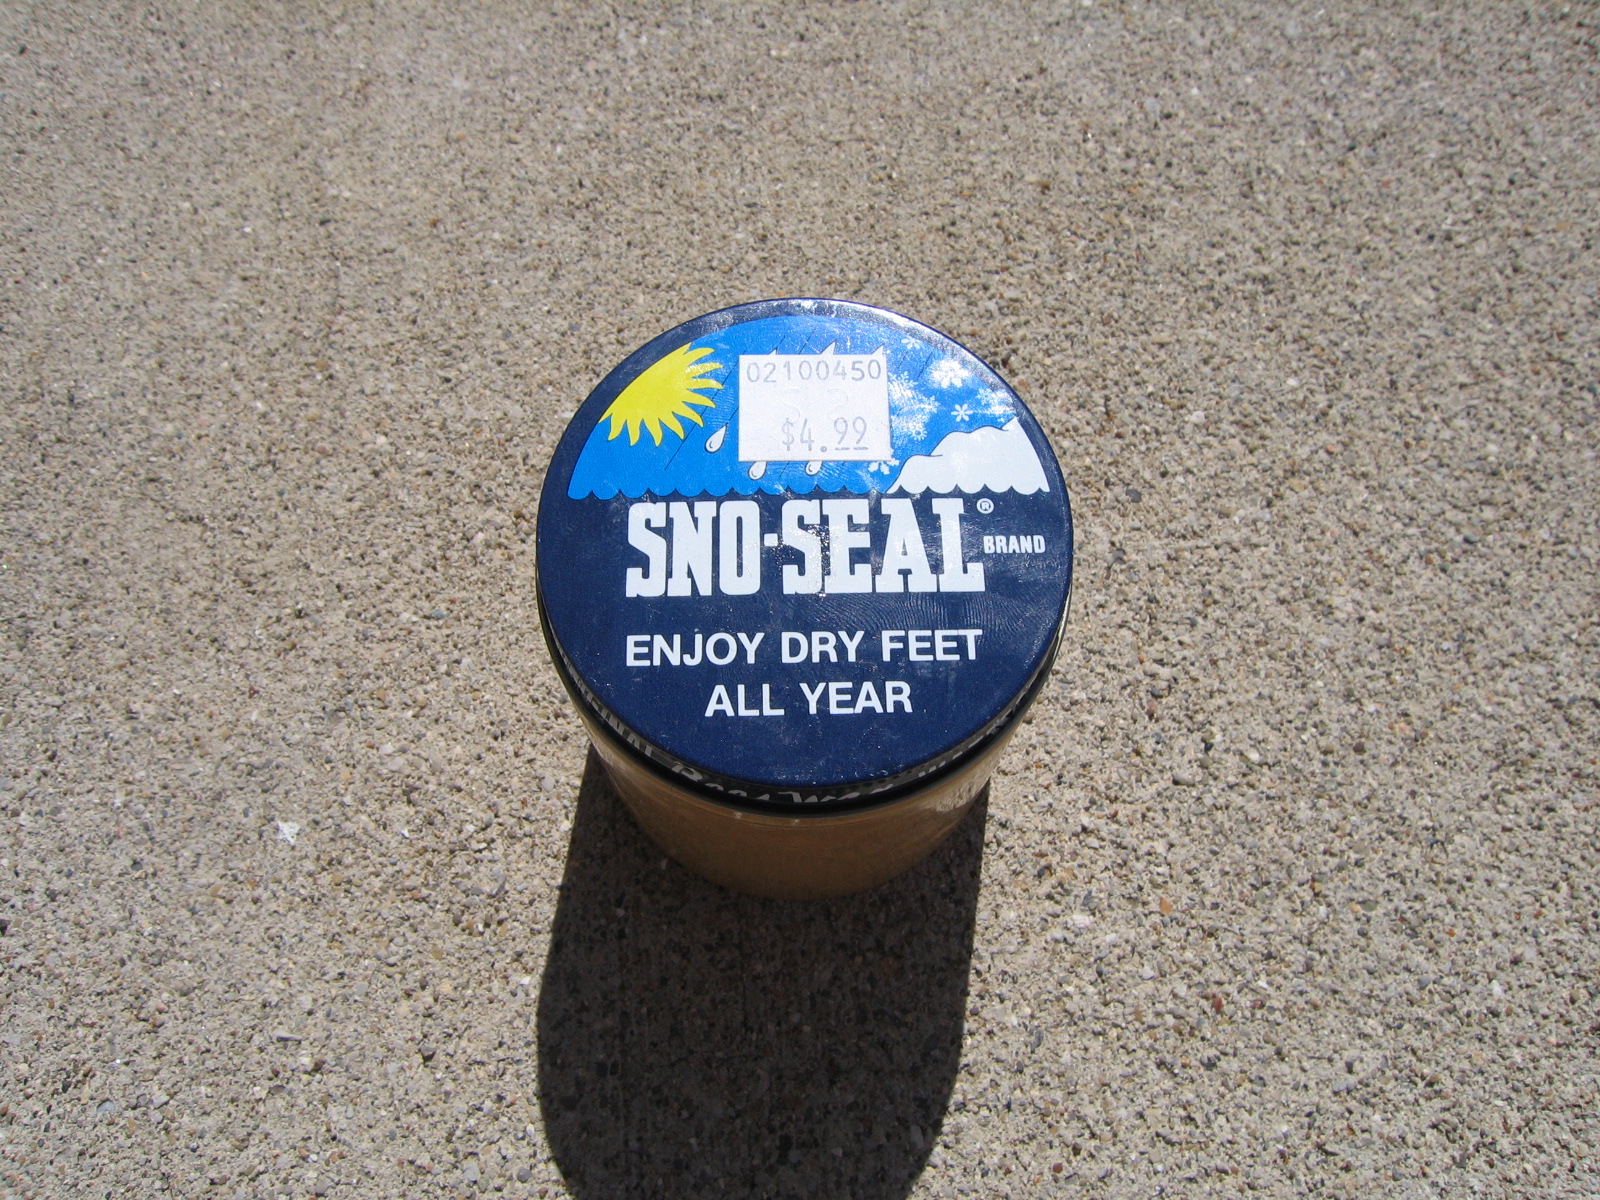
The product- Sno-Seal
I paid $4.99 for it at Arthurs Shoe Tree – in Bay Village, Ohio. I’ve seen it at Walmart ONCE. Never again after that. Basically, check your local sporting goods stores and shoe stores to see if they have it. It never hurts to pick up the phone and make some calls before driving around. If nobody locally has it, just do a quick Google search for it. Amazon lists it for sale for $4.55 a jar. A single Jar should be able to do at very least 4 pairs of boots with a couple touch up coats here and there.
http://www.atsko.com/snoseal.html is the direct link to ATSKO, the company that produces Sno-Seal. It’s worth looking at and reading, as it reinforces what I had to say about some of the other products. Sno-Seal is a bee’s wax based product with other agents that are good for the leather while waterproofing the boots.
Procedure-
Make sure your boots are clean and dry. Basically, this is something you should do to new boots, as soon as you get them, verifying that the boots fit, and aren’t pure shit. Once you dub the boots, I DOUBT any retailer would take them back.
The boots illustrated in this article are WWII Impressions Rough-out Service Shoes, as detailed in another article on this site. The boots are brand new and unworn.
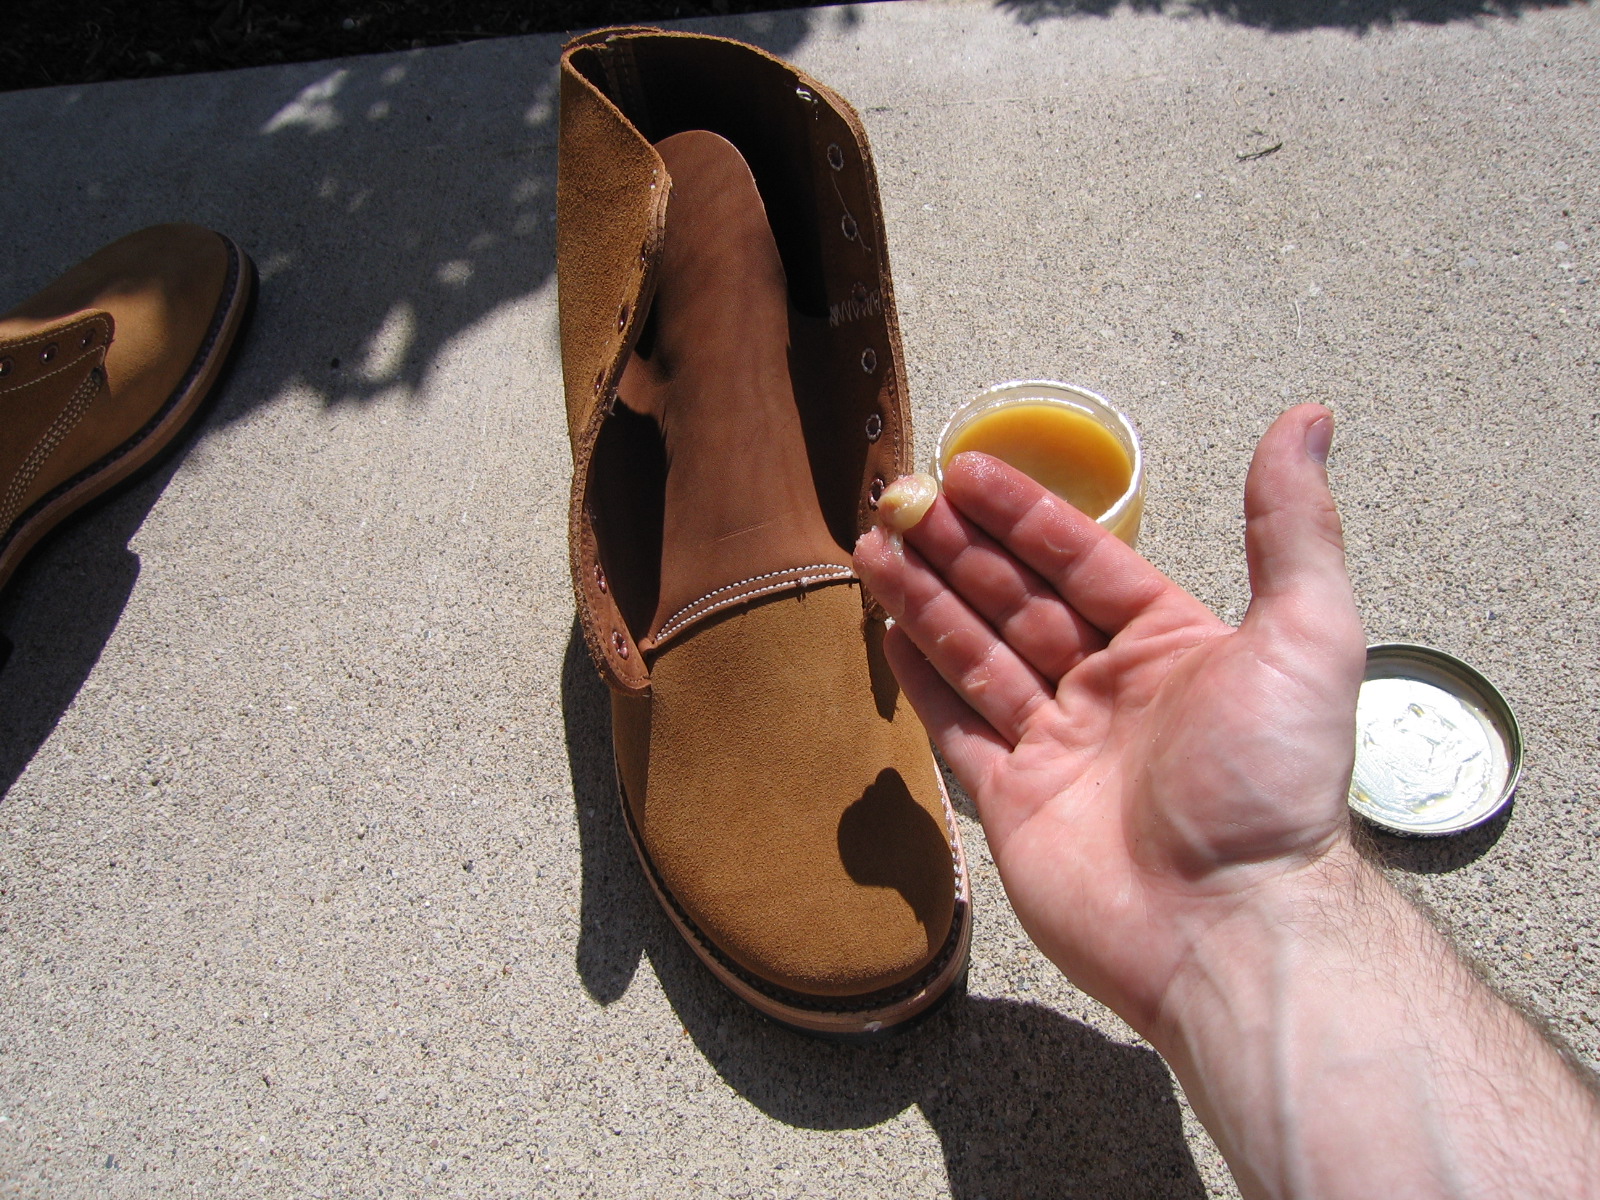
Sno-Seal, unlike other products is OK to get on your hands, take a few fingers worth of it, and just smear it on the boots.
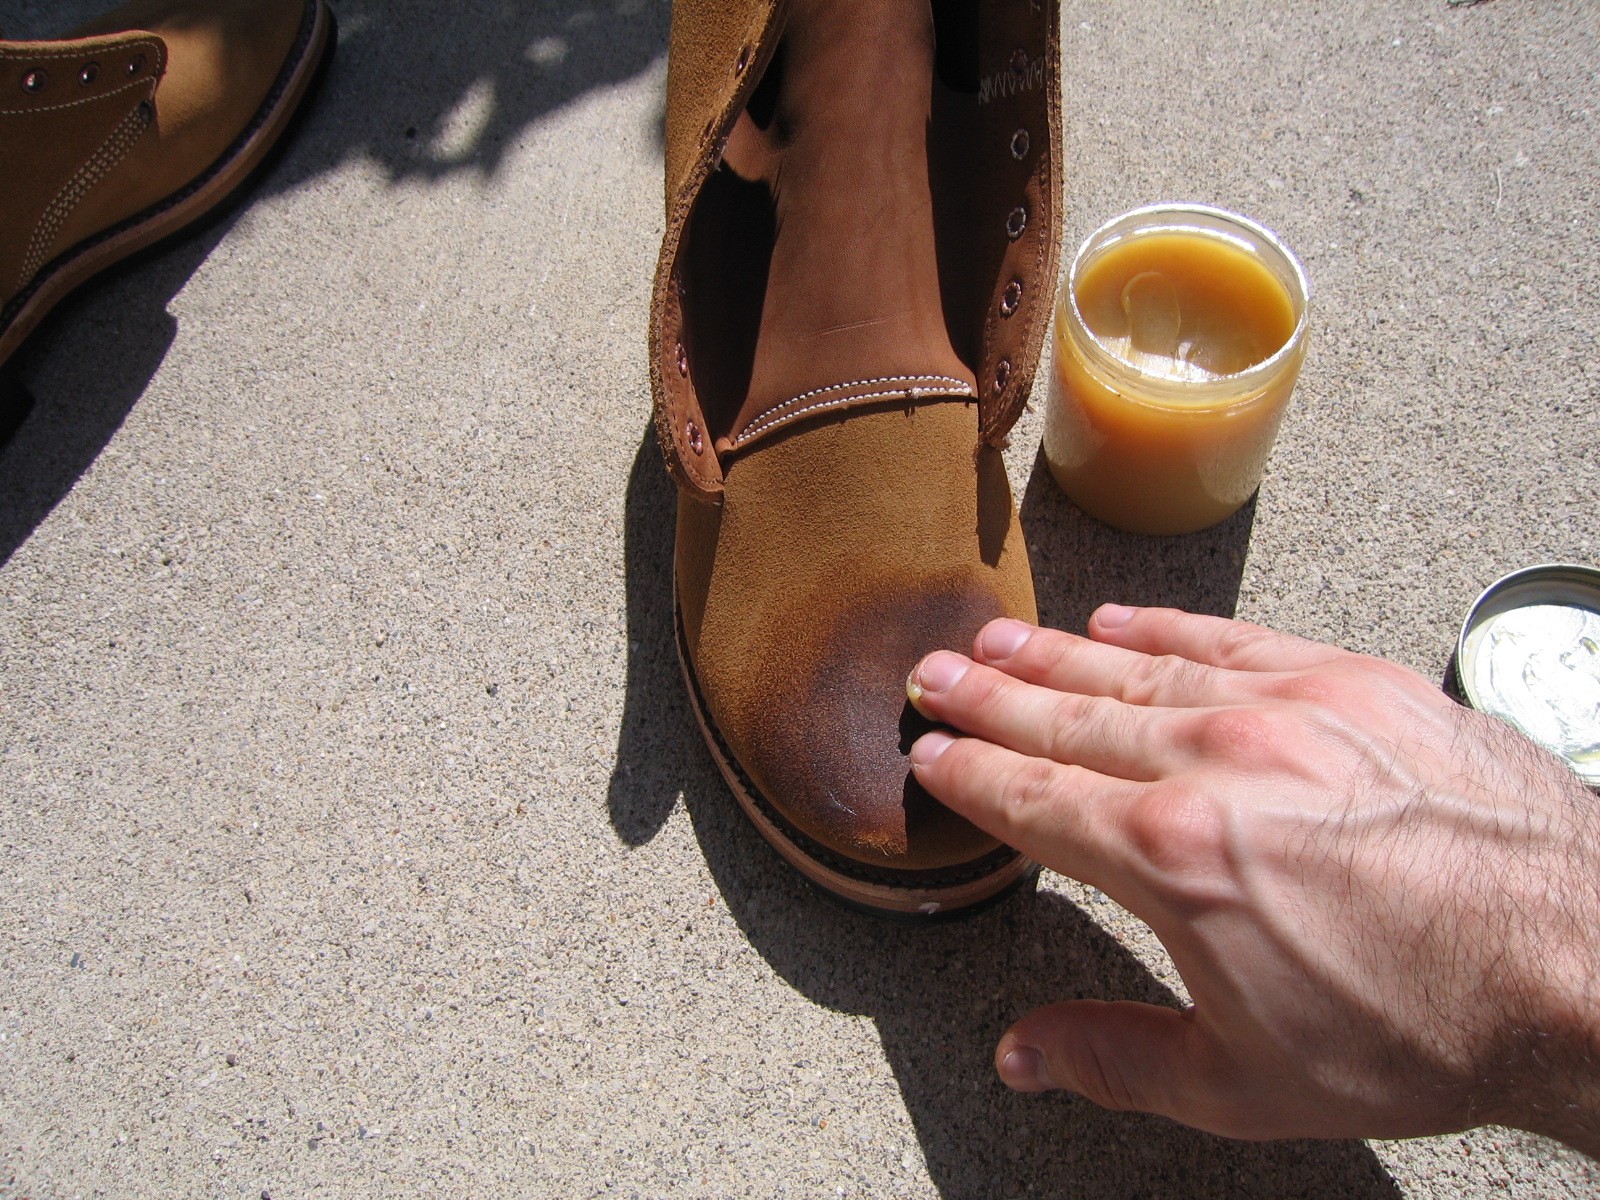
Work the Sno-Seal into the boots, with a smooth even coat. It should be obvious when there is too little or too much Sno-Seal on the boot, where there is too much, you should be able to work the coating around to other areas with your hands. Attempt to make the coat fairly even; it doesn’t need to be 100% perfect. See how in the center it’s a slightly shiny, and dull or uneven towards the edges? The center has enough coating, attempt to provide enough coverage so that the rest of the boot looks about the same. Apply the Sno-Seal to the entire outside of the boot, and the tongue. Do not apply Sno-Seal to the inside of the boot.
Pay special attention and be a little bit heavy with the Sno-Seal on and around all the seams on the boots. Work it into the seams and stitching, if there’s one place you want to make sure is waterproof, it’s the seams. Additionally, the place to use the toothbrush is around the base of the boot, where the upper is stitched to the sole. It can be difficult to get the Sno-Seal into that crevice, so that’s where the toothbrush is handiest.
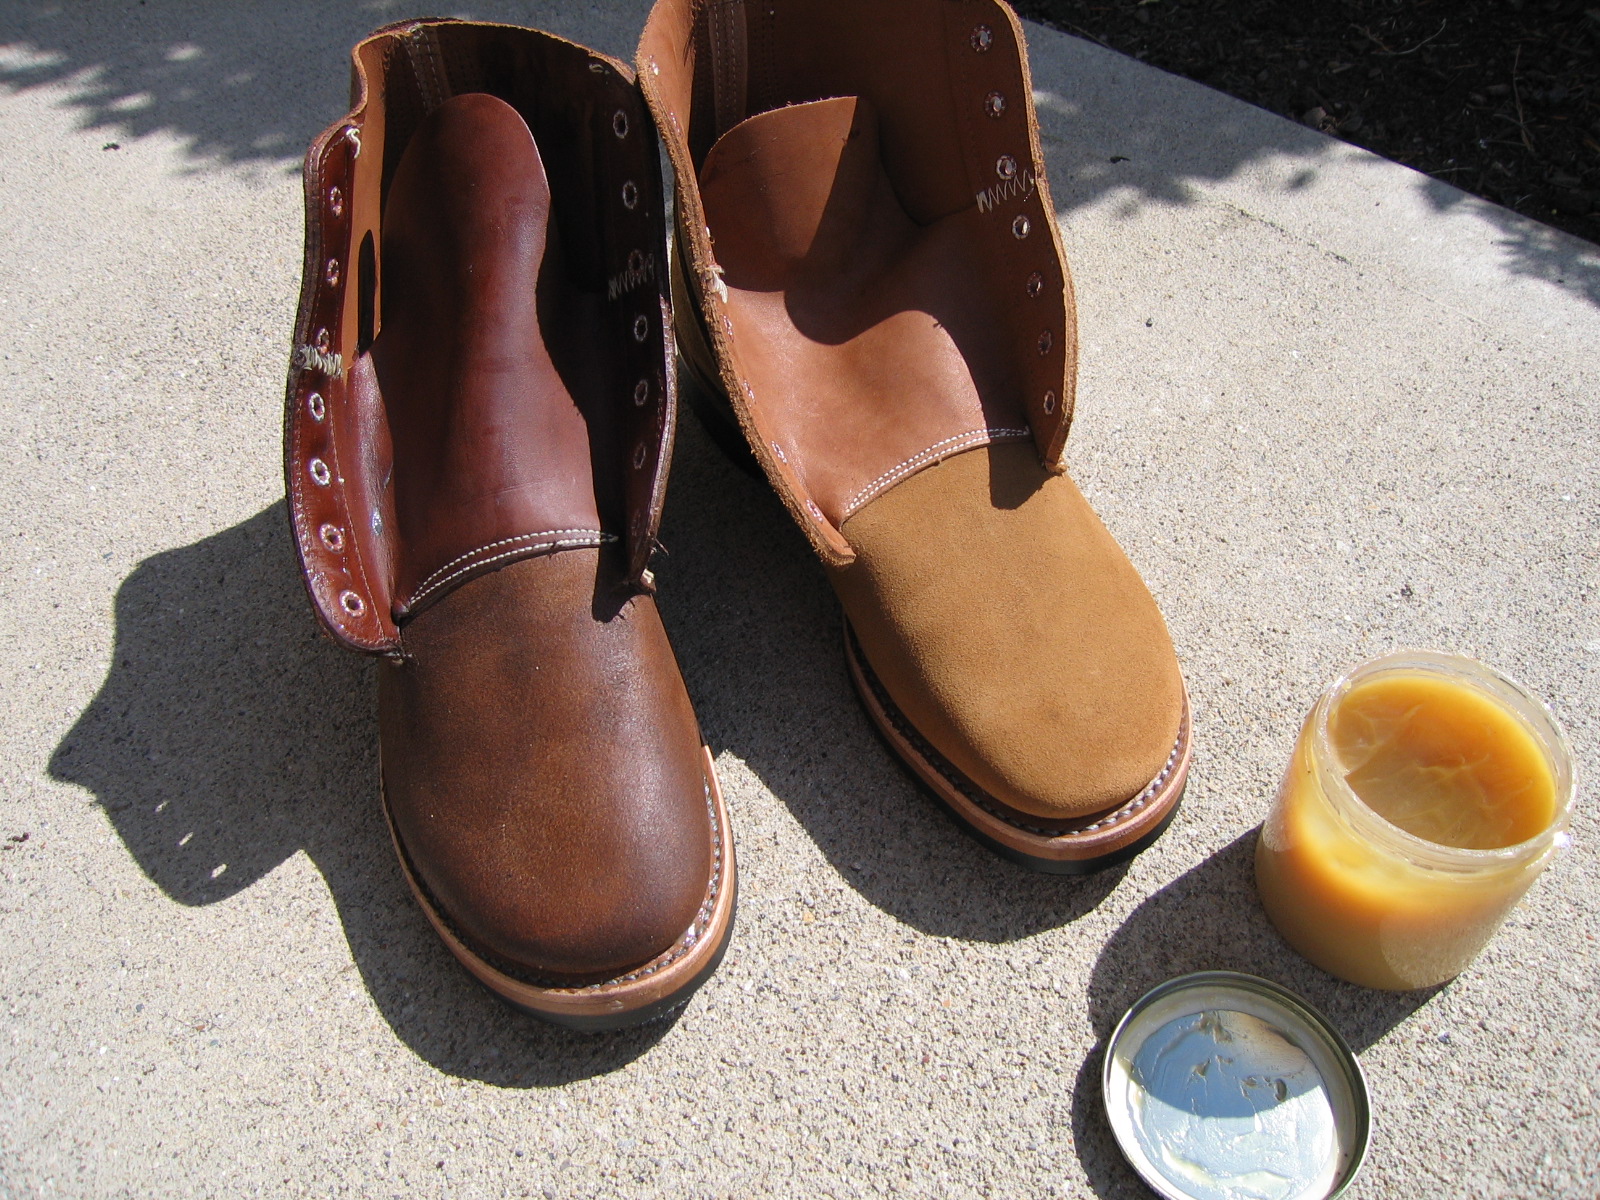
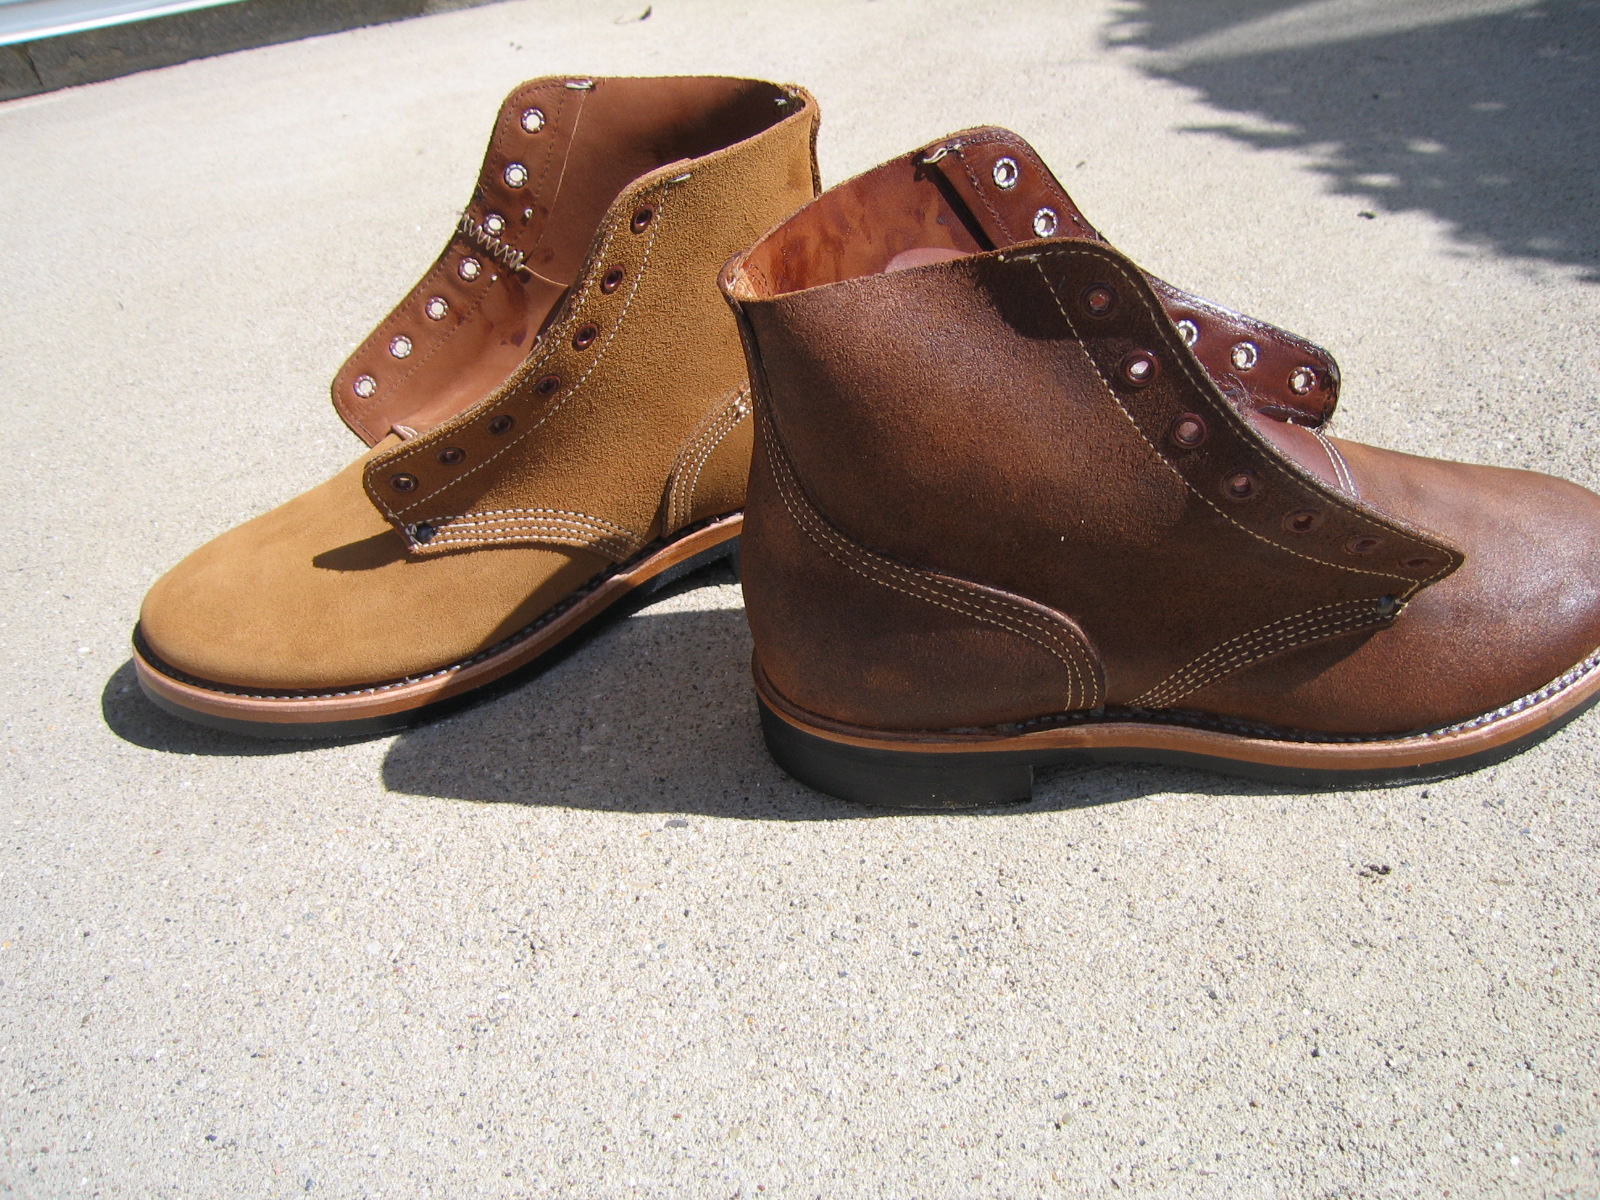
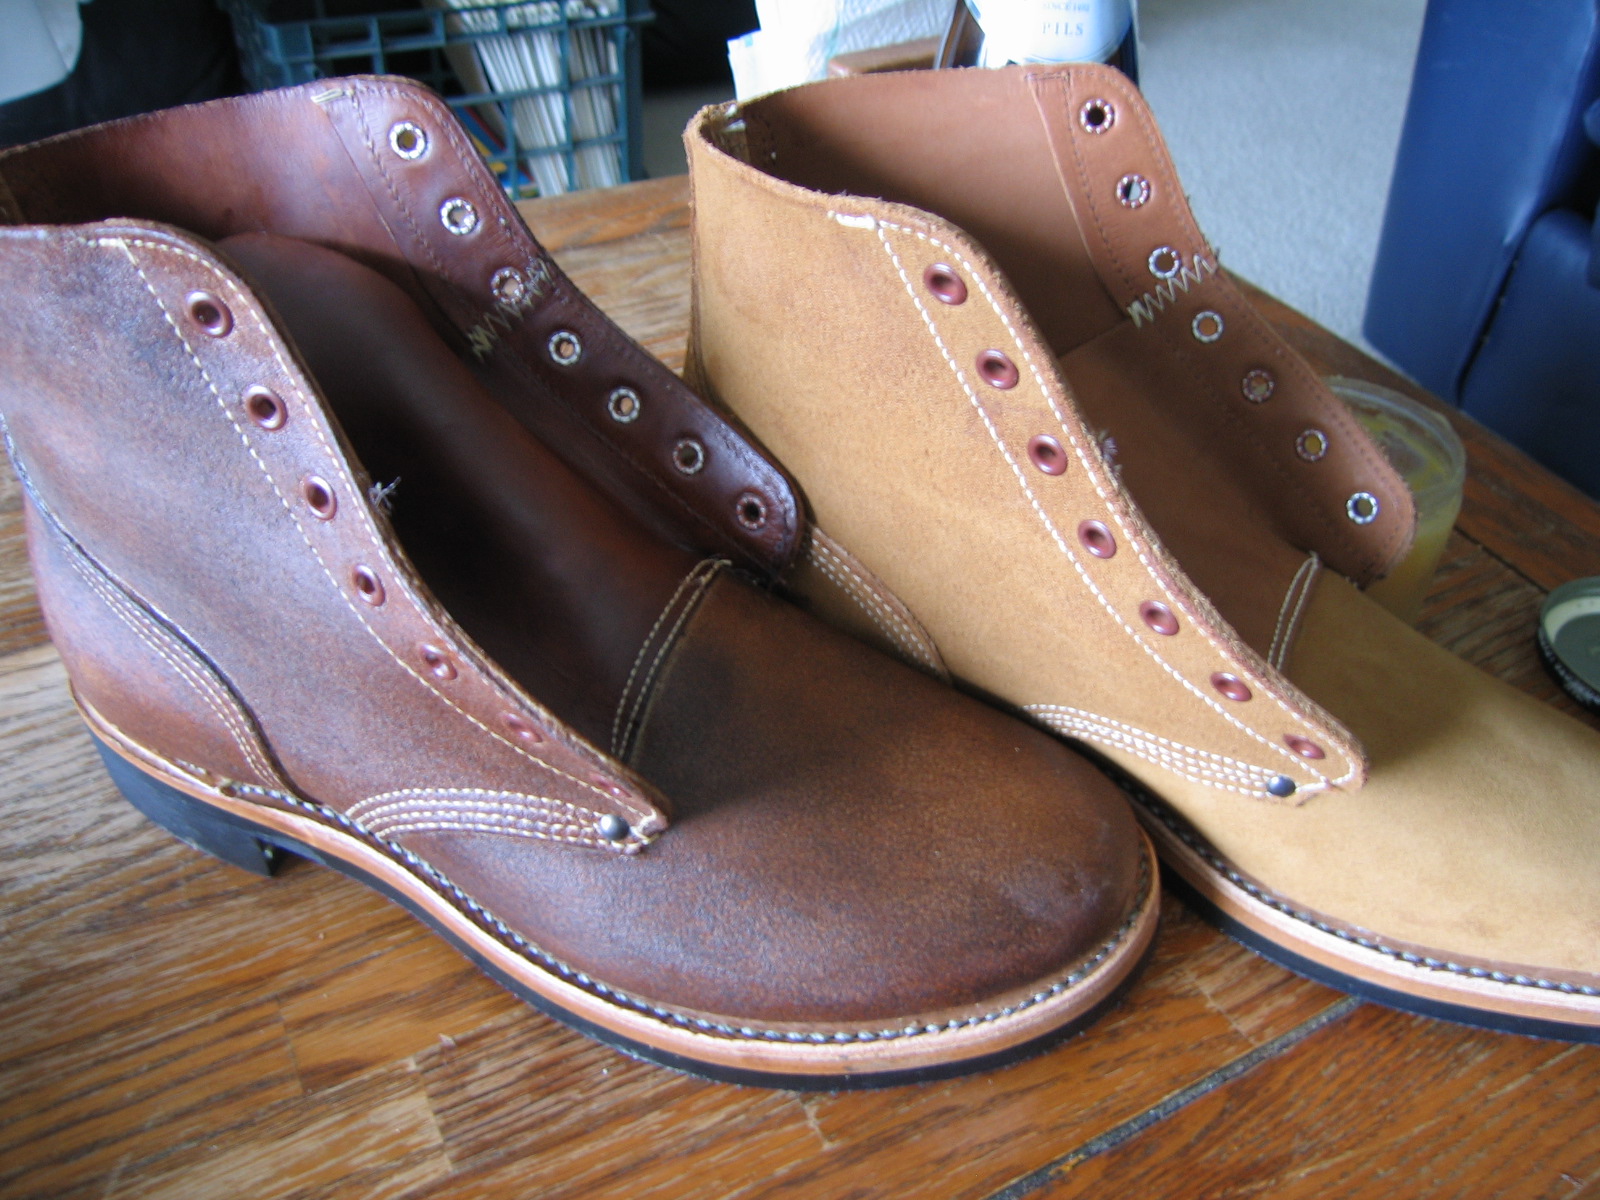
Here is a couple of before and after photos, showing the difference in color between the brand new boot and after 1 coat of Sno-Seal. It’s already looking a lot more like original boots do, only after 1 coat of Sno-Seal, and not even being absorbed into the leather fully.
Once you have rubbed the Sno-Seal into the boots and have an even coating, use the hair dryer on high heat, or heat gun on medium heat on the boots, working in small sections and heating the boots until you see the Sno-Seal soak into the leather. Rub the Sno-Seal into the leather as you do this. It should be apparent when the Sno-Seal has soaked into the boots, as the boots no longer look as shiny, and the surface no longer feels as greasy. The boots will darken slightly after you have used the heat on them and allowed the Sno-Seal to soak into the boots.
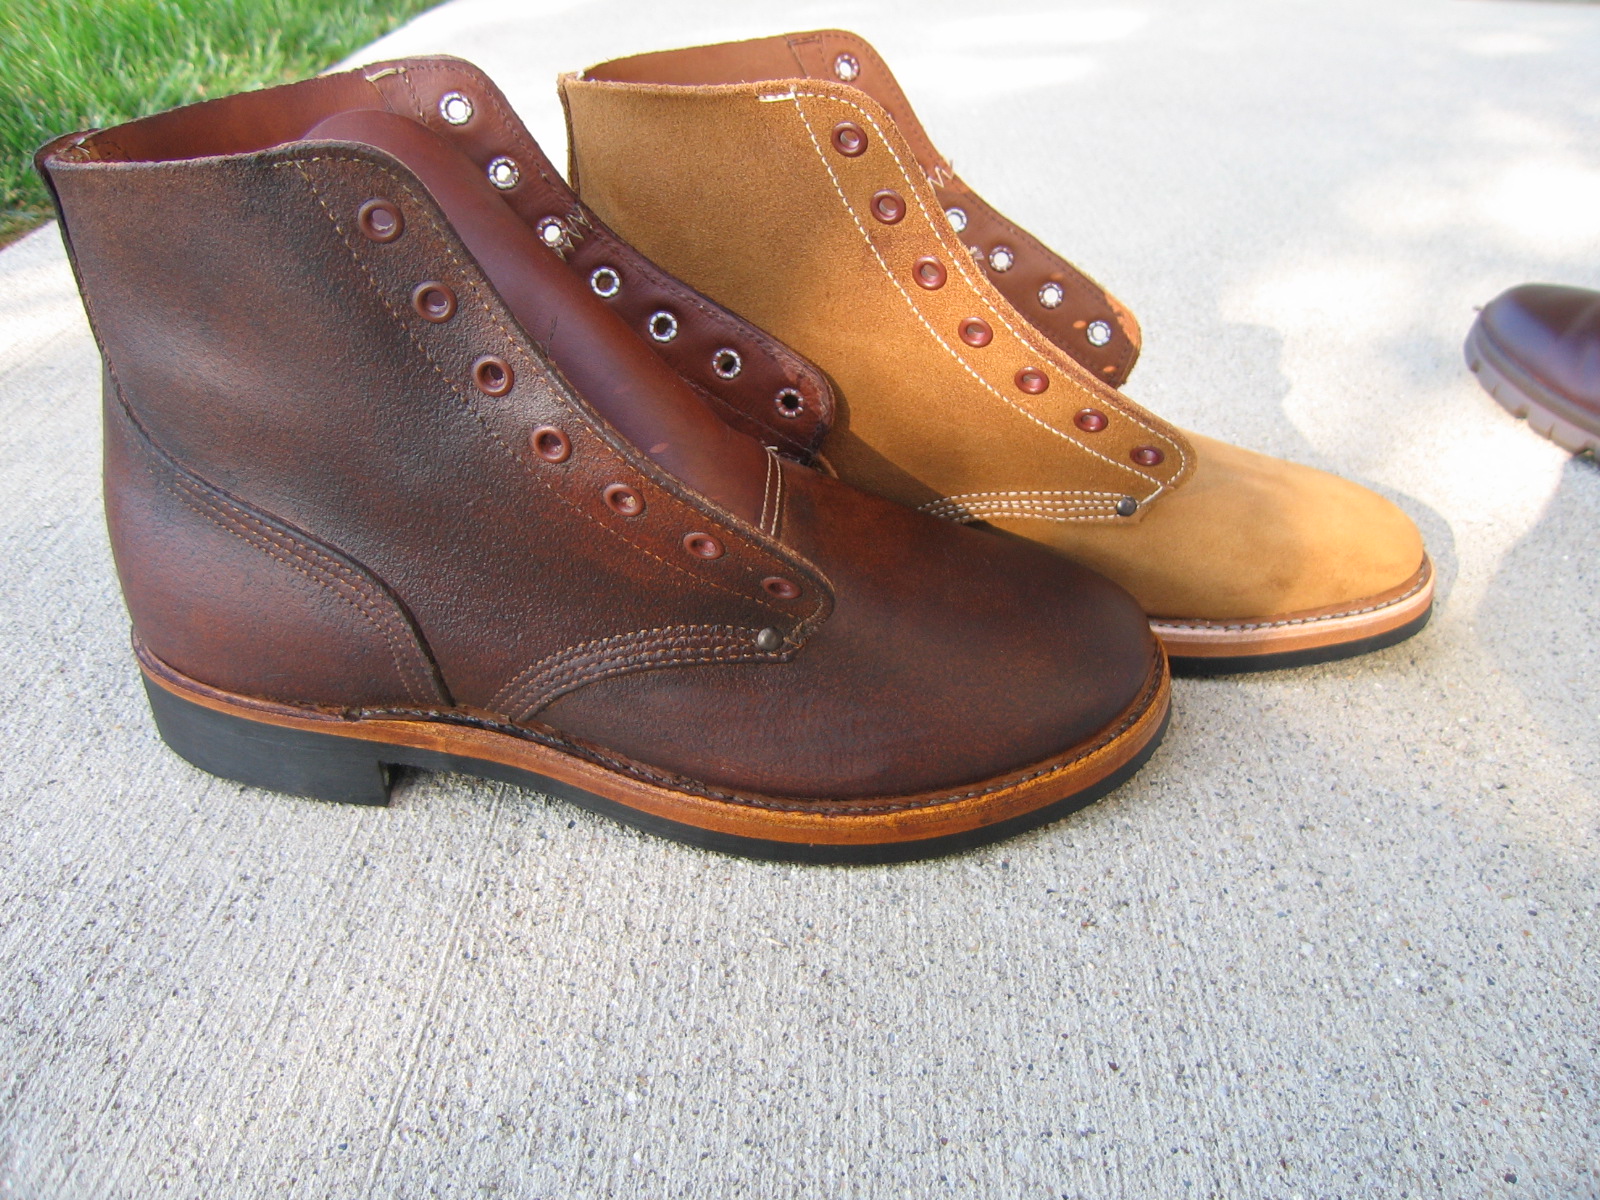
Apply a 2nd coating of Sno-Seal, just like the first and repeat all steps. Once you have a 2nd coat of Sno-Seal on the boots (they should be adequately waterproofed by now), its time to polish the boots. I polish the boots not to get a shine on them, but more for the purpose of more color and an additional protective coating. Here’s what the before and after 2 coats of Sno-seal and a single coat of polish look like.
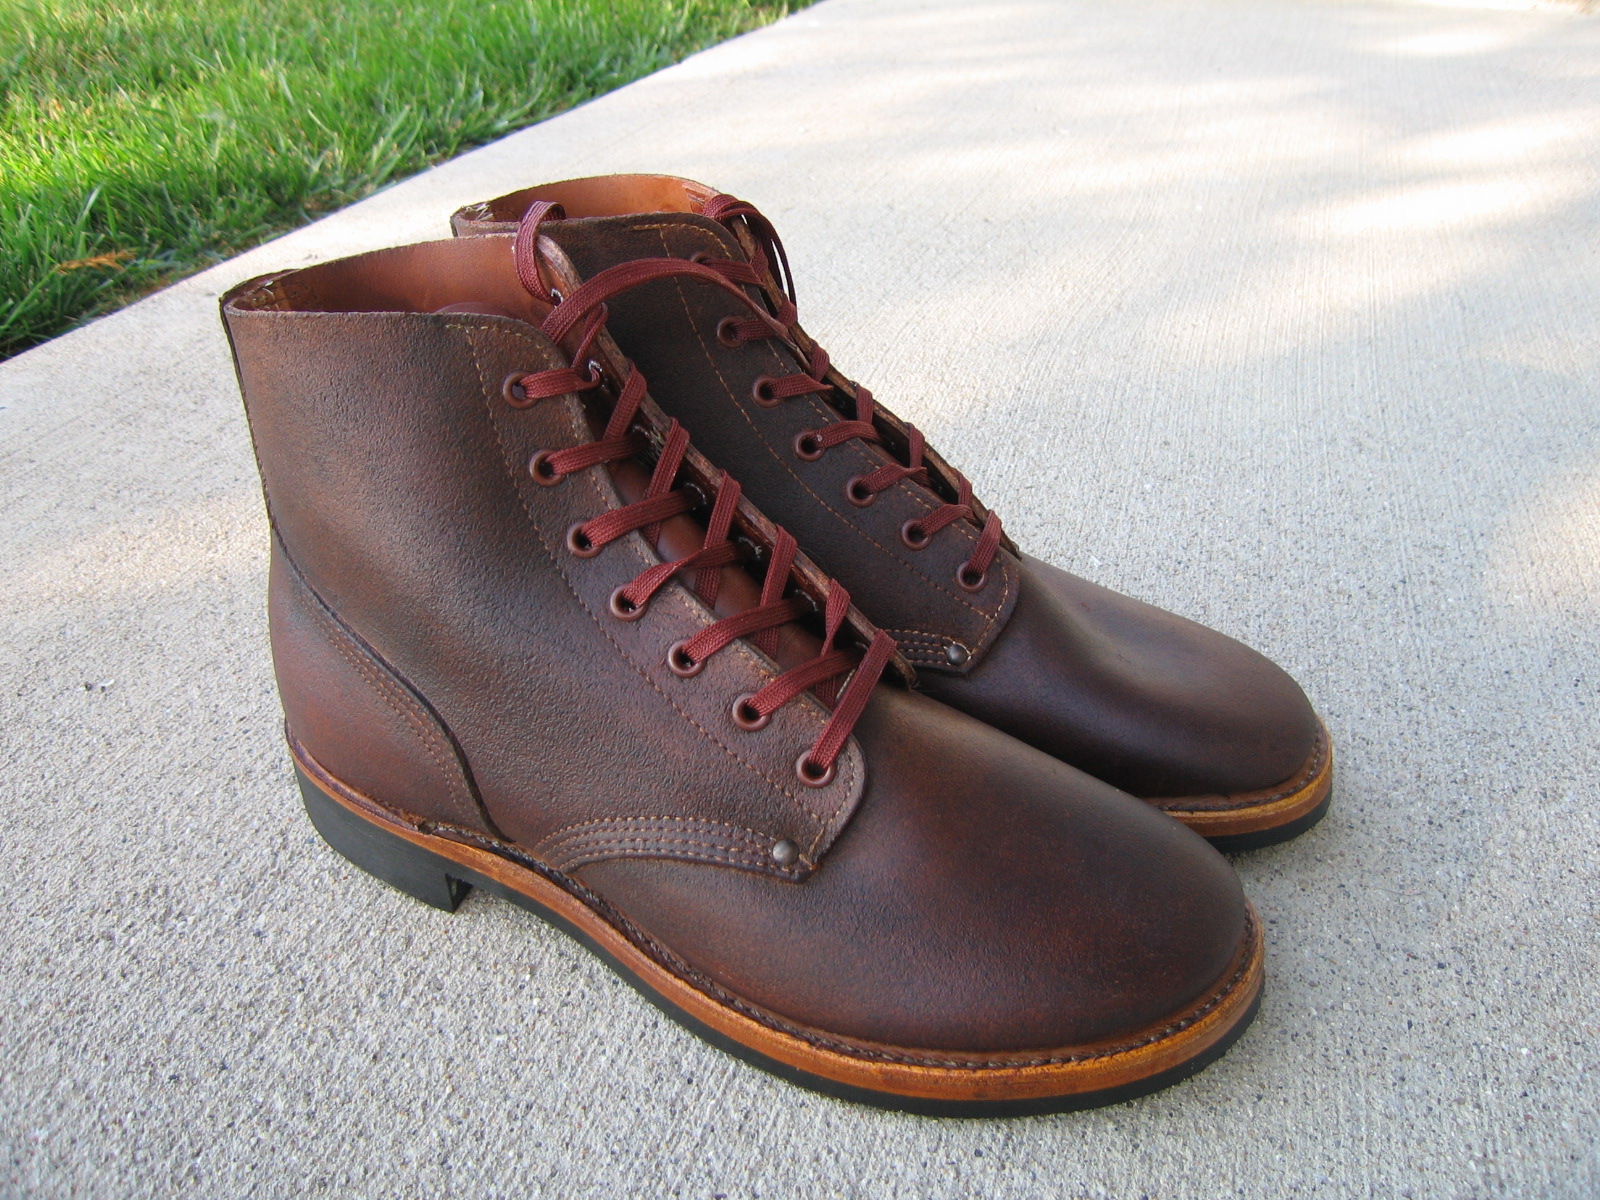
Here’s the boots completed, both boots with 2 coats of Sno-Seal, a coat of polish, and a pair of original red nylon laces.
Maintenance:
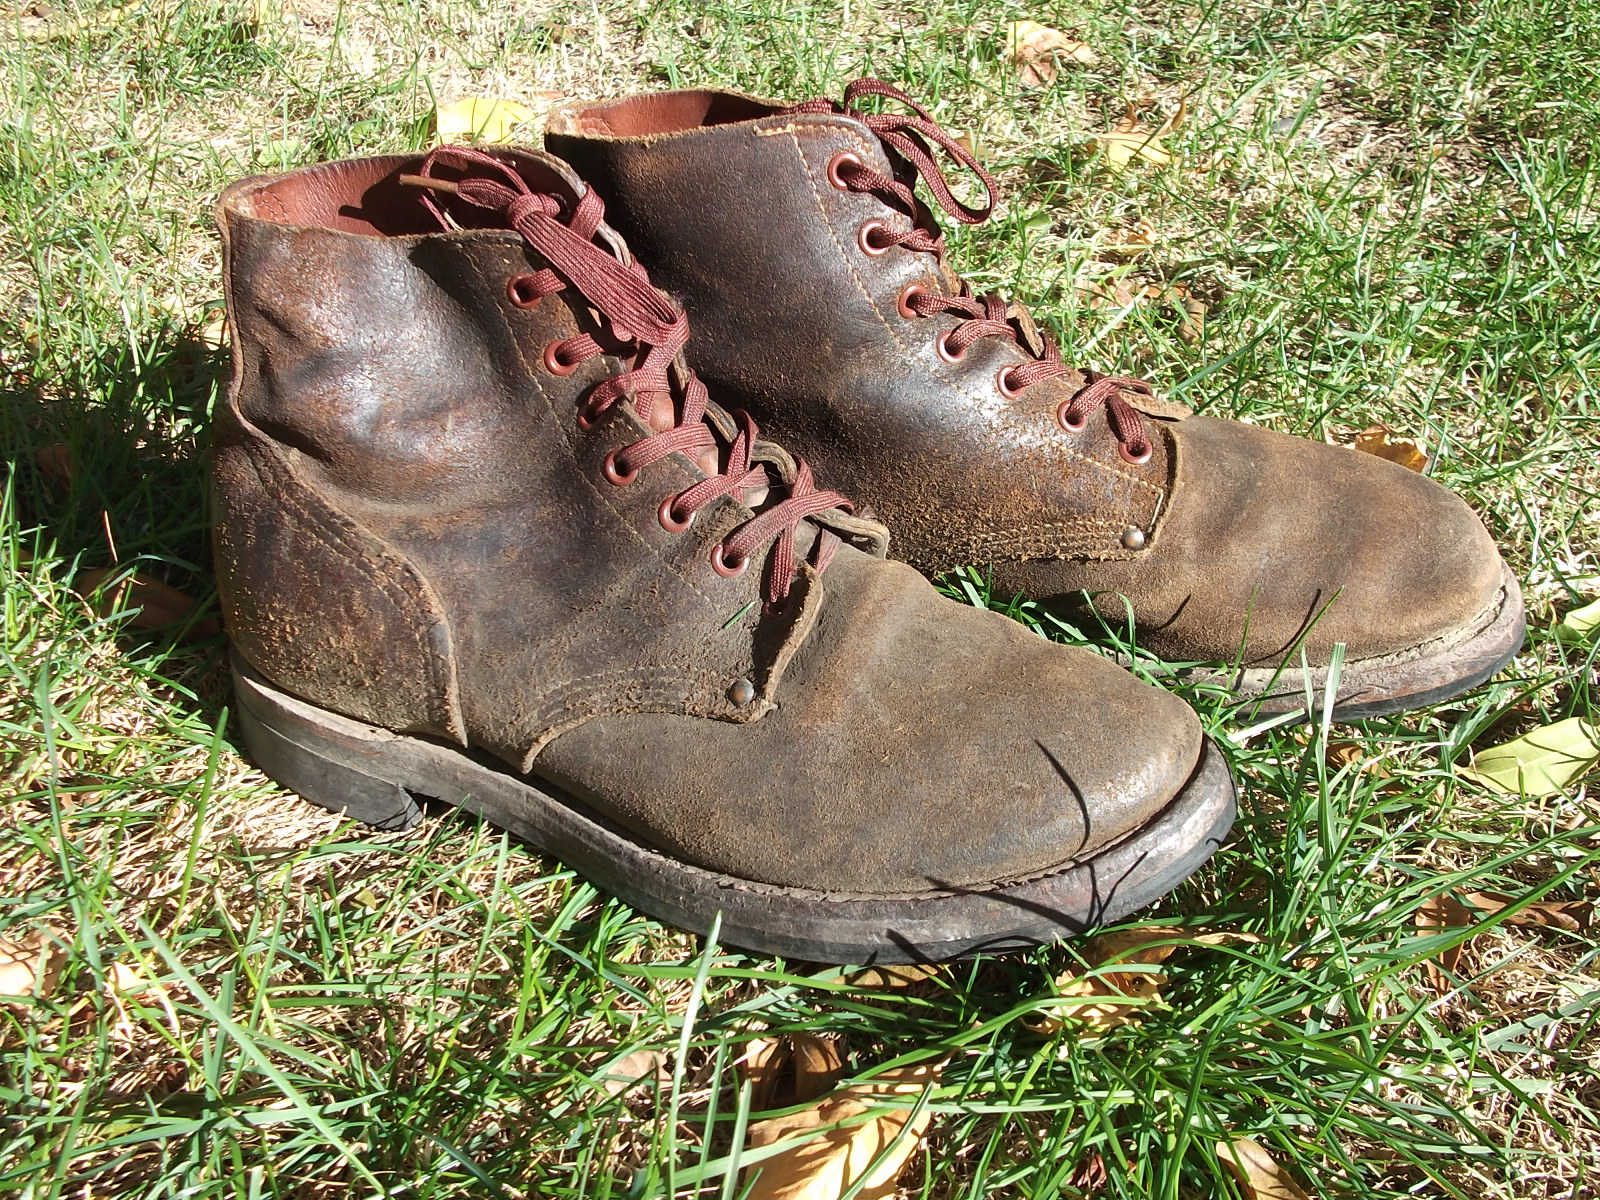
Once a year or so, I usually clean the boots and apply another coat of Sno-Seal just to maintain the waterproofing. I pay special atttention to the seams mainly, but just a quick light coat to the entire boot. The rest of the time, if I do anything at all to the boots, its just a quick coat of polish. 95% of the time, nothing gets done to the boots, theyre dusty and dirty, and look like combat boots.Here's what the above boots look like after a few years of use. They're just about ready for another touchup coat of snoseal and some polish.
What did the GIs think about boot dubbing? See the following article also written by Chris Guska.
Research, Original - Boot Dubbing in the ETO - GI Survey