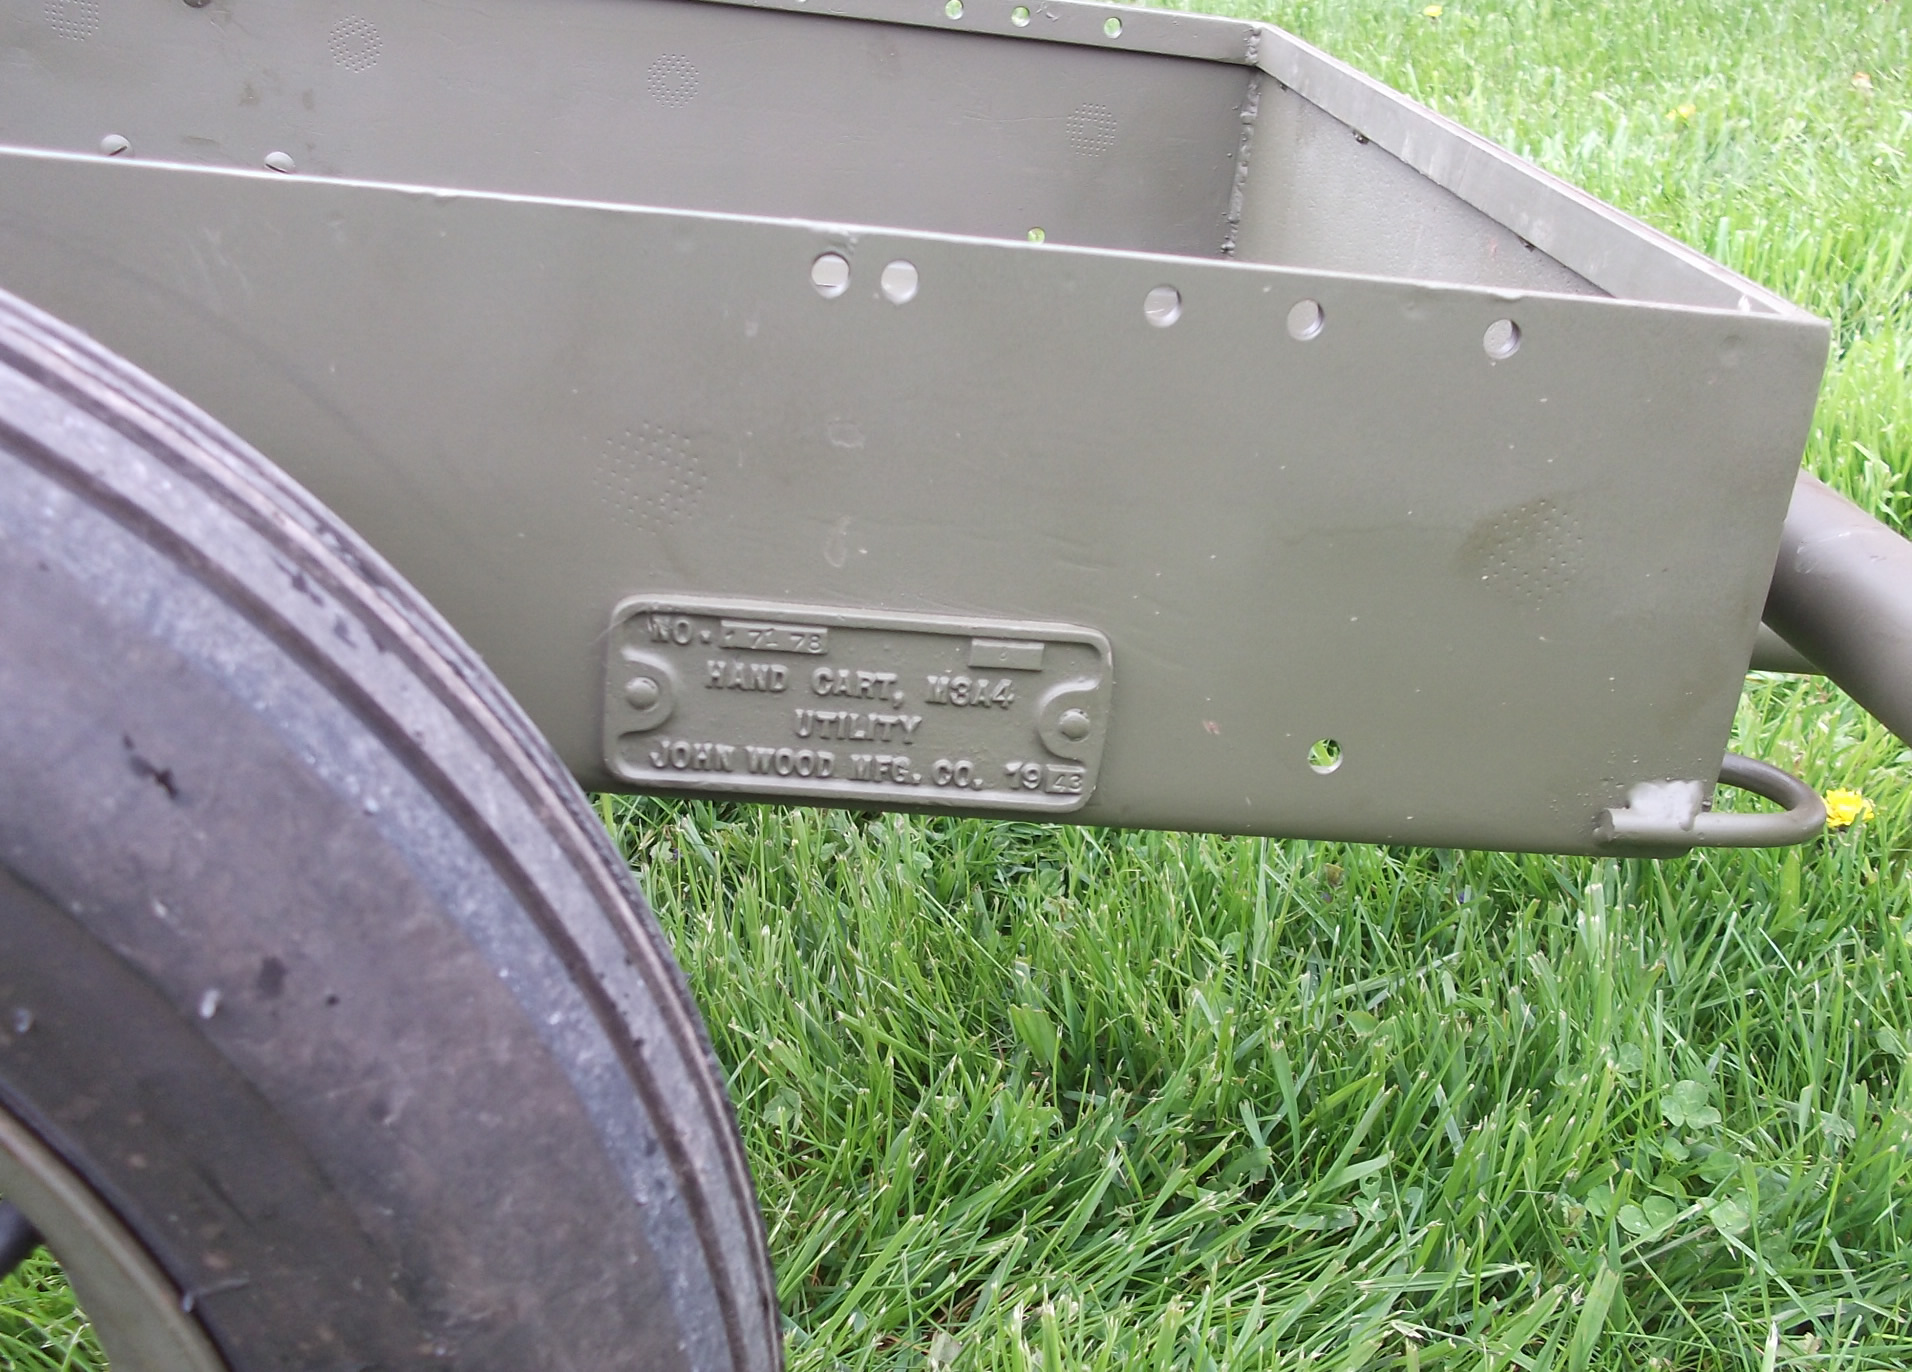
M3A4 Handcart Restoration Log - Part 4
Wrapped Up.Date Written: 5/2/2011
Author: Chris Guska
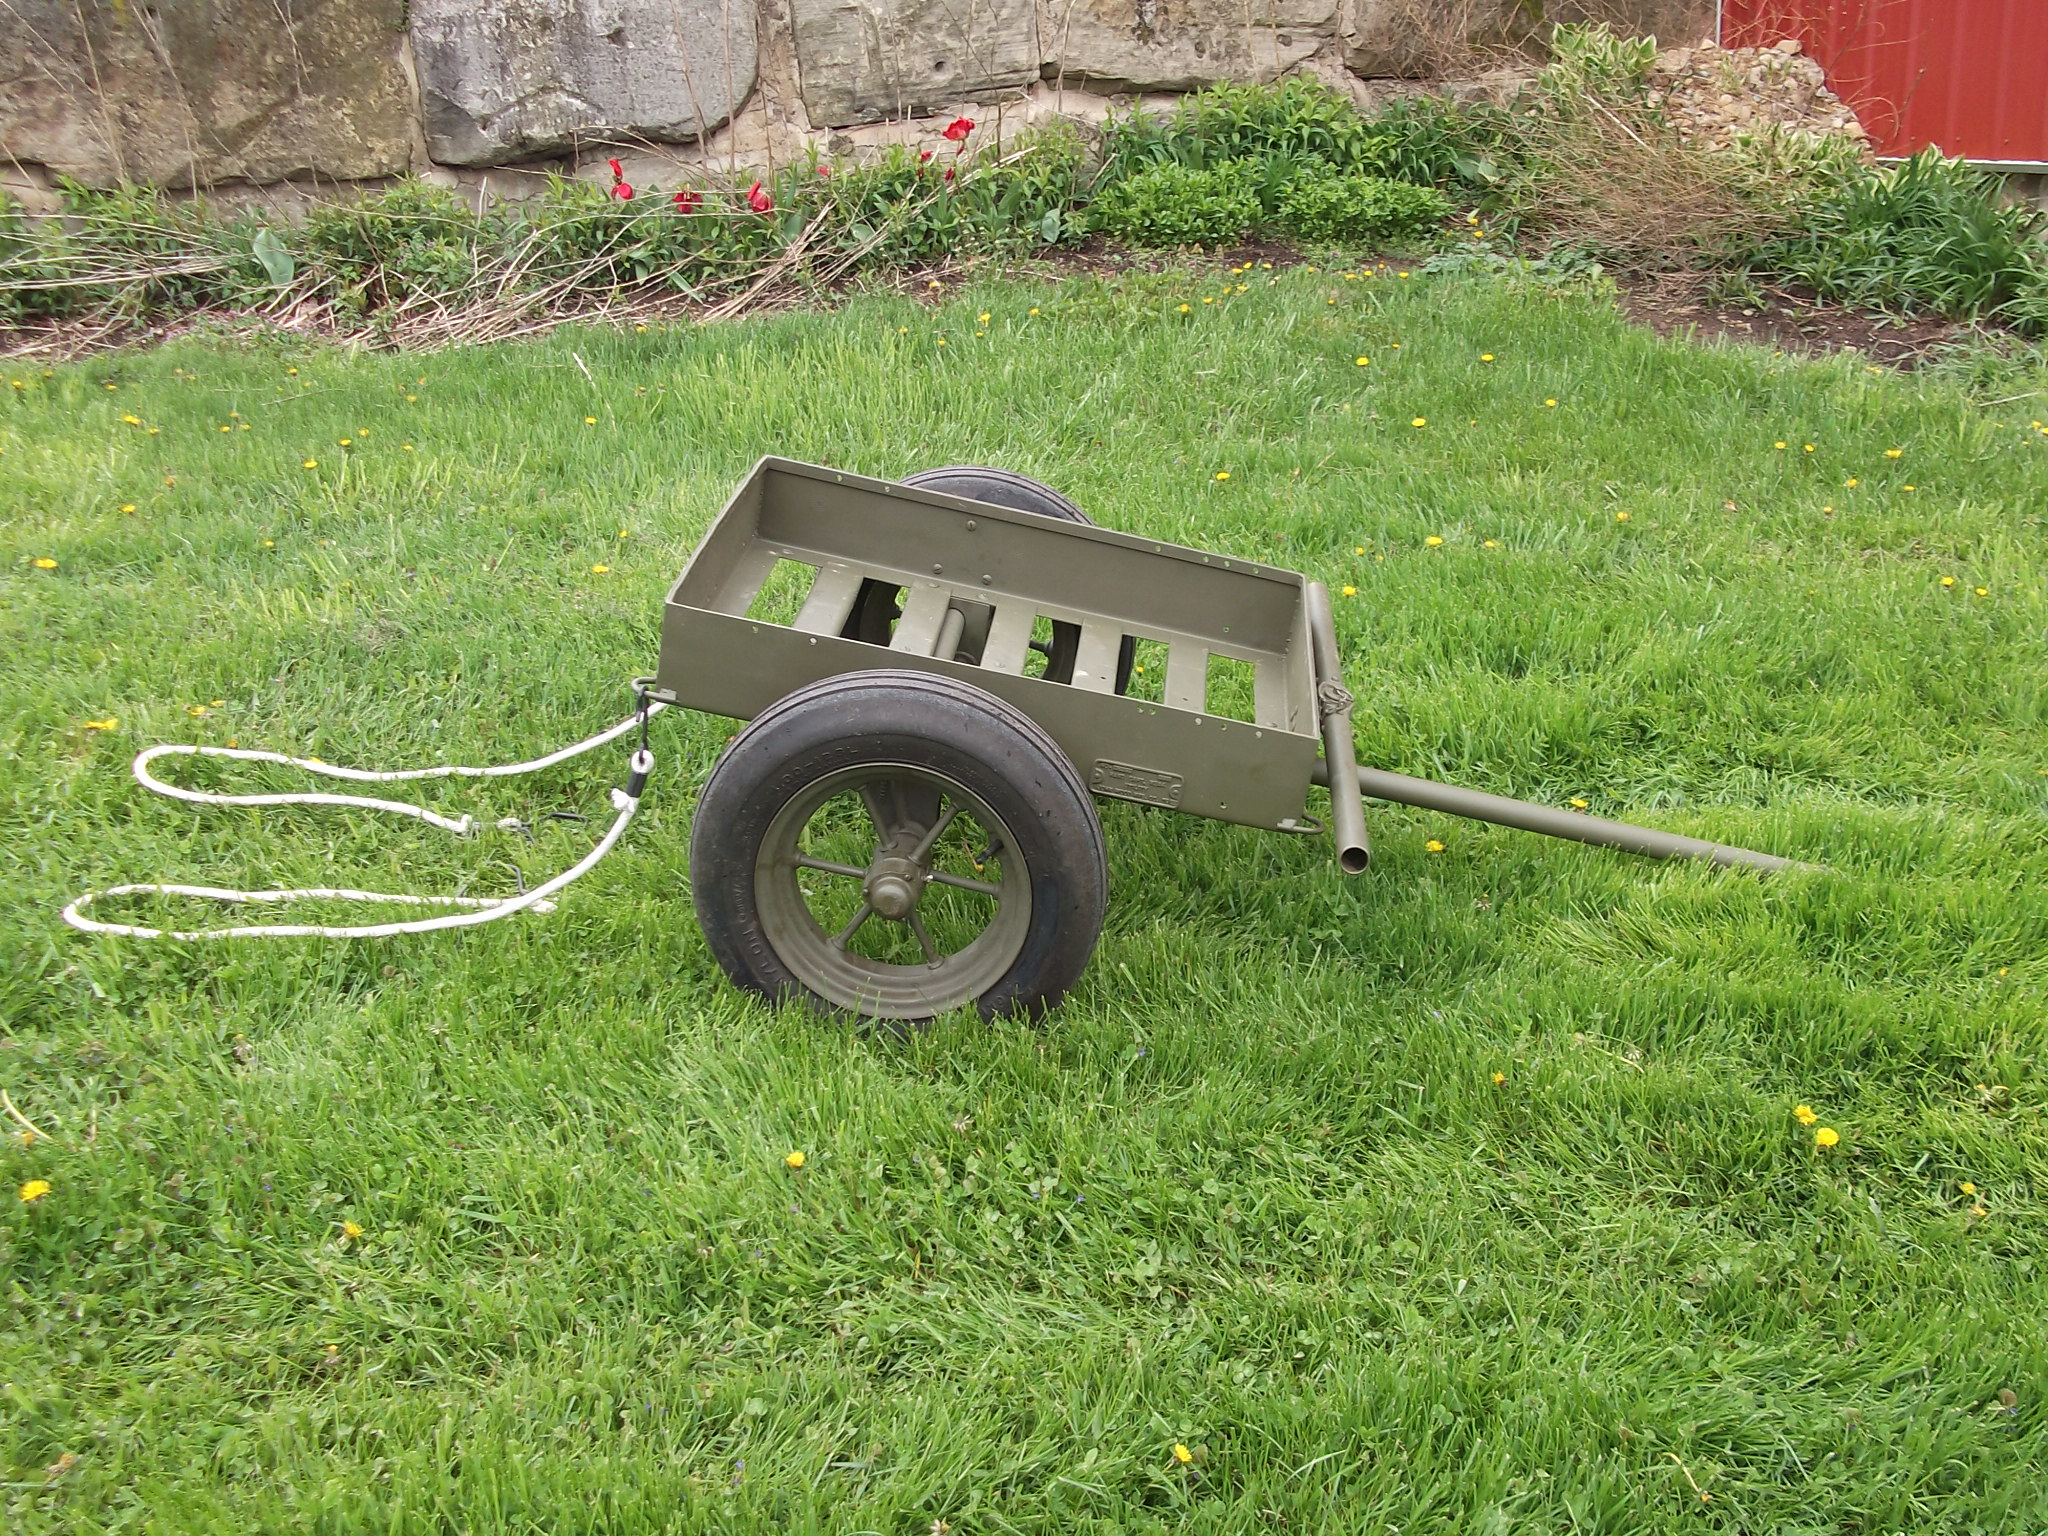
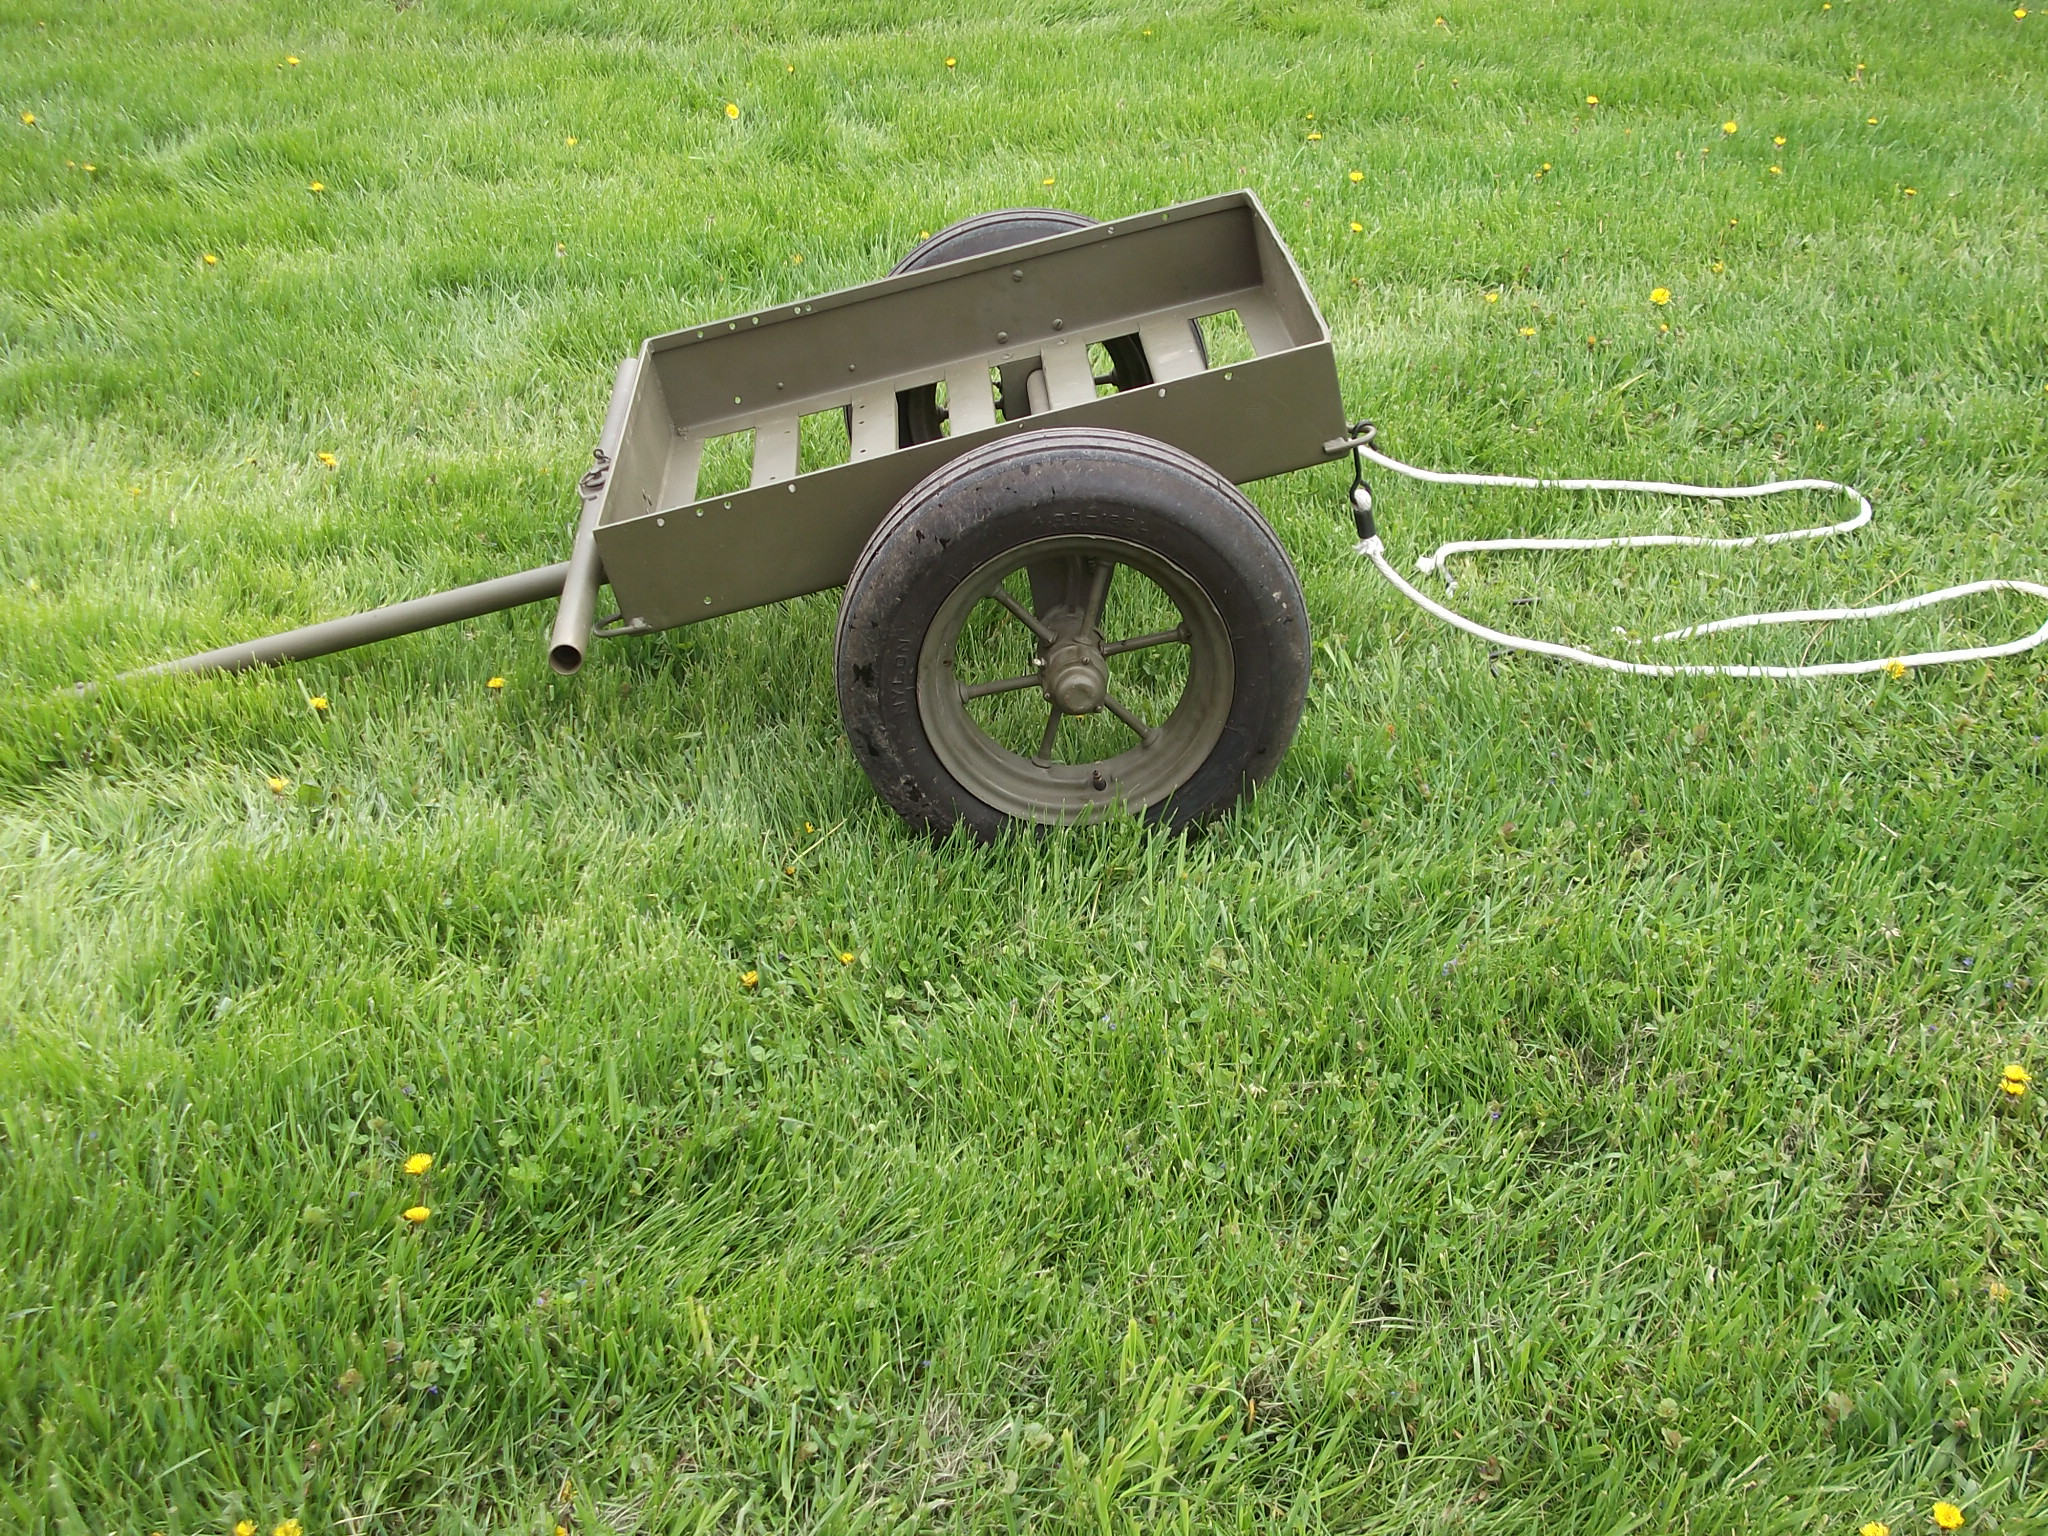
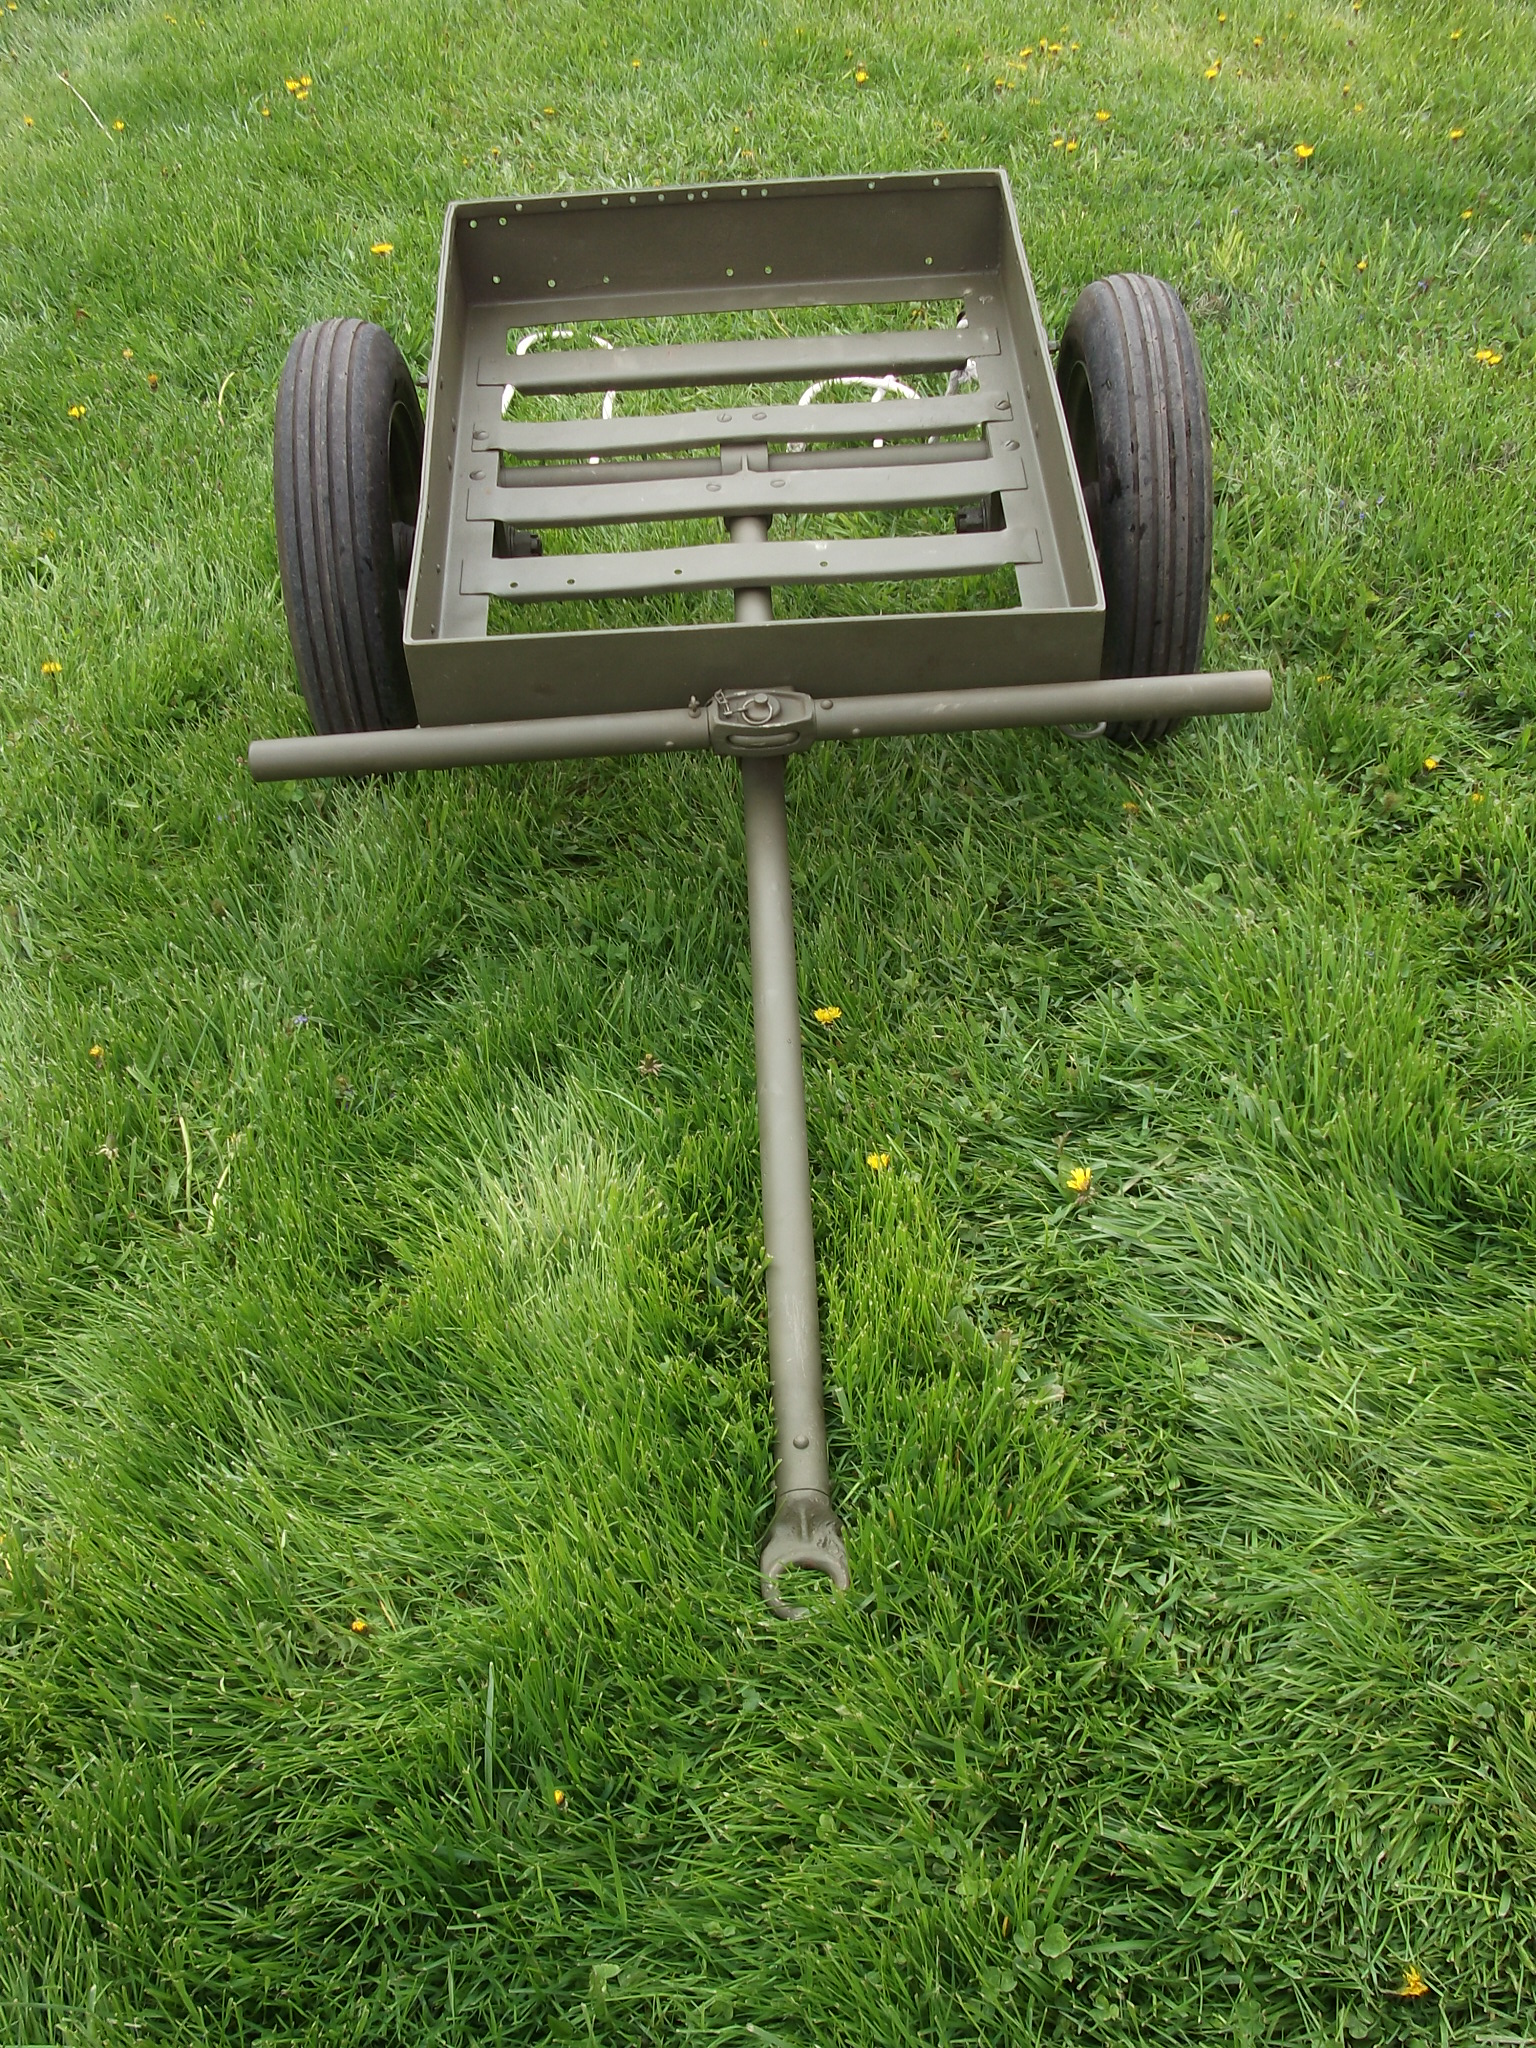
Over three years later, my handcart is finally done and has seen its first event. Its not a "perfect" restoration, nor is it especially pretty. Its missing a few details which I hope to tackle when I feel I can get them totally right. In the mean time, its "done enough" to get out to events and start using it.
Without further ado...
Things I did that I reccomend:
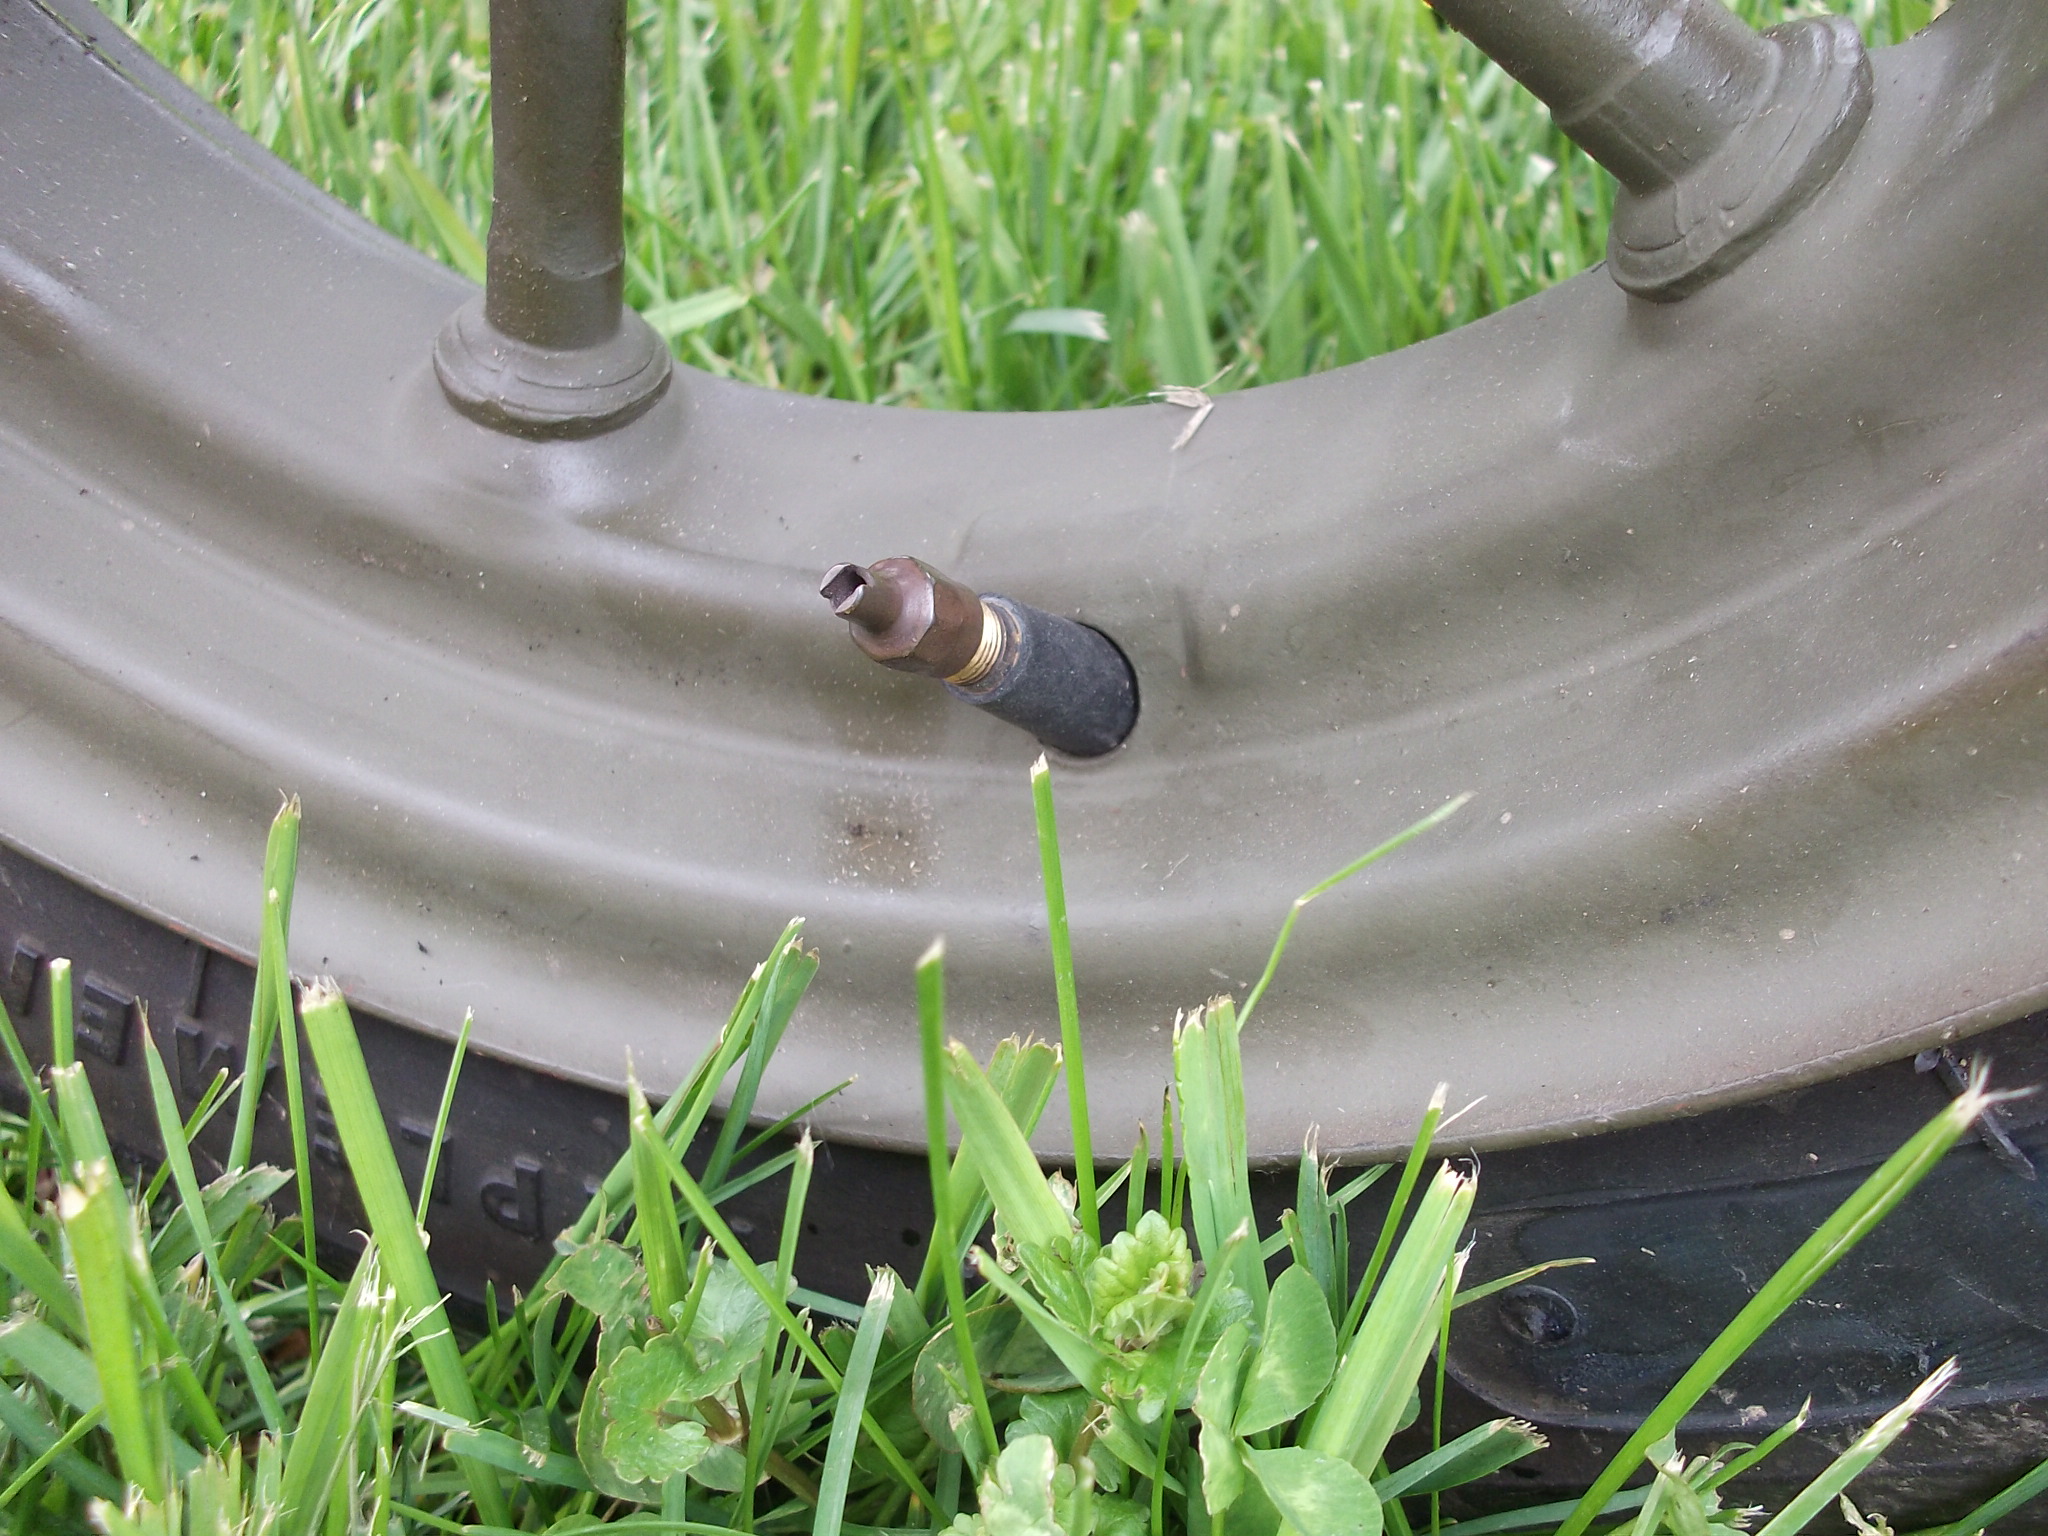
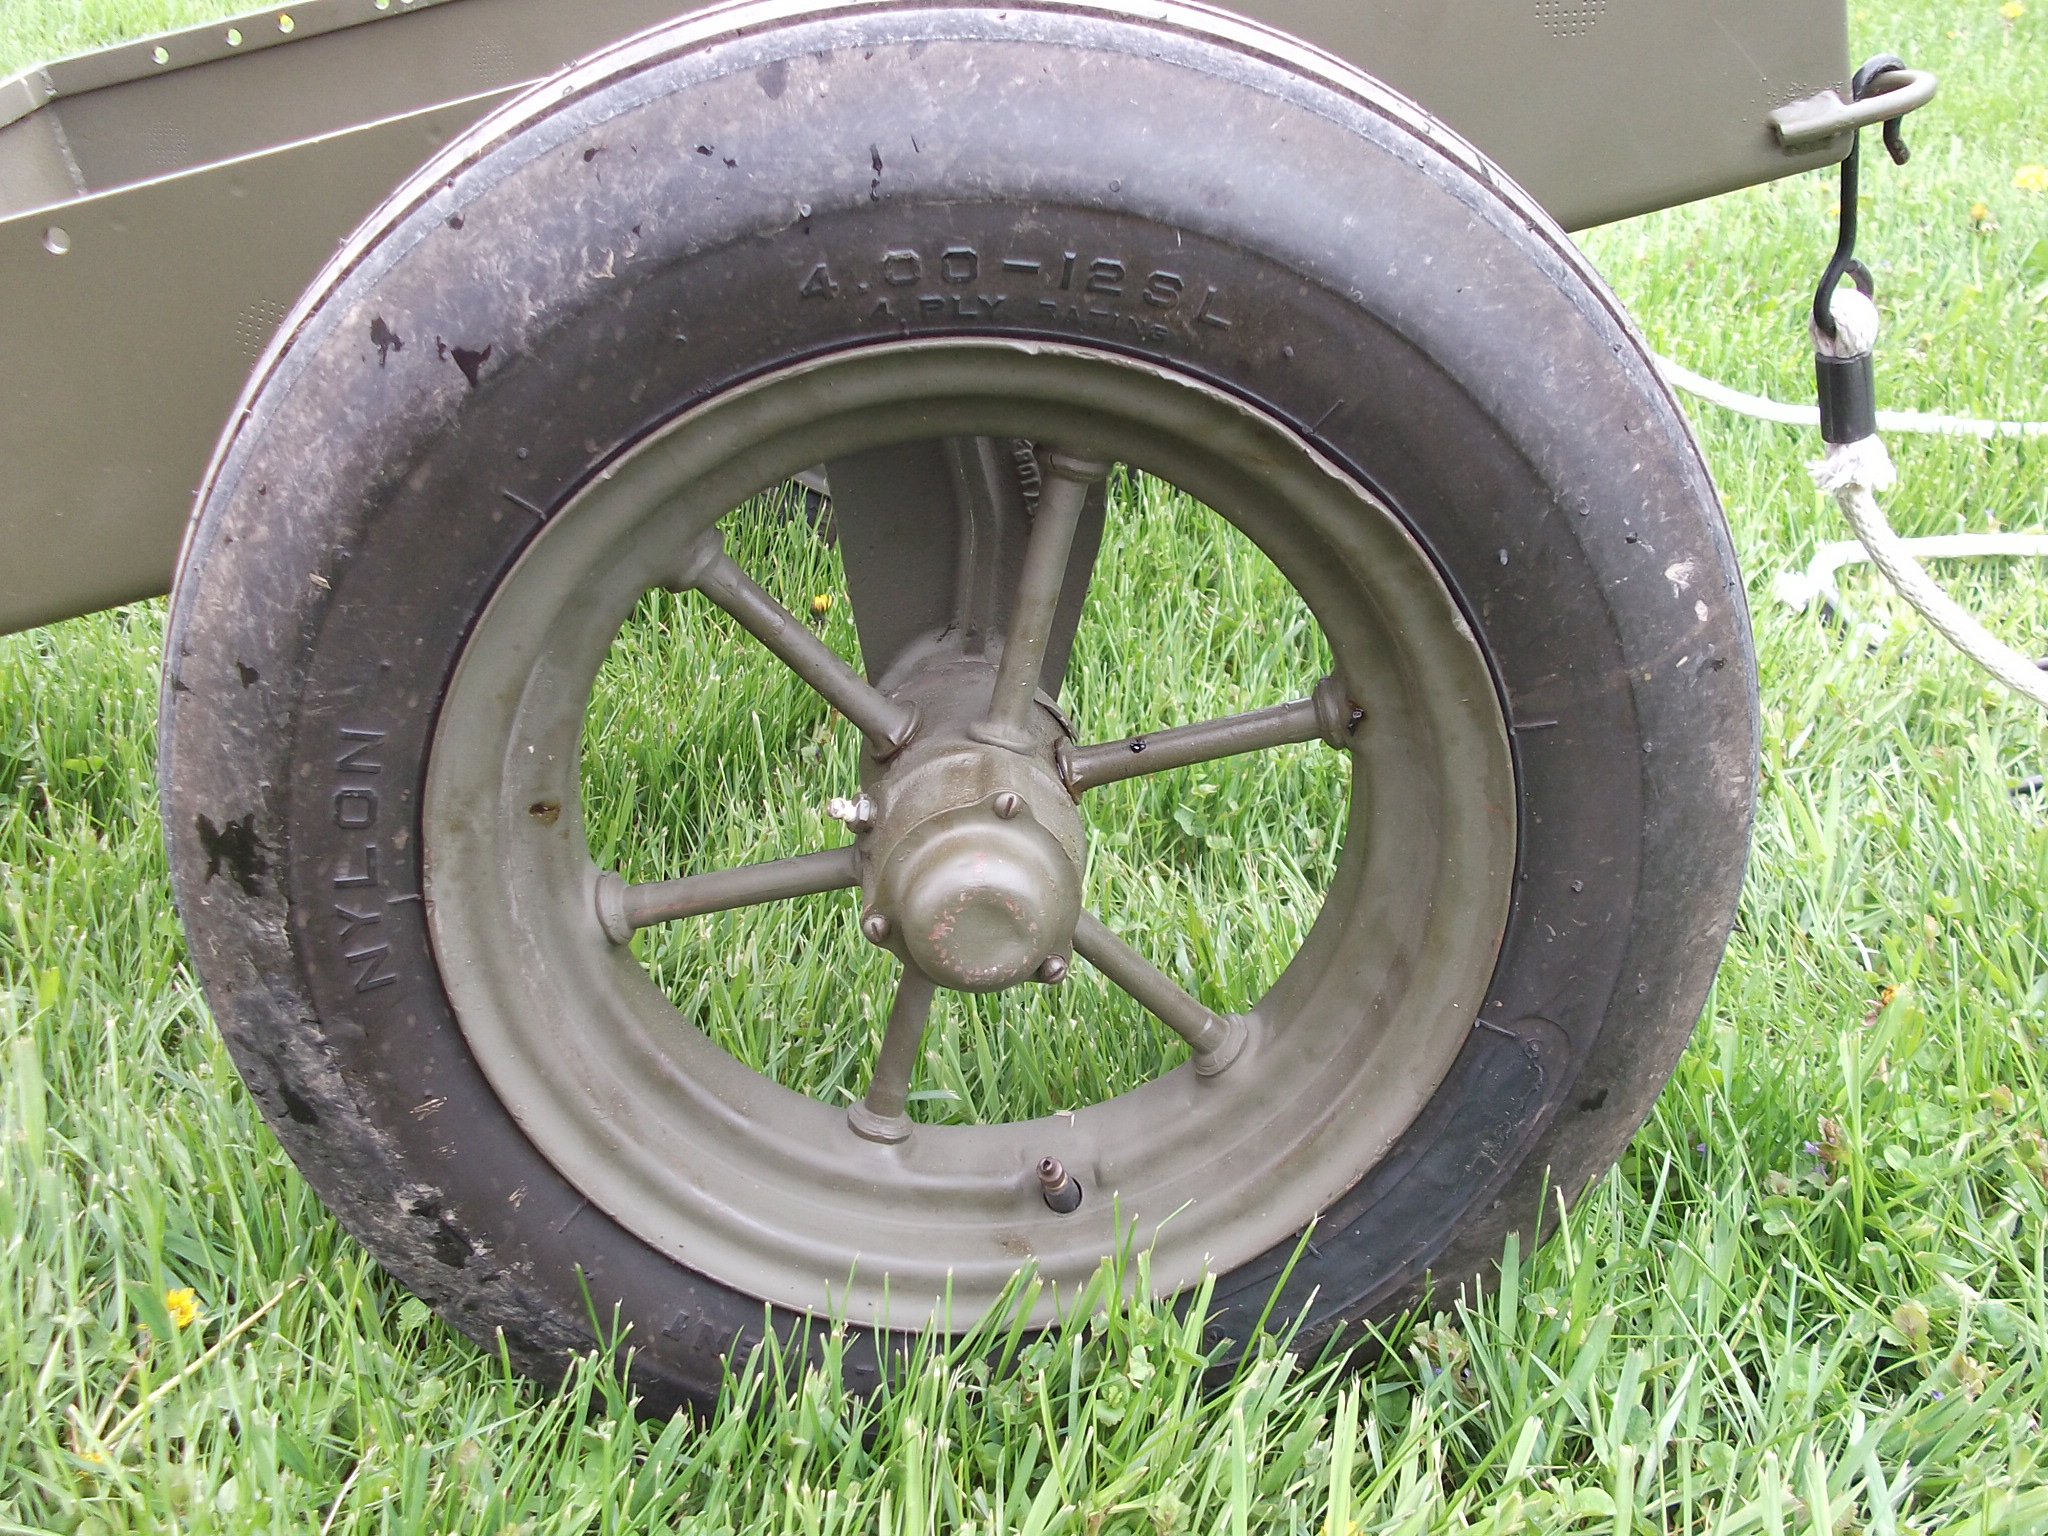
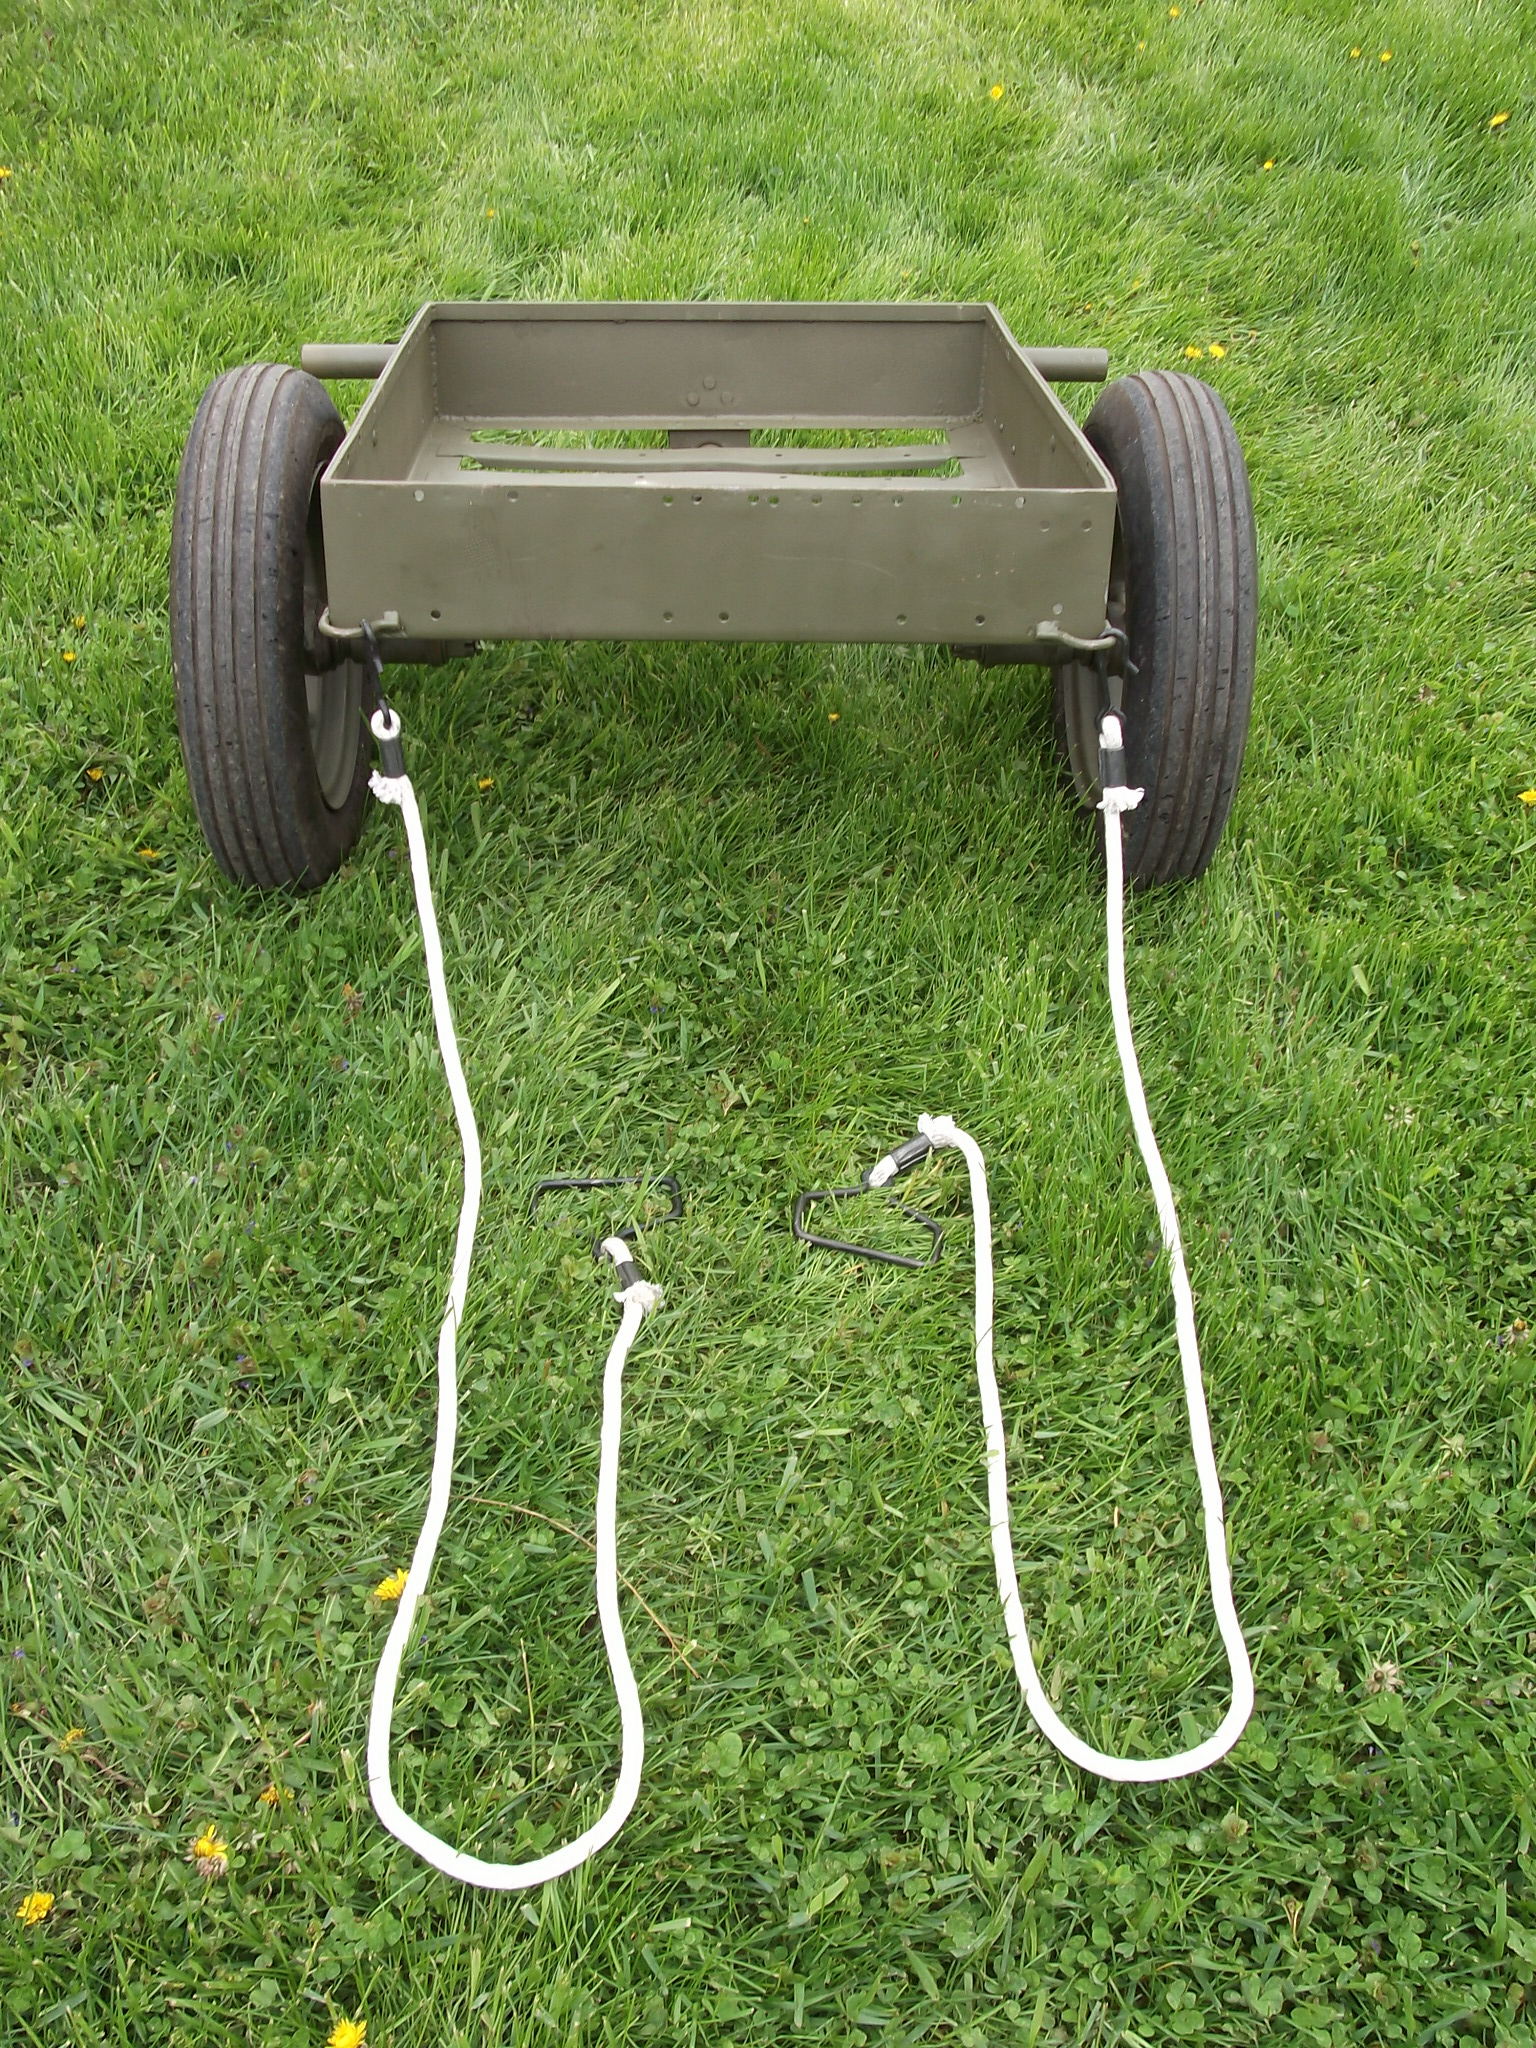
Tires - I took some time with a die grinder and 36 then 80 grit sanding disc to "erase" many of the markings off of the tires. I was able to remove most of the "offensive" modern text from the tire. It left some "scuffed" looking areas, but with use and dirt, these areas blended in and dissappeared.
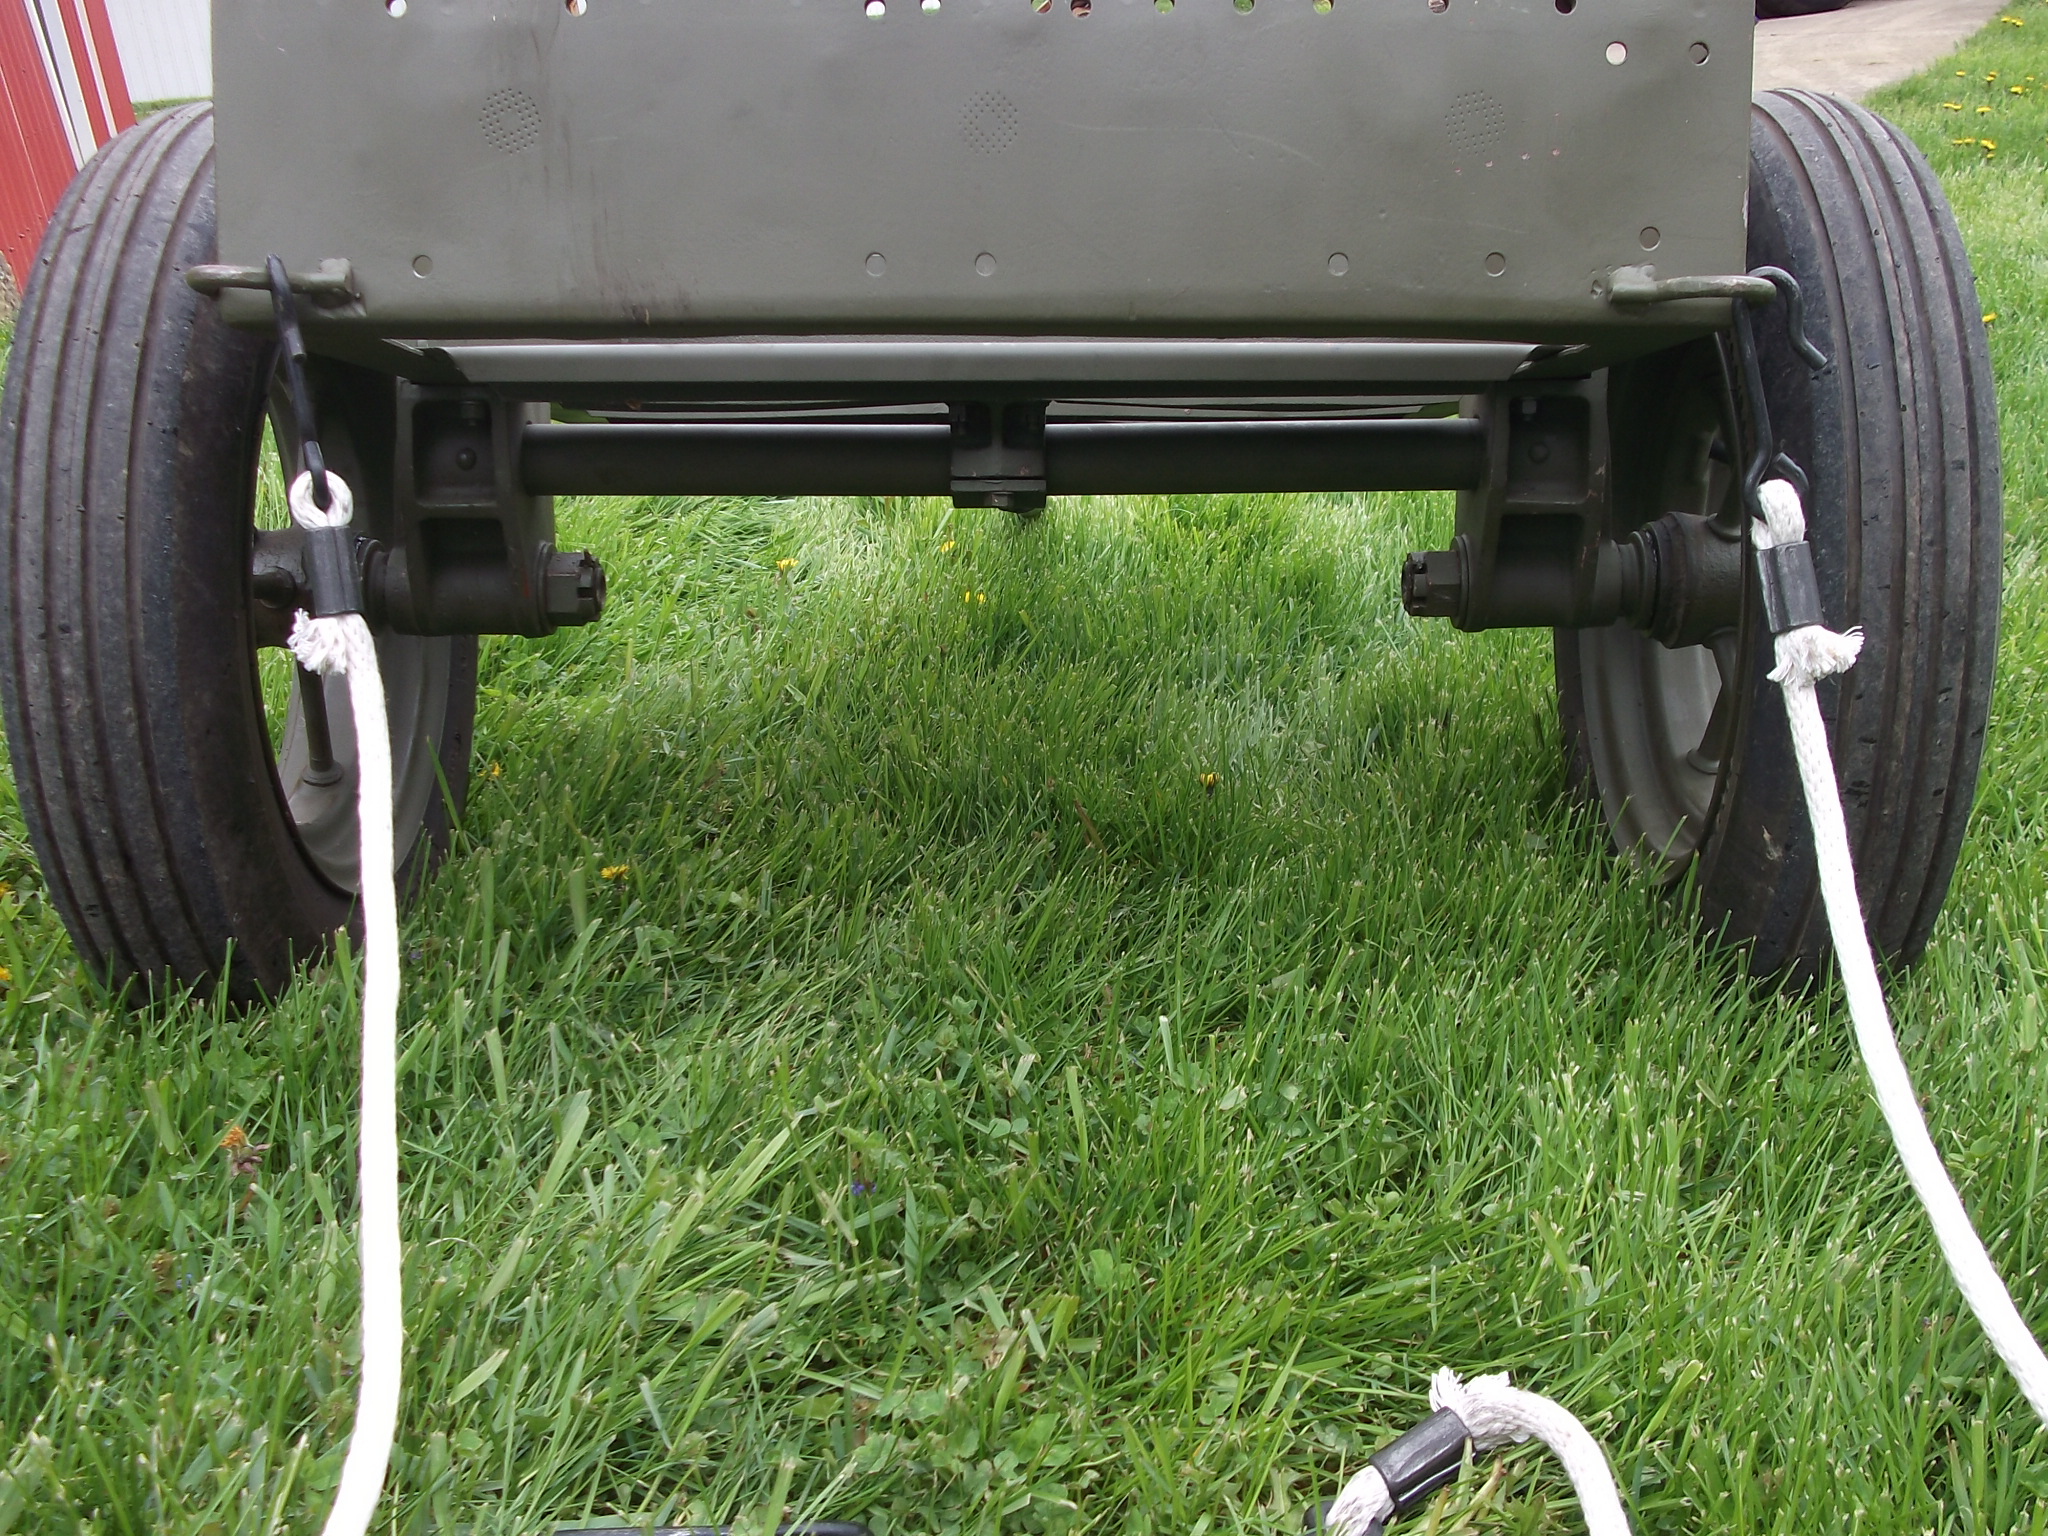
Rims - When working on your rims, take time after removing the axles to totally degrease the hubs prior to any sandblasting. Stuffing a rag in and masking things up wasnt good enough, which left me with some fine particulate that had accumulated into old goopy grease.
Rims - Prior to reinstalling the hubcaps, chase the threaded hole to remove any gunk, paint or build up.
Assembly - Use assembly lubricant. This is especially true where you have bimetallic contact, such as the bolts that thread into the castings.
Fabrication - If you dont have a very capable sheet metal brake and shear, just pay someone else to do this work for you.
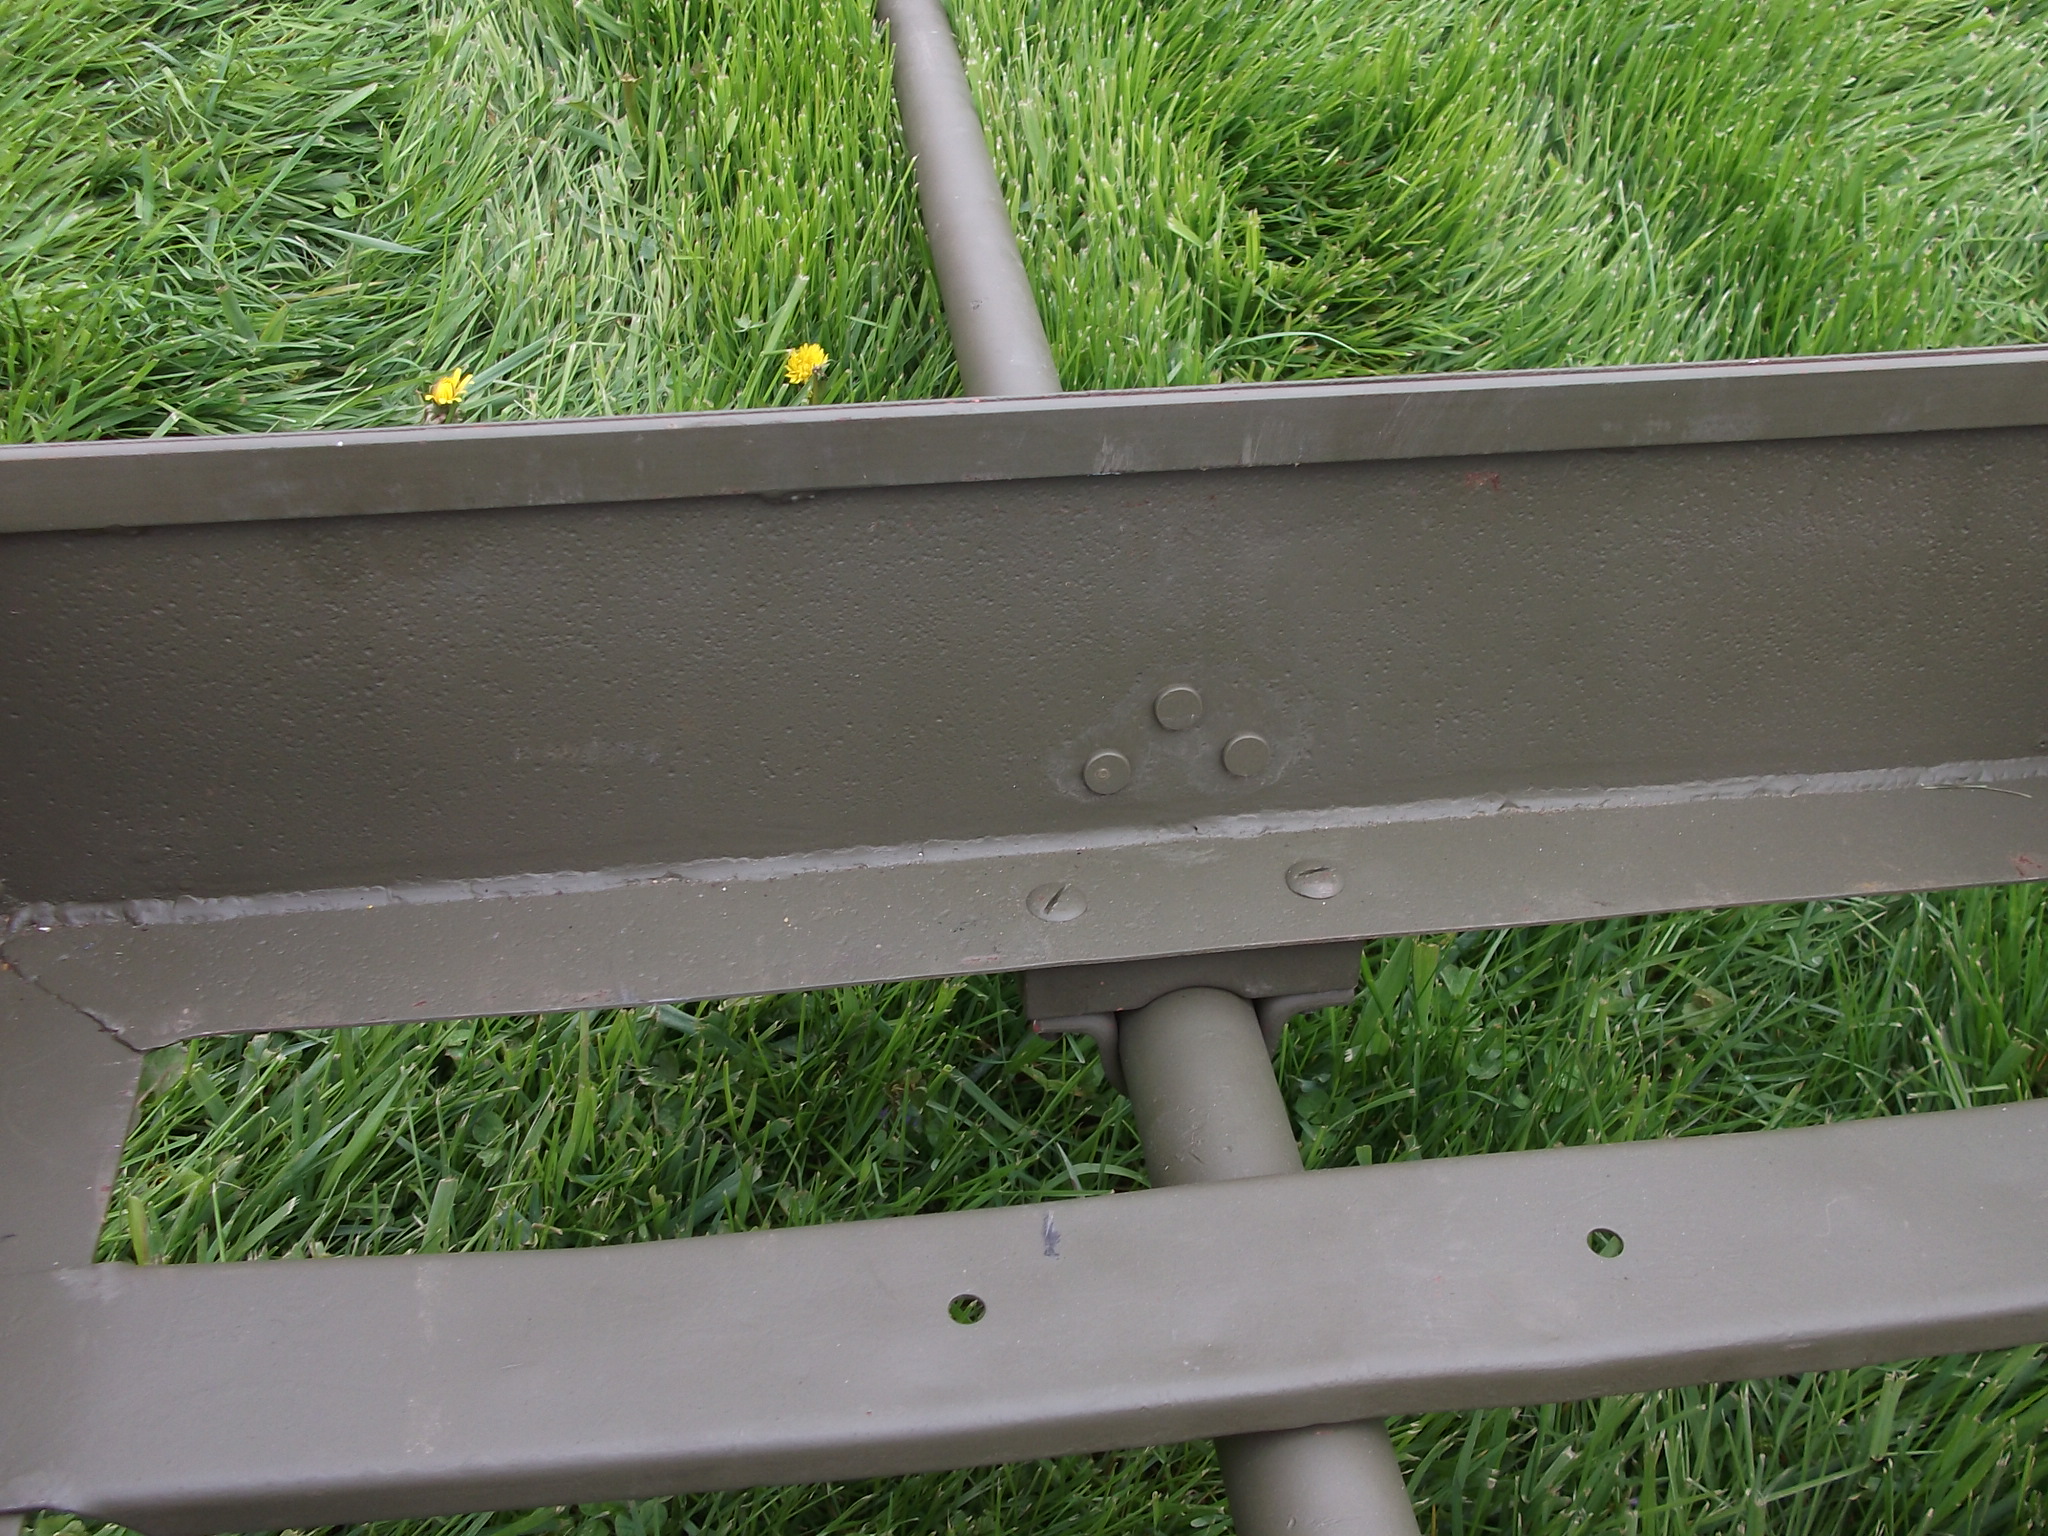
Welding - When spot welding replacement slats in place, make sure to avoid the spots where the original welds are. After welding, no matter how good the welds look, and how strong they feel to your fingers - give the slats a work over with a rubber mallet to make sure they are really on there. Nothing more frustrating than sending the spot welder home with a friend, only to find out the next day one of your slats has popped loose.
Things I did that I do not reccomend:
Drawbar Bracket - Be careful when removing your drawbar bracket if replacing your front panel. Due to my own stupidity, I had to weld up the rivet holes in the drawbar bracket, dress the weld, then redrill the holes. Yes... TIG welding aluminum. When drilling the new holes, use the best fitting number drill bit to the rivets to be used. If at all possible, do a test rivet on a similar thickness piece of metal to determine the length of rivet needed to form the desired size head. The first time around, I used the rivets full length out of the box, when they needed trimmed down. This required me to once again, drill out the rivets (I was more careful this time) and re-rivet the bracket on a 2nd time until I achieved my desired look.
Fabrication - I used a pitted turd of a piece of sheet metal to replace the front of my cart - simply because thats what was on hand and I wanted to get it done. I should have went out and bought a clean new piece and had it sheared to size. I was left with a lot of body filler work to get the outside looking presentable. I left the inside a pitted mess...
Things I havent done yet:
Valve Caps - I need to get a second slotted scrader valve cap for the other tire, to match the one original I had that came off the cart when I received it.
Bracket Holes - I did not drill the holes in the front of the cart for the various accessory brackets. I dont have access to a good reference to get the spacing correct. I'd prefer to not drill the holes, then to incorrectly place the holes, requiring me to weld the holes up and redrill them (a bit harder) should I ever get the brackets that go there.
Accessories - I do plan on buying some footman loops as well as the M6A1 brackets should a repro or original set ever surface. I have no intention of buying the canvas cover that goes with the cart. I think theyre f'ing useless, especially if the cart has anything in it. Simply throw a shelter half over it and lash it down with some rope.
Closing thoughts:
Its been a long time in coming, but this thing is finally done. No single part of this project was entirely difficult, but it just took a long time to get around to getting it done. Much of the delay on my part was getting access to equipment to do the work. I could have easily thrown money at this thing and paid others to do the work, or subbed out much of the fabrication and welding work - and left final assembly to myself. Although it took way longer than I had expected, this was a rewarding project.
Its great to finally have it out at events, and I'm looking forward to those events where both my cart and Steve's cart are out.
M3A4 Handcart Restoration Log - Intro
M3A4 Handcart Restoration Log - Part 2
M3A4 Handcart Restoration Log - Part 3