IMPORTANT:
Proceed at your own risk. We're not responsible for you blowing yourself or your gun up
Blank Adapting the M1917A1 Watercooled Machine Gun
Date Written: November 2011
Author: Chris Guska
Blank Adapting the M1917A1 Watercooled Machine Gun
1.) Selecting blanks
2.) Feedway modifications
3.) BFA Construction
4.) Gland Packing
5.) Belts vs Links (you are here)
6.) Feed parts
7.) Troubleshooting
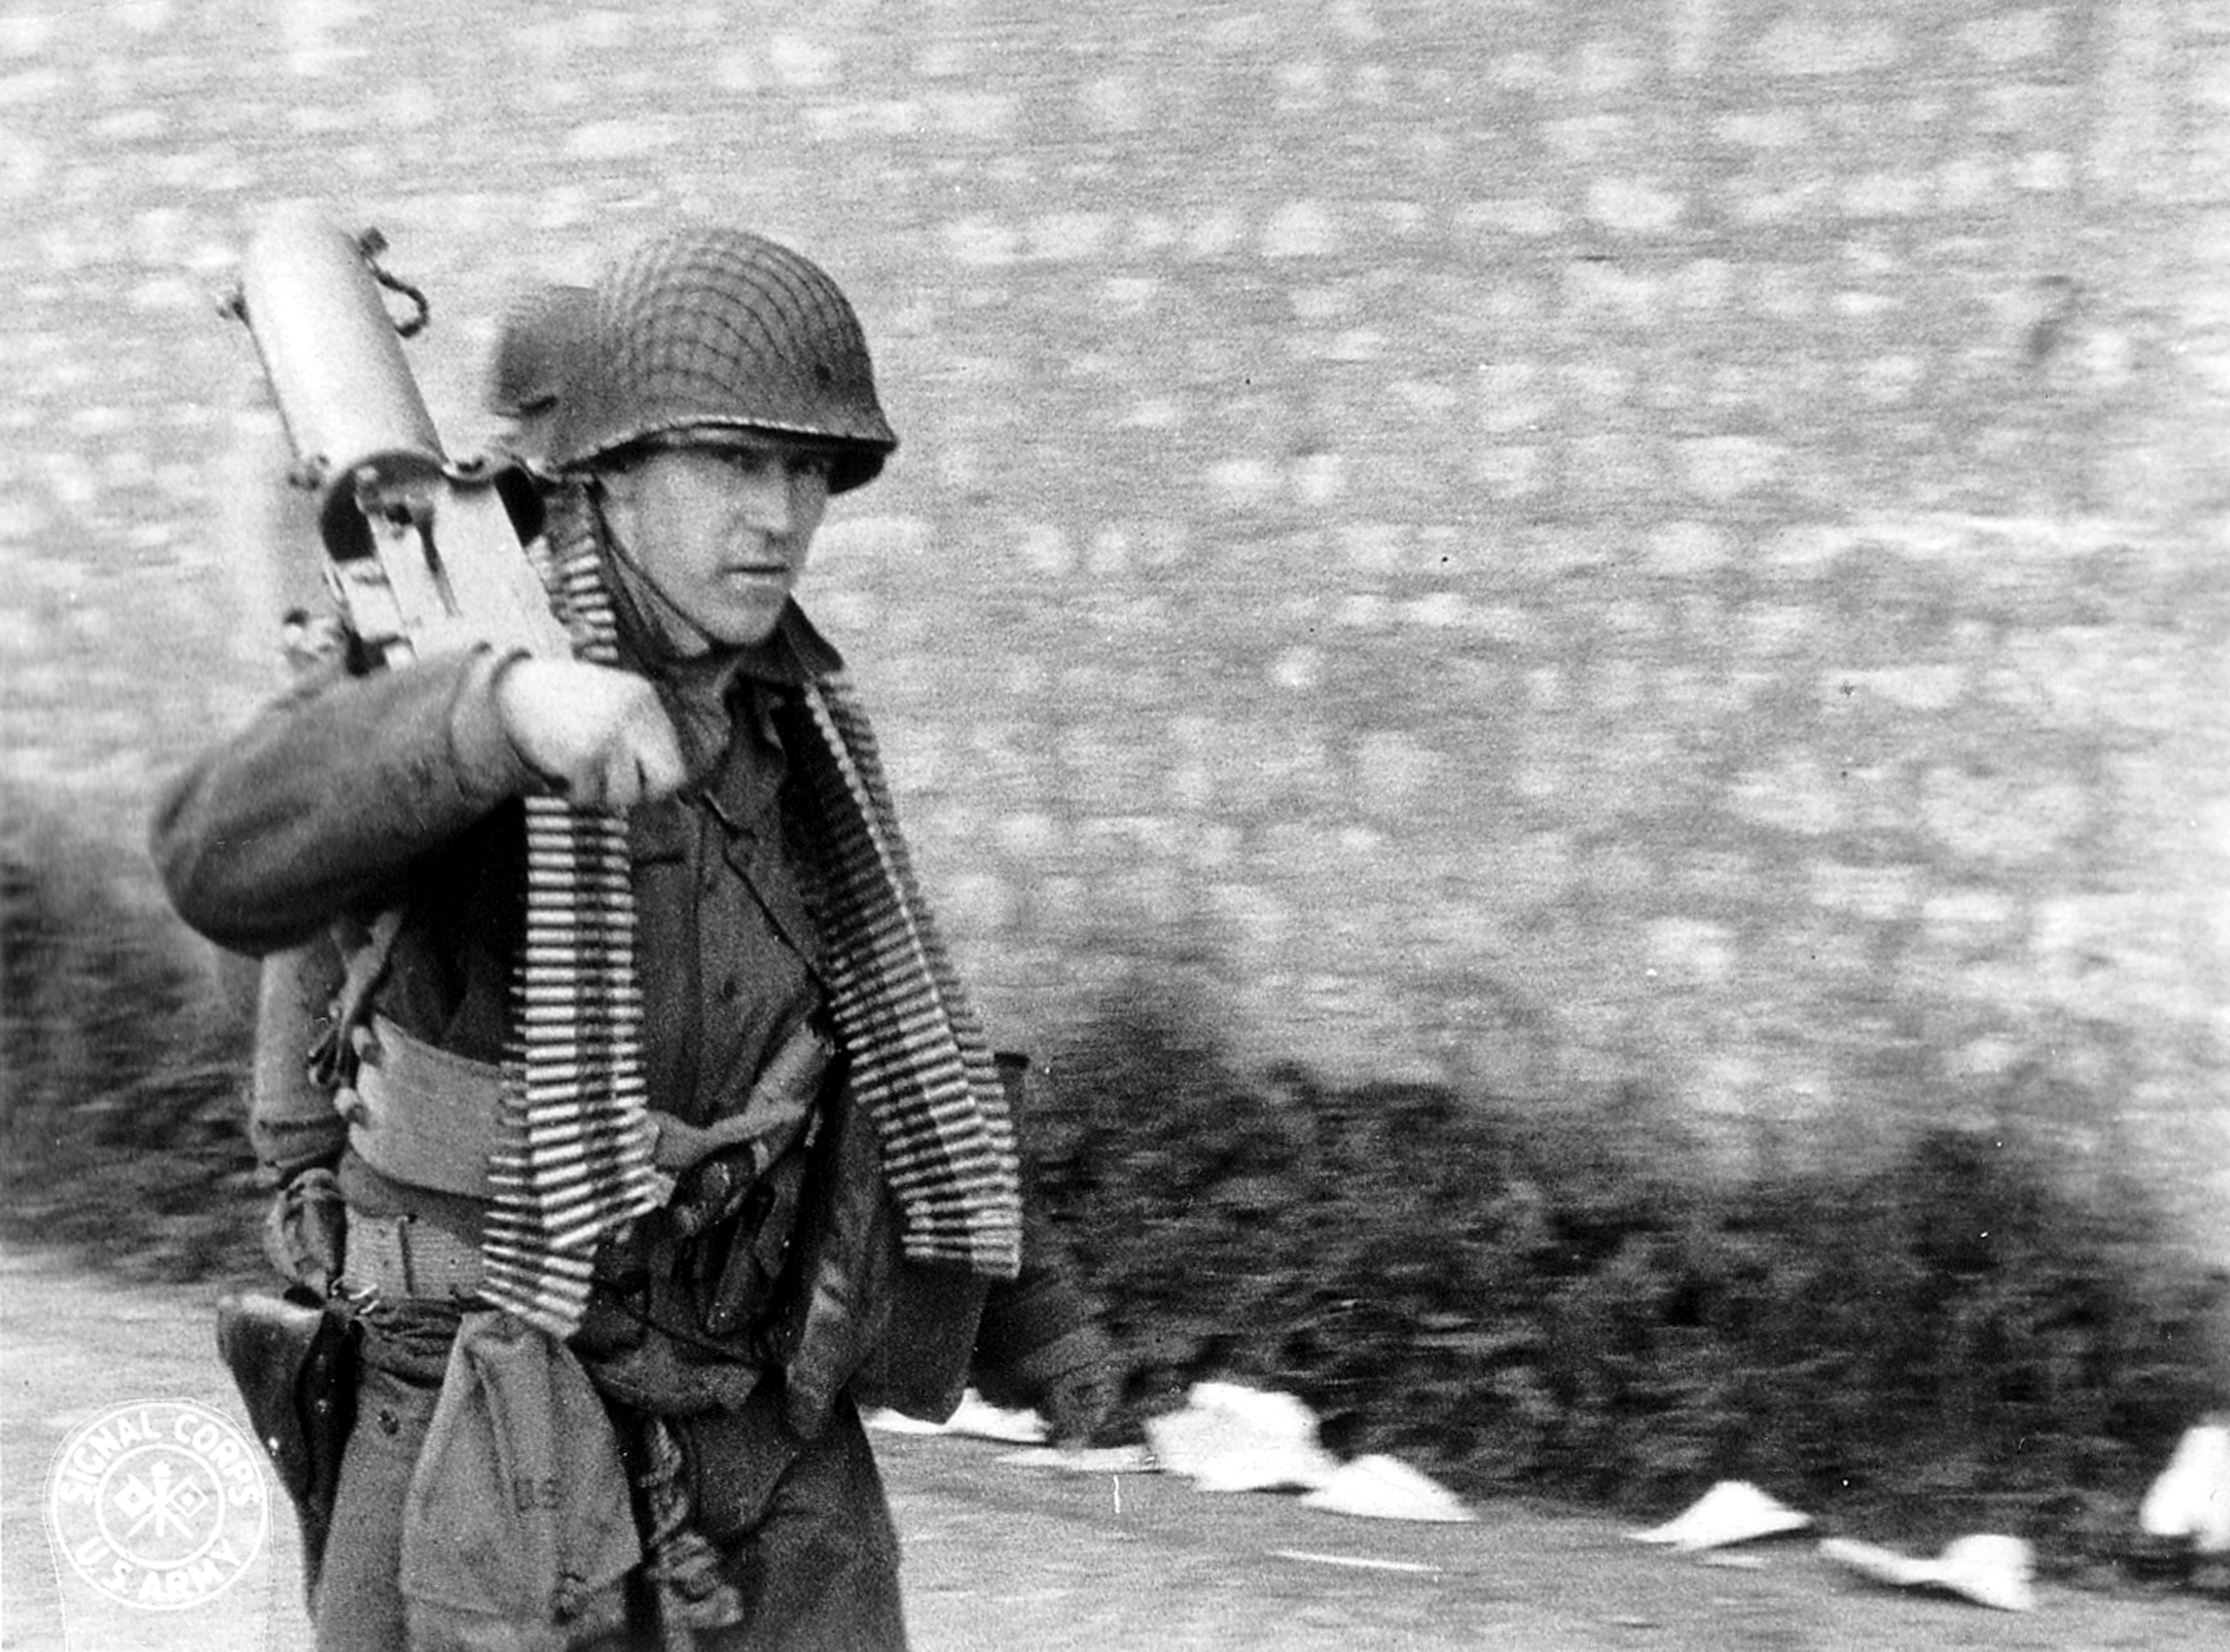
5.) Belts vs LinksThe feed method you chose can make a big difference on how well the gun runs or doesn't run. At this time, I only run cloth belts and have "no" experience with links, thus my tutorial is limited. The cloth belts only decision is an "authenticity" based decision. Although metallic links were available in the ETO for 30 cal ammunition, and did occasionally show up, they were not common
.
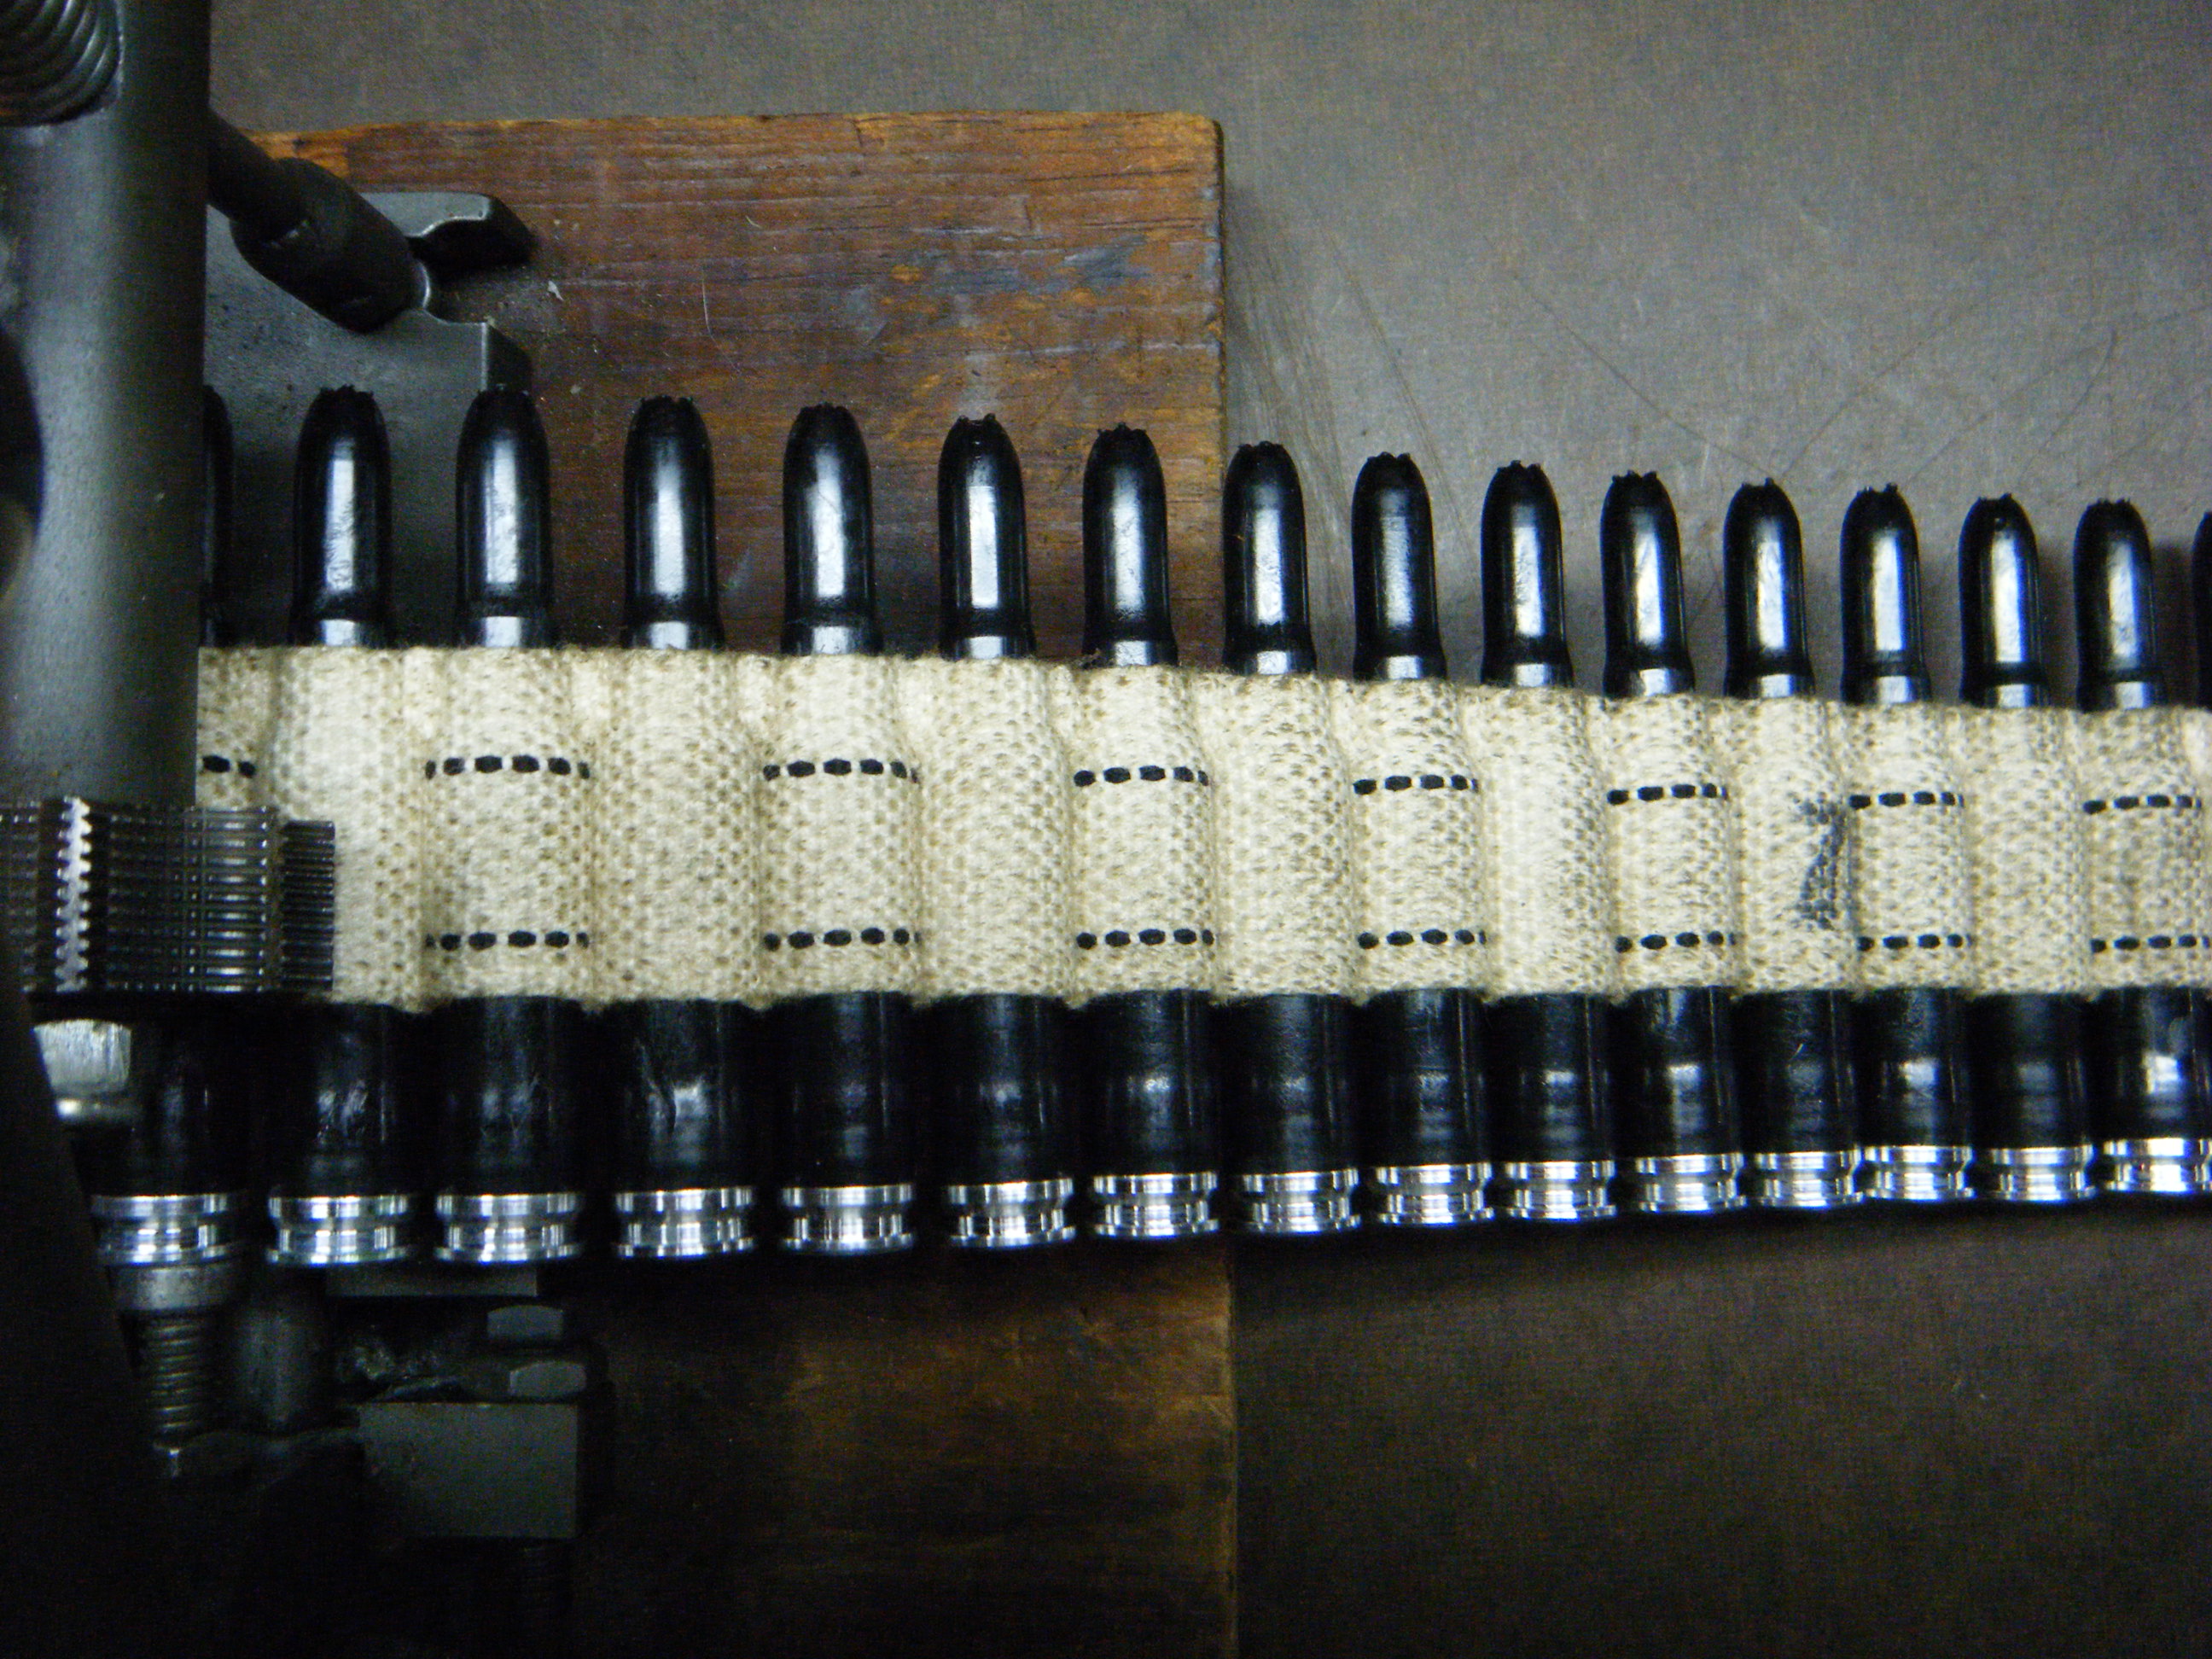
Belt seating depth and more so consistent seating depth can make all the difference. The depth of seating that i've found to be ideal is illustrated below.
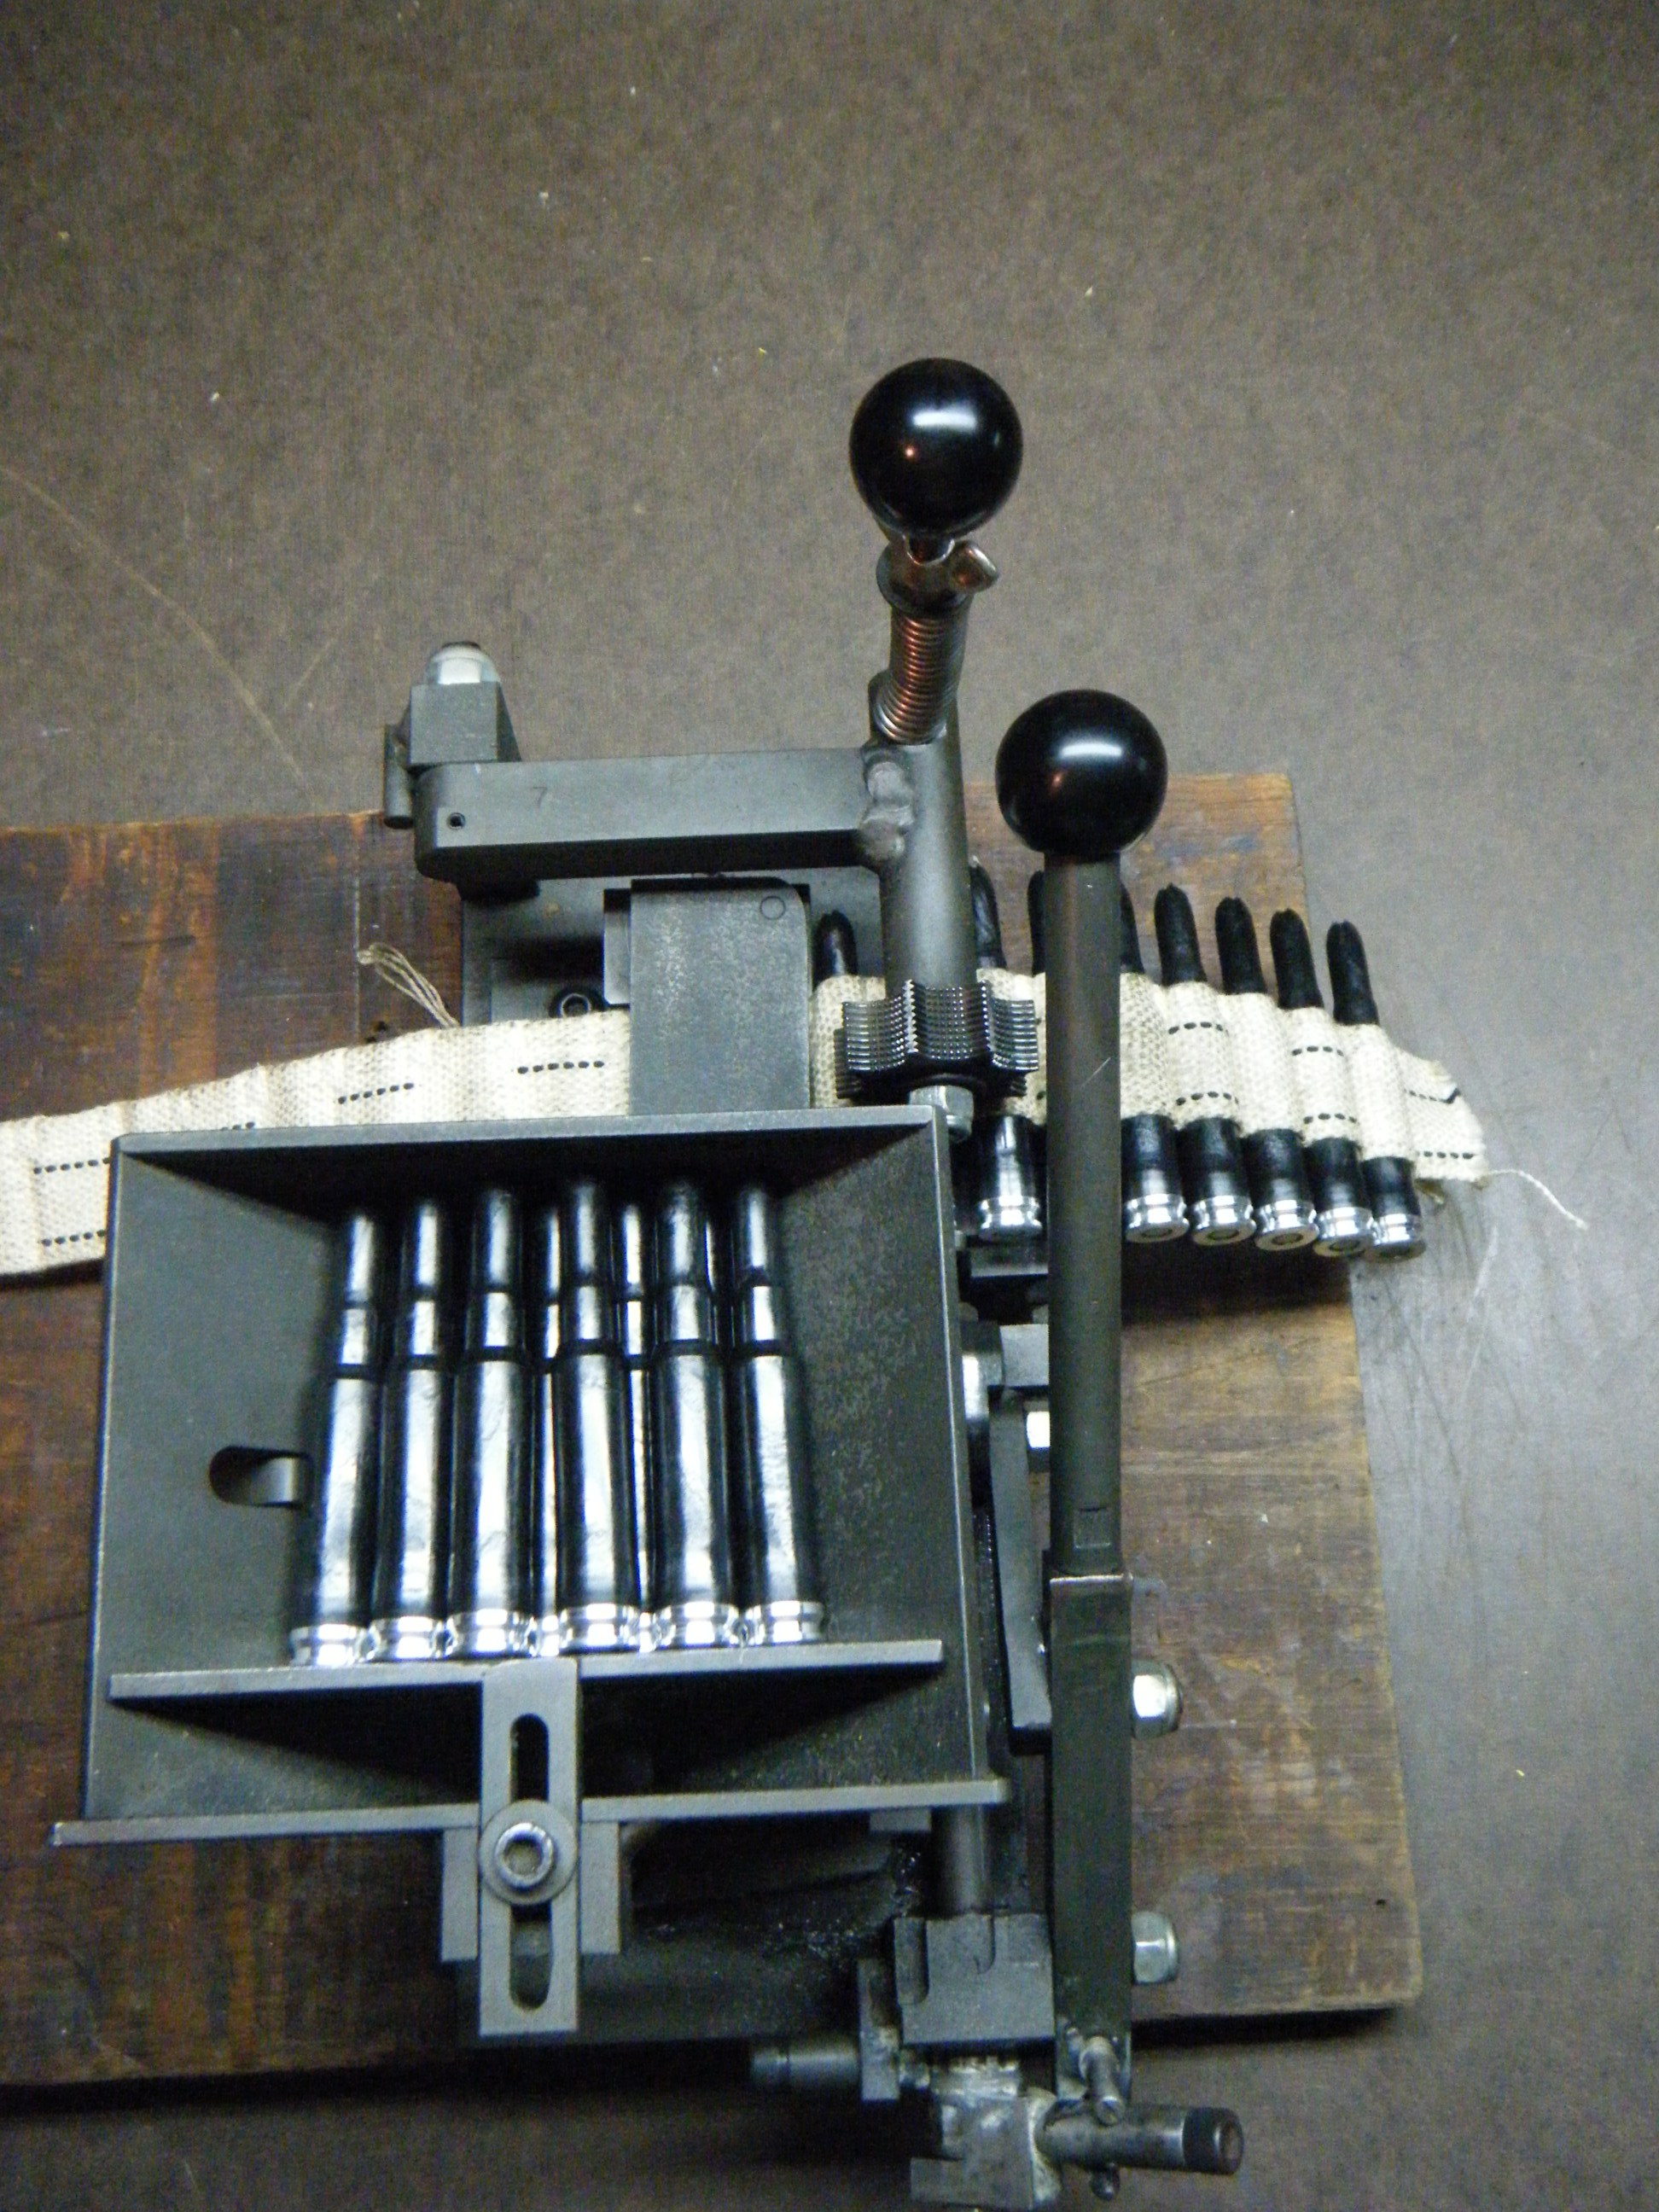
I load my belts on a new made belt loading machine from Dewat in Arizona. I have attempted to mess around with an original USGI M1918 belt loader in both needle and shuttle configurations and have found it to be unacceptable for my purposes. I could not get the consistency of feed and seating depth that I wanted with blanks. It worked great for live ammo, but was trash for blanks.
The belt loader from Dewat is the cats ass. It is adjustable in a number of different ways to allow you dial it in to the belts and blanks that you have. It has been able to load everything I've thrown at it over the past 2 years with good results. I have loaded in the TENS of thousands of rounds, quickly and consistently. A great buy.
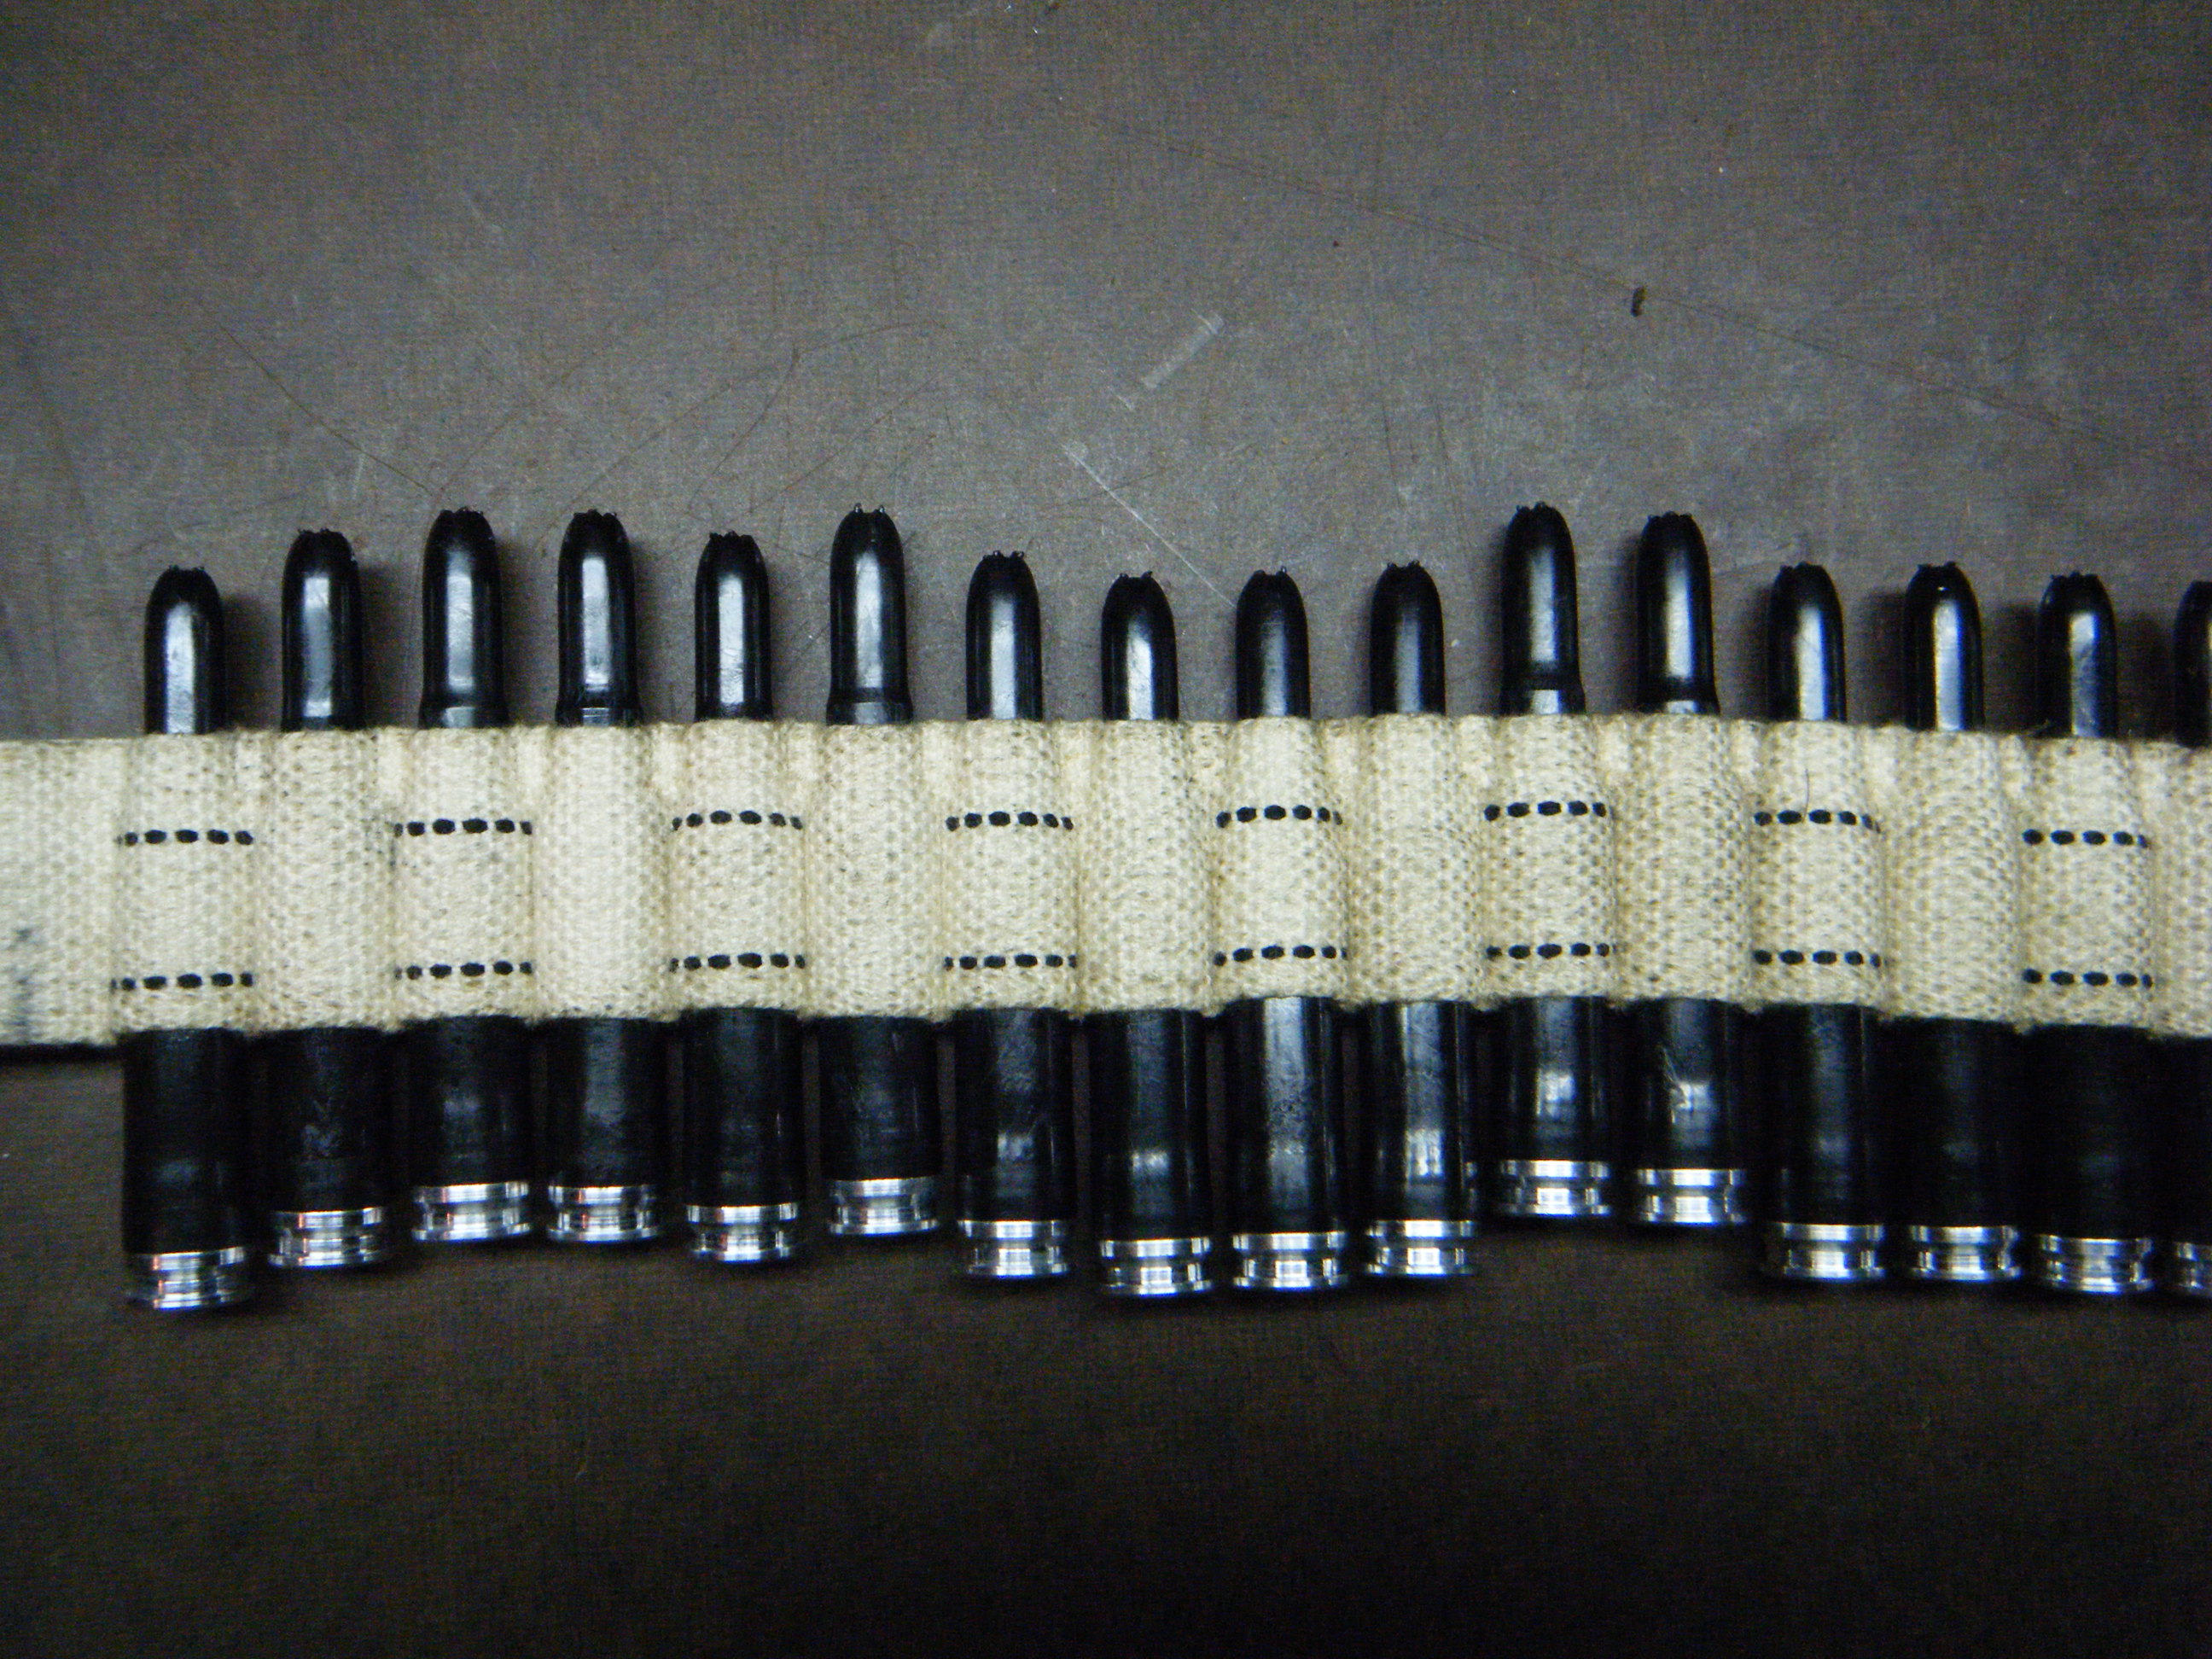
If the blanks are inconsistently seated, they will hang up on entering the feedway and "jam". Consistency equals reliability and speed, provided all of the other variables are working. This may seem comical and contrived to look at - but it is basically the results I was getting out of my USGI belt loader.
If your loaded belts look like this - don't expect them to run very consistently or well at all.
About Belts:
Not all belts are created equal. The belts are not "sewn" - but rather woven to have integral pockets.
Charlie from M1919tech.com has a great write up on the history of belts and the various patterns. I wont get into it here, but rather just link to his article.
White belts, green belts, grommeted belts.... White belts were by far the most common in wartime photos. The green belts do occasionally show up in the ETO, but were not in the majority. I have chosen to exclusively run white belts in my browning 30's.
I have owned a mix of USGI WW2, European production, British production and Israeli? belts. I have found that the USGI WW2 and British production 250 round belts provide me with the best results. I had poor results with the 225 round Euro / Israeli production belts.
I primarily run the British belts with blanks. A large quantity of these belts have hit the market recently with CMP ammunition imported from Greece. These belts are identified by a fleur-de-lis pattern stamped on the starting tabs, and the round count increment numbers stamped along the axis of the cartridge, as opposed to across the cartridge. Basically, the numbers are stamped the short way across the belt, rather than the long way. USGI belts are stamped the long way, opposite of these British belts.
Regarding Links:
There are basically two types of links. There are 30.06 links and 308 links. 308 links will work with 30.06, 308 and 8mm. 30.06 links really only work well with 30.06, unless you mess around with seating depth.
Links can be cheaper to get started with, as linking tools are significantly cheaper than the belt loading machines as well as the belts themselves. While they are technically correct for WW2, they did not see heavy use with the infantry.