Re-Webbing M1 Helmet Liners
Author: Chris Guska
Date: July, 2009
Step 1: Liner Preparation
Now that you've assembled the tools, consumeables and helmet liners that you want to "restore" - its time to strip the old liners of their hold webbing and hardware to have a nice "clean" shell to work with.
This can be either very straight forward, or a real pain in the ass depending on the rivets that you have in your helmet liner.
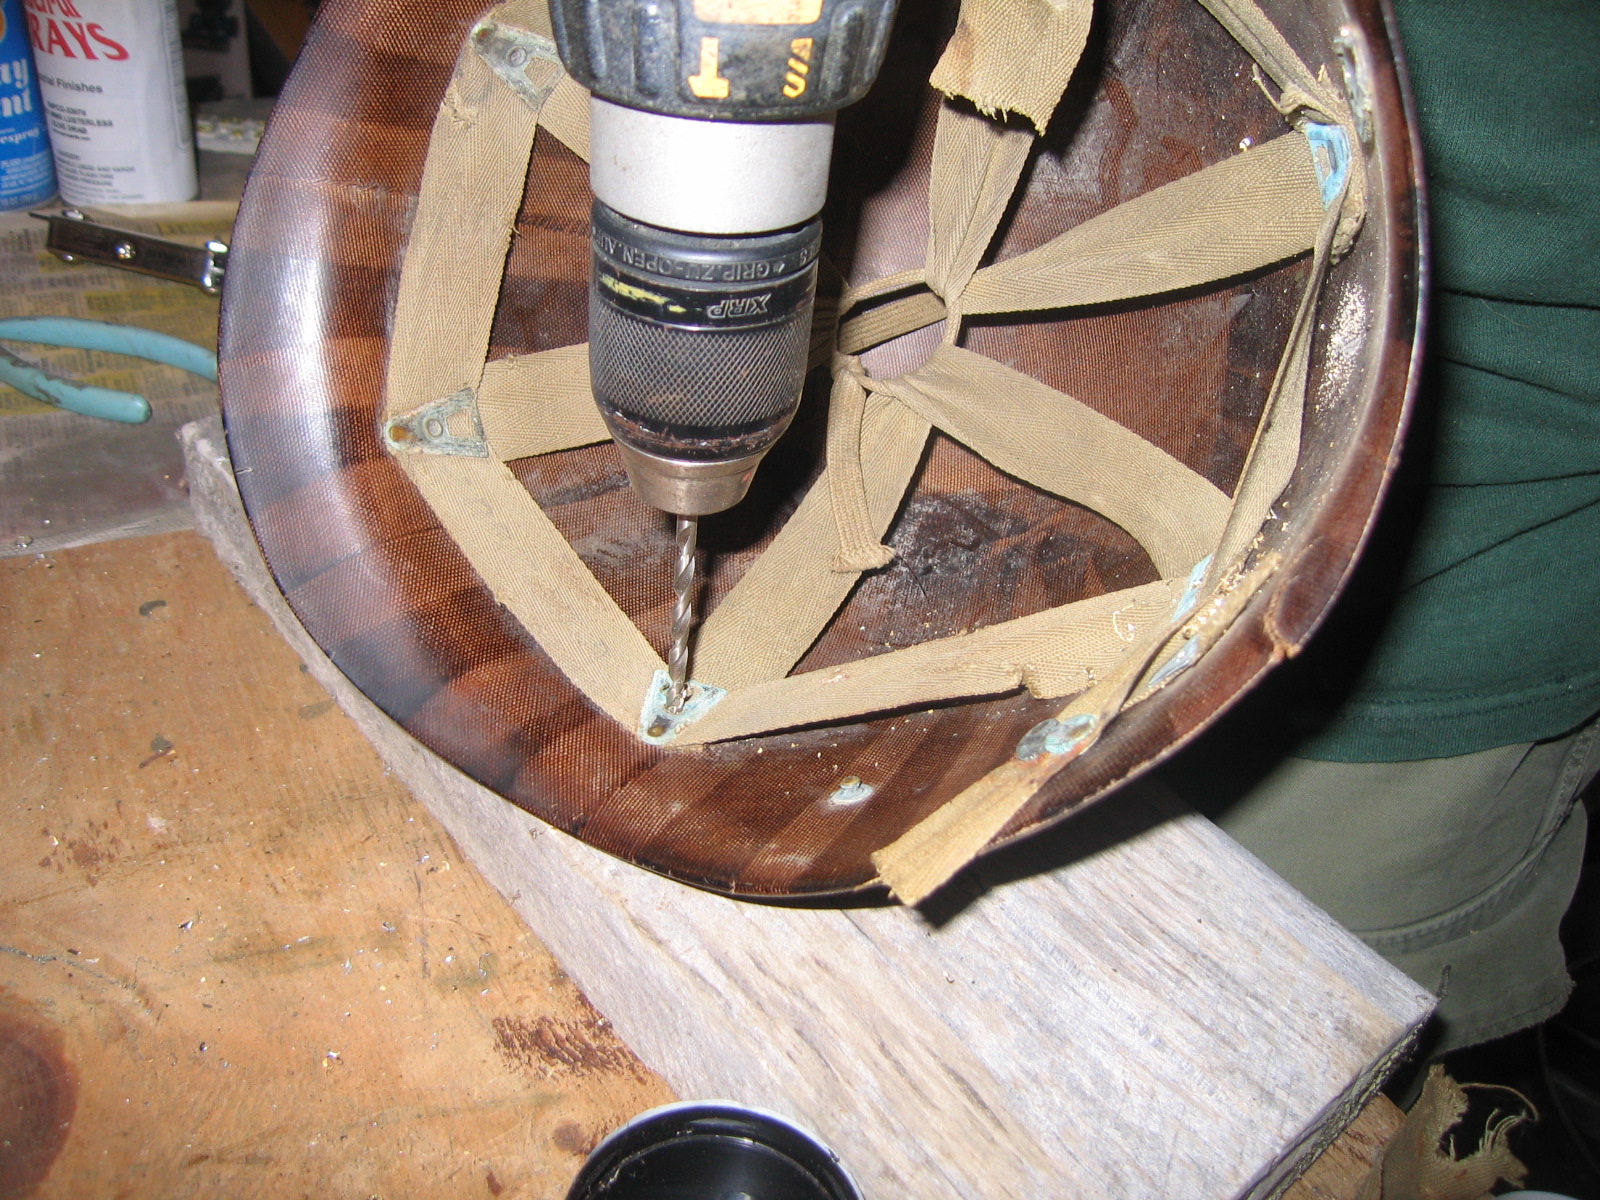
Chuck up a 5/32nds Drill Bit in your electric drill and proceed to drill the crimp of the rivet off from the inside of the liner. Essentially what you're trying to do is to remove the inside edge of the crimp itself so that the crimp comes free just ontop of the A washer underneath.
You do not have to drill through the entire rivet - only remove enough so that the crimp is removed. Be careful when drilling to make sure that you arent applying too much pressure on the drill bit while driving it at high speed - or you might just heat it up and lose the cutting edge entirely. It really helps to have quality drill bits made specifically for cutting steel. Most rivets I drilled out were brass and were easy to remove - but a few were steel and a giant pain in the ass.
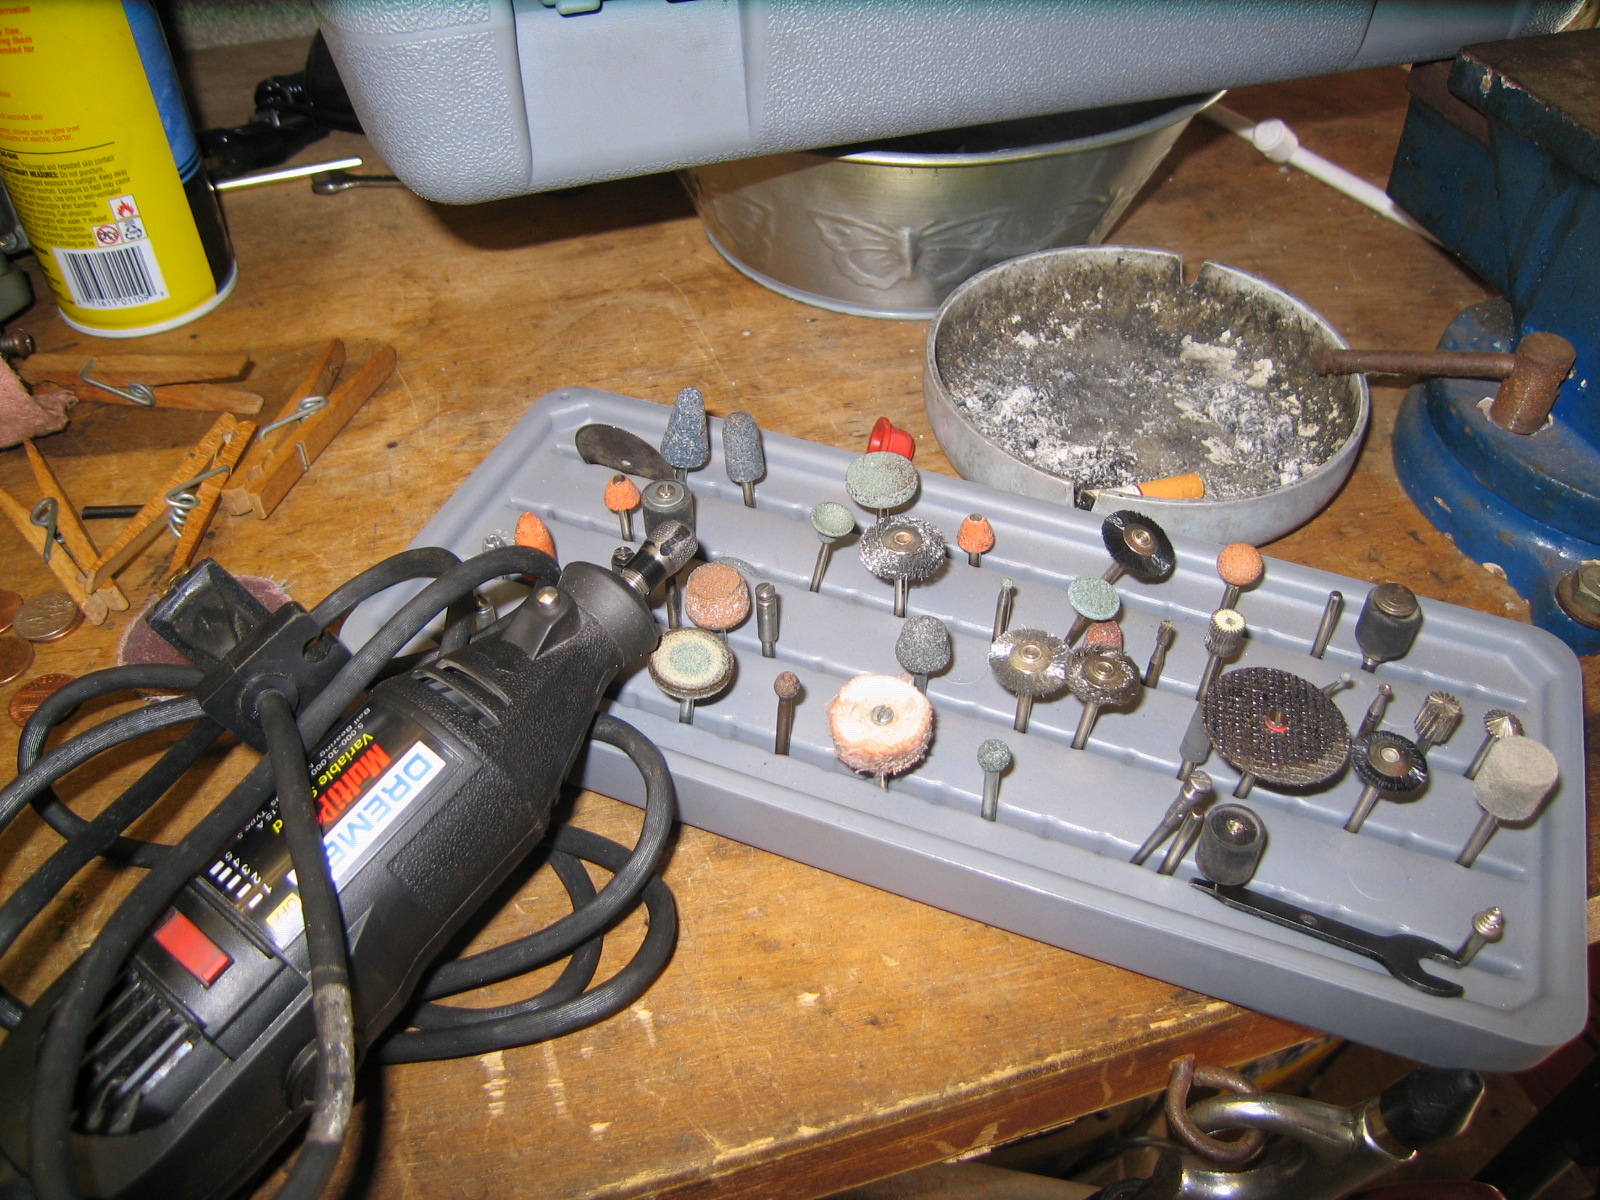
So what happens if the rivet starts to spin and you cant actually drill the crimp off? Sometimes you can hold the A washer with pliers in such a way that it holds the rivet still long enough to drill the crimp off. In other cases, you may be boned, requiring you to use a conical stone abrasive in a dremel tool to carefully nibble away at the crimp to free the rivet body from the A washer and helmet liner.
If that STILL doesnt work, you can use a dremel with a coarse sanding drum to sand/grind away the rivet head from the outside of the helmet liner.
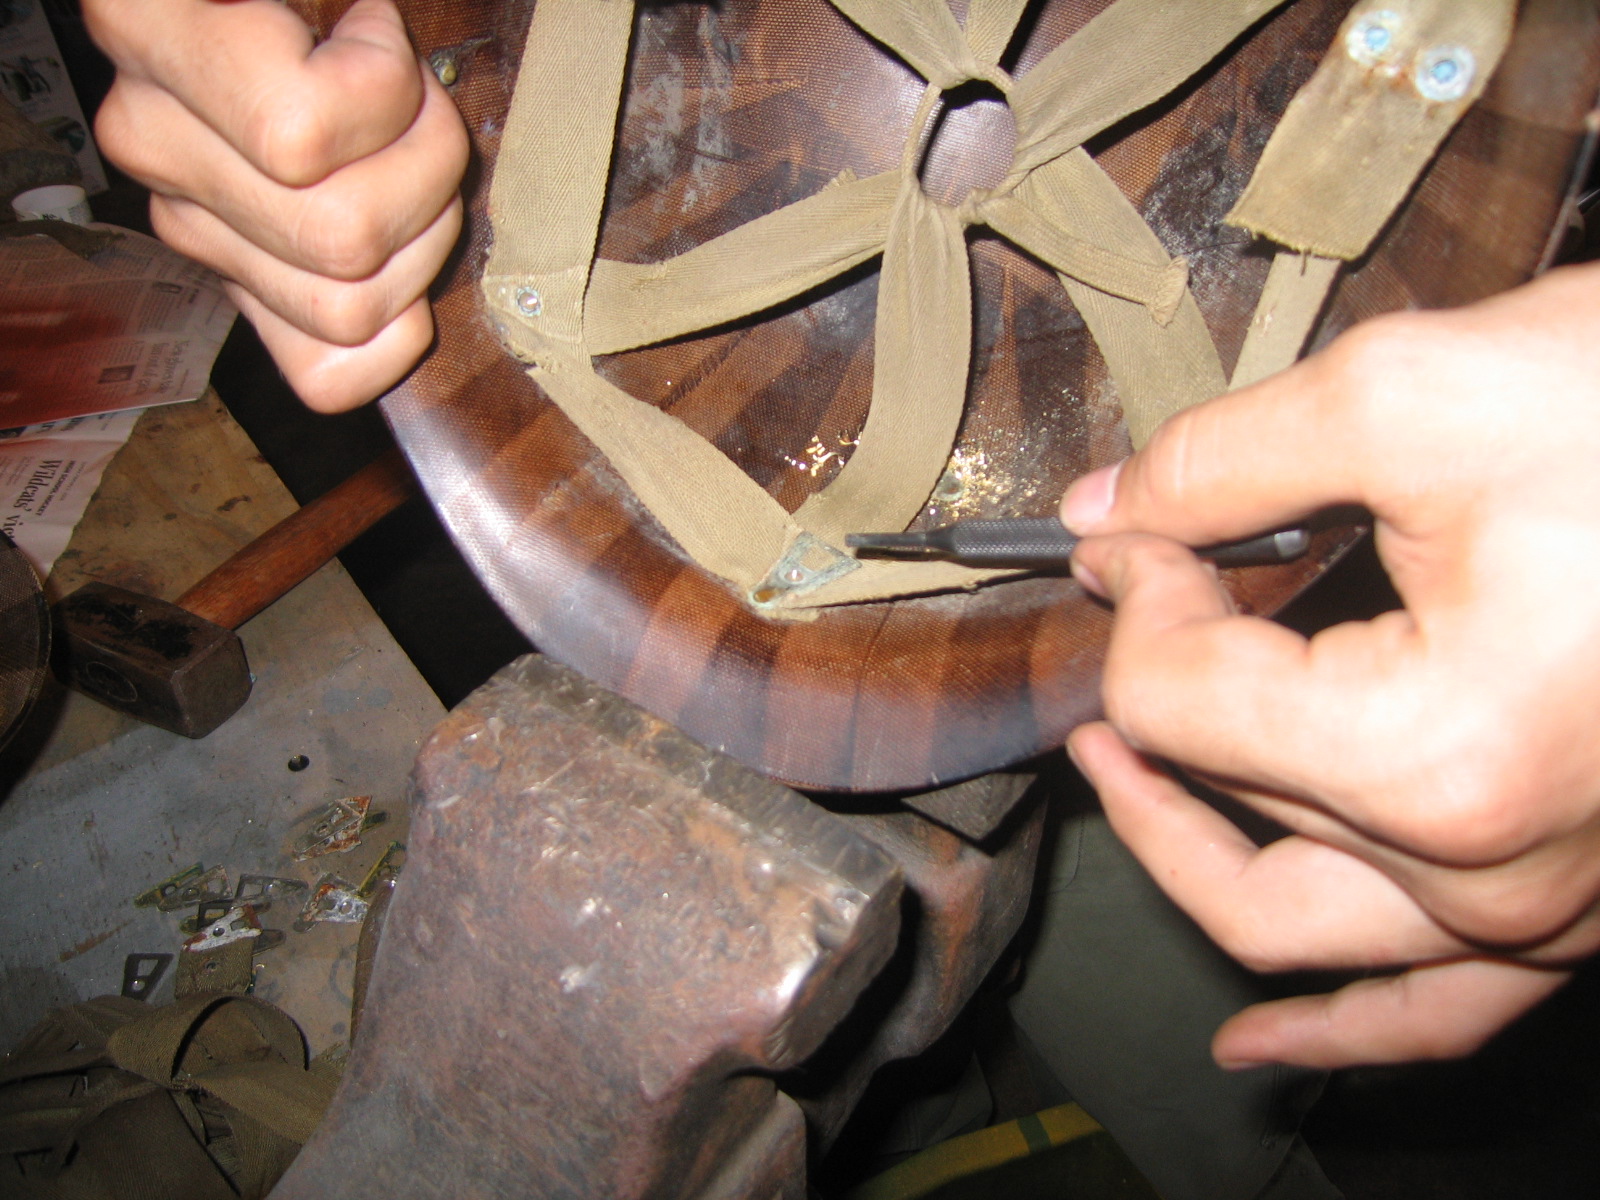
Once you've freed the rivet, whether from the inside or outside you can simply use a pin punch or center punch to remove the remnant of the rivet from the hole and A washer accordingly. When punching the drilled rivets out, it helps to have the head of the rivet in some circular holder (one that does not touch the rivet head, but gives support to the liner shell around the rivet).
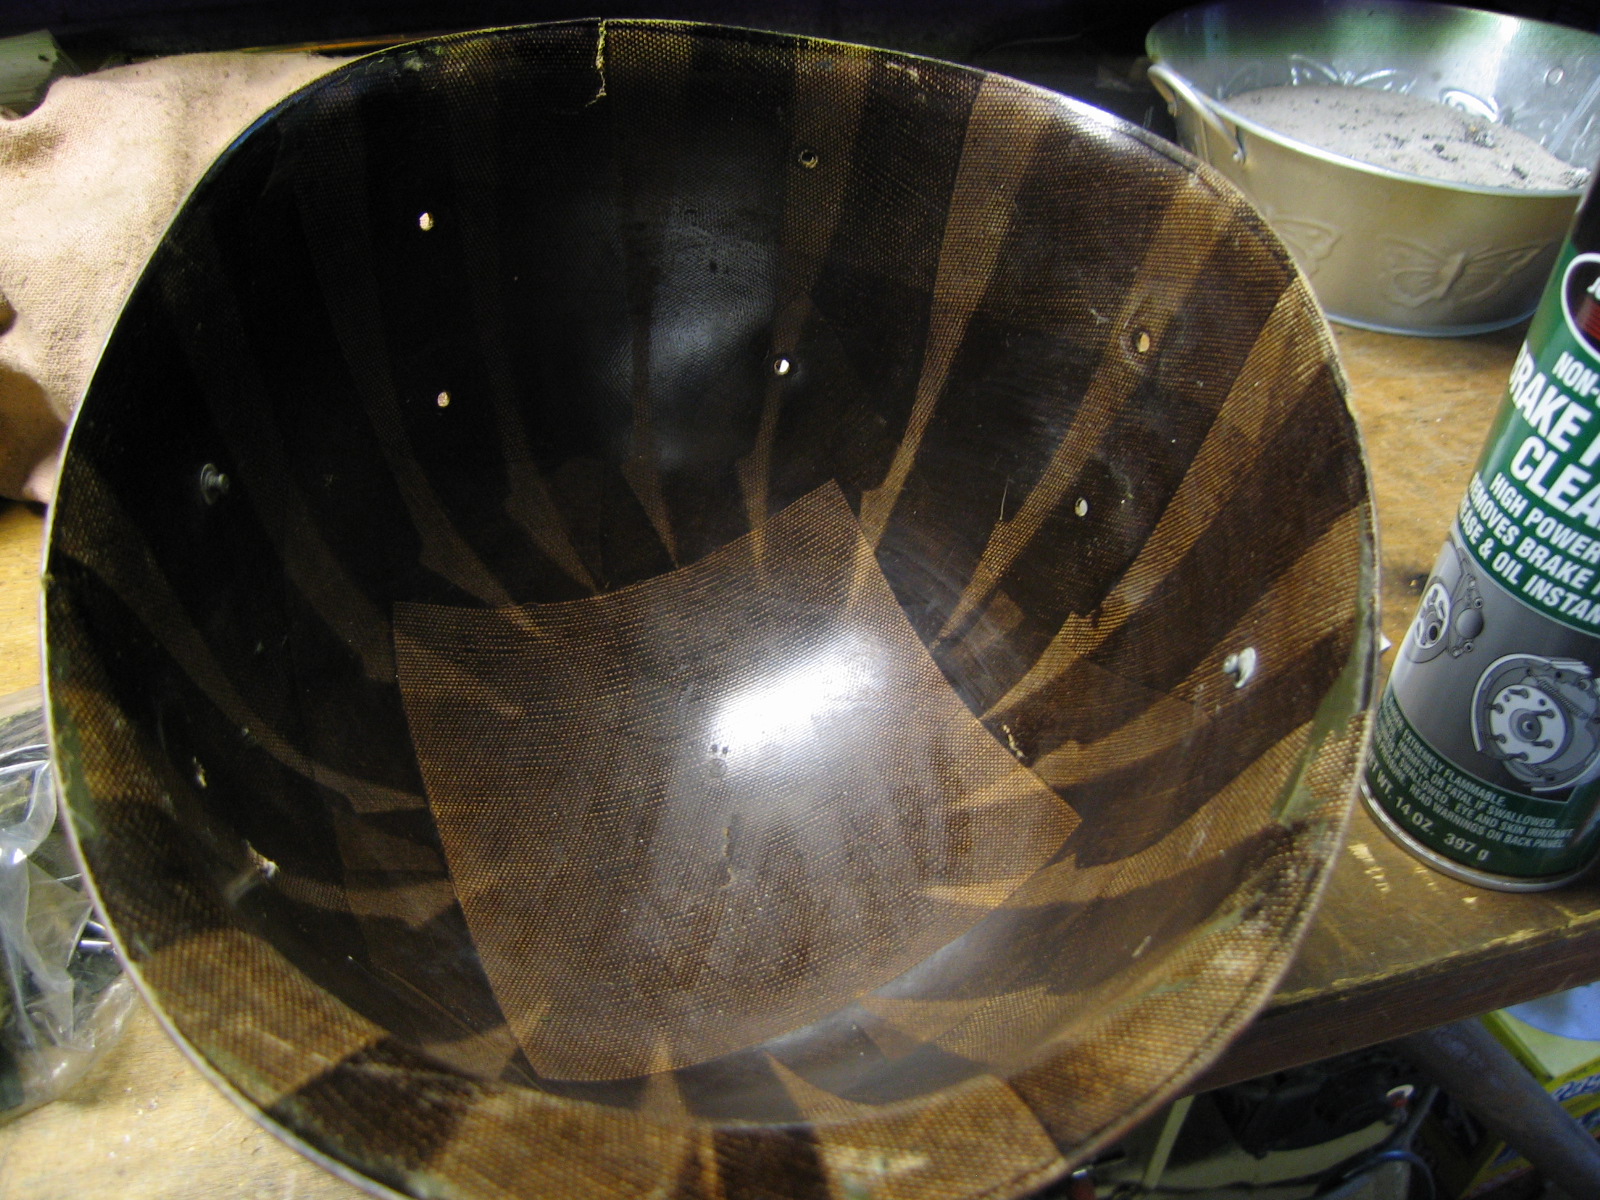
Proceed to drill out all the rivets holding in the webbing. Do not remove the helmet liner chinstrap studs or the eyelet on the front of the helmet liner above the center rivet.
After removing all the rivets, clean up the inside of the helmet liner with some windex or other cleaner and paper towels. A light coat of furniture polish like pledge makes them really shine and look nice - but totally optional and unnecessary.
On to Step 2: Paint Removal
Quicklinks:
X.) Introduction
0.) Tools & Equipment Needed / Sources
1.) Liner Preparation (You are here)
2.) Paint Removal
3.) Making the liner kit (optional)
4.) Hardware Prep
5.) Webbing Installation
6.) Paint & Finishing