Re-Webbing M1 Helmet Liners
Author: Chris Guska
Date: July, 2009
Step 6: Paint & Finishing
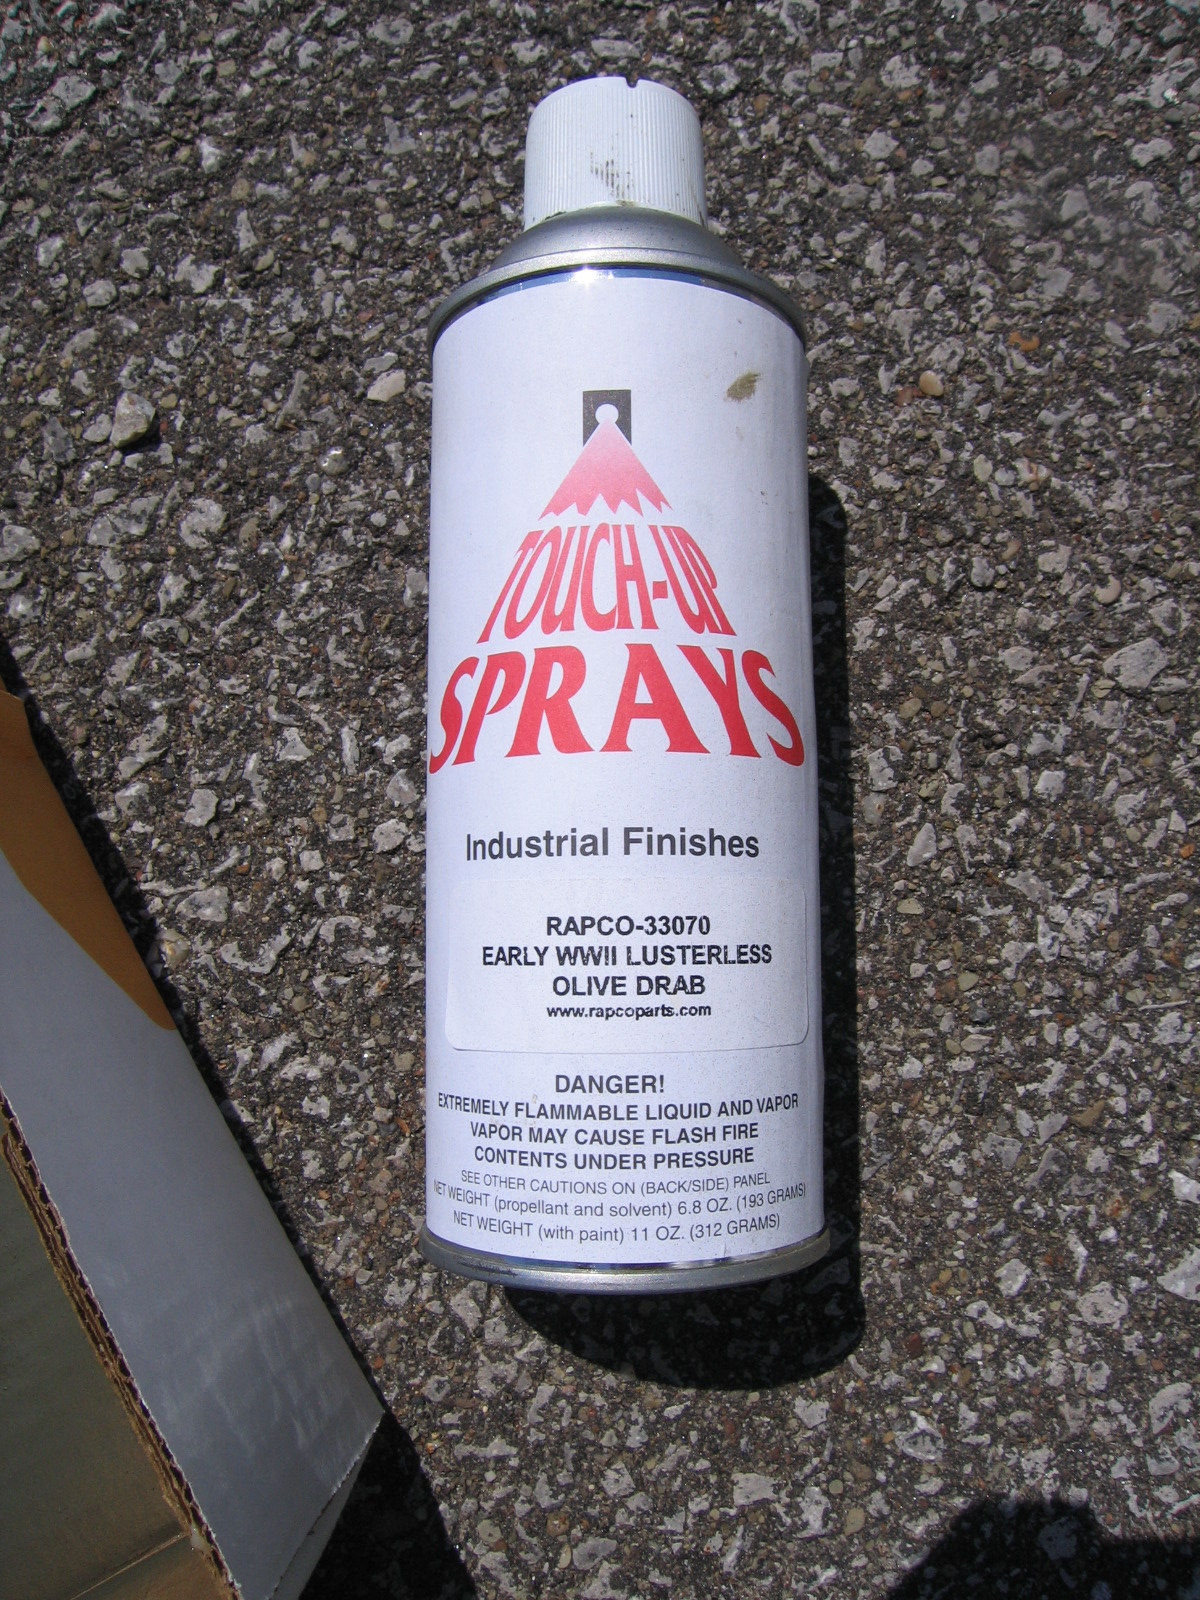
I chose Rapco OD 23070 Khaki Lustreless Olive Drab - as I felt it most closely dupluicated the original paint color on most wartime liners. The paint is available in aerosol "touch up" cans at a farily reasonable price of around 5$ a can.
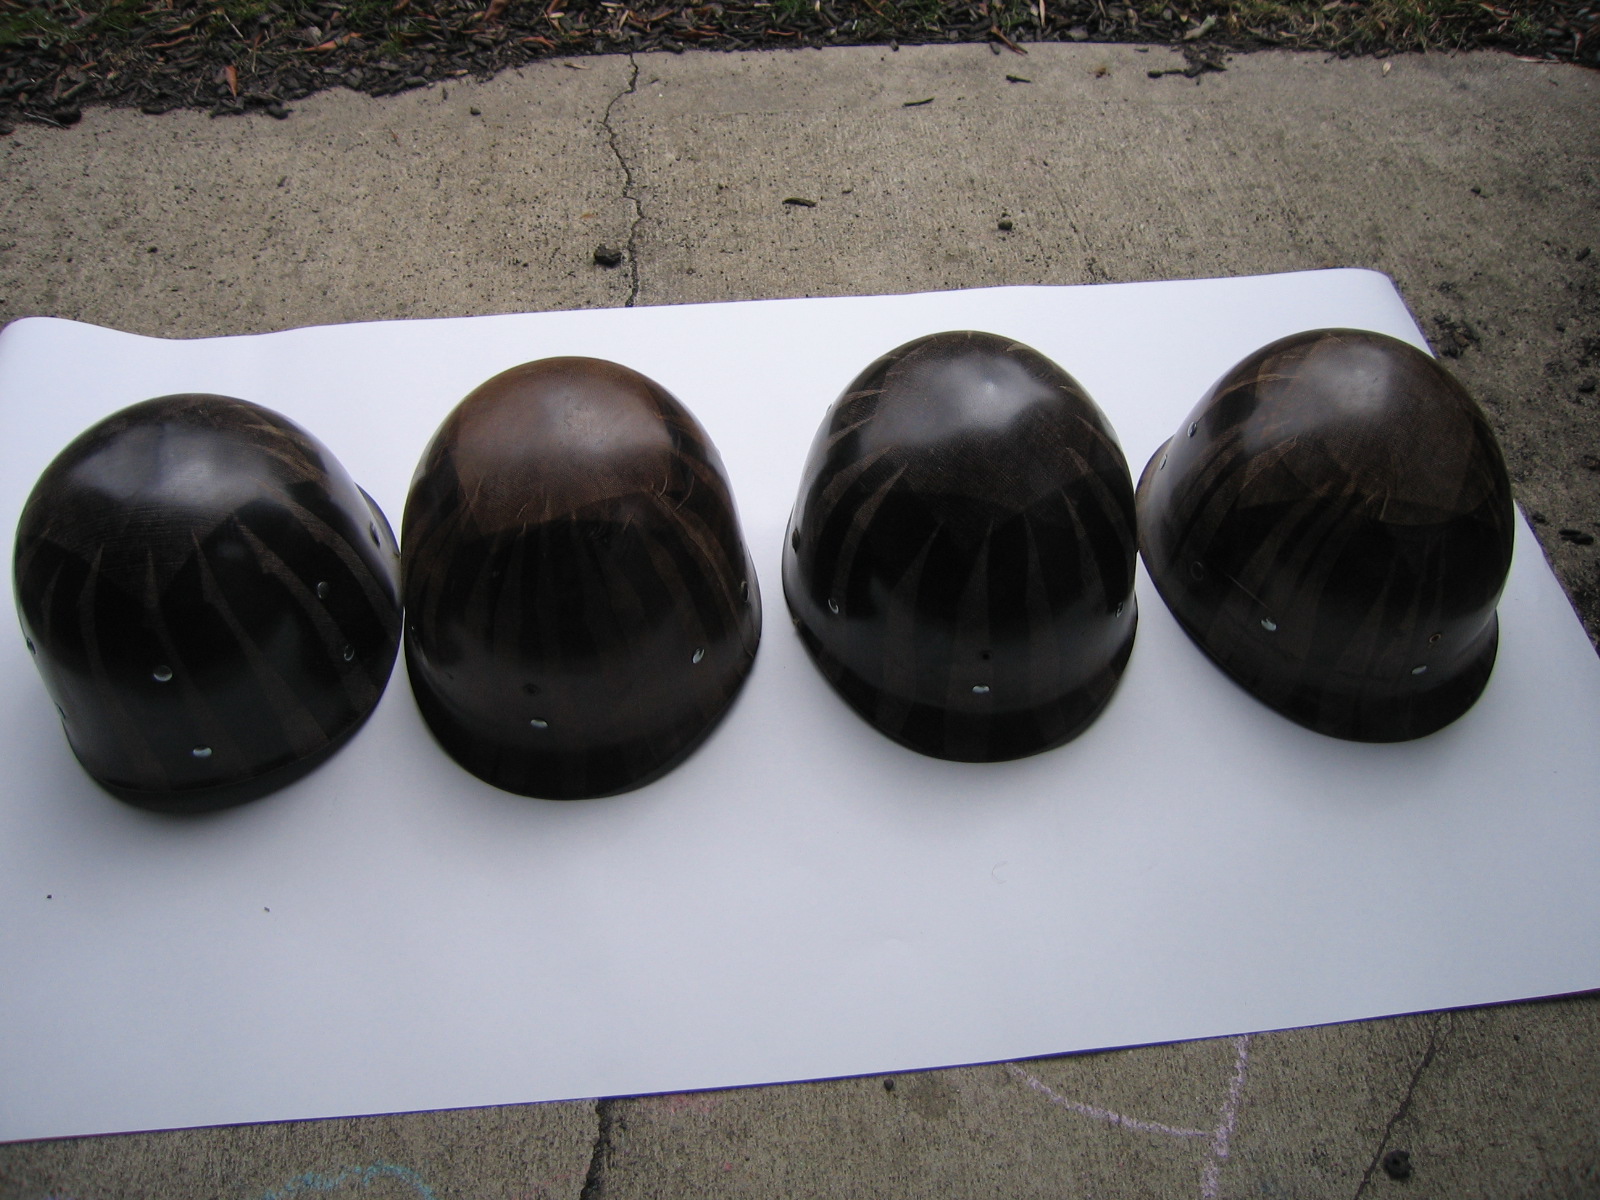
I cleaned up the exterior of the liners with some windex and paper towels then proceeded to prime them with a heavy coat of cheap primer. PRIMER MAKES A HUGE DIFFERENCE. A couple of heavy coats of primer will save you big $$$$ on the Rapco paint. These liners are "thirsty" after you stripped them and will soak up paint easily. You need 2 or 3 coats of paint to cover up the surface of the helmet liner so you no longer get a texture coming through - then you can go ahead and apply 1 or 2 solid coats of Olive Drab.
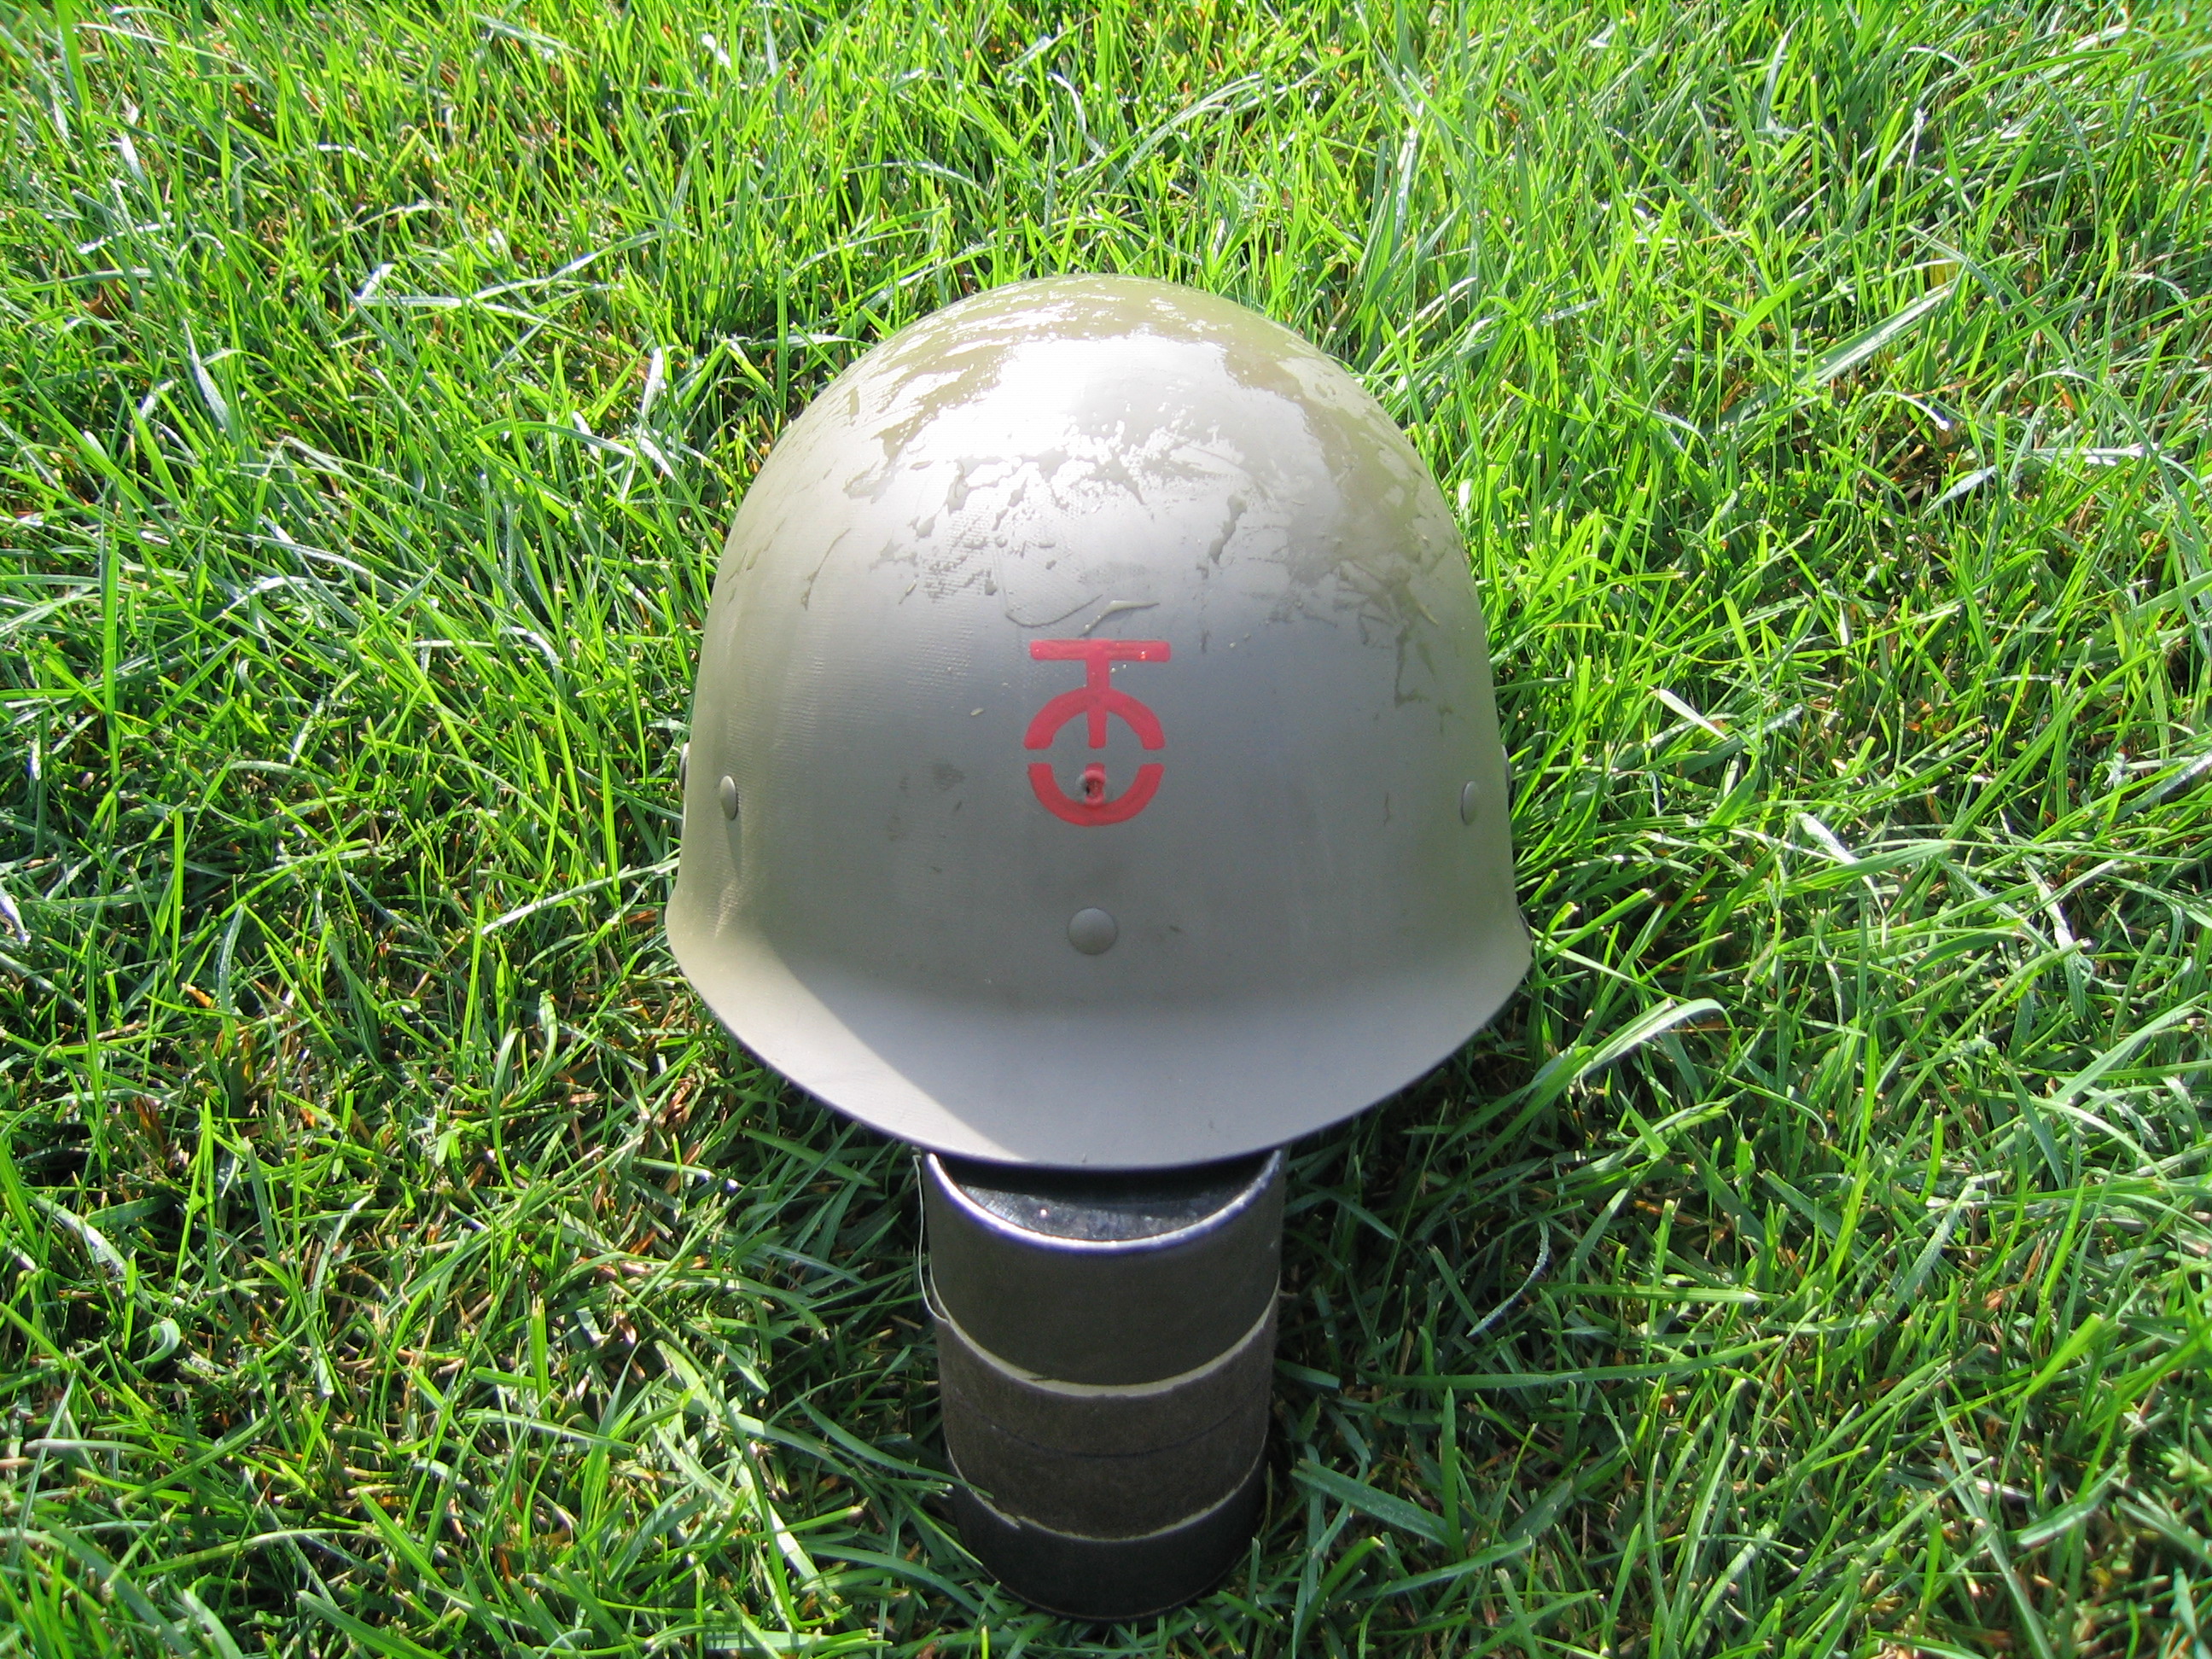
Here's the final product:
I'd hold off on installing the nape strap, sweat band and liner chinstrap until the liner has been painted.
Once installed, I'm quite pleased with the overall job - it certainly could be nicer and have gone more smoothly, but it was a learning experience for me. If I had to do this project again, I'd have everyone just buy helmet liner webbing kits from one of the vendors and simply rivet them in. The results would likely have been more consistent and professional in appearance. I certainly would not reccomend taking on the full project as I did to anyone else as even I wouldnt do it again. I will be very glad to be done with these helmet liners and hope to never be the schmuck to do the next batch of them if there is another batch....
Additionally, I wasnt satisfied with the factory finish on the leather helmet liner chinstraps we purchased several years back - so I took the time to re-dye them to a more "appealing" darker color. Here's how I did it: Dyeing the M1 Helmet Liner Leather Chinstrap
Since almost everything in the WW2 reenacting world revolves around Normandy - Check out The M1 Helmet in Normandy: A photo study
Quicklinks:
X.) Introduction
0.) Tools & Equipment Needed / Sources
1.) Liner Preparation
2.) Paint Removal
3.) Making the liner kit (optional)
4.) Hardware Prep
5.) Webbing Installation
6.) Paint & Finishing (You are here)