Re-Webbing M1 Helmet Liners
Author: Chris Guska
Date: July, 2009
Step 5: Webbing Installation
The moment you've been eagerly awaiting - actually riveting the webbing into the liner. This seems really straightforward, but its not. Its a project that can be done by hand, without special presses or equipment - just a hammer and a setting die - but it does take some careful attention.
Dont cheap out on the rivet setting die. Get the specified die from one of the helmet liner vendors. You could go to Tandy Leather and get a die for setting the same size tubular rivets for half the price- but it makes a star * shape crimp instead of the O shaped crimp. A wrong shaped rivet is just a kick in the teeth after all the other work that you may have put into this project sofar. Yes, 30$ may be a lot to spend on a rivet setting die, but its the right tool for the job - it won't be right otherwise.
To get a perfectly rolled crimp, the setting die must be perpendicular to the rivet head as the pressure is applied. Basically, if you hit the setting die at an angle and pound it home you will split the crimp of the rivet so that it is not a perfect O but rather a C with a split open gap.
I found that the following process worked well for me when installing the helmet liner rivets.
Starting from the front center, working to the back center, alternating left and right, with the front center being the point where the 2 ends of the suspension band overlap-
1.) Insert the rivet from the outside of the shell, holding the rivet in the shell with a finger
2.) Place the webbing/eyelet over the rivet
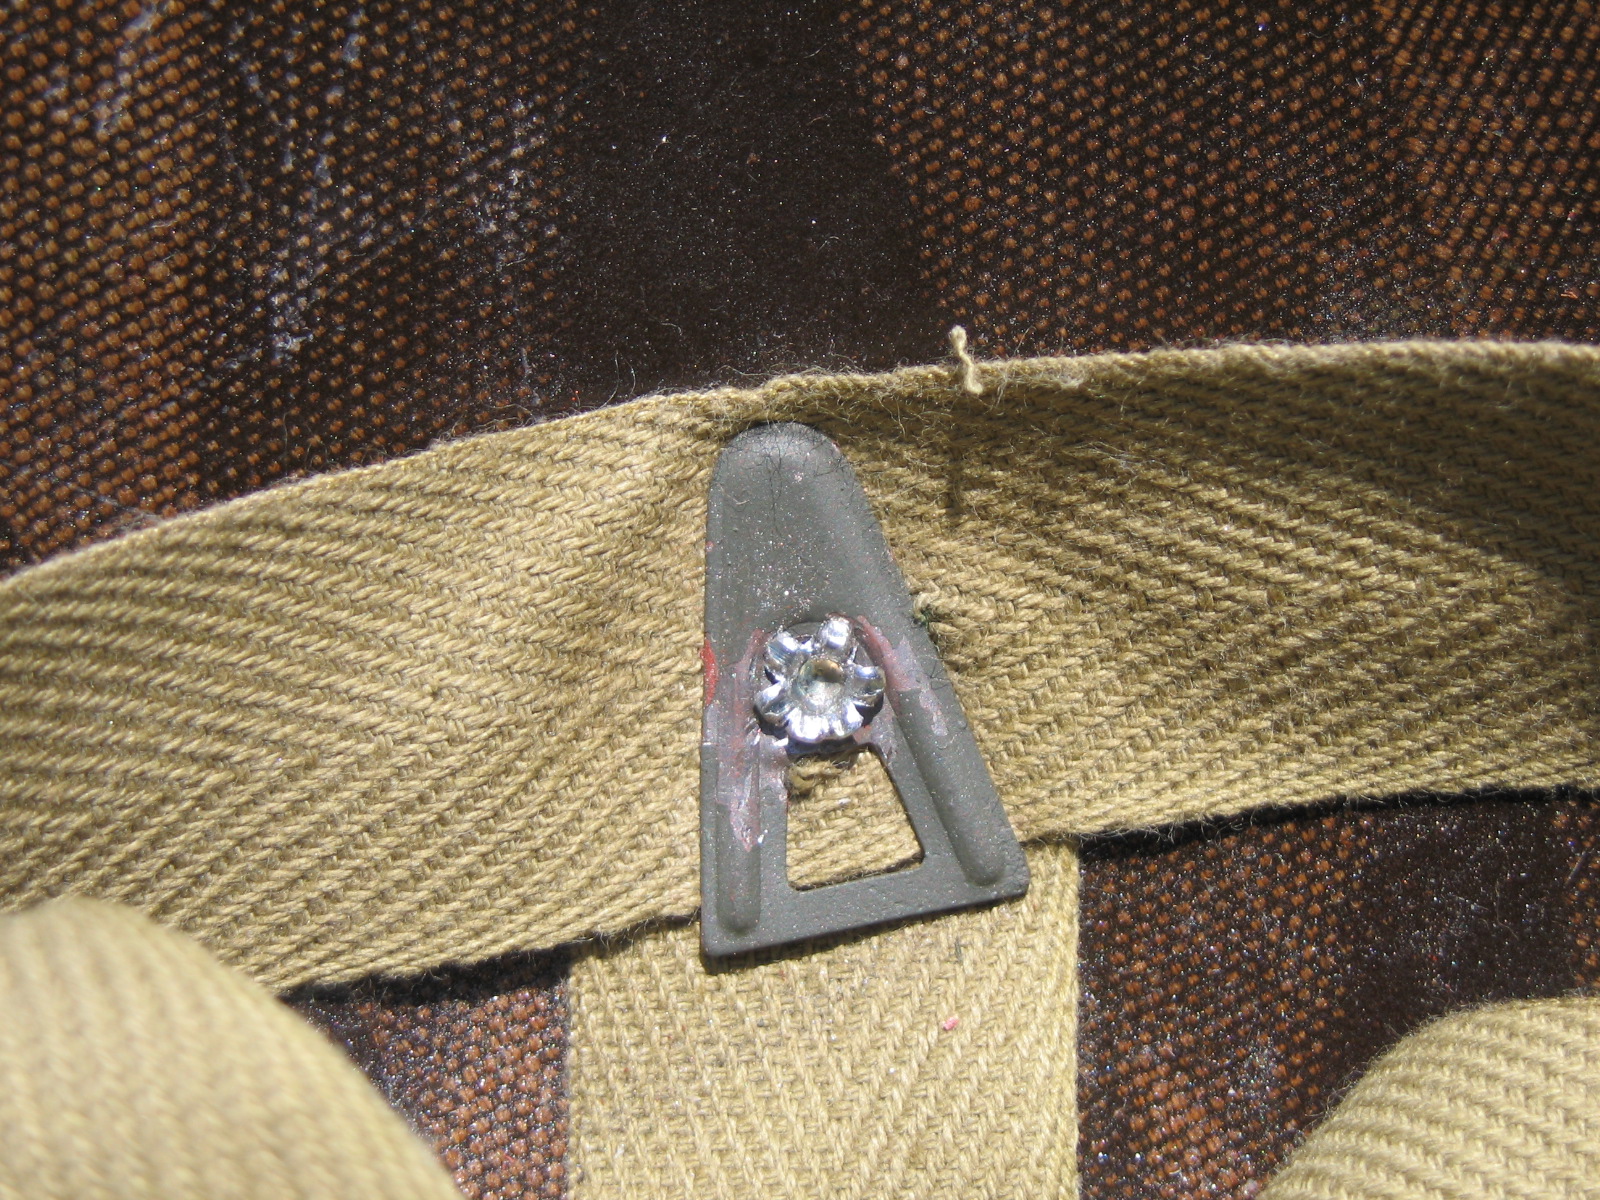
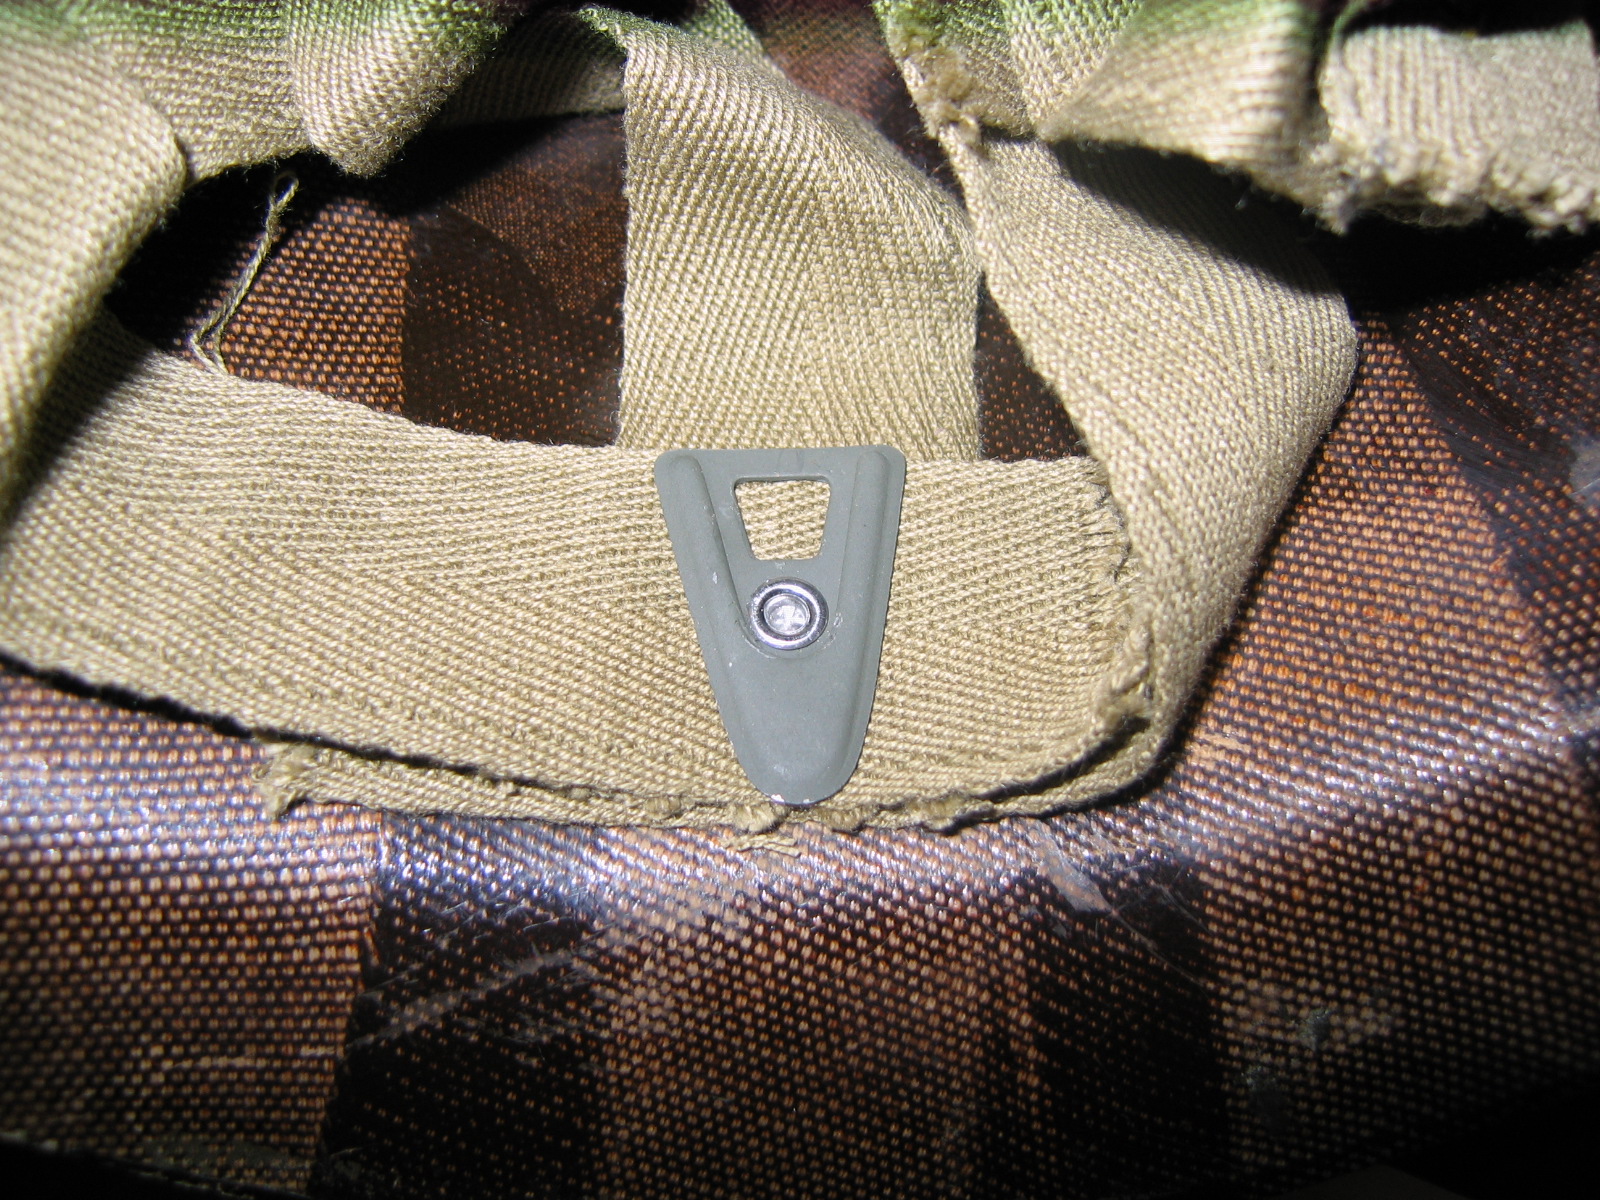
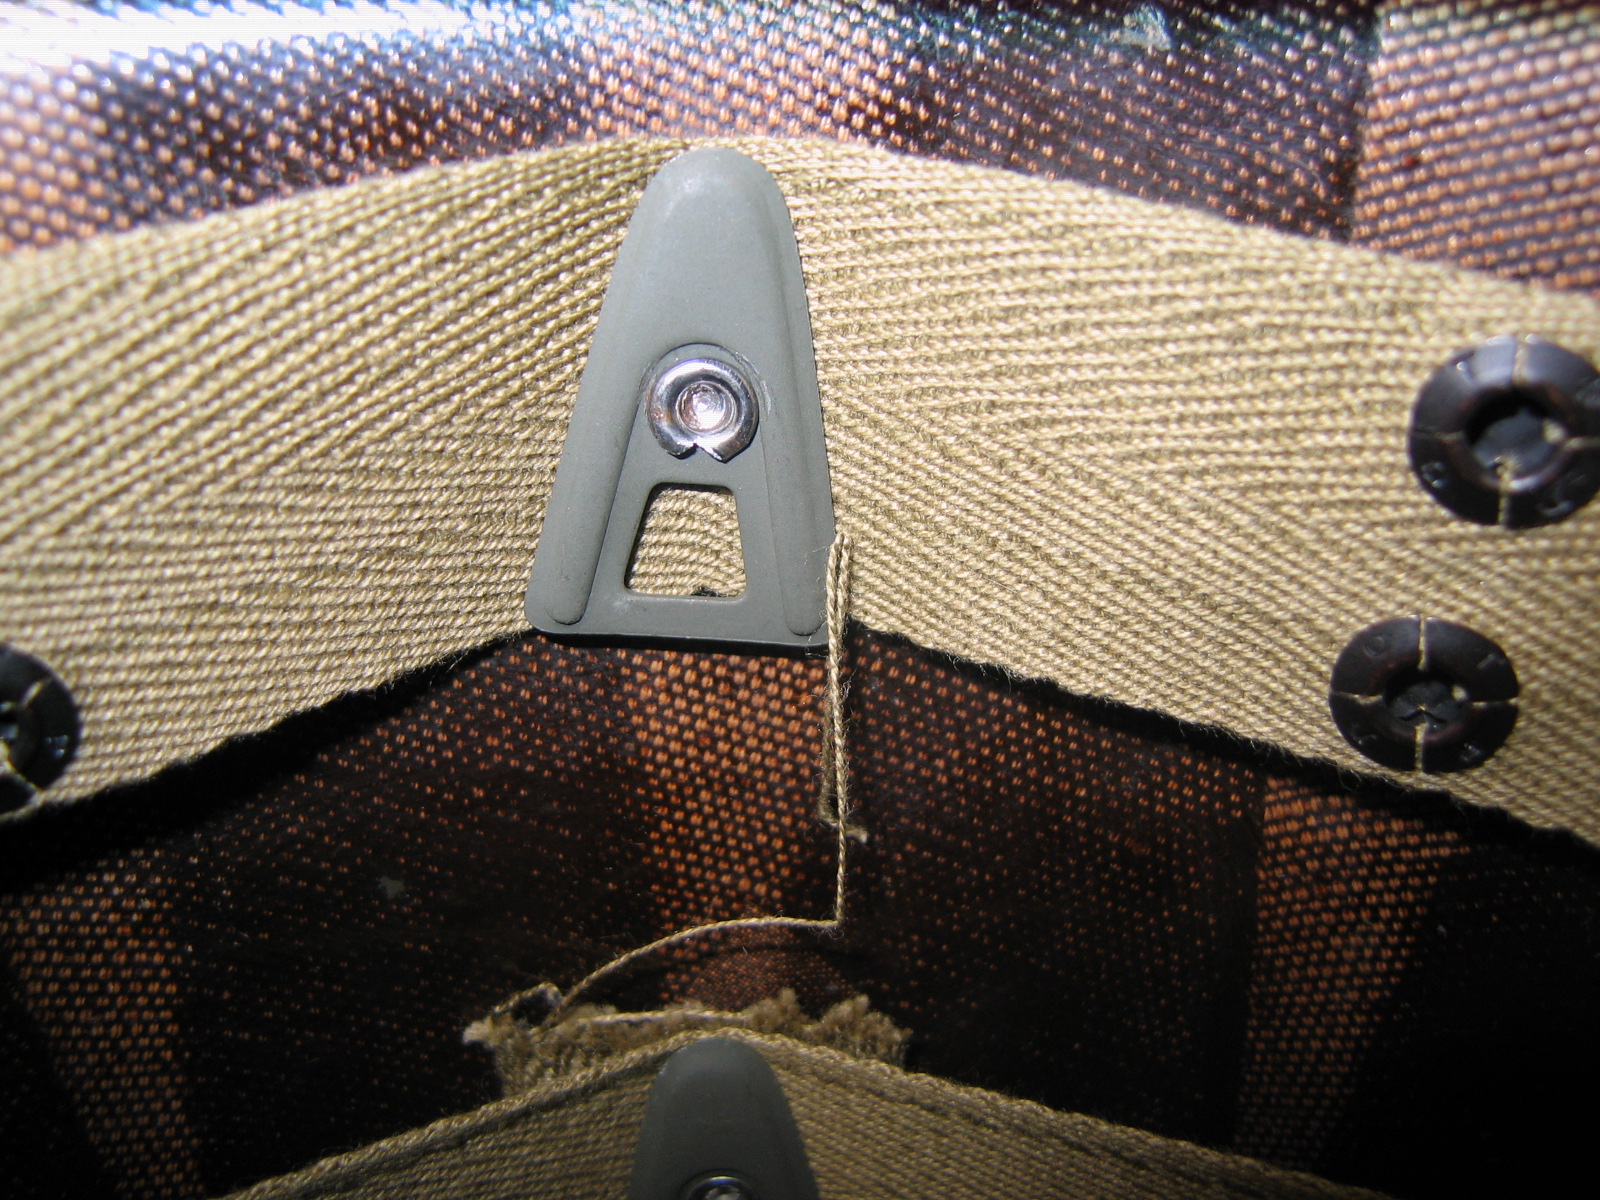
3.) Place the A washer over the rivet, so that V of the A points towards the open end of the helmet.
4.) Place the liner down on a hard surface, with the rivet still installed, preferrably with the domed rivet head on something metal. If you made your own liner kits - use the bucking bar (flat plate with 2 dimples) from the segma snap setting kit.
5.) Position the setting die so that the center stud is securely on the open center of the tubular rivet.
6.) Set the rivet with multiple short hammer strikes - occasionally checking your progress. Take your time and make sure that you are trying to keep the rivet setting tool squarely on the rivet so that you form a nice O shaped crimp rather than breaking it out to a C crimp as discussed erlier.
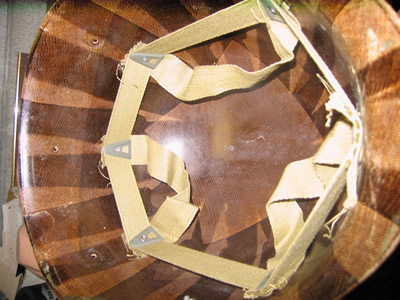
I typically installed the suspension basket, then the nape suspension - as the nape suspension got in the way if I installed them in the previous order.
If you're experiencing problems with the tension of the webbing - being too loose or too tight - it may take a bit of maniuplation to pull the webbing onto the rivets for setting as well as adjustmetn of the A washers to the best angle to hold things just right. The tight/loose issue may be a result of an improperly cut kit. I'm unsure of how to correct it besides re-doing the kit itself. A possibility might be to steam/wet and attempt to shrink the webbing in specific places to tighten it up.
Keep in mind, that once the helmet liner sweatband and nape strap are installed they will put some tension on the webbing and also cover up some percieved "defects" in construction or installation.
Quicklinks:
X.) Introduction
0.) Tools & Equipment Needed / Sources
1.) Liner Preparation
2.) Paint Removal
3.) Making the liner kit (optional)
4.) Hardware Prep
5.) Webbing Installation (You are here)
6.) Paint & Finishing